How To Bind A Quilt By Hand – Easy Guide
How to bind a quilt by hand is a time-honoured method that gives your finished project a sense of refinement and craftsmanship. Hand-binding enables you to make a seamless and polished edge that admirably frames your quilt top, however, it may call for some patience and focus on detail.
You may obtain a professional finish that accentuates the artistry of your quilt by methodically attaching a fabric strip around the quilt’s edge and stitching it in place. This guide will tell you how to bind a quilt by hand step by step, ensuring that your finished product is a labor of love.
Steps for how to hand sew binding on a quilt
Preparation of binding
Preparing the binding properly is crucial before beginning of how to bind a quilt by hand. Cut fabric strips that will cover the quilt’s four sides at a width of about 2.5 to 3 inches to start. Make a continuous strip by stitching these strips together diagonally, making that the right sides are facing each other. For less bulk, iron the seams open.
Make sure the intended fabric design and alignment complement your quilt by giving them some thought. This meticulous binding preparation lays the groundwork for a smooth, eye-catching finish that will accentuate the overall attractiveness of your handcrafted quilt.
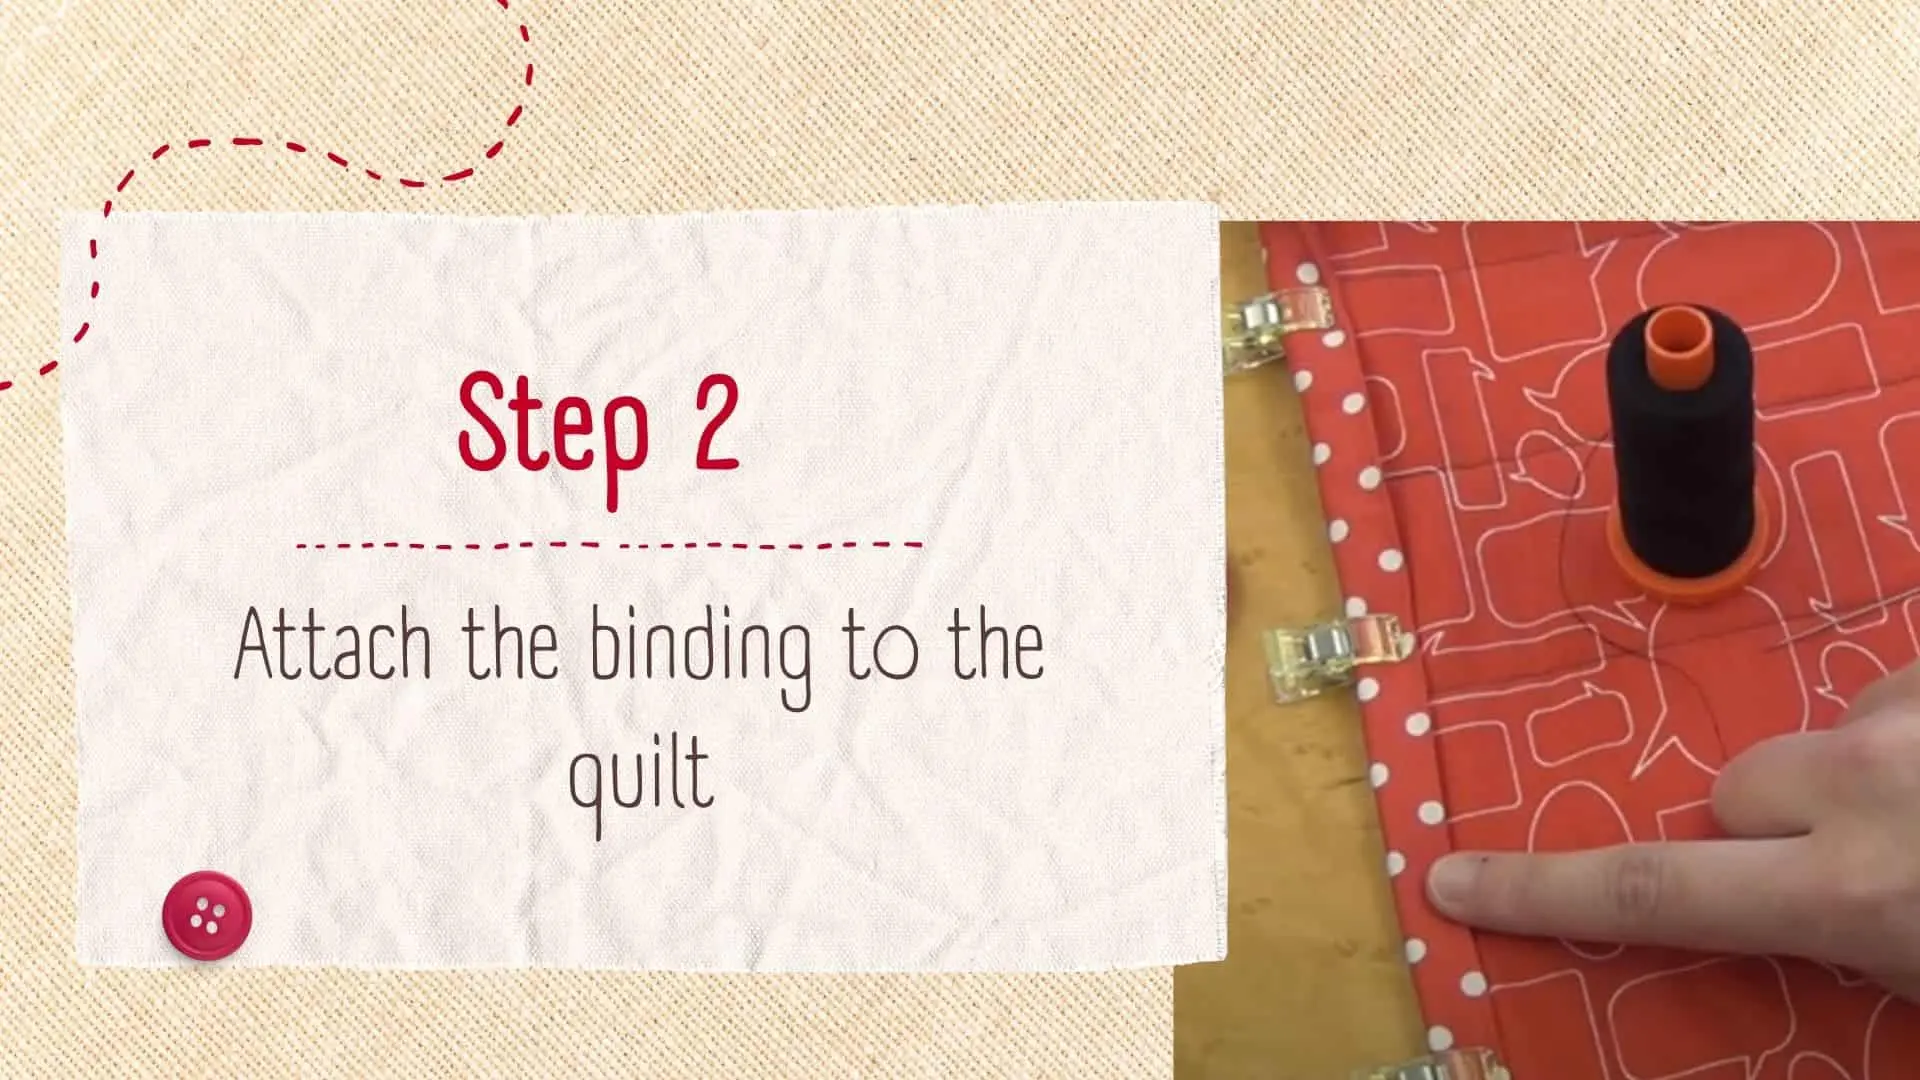
Attach the binding to the quilt
When your quilt binding hand stitch is finished, it’s time to sew it to the quilt itself. As you begin for how to bind a quilt by hand, leave a long (8 to 10-inch) tail of the binding strip unstitched. Make sure the right sides of the binding strip and the quilt are facing each other as you align them, and then stitch them together using a 1/4-inch seam allowance. Up to the corner, keep sewing along the first side.
Stop sewing 1/4 inch from the edge, fold the binding strip up at a 45-degree angle, then fold it back down to line up with the subsequent side of the quilt to produce neat mitred corners. Repeat the method for the other sides, securing each piece with stitches and allowing a small space between the beginning and finishing places for merging later.
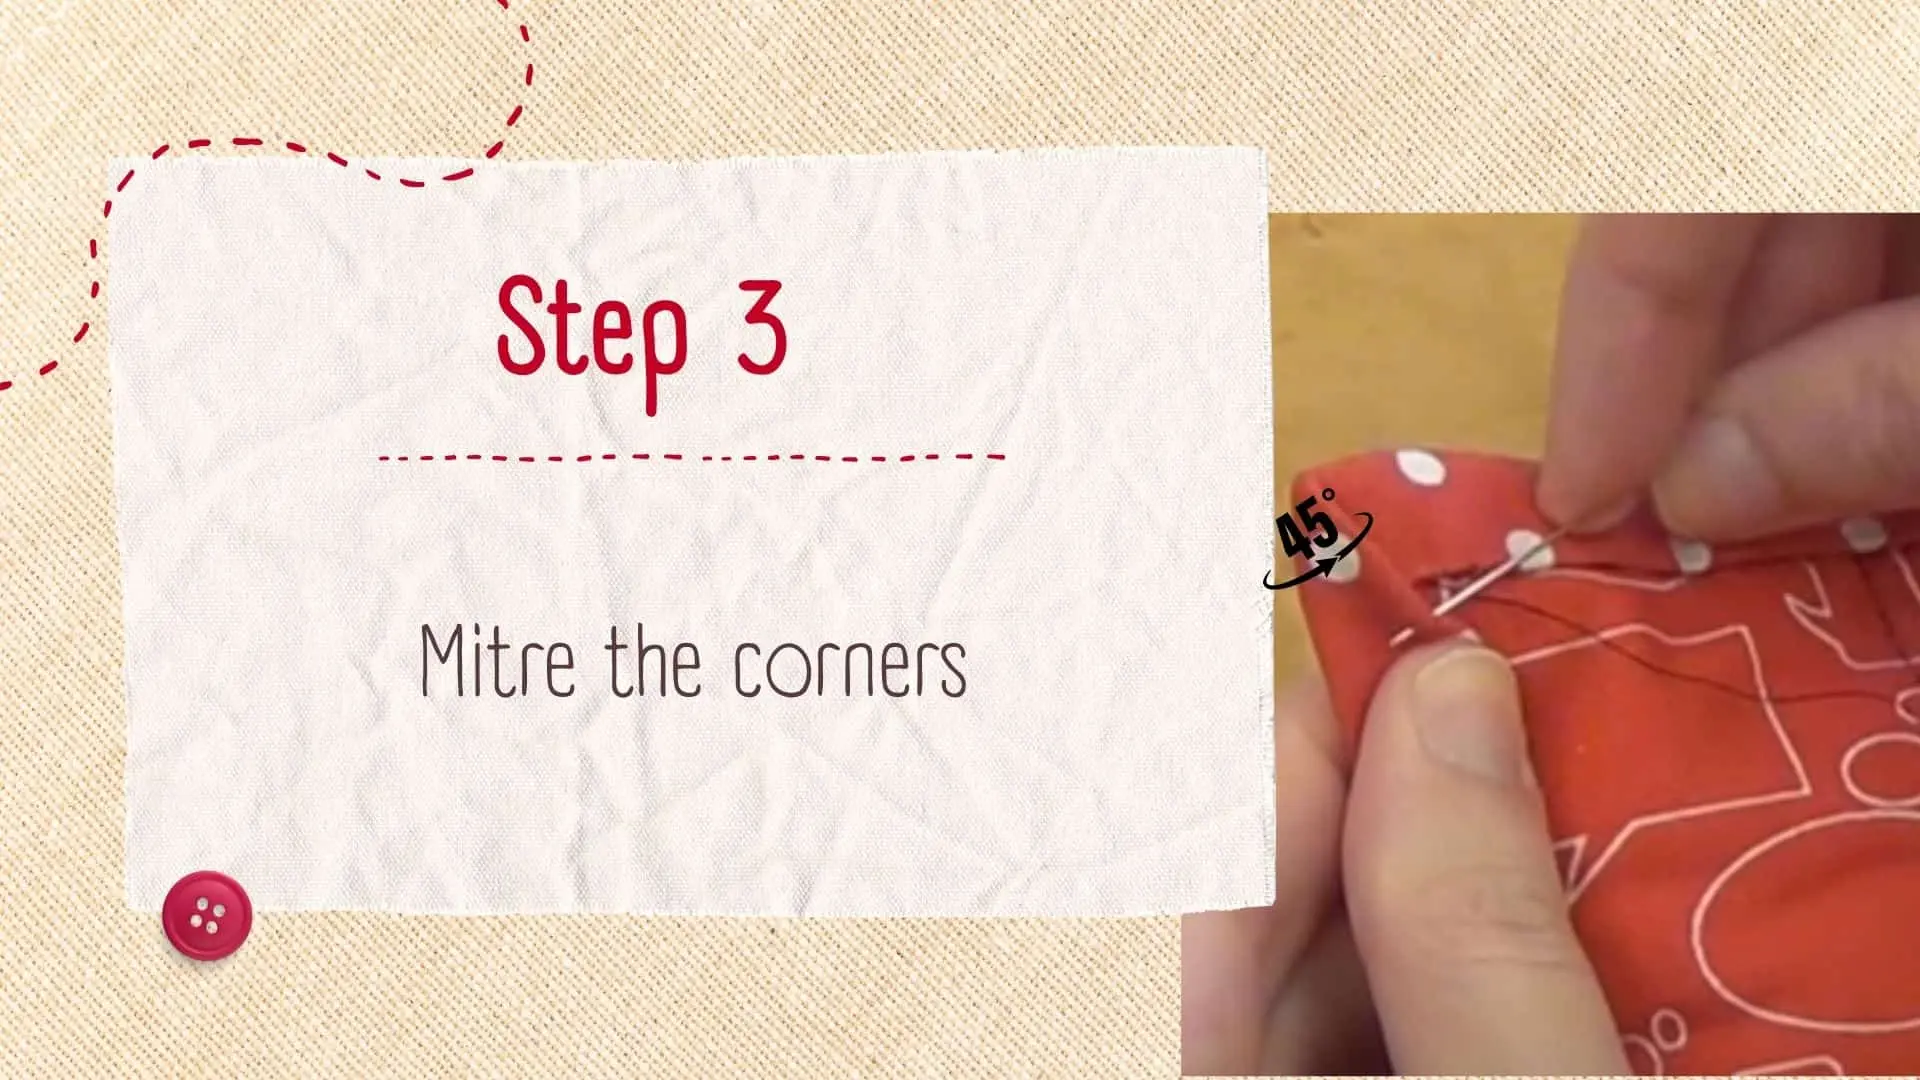
Mitre the corners
Mitring the corners is the 4th step for how to bind a quilt by hand. When hand quilt binding, getting correctly mitred corners is an essential step. Stop sewing when you get close to a corner, around 1/4 inch from the edge. The binding strip should be folded at a 45-degree angle, up and away from the quilt. When you fold the strip back down, make sure it is aligned with the quilt’s subsequent side.
The raw edge of the new side should be parallel to the folded edge of the binding. Use your fingers or pins to hold the fold in position. You can ensure that the binding will lay flat and neatly when sewn down and provide professional-looking corners for your nicely bound quilt by making this sharp corner fold.
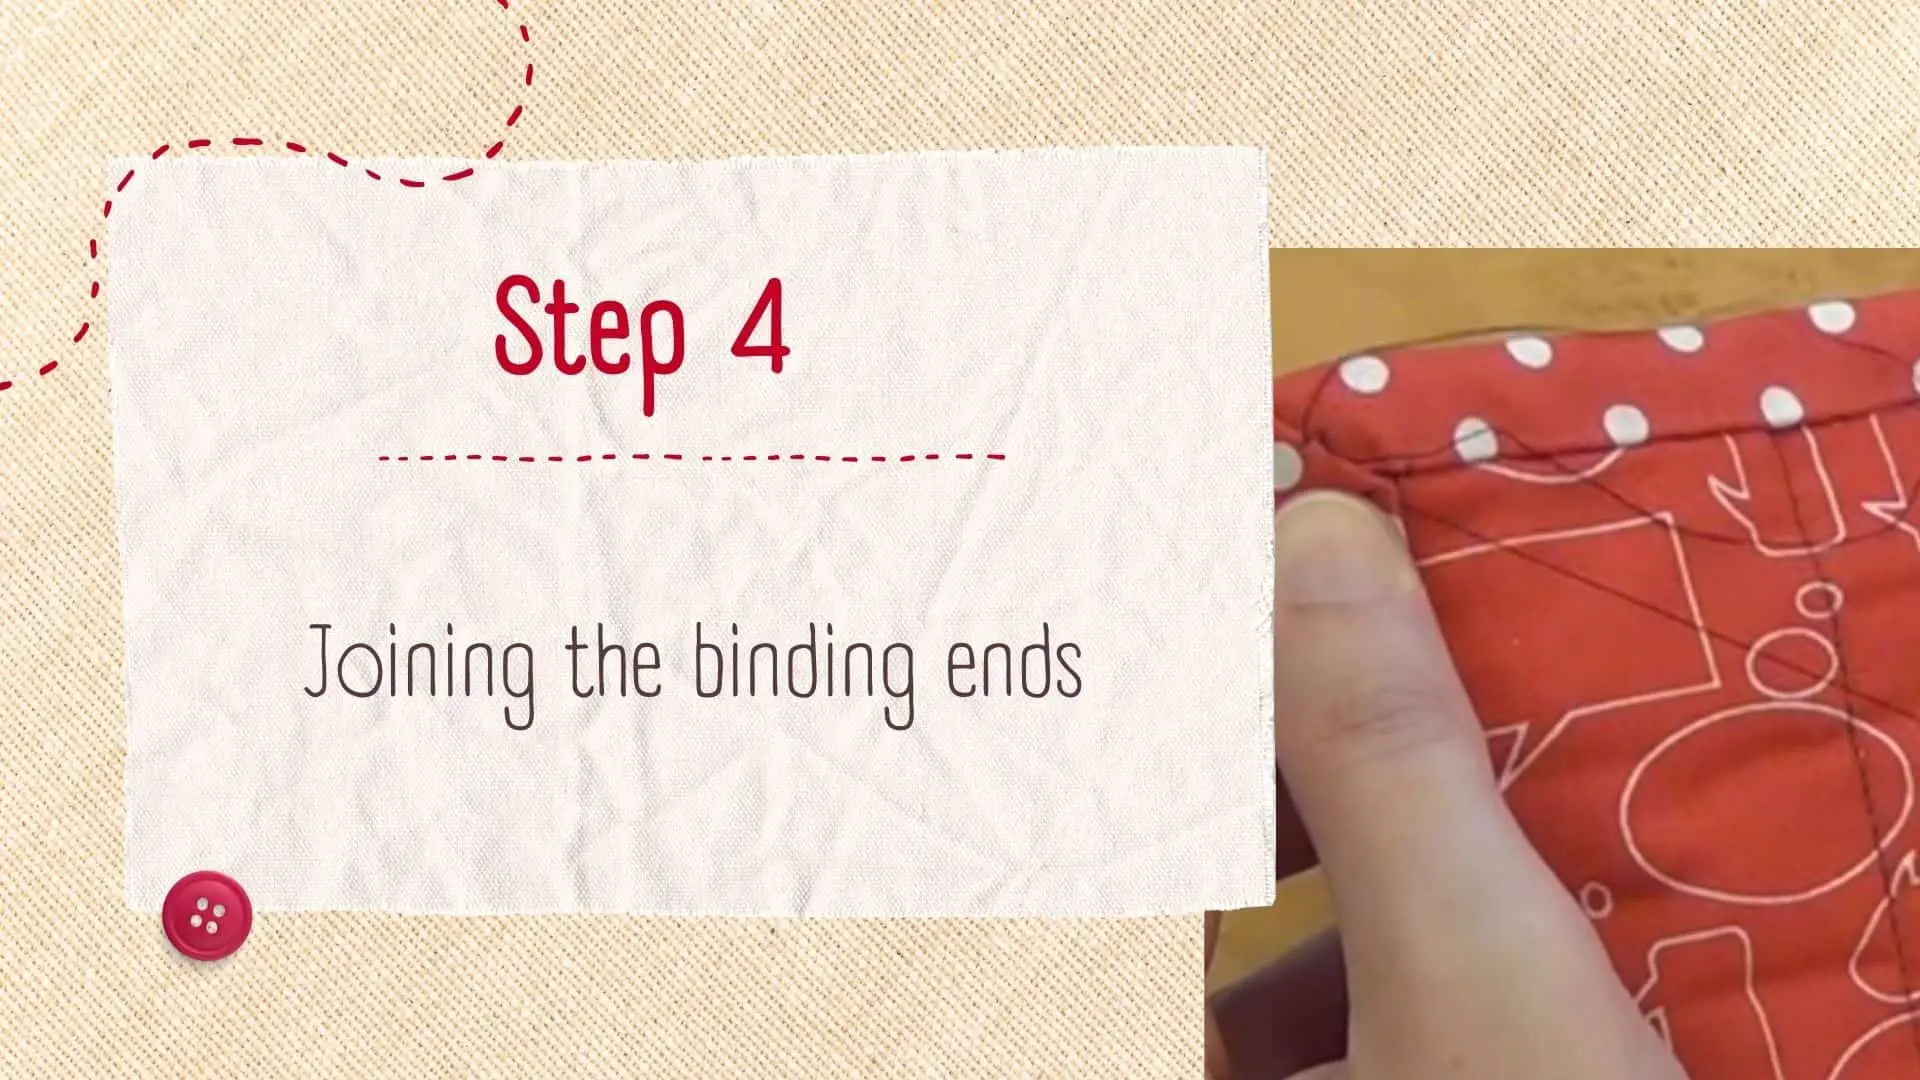
Joining the binding ends
It’s time to flawlessly combine the binding ends as you near the finish of your quilt binding. Stop sewing when you’re approximately 10 to 12 inches from the beginning point, then lay the quilt flat. Trim the extra binding such that it slightly overlaps the beginning tail. Aligning the raw edges, fold the beginning tail over the end of the binding strip.
Trim the folded end, allowing a seam allowance of 1/4 inch. To hold the ends in place, pin them together. To ensure a smooth and continuous loop, stitch the binding ends together along the marked seam line. This precise joining method makes sure that the binding on your quilt looks professional and flawless.
Finishing the binding
Hand-binding your quilt completes the endeavour with a final flourish of craftsmanship. It’s time to finish the quilt once the binding has been firmly sewn to the edges. Covering the seam line, fold the binding over the quilt’s raw edges and attach it to the back. To secure the folded binding, use clips or pins.
Beginning at one corner, slip-stitch the folded edge of the binding to the back of the quilt using a hand-sewing needle and matching thread. To ensure a neat and seamless finish, attach the binding to the quilt using tiny, practically invisible threads. Up until you reach the starting point, slip stitch all the way around the quilt. Inspect your neatly bound masterpiece, tighten the thread, and give your quilt one last press.

Finalize the steps- how to hand sew quilt binding
There are a few last measures to do to achieve a polished and professional finish as you get close to finishing your quilt’s hand binding. After slip-stitching the binding to the quilt’s back, tie a knot in the thread or sew a few tiny stitches in the backing fabric to hold it there. Remove any extra thread. Gently press your quilt to make sure the binding is flat and smooth.
Spend a moment appreciating your artistry and the stunning quilt you have produced. A really handmade masterpiece that will be appreciated for years to come is the product of the meticulous attention to detail and the passion put into hand binding.
Tips for hand stitching quilt binding
Patience and attention to detail are needed when hand-binding a quilt. Give yourself enough time to do the procedure slowly.
Purchase high-quality thimbles, thread, and needles. Select a needle with a small eye that can easily pass through the fabric and a thimble to shield your finger from the needle while you are pushing it.
Before sewing the binding, knot the thread or make a few tiny stitches in the background fabric to hold it in place. This guarantees the binding’s stability and stops it from coming undone.
For a clean, polished finish, aim for small, even stitches. Try out several stitch lengths to see which one suits you the best.
When folding and positioning the binding to make mitered corners, exercise particular caution. Before sewing, secure the fold in place using pins or clips. Corners will be clean and exact as a result.
Maintain constant strain on the thread as you sew. This keeps the stitches uniform and keeps them from tugging too tightly or slipping out of place.
Give the binding a light press with an iron before slip-stitching it to the quilt’s back. This makes the binding appear smoother and more professional while also helping to flatten it.
Check your work frequently from a distance to ensure consistency. Make sure the binding’s stitching is uniform in both size and spacing.
If necessary, take breaks: It can take a while to hand-bind a book. Take breaks to rest your hands and eyes if you notice that you are growing weary or losing your concentration. It’s crucial to maintain thoroughness and accuracy throughout the entire procedure.
Hand-binding a quilt is a labor of love and an opportunity to show off your skill. Take pleasure in the process and the finished quilt you created.

| Step | Uses |
| Preparation of binding | Creates a continuous strip for attaching to the quilt edges. |
| Attach the binding | Secures the quilt layers and adds a finished look. |
| Mitre the corners | Gives a polished and professional appearance to the quilt. |
| Joining the binding ends | Creates a continuous loop of binding for a consistent look. |
| Finishing the binding | Provides a clean and polished finish to the quilt’s edges. |
| Finalize the steps | Ensures a professional and refined final product. |
How to bind a quilt by hand- 2 different ways of stitching
How to bind a quilt by hand using tiny hidden stitches
Hand binding a quilt with tiny stitches takes finesse and attention to detail, but the end product is polished and seamless. Starting from the back of the quilt, fold the binding over the raw edges, making sure the folded edge covers the seam. Making sure you only capture a few threads of the quilt and binding with each stitch, thread a needle with a matching thread, and make tiny, practically invisible stitches around the folded edge.
For a tidy and covered appearance, keep your stitch lengths constant and space them far apart. Work your way around the quilt, mitering corners with exact folds and tiny stitches as you go. This method of binding results in a gorgeous hand-finished quilt that oozes craftsmanship when done with care and patience.
How to bind a quilt by hand using large huge stitches
Binding a quilts by hand with large, chunky stitches gives your creation a special, cozy touch. Start by folding the binding over the quilt’s raw edges and pinning or clipping it in place. A strong, thick thread or embroidery floss that matches your quilt should be used to thread the needle. Make broad stitches along the folded edge of the binding that are between 1/4 and 1/2 inches long.
Make sure the stitches go through the layers of the quilt and the binding. Your quilt gains visual interest thanks to the pleasant and textured appearance of the thick stitches. Continue sewing, taking care to fold and stitch the corners with larger threads.

Read More: Best Quilting Sewing Machines
How to hand stitch quilt binding
Conclusion-how to hand sew a binding on a quilt
Finally, hand sewing binding to quilt is a labor of love that gives your quilted project a unique finishing touch. You may create a nicely bound quilt with a polished appearance by following the instructions provided in his guide, from setting up the binding to adding the last stitch. The mitered corners and attached binding ends offer a touch of workmanship, while the tiny, almost invisible stitches guarantee a tidy, seamless finish.
Take your time, enjoy the process of how to hand sew binding on quilt, and embrace the art of hand binding as you turn your quilt into a priceless heirloom. You can produce a genuine handmade masterpiece that will be appreciated for many generations if you have patience and pay close attention to detail.

