How To Sew A Flag: Step-By-Step Guide
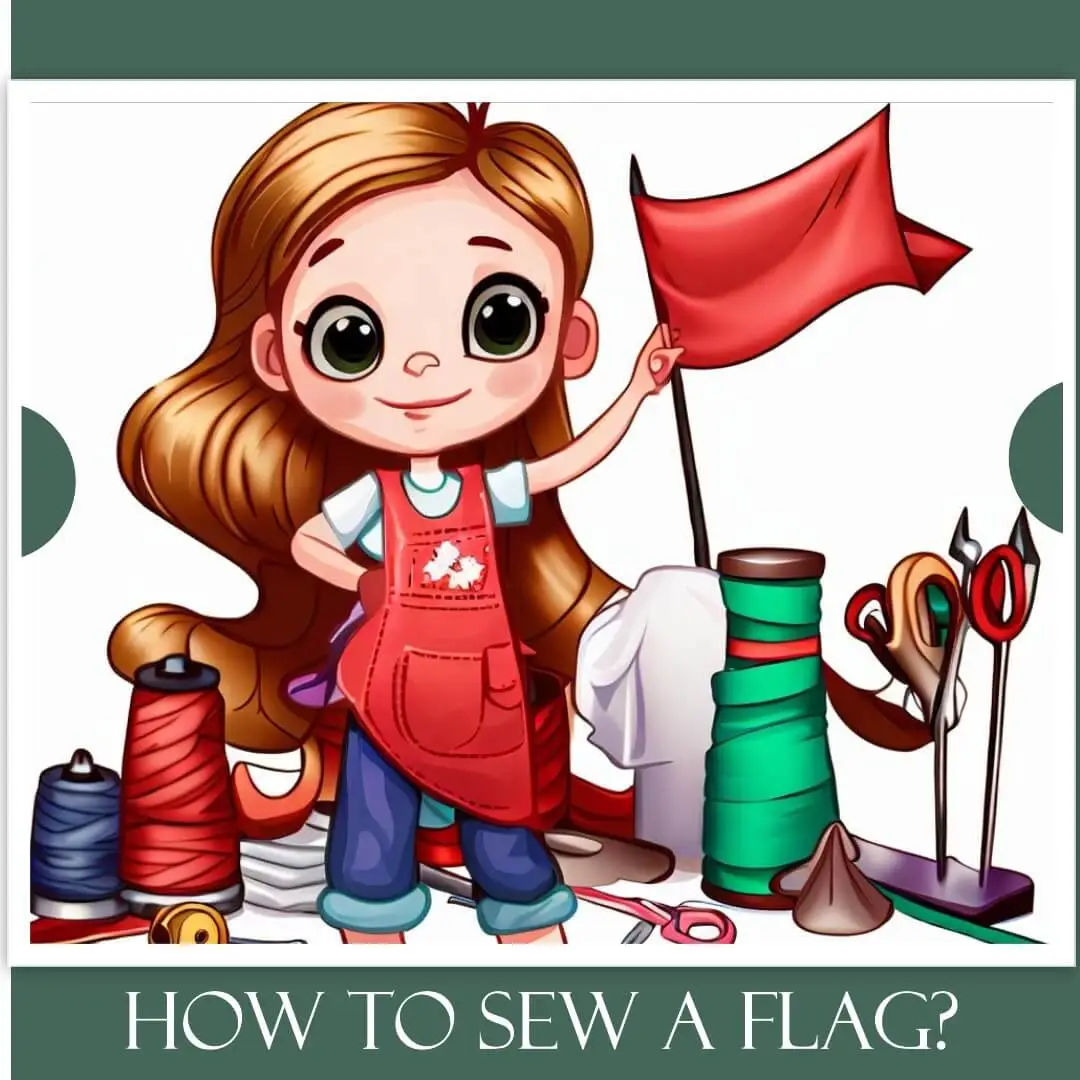
How to sew a flag is a fun and creative project that can be a great way to showcase your patriotism and creativity. For individuals who enjoy sewing and crafting, it can also be a gratifying project. Although it might seem difficult, anyone can sew a flag if they have some patience and a few basic sewing skills. In this tutorial, we’ll show you step-by-step how to make a flag, including the proper supplies, pattern creation, fabric cutting and sewing, and finishing touches. These guidelines will help you make a lovely and significant flag that you can proudly fly.
How to sew a flag: Step by Step
Choosing the right materials and deciding on your design are the first steps in sewing a flag. This will depend on the size, function, and personal preferences of your flag. You might choose to employ a particular color scheme, feature a logo or insignia, or insert decorative accents like fringe or tassels, for instance. Depending on the size, level of complexity, and design of the flag, different materials may be required to sew it.
Materials Needed
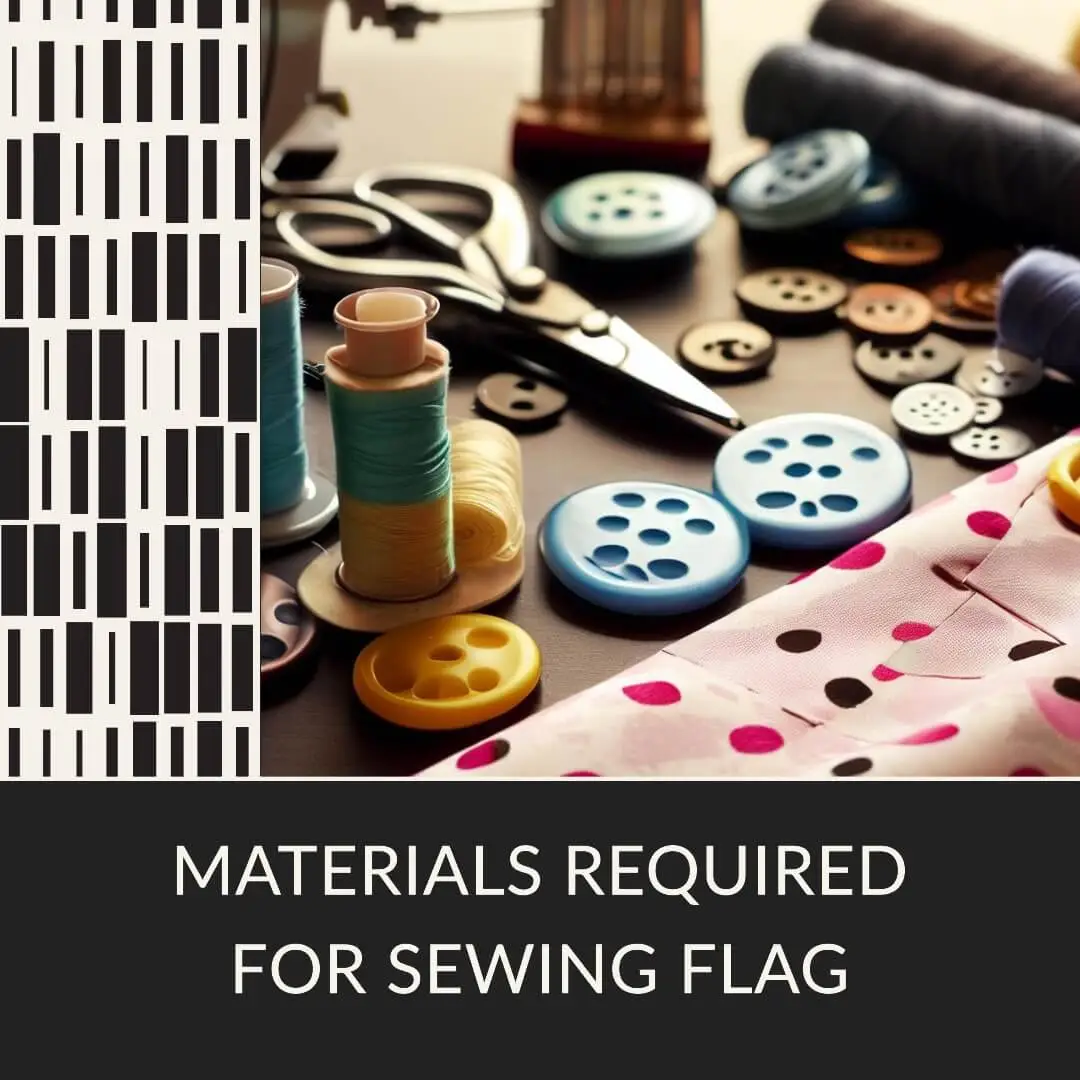
In learning “How to sew a flag” you will need some materials. But these are some typical supplies you might require:
Step 1: Select your fabric

The fabric that is chosen for learning how to sew a flag will rely on the flag’s exact specifications, including its size, design, and intended usage. Generally speaking, flags are frequently fashioned from strong, long-lasting, and weatherproof materials that can sustain outside use. Cotton, polyester, and nylon are popular materials for flags. The advantages of nylon are its light weight, strength, and speed of drying. Additionally, it is mildew and fading-resistant. Another strong and weather-resistant material is polyester, which is frequently chosen for outdoor flags that will be exposed to wind, rain, and sunlight. Additionally, it is simple to maintain and is machine washable.
Cotton is a common fabric for interior flags or those with a more decorative or ceremonial purpose because it is a classic material for flags. It feels natural, is supple, and breathes well.
The final decision on the fabric will be made in light of the flag maker’s particular requirements and preferences. It is crucial to pick a fabric that can resist the environment and general wear and tear while still being suitable for the flag’s intended function.
Read more: How to sew a mini skirt?
Step 2: Cut and prepare the fabric
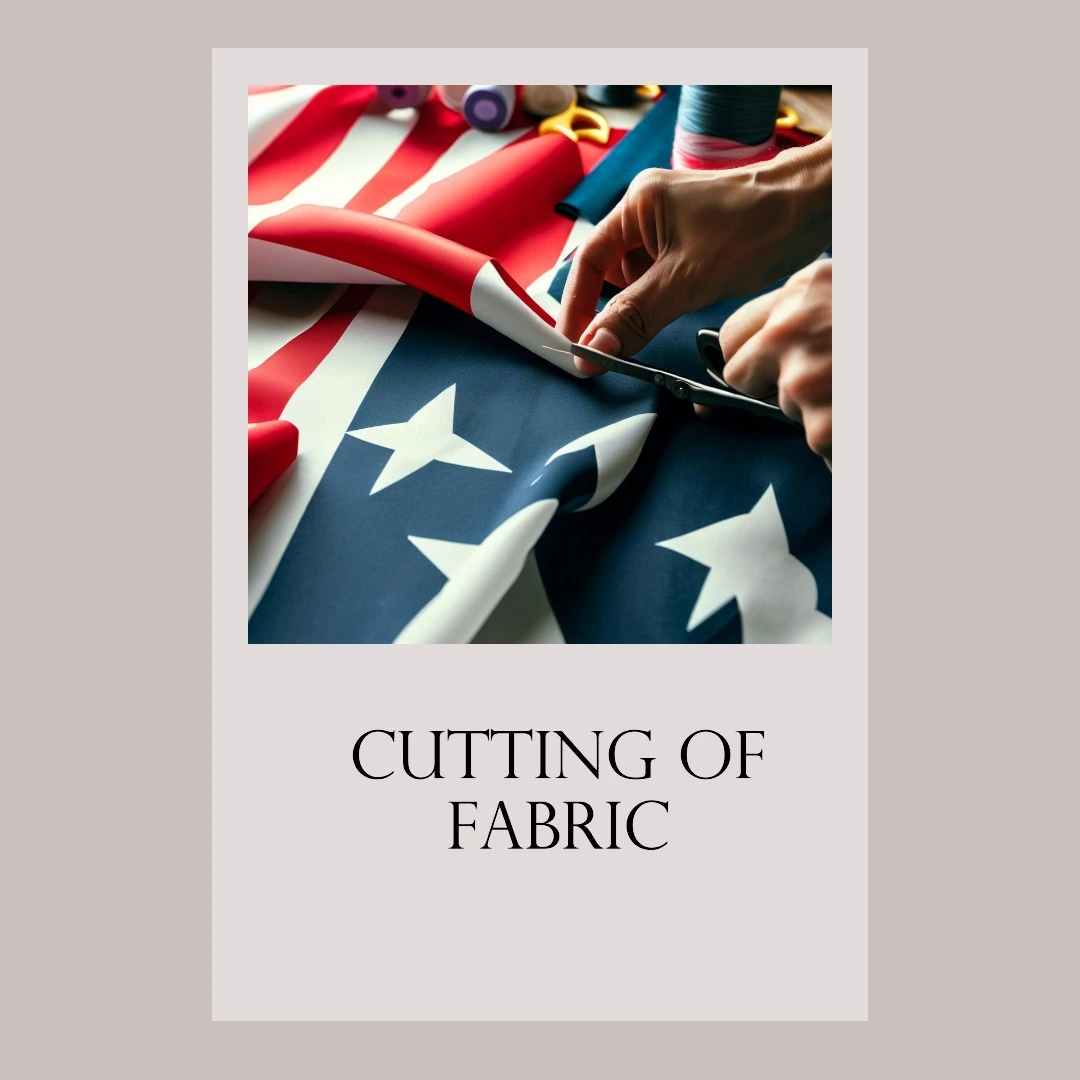
The second step in mastering the art of how to sew a flag is to cut and prepare your fabric after deciding on your design and materials. To begin, measure and cut your fabric to the size and shape you want for your flag. For hemming and finishing, make sure to leave a little extra room around the edges. Then, you might want to include any ornamental components like appliques, embroidery, or screen printing. Additionally, now is a good time to confirm that your design is centered and properly aligned on the fabric.
Cut your fabric to the right size for your flag once you’ve made your selection. Your tastes or the specifications of the occasion or organization for which you are producing the flag will determine its size. To make sure your flag is the right size, use a ruler or measuring tape. When cutting the fabric, leave a thin border all the way around the edges.
Step 3: Pining the fabric
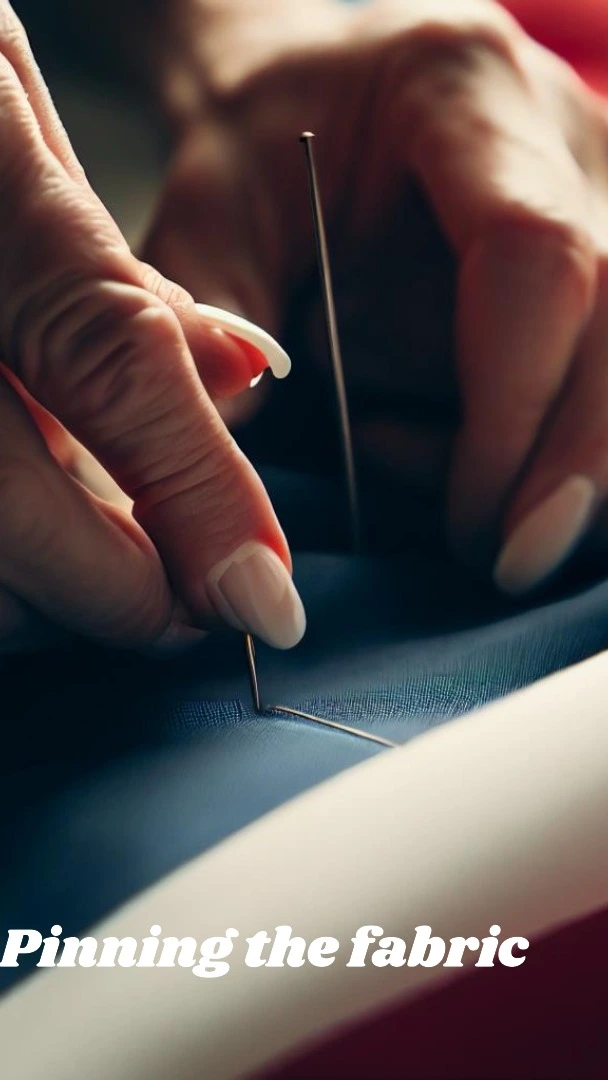
The third step for how to sew a flag includes pinning the fabric. It is crucial to ensuring that fabric stays in place and that the finished product is tidy and polished. Choose a decent workspace where you have enough room to spread out your fabric before you start. After that, you can fasten the fabric in place using straight pins. The cloth should be placed on a level surface right side down to begin.
Use straight pins to secure the fabric’s hem after folding the fabric’s edges under. Be sure to position the pins just inside the fabric’s edge, but not too near that they would obstruct the sewing machine’s needle. Additionally, you can mark any significant patterns or reference points on the fabric with pins. The end product will seem neat and polished if you take the time to pin the fabric before stitching.
Read more to discover how you can sew snap buttons.
Step 4: Stitching the edges

The fourth step in skill development of how to sew a flag is the stitching the edges of the flag. It is a crucial step in making sure the flag is strong and long-lasting. The fabric’s edges must be tucked in before stitching, and a double-fold hem must be made to stop fraying. Once the hem is secured with pins, you can sew a straight stitch right up against the edge of the hem by using a sewing machine. Be sure to pivot at the corners to produce a crisp and tidy edge.
In order to guarantee that the stitching blends effortlessly, it’s crucial to use thread that matches the color of the fabric. Your flag’s edges should be stitched if you want to ensure that it will stand up well in windy or challenging weather. Using a sewing machine, stitch straight across the fabric, about 1/4 inch from the edge. Use a whip stitch to sew the fabric’s edges together if you’re sewing by hand. Anyone can learn how to stitch a flag’s edges and produce a polished outcome with a little practice.
Step 5: Heming the edges

The fifth step of how to sew a flag includes Heming the edges of the flag. When sewing flags, it’s crucial to hem the edges in order to prevent fraying and create the neat and clean finished edges. Begin by folding the cloth edge down by approximately 1/4 inch and pressing it with an iron before hemming the flag’s edges. This results in a sharp edge that is simpler to sew. Next, fold the edge over by an additional 1/4 inch and iron it once more.
This produces a double-fold hem that offers a neat, completed edge and aids in avoiding fraying. At last, before sewing, hold the hem in place with straight pins. It’s a reasonably straightforward procedure that just needs a few simple materials and can be finished in a few quick steps to hem the edges of a flag. The finished product is a flag that is strong, durable, and ready to be displayed with pride.
Step 6: Adding of grommets

The sixth step in how to sew a flag includes the addition of grommets. Grommets enable you to attach the flag to a flagpole or other mounting system, thus adding them is a crucial step when sewing flags. To add grommets, mark the desired location for the grommet, and then punch a hole in the fabric using a grommet setting tool.
The grommet ought to be inserted into the hole, being sure that its flange is on the fabric’s underside. In order to secure the grommet in place, use the grommet setting tool to press the two halves of the grommet together. It’s crucial to make sure that grommets are appropriately spaced and placed so they won’t obstruct any of the flag’s motifs or patterns before adding them. Your flag will be simple to mount and display and will look great for many years if you take the time to add grommets to it.
Step 7: Addition of extra decoration
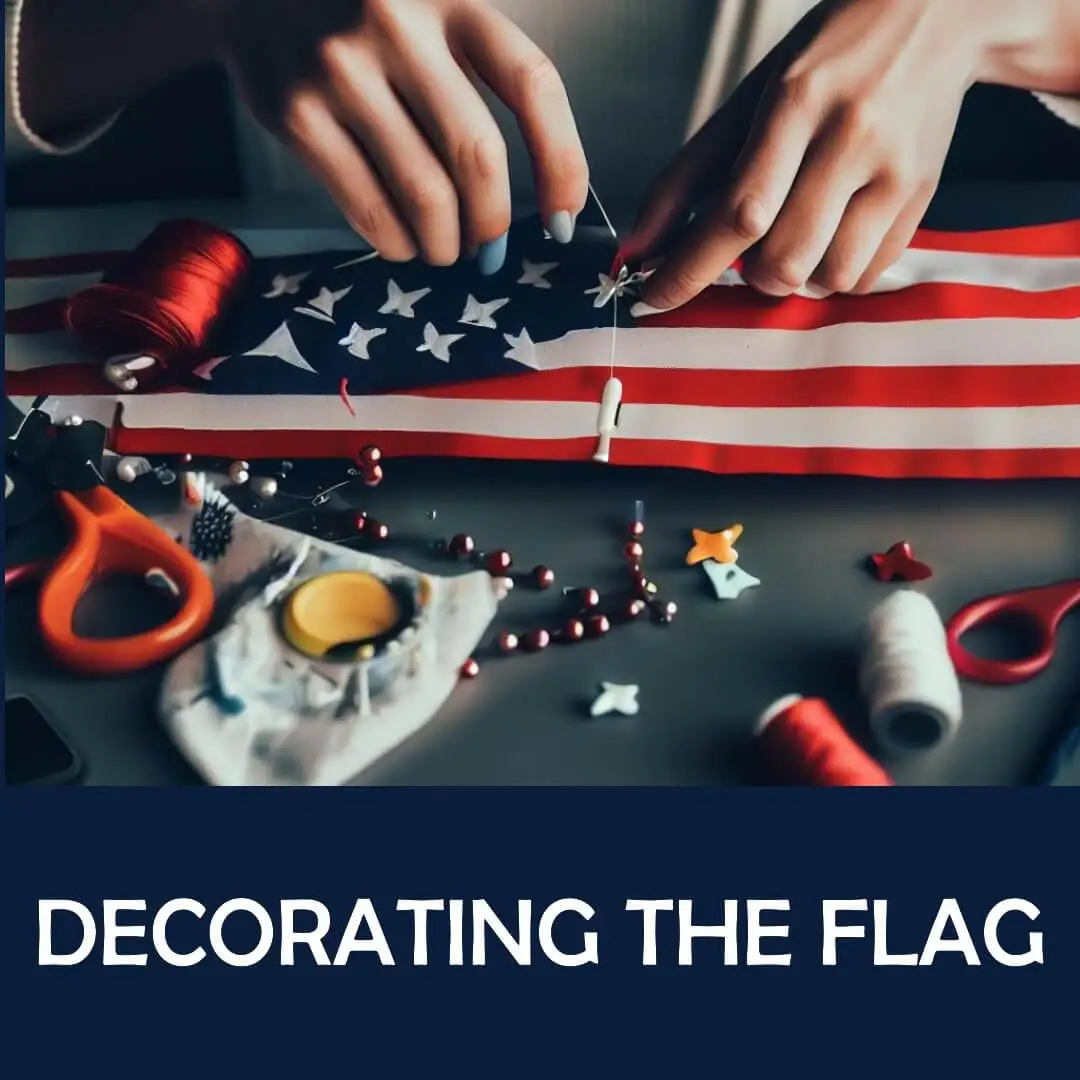
The seventh step of how to sew a flag involves the extra decoration of your flag. This is fantastic approach to personalize your flag and make it stand out is to add additional decoration. Depending on your preferences and level of expertise, there are many ways to decorate a flag. Use fabric paint or markers to add patterns, letters, or symbols to the flag as one option. This enables you to express your creativity and give your flag a unique touch. The use of appliqué, which entails cutting out shapes from one cloth and stitching them onto another, is an additional choice.
This gives your flag more depth and substance and enables you to construct intricate patterns or logos. The addition of embroidery, which involves sewing thread into the cloth to create detailed motifs, is another well-liked choice. It’s crucial to take the flag’s size, shape, and fabric type into account when adding extra embellishment to a flag. You can make a one-of-a-kind, striking flag that captures your personality and sense of style by taking the time to add additional decoration.
Step 8: Display your flag
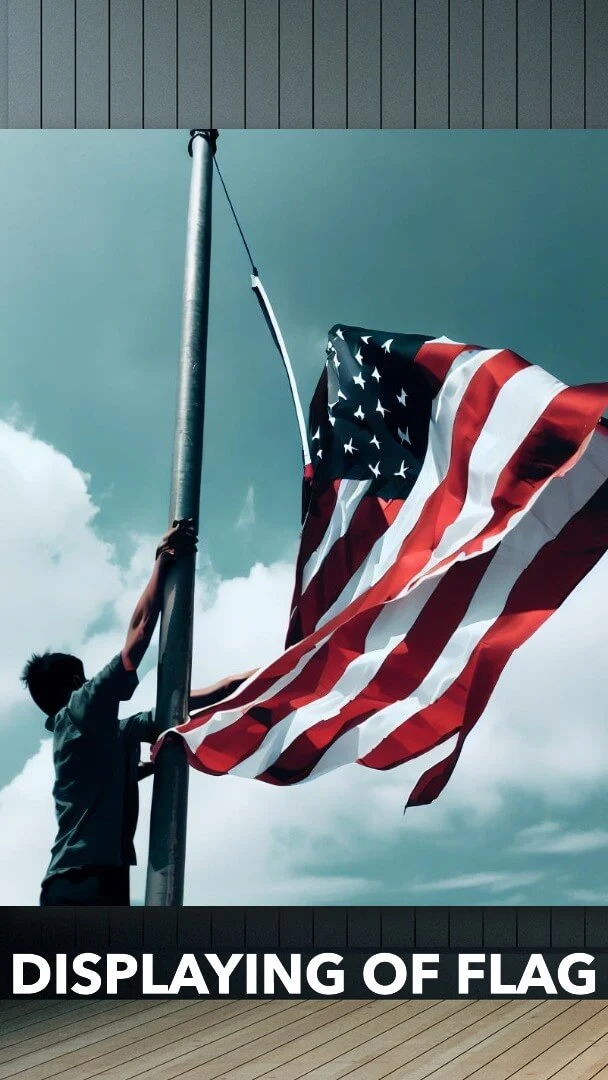
Salute Your Flag! Enjoy your flag once you’ve completed sewing and embellishing it! It’s time to put your flag on display for everyone to see once you’ve sewed it and added any necessary decorations. Depending on the setting and the type of flag, there are numerous ways to fly a flag. It is advised to use a flagpole or mounting method made for outdoor flags if you have made an outdoor flag.
Your flag can also be hung from the side of a building or fastened to a fence using a bracket. You can use a flag stand or a wall mount to display flags indoors. It’s crucial to check that your flag is undamaged and in good condition before putting it up for display. When your flag is not in use, you should take extra care to fold it neatly and store it so that it will last for many years. You may proudly display your handmade flag and add a unique touch to your residence or place of business by taking the time to hang it appropriately.
Read more to discover the ultimate sewing machine for leather with just one click and unlock the path to flawless craftsmanship.
Conclusion
In conclusion, sewing a flag is an imaginative and satisfying hobby that enables you to personalise a symbol that has great meaning for you. You can make a special and lovely emblem that displays your abilities and patriotism by following the procedures and instructions for pinning, stitching, hemming, adding grommets, and decorating your flag. It’s crucial to pick the right materials and use caution when displaying and keeping your flag, whether you are stitching it for personal use or a particular occasion.
Anyone can make a lovely and meaningful flag that can be treasured for years to come with a little creativity with the help of sewing machine or Needle and thread. So grab any one of them, and let your creativity run wild as you design your very own unique flag that you can enthusiastically display.
How to sew a flag – Tutorial

