HOW TO SEW A SNAP BUTTON: 7 EASY STEPS
The secret to making fashionable and classy clothing, accessories, or home décor items is learning how to sew a snap button. Snap buttons are a core component in a variety of projects, and learning how to connect them properly will help you give your work a polished and expert appearance.
Understanding the procedures involved in sewing a snap button might be useful information that will repeatedly come in helpful, whether you’re a novice or an expert seamstress. With our detailed instructions on how to sew a snap button, you’ll be able to give your projects a touch of class and advance your sewing abilities. Are you ready to take your fashion game to the next level?
How to sew a snap button? – Step By step
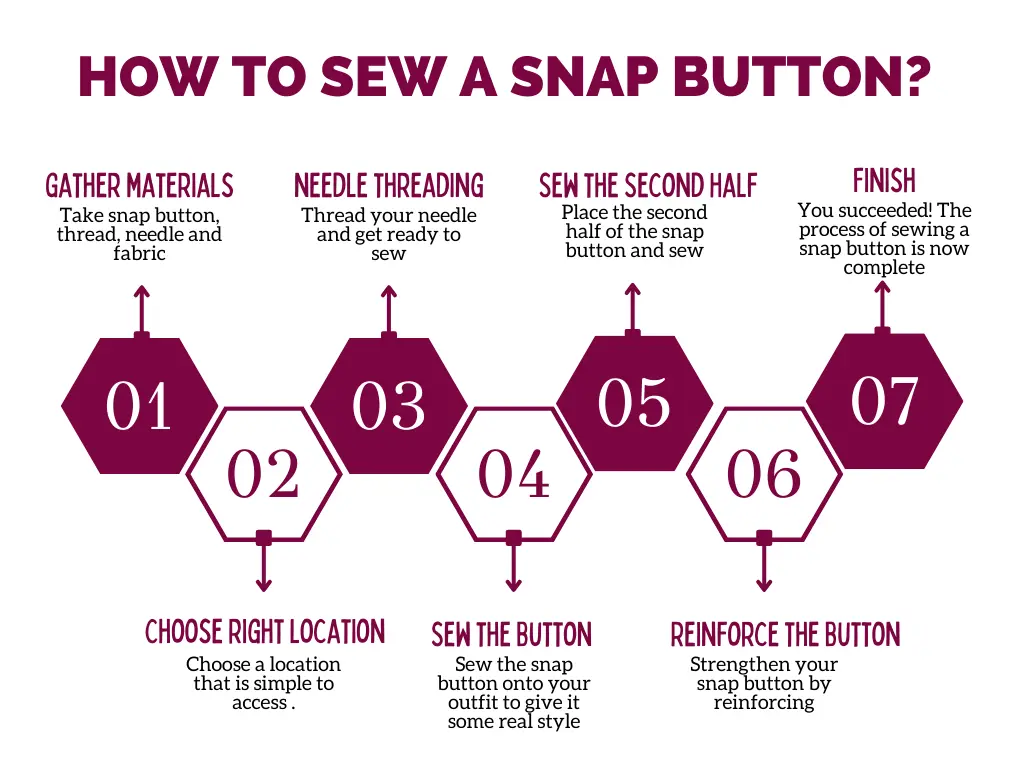
Step 1: Gather Your Supplies
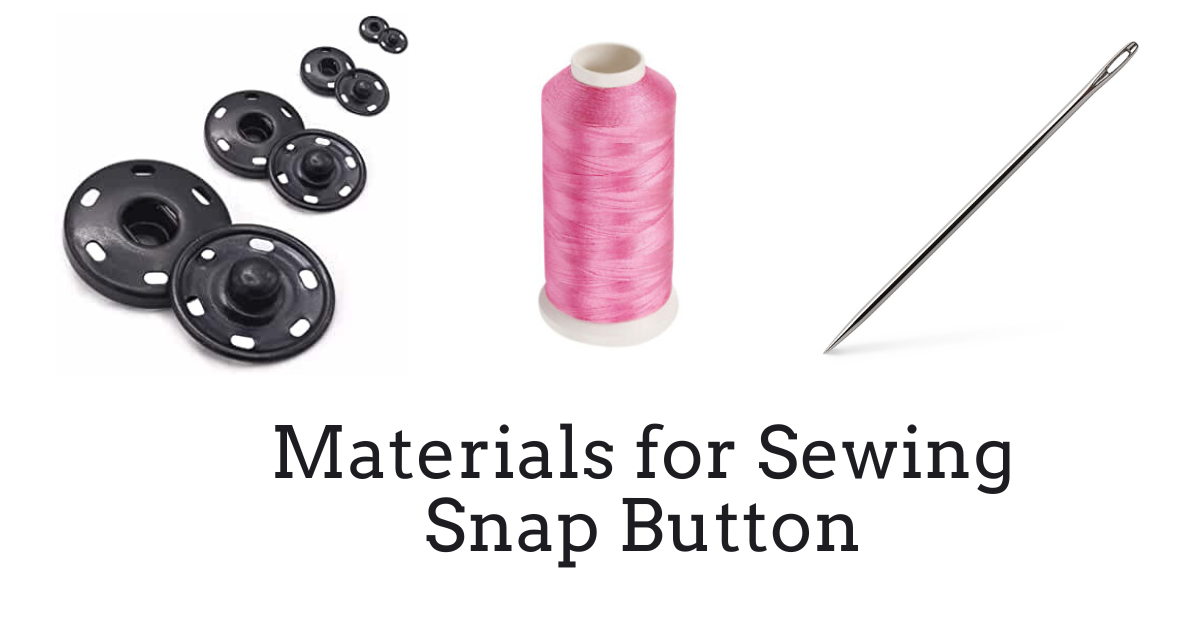
It’s imperative to learn how to sew a snap button if you want to spice up your sewing projects. And the good news is that the procedure is easy and fun! You’ll need the following materials to start:
You may quickly do this simple chore and be well on your way to giving your clothing a fashionable touch. Now let’s gather our materials and begin our quest to discover how to sew a snap button!
Step 2: Choose the right location
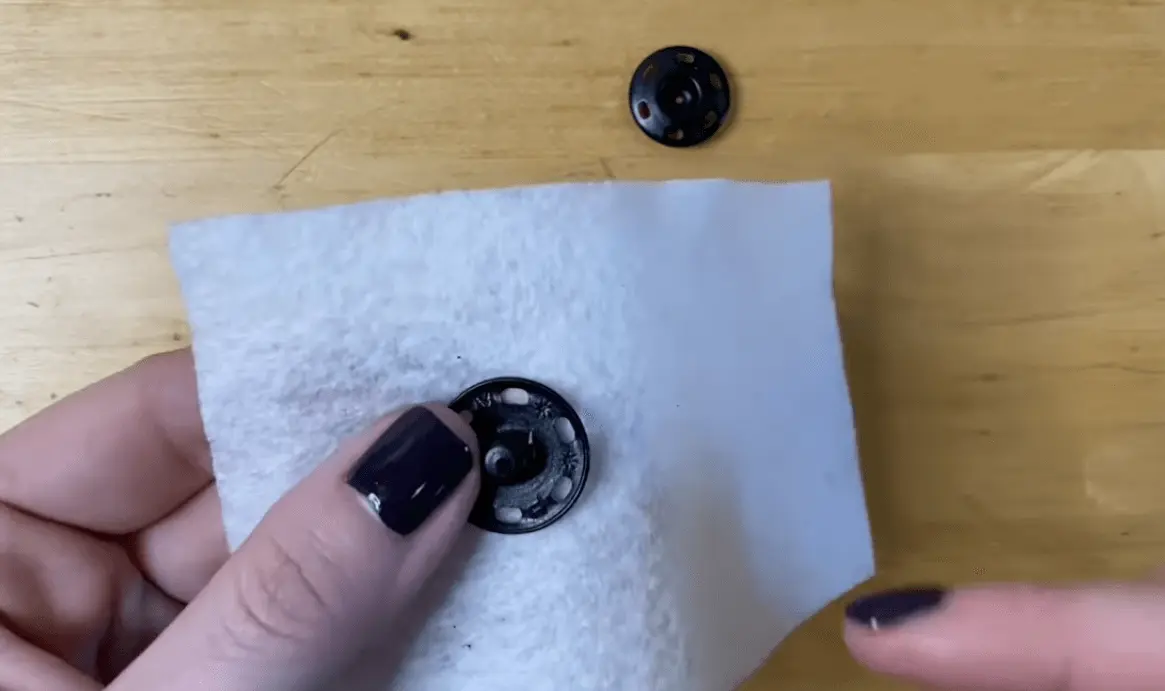
The next stage in learning how to sew snap buttons is to decide on the proper placement now that you have your materials prepared. In order for your snap button to be both practical and fashionable, location is essential. Choose a location for sewing snap buttons that is simple to access and won’t obstruct the garment’s style.
Consider putting a snap button where the shirt naturally overlaps when buttoned, for instance, if you’re adding one to a shirt. When the shirt is worn, this will guarantee that the snap is concealed, giving it a neat and professional appearance. Spend some time selecting the ideal location for your snap button, and you’ll soon have a fashionable item that serves its purpose.
Step 3: Threading your needle
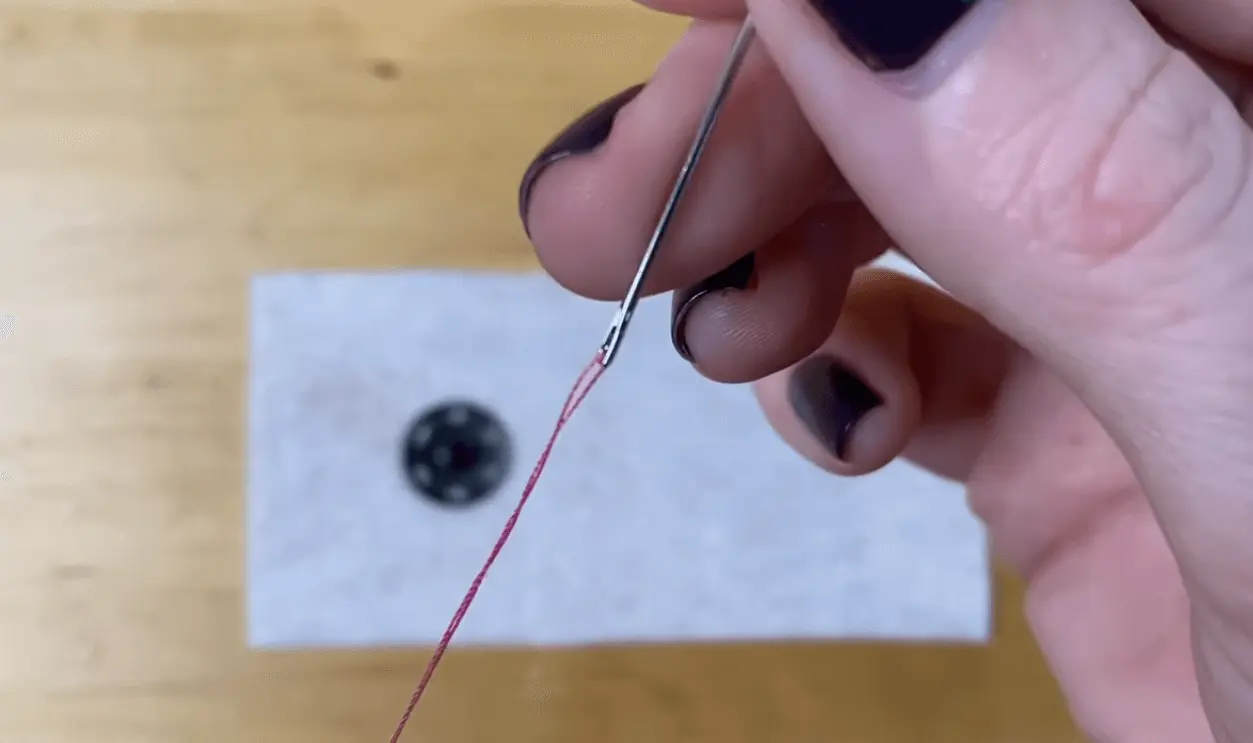
After deciding on the ideal location for your snap button, thread your needle and get ready to sew! Choose a coordinating thread color that will go with your outfit to start. Then, thread the needle, making sure to double-knot the thread’s end for increased tensile strength. As a result, your hold on the snap button will be more secure and your thread won’t unravel while you stitch. Before proceeding to the following step, take your time to make sure that your thread is stable. You’re one step closer to learning how to sew a snap button now that your needle is threaded and ready to start!
Step 4: Sew the Button
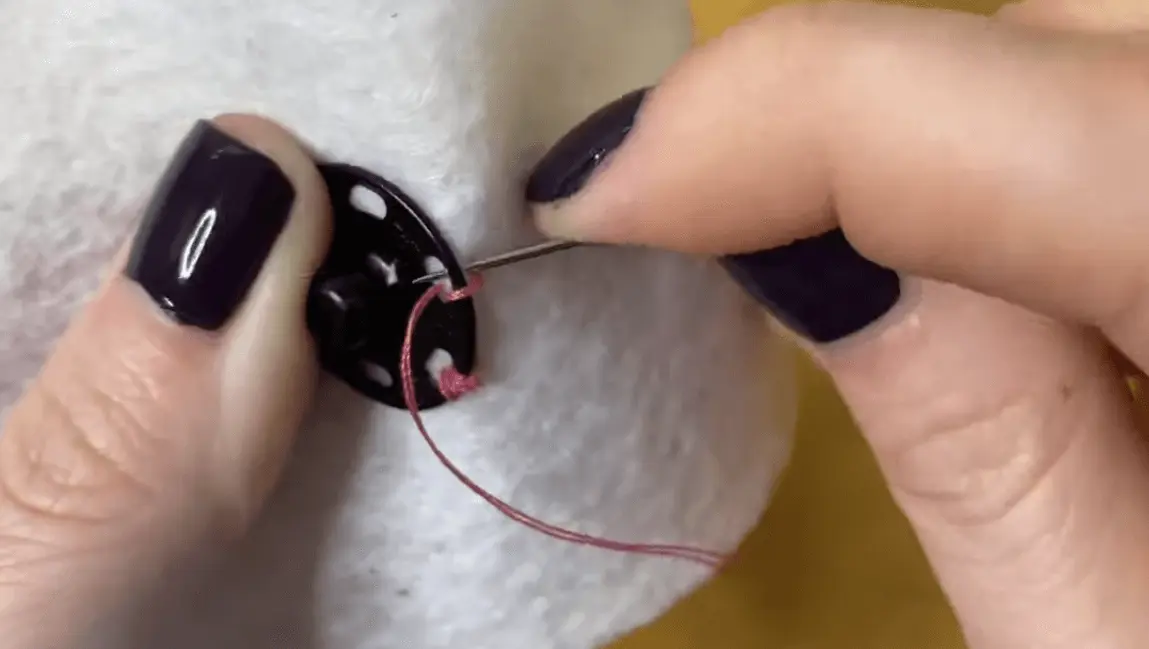
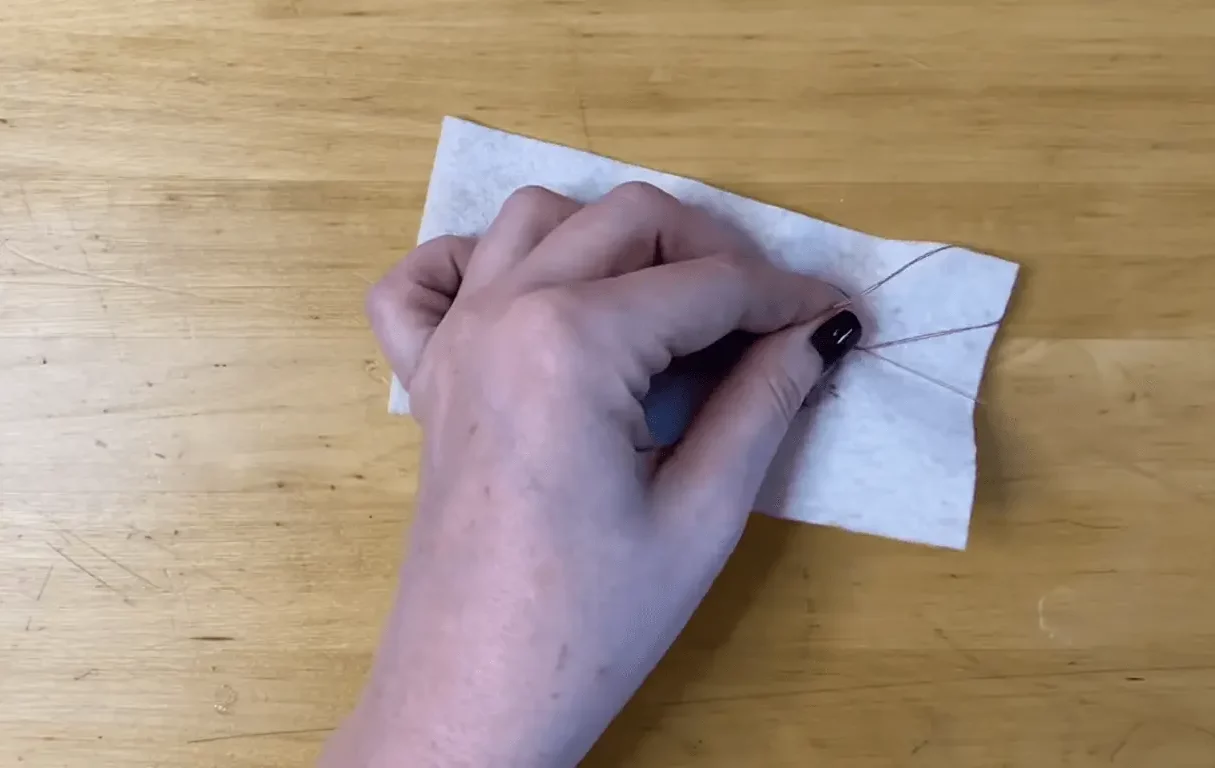
It’s time to sew the snap button onto your outfit to give it some real style! Choose one half of the button, then place it in the ideal location that you chose in the previous steps. Pull the thread through the buttonhole after poking the needle through the fabric from the back. To make sure your button is firmly attached, repeat this technique several times.
Your clothing gains practicality and style with every stitch you make. Don’t be scared to take your time and carefully and precisely sew your button on. Go on to the following step to finish the snap button sewing tutorial and advance your project once you’ve done sewing one half of the snap button.
Step 5: Sew the next Second Half
It’s time to complete the task and give your outfit one last stylish flourish now that one side of the snap button is firmly fastened! Then, carefully place the second half of the snap button on the side of your clothing opposite from the first. This completes the process of sewing a snap button. Pull the thread through the buttonhole after poking the needle through the fabric from the back.
To ensure that your snap button is properly fastened and available for usage, repeat this procedure several times. You improve the utility of your garment with each stitch in addition to its appearance. Enjoy the sense of satisfaction that comes with mastering this crucial snaps for sewing technique and take pleasure in your work!
Step 6: Reinforce the Button
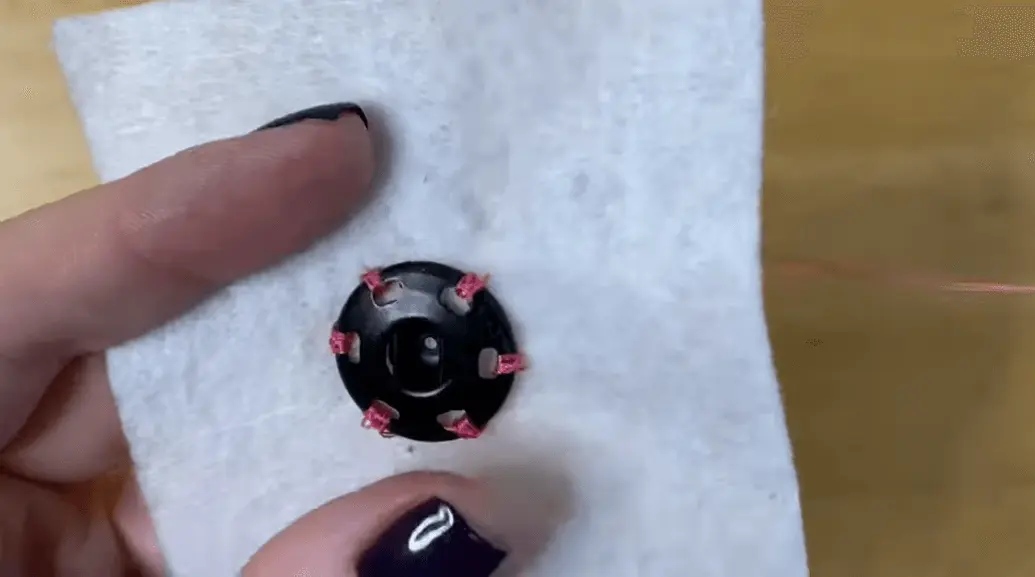
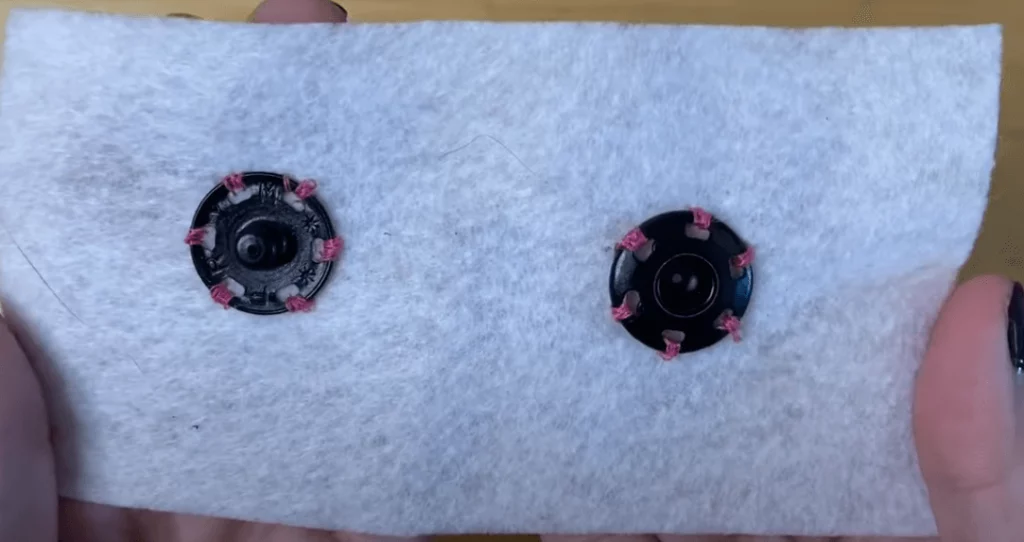
You’re almost done with your project, but you need to strengthen your snap button first before you can display it to the public. To ensure that your outfit is as enduring as it is fashionable, you must complete this final step in the snap button sewing tutorial. You can rest easy knowing that the snap button will remain firmly attached even after frequent use by adding a few more stitches around both of its halves.
You’ll be rewarded with a completed item that not only looks wonderful but also withstands wear and tear if you take a few extra seconds to add these stitches. You’ve mastered the craft of how to sew on snaps, congratulations! You’ll be able to tackle all types of sewing projects with confidence and easily once you’ve mastered this useful snaps sewing skill.
Step 7: Enjoy Your Newly-Sewn Snap Button!
You succeeded! The process of sewing on snaps button is now complete, so take a seat, unwind, and take in your accomplishment. Your freshly stitched snap button is not only a useful addition to your outfit, but also a fashionable one that gives it a unique look. You can be proud of yourself for doing it all yourself whether you’re wearing your newly altered outfit out on the town or flaunting it to friends and family.
One of the many sewing techniques you can learn and perfect is how to sew a snap button, and achieving this goal will give you the motivation and assurance you need to take on your next project. Enjoy your freshly made snap button because you earned it! If you want to broaden your sewing expertise, the next step is to learn how to sew a four-hole button to enhance your crafting skills.
Are you in need of sewing machines to sew snap buttons?
Yes, you need a sewing machine because sewing machines can utilize their specialized features, like the Snap-on buttonhole foot and precise stitch settings, for secure and professional snap closures on your projects.
How to Sew on Snaps Press Studs: Easy Tutorial for Beginners
Conclusion
Finally, mastering the art of how to sew on a snap button is a useful ability that can take your sewing attempts to the next level. You can confidently take on any snap button project with ease if you follow the straightforward instructions provided in this article. You will not only be able to make polished and expert-looking clothing, accessories, and home decoration items, but you will also feel proud of yourself because you did it all yourself. Gather your materials, select the ideal location, thread your needle, sew the button, reinforce it, and then take pleasure in your freshly sewn snap button. The possibilities are unlimited such as sew a four hole button, and sew a shank button etc because of this you have a new stitching ability under your belt. Have fun sewing!
Learn more about sewing project: How to sew a flag?
