How To Clean A Sewing Machine – Easy Guide
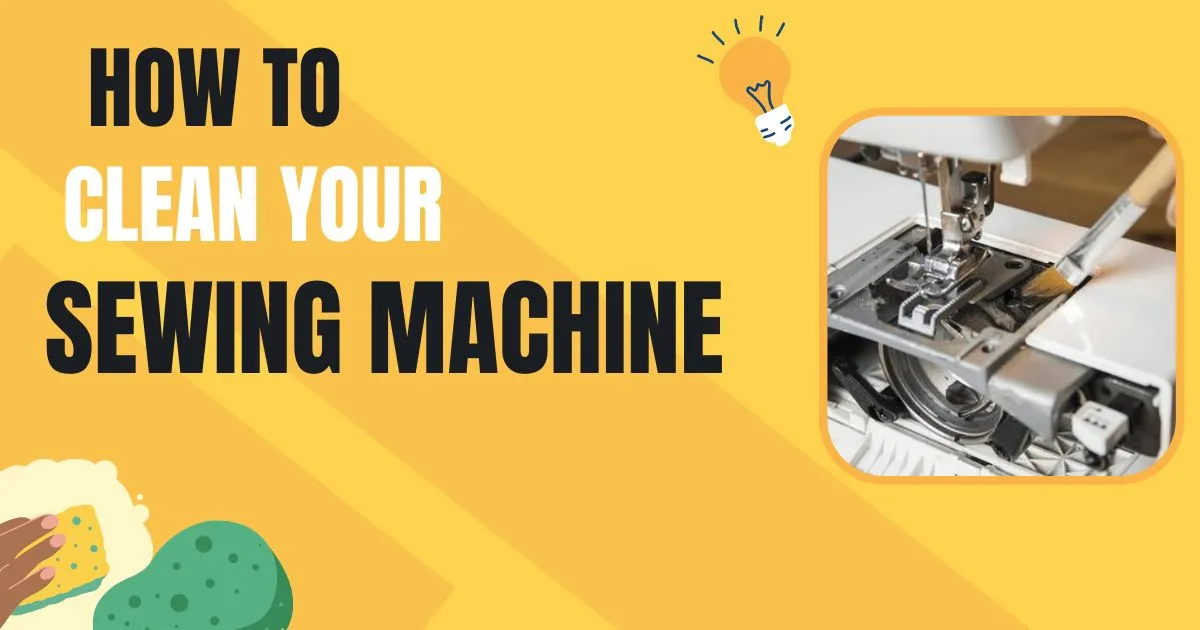
To clean a sewing machine, first unplug it and remove the needle, presser foot, and bobbin case. Use a small brush or lint brush to gently remove dust, lint, and thread buildup from the feed dogs, bobbin area, and tension discs. Avoid using compressed air, as it can push debris deeper into the machine. For deeper cleaning, wipe surfaces with a soft cloth and apply sewing machine oil only where recommended in your manual. Regular cleaning keeps your machine running smoothly and prevents skipped stitches or jamming.
When you use a sewing machine regularly you must know how to clean a sewing machine. For a sewing machine to run well and last a long time, it must be kept clean. Regular cleaning lowers your sewing machine’s risk of problems in addition to preventing dust and lint build up. We’ll walk you through every step of sewing machine cleaning in this article.
How to clean sewing machine? Step by step
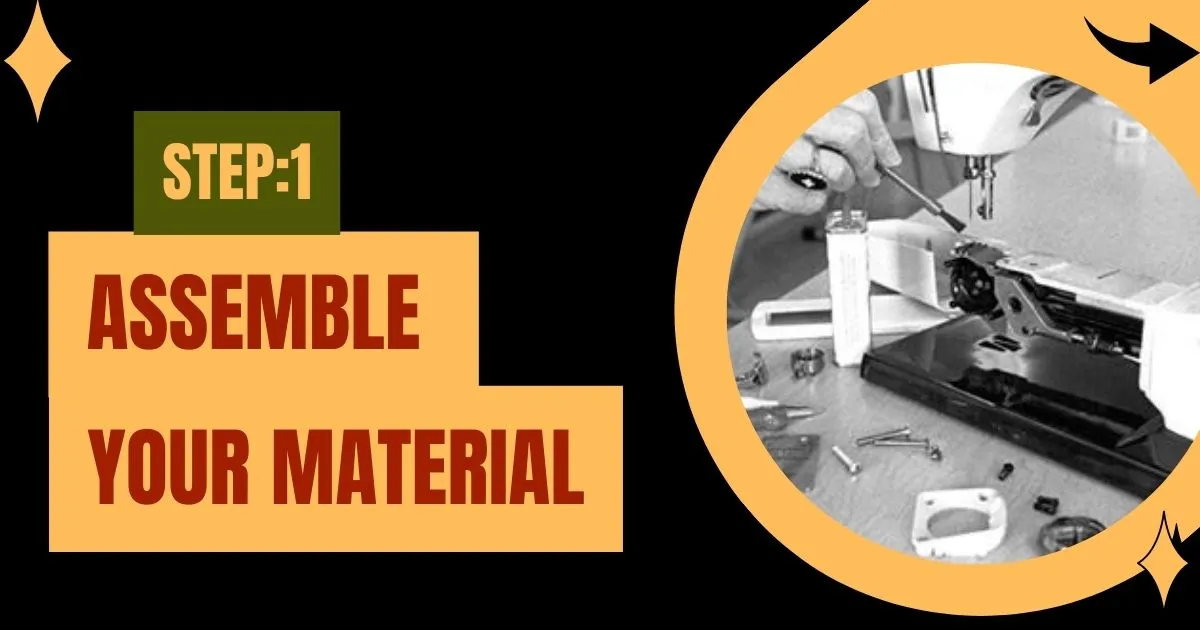
Step 1: Assemble Your Materials
Ensure that you have everything you need before starting. You’ll need a screwdriver, a fresh clean cloth, a soft-bristled brush, a lint roller, and sewing machine oil. The majority of fabric stores as well as internet retailers carry these things.
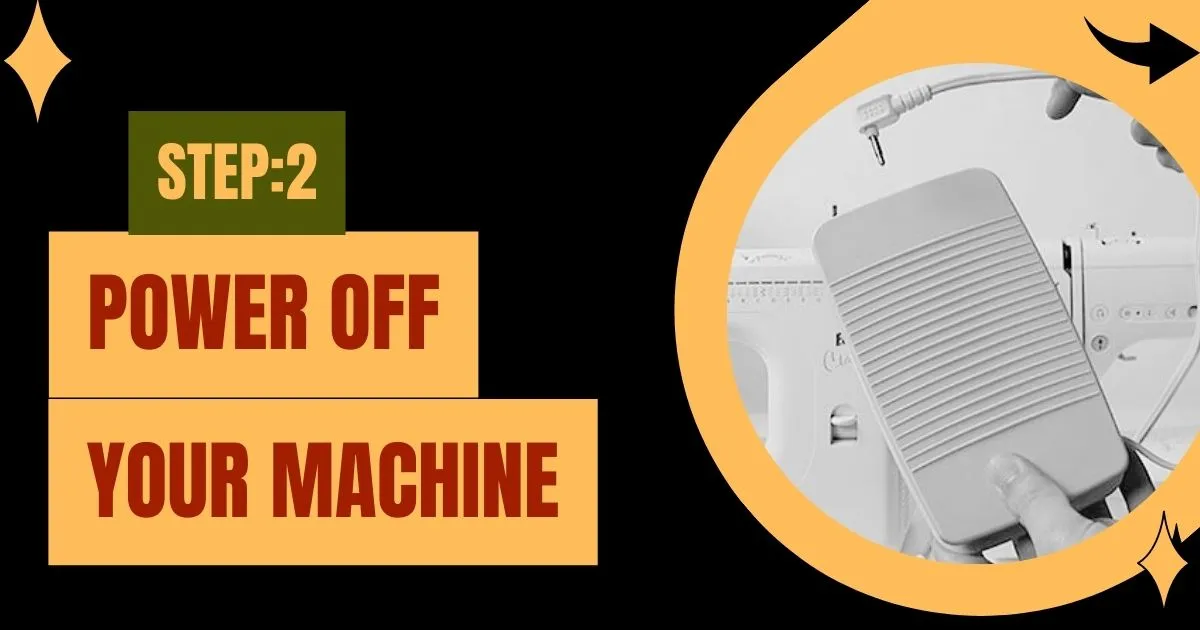
Step 2: Power off your sewing machine
The second step in learning how to clean a sewing machine is to unplug your sewing machine. Make sure your sewing machine is unplugged from the power source before beginning to clean. This is a crucial safety precaution since cleaning your machine while when it is powered on can be dangerous.
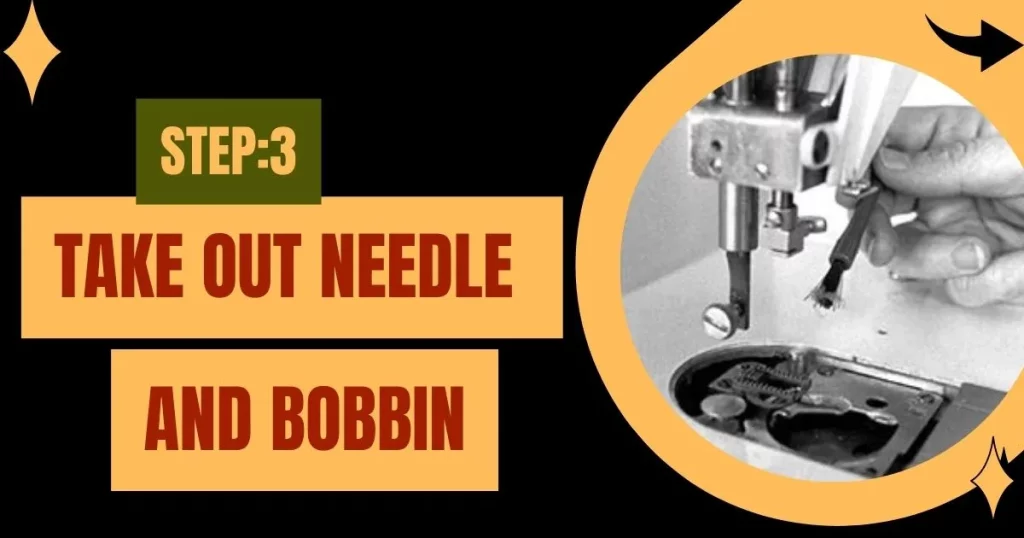
Step 3: Take out the sewing machine needle and bobbin
Next, take the machine’s needle and bobbin out. This is the most important step when learning how to clean a sewing machine. You will have easier access to the machine’s inner workings as a result. Keep the needle and bobbin in an appropriate place.
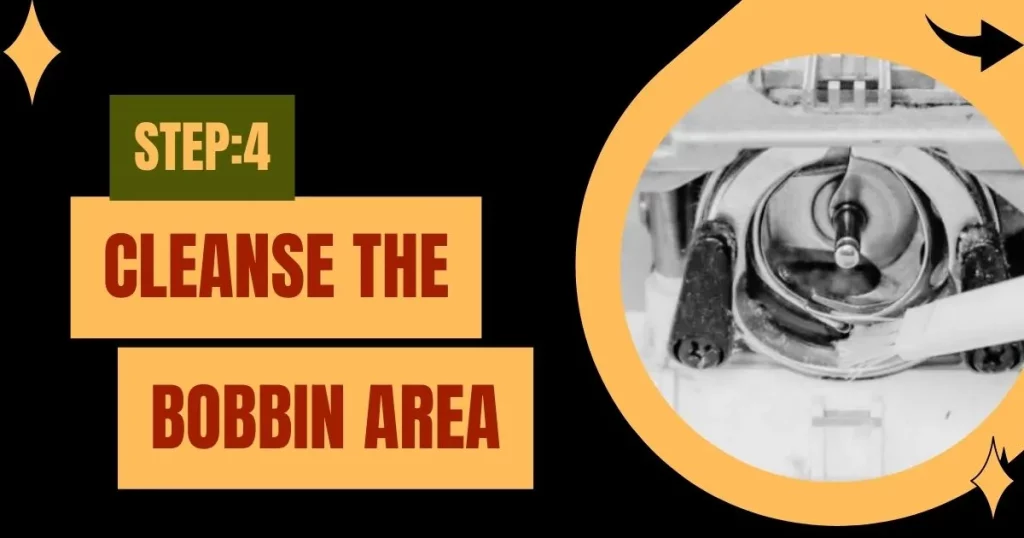
Step 4: Cleanse the Bobbin Area
When you are learning how to clean a sewing machine, it must be kept in mind to clean the bobbin case and bobbin area. Clean the bobbin area gently with the soft-bristled brush to get rid of any lint or dust accumulated there. You can use a lint roller or lint brush to remove any particularly tenacious lint. Lint and dust might lead to the machine jamming or breaking, so clean the area properly.
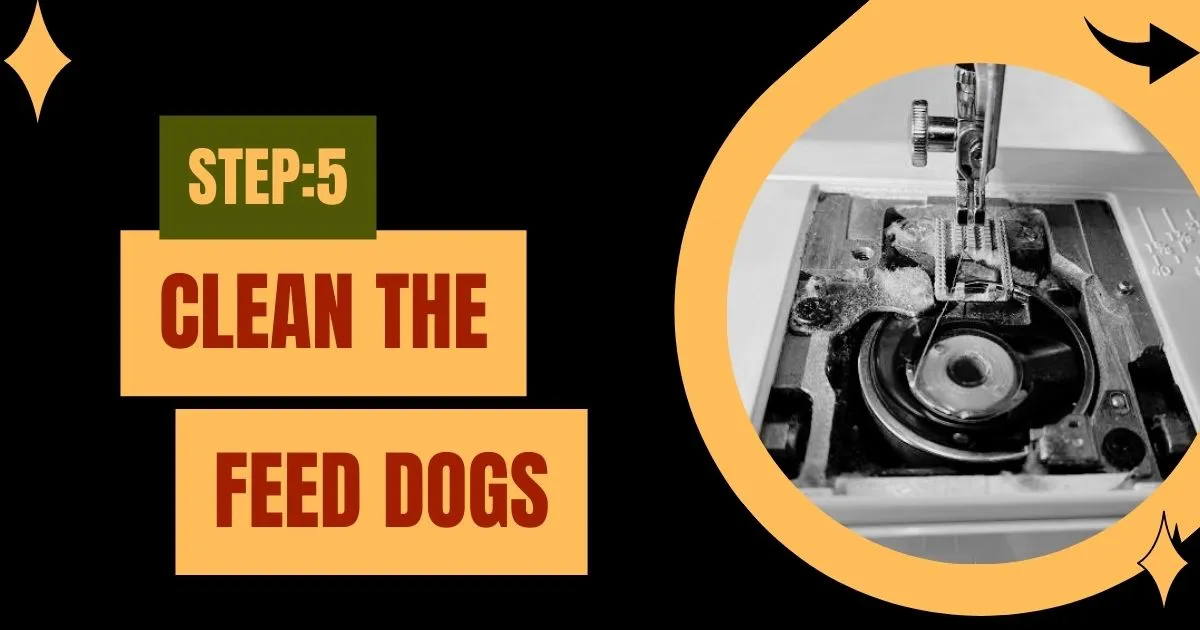
Step 5: Clean the Feed Dogs
The parts that resemble teeth and draw the fabric through the machine are called feed dogs. When learning how to clean a sewing machine, remember that feed dogs are the important parts which must be cleaned properly. Utilizing a tiny screwdriver, clear the feed dogs of any dirt or lint that is readily apparent. The brush can also be used to clean the spaces between your teeth.
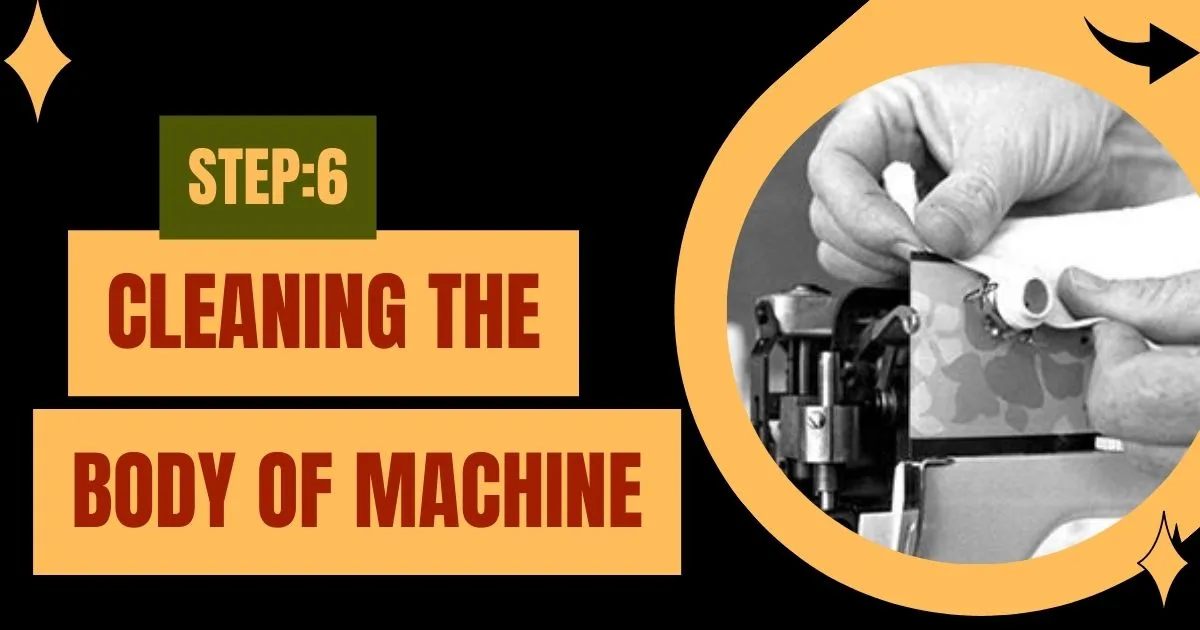
Step 6: Cleaning the sewing machine body
Clean the machine’s exterior with the brush or a lint roller, paying close care to any crevices or challenging-to-reach places. Use a clean cloth to wipe down the machine to eliminate any last bits of dust or debris.
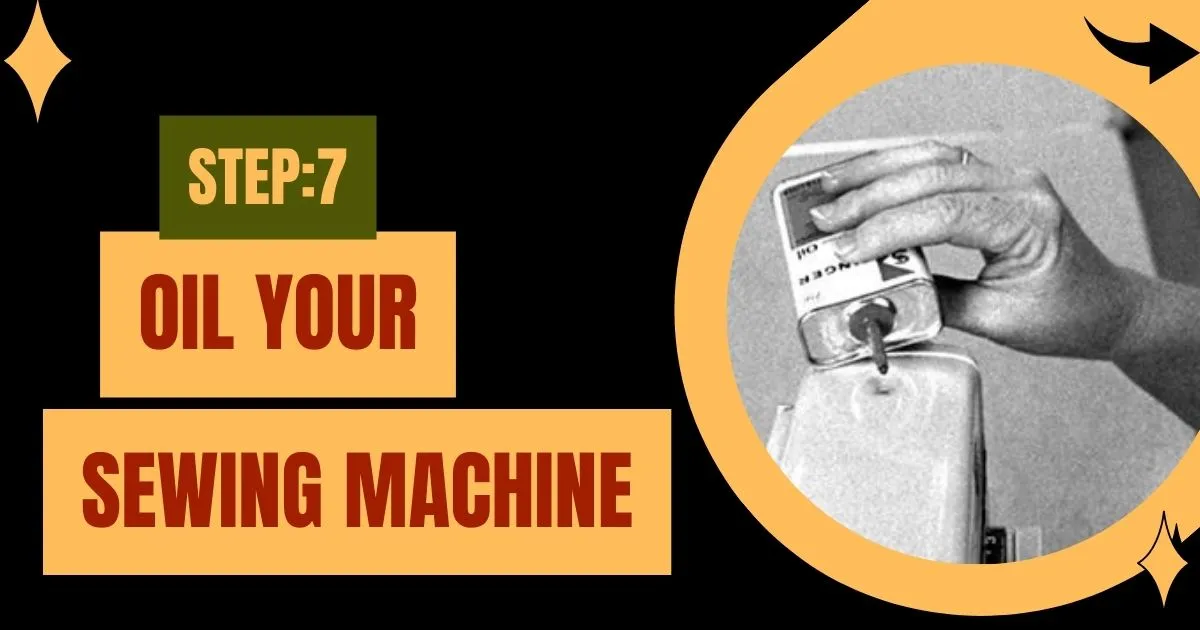
Step 7: Oil your sewing machine
Apply a tiny amount of sewing machine oil to the necessary locations once the machine has been cleaned. For instructions on where to add oil, refer to your machine’s manual. Applying too much oil might attract lint and dust, so use it carefully. Read the article How to oil a sewing machine for further details.
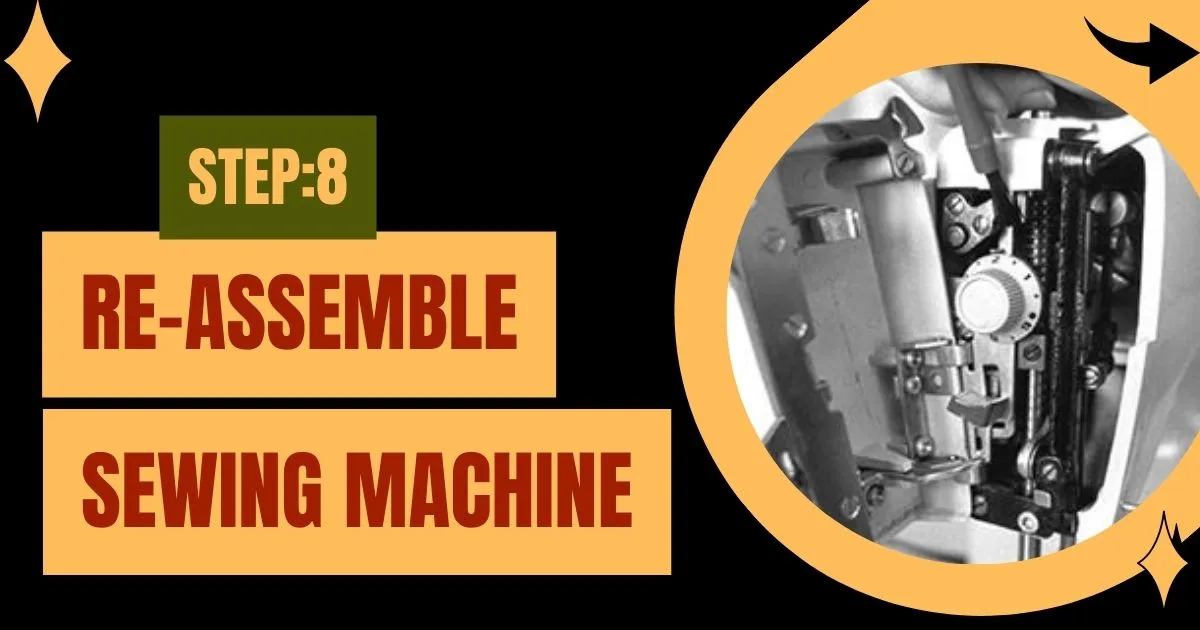
Step 8: Re-assemble the machine
Reassemble the machine after lubricating it, and carefully install the needle and bobbin in the proper positions. To check that everything is operating as it should, turn the machine on and stitch it a few times.
You’ve successfully cleaned your sewing machine, congrats! Maintaining your machine’s functionality and minimizing errors requires routine cleaning. You can ensure that your sewing machine persists for many years by doing these easy actions.
How Do I Clean the Outside of a Sewing Machine?
Cleaning the exterior of your sewing machine not only makes it seem better, but it also helps to keep the machine’s interior from being clogged with dust and other debris. Start by unplugging the sewing machine and clearing away any loose dirt with a soft-bristled brush or lint roller. Wipe off the machine’s exterior with warm water but be careful that water does not touch the electrical components of sewing machine. Harsh detergents should not be used when cleaning a sewing machine. A soft cloth or sponge can remove any tenacious filth or grime. Before using the machine once more, make sure to dry it completely.

Can you use canned air to clean sewing machine?
No, canned air cannot be used to clean a sewing machine. It may seem an effective tool for removing dust and lint from hard-to-reach areas but it is not recommended because the force of air can damage the inner mechanism of sewing machine.

How often should you clean a sewing machine?
Sewing machine should be cleaned after 8 to 10 hours of usage. It the sewing machine is not being used on a regular basis it may be cleaned once in a month. Regular cleaning keeps dust and lint from accumulating, lowers the likelihood of a machine breaking down, and increases the machine’s durability. However, the amount of use and the type of fabric that is being stitched makes the important factors that tell that how frequently the sewing machine needs to be cleaned.
How to Clean a Sewing Machine Foot Pedal?
When cleaning the whole sewing machine, foot pedal must also be cleaned. Disconnect the device from the power source first. To clean out any dirt or debris from the pedal’s surface, use a soft-bristled brush. If there are any lingering stains, gently wipe the pedal with a towel dipped in water and mild detergent. Before re-attaching the pedal to the machine, wipe off any extra moisture with a dry cloth and permit the pedal to dry out in the air completely. Avoid soaking the pedal in water or using corrosive chemicals, which could harm the electrical components.
Additional tips- How to service a sewing machine
Conclusion
In conclusion, maintaining your sewing machine includes knowing how to clean a sewing machine and then cleaning it on a regular basis. In addition to maintaining the machine’s functionality, it also increases its longevity. You may keep your machine in peak shape and have many hours of trouble-free sewing according to the preceding instructions.
How to clean sewing machine

