How To Sew A Table Runner: Simple DIY Guide
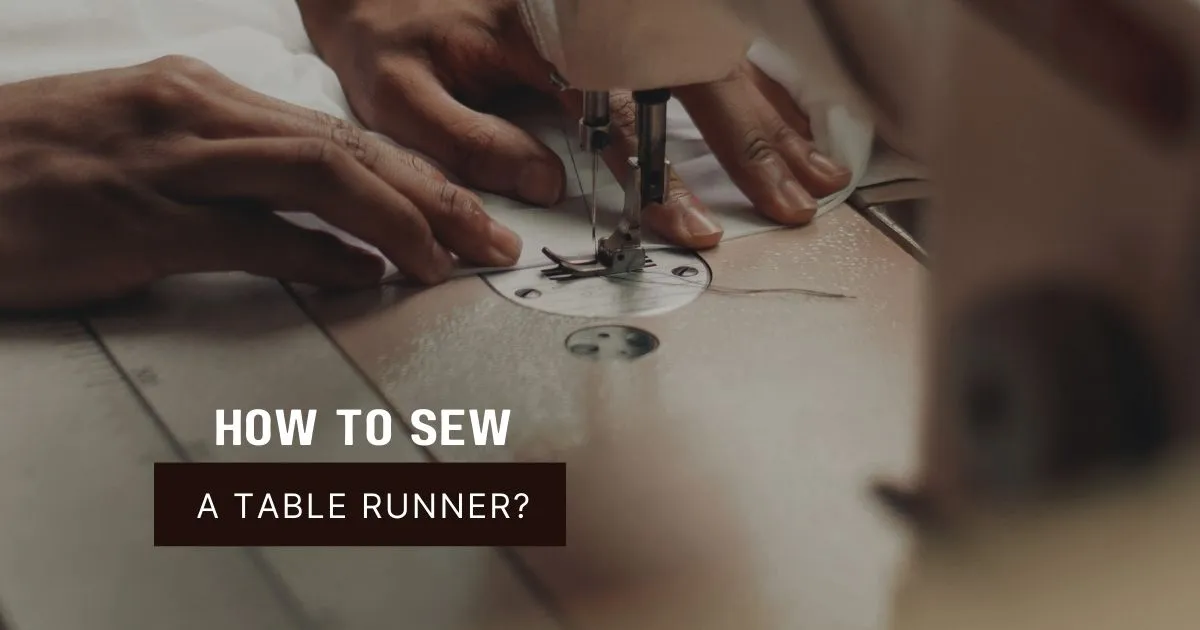
To sew a table runner, start by choosing a fabric that suits your table size and decor, then cut it to your desired length and width—typically 14 to 18 inches wide and long enough to hang over the edges. Fold and press the edges, then sew a clean hem around all sides using a straight stitch. For beginners, cotton or linen fabrics are easy to work with. You can also add interfacing for structure or decorative elements like lace or trim to personalize your design. Sewing a table runner is a simple project perfect for upgrading your dining space or practicing your sewing skills.
Are you ready to learn how to sew a table runner and add a touch of elegance to your dining space? Creating an inviting and sophisticated dining ambiance can effortlessly elevate any gathering. The perfect table runner serves as a centrepiece, enhancing the overall aesthetic appeal and adding a touch of refinement to your décor. In this comprehensive guide, we will unveil the secrets of making a table runner, empowering you to transform ordinary tables into extraordinary showcases of style.
So, grab your sewing kit, ignite your creative spirit, and let’s embark on this delightful sewing adventure together.
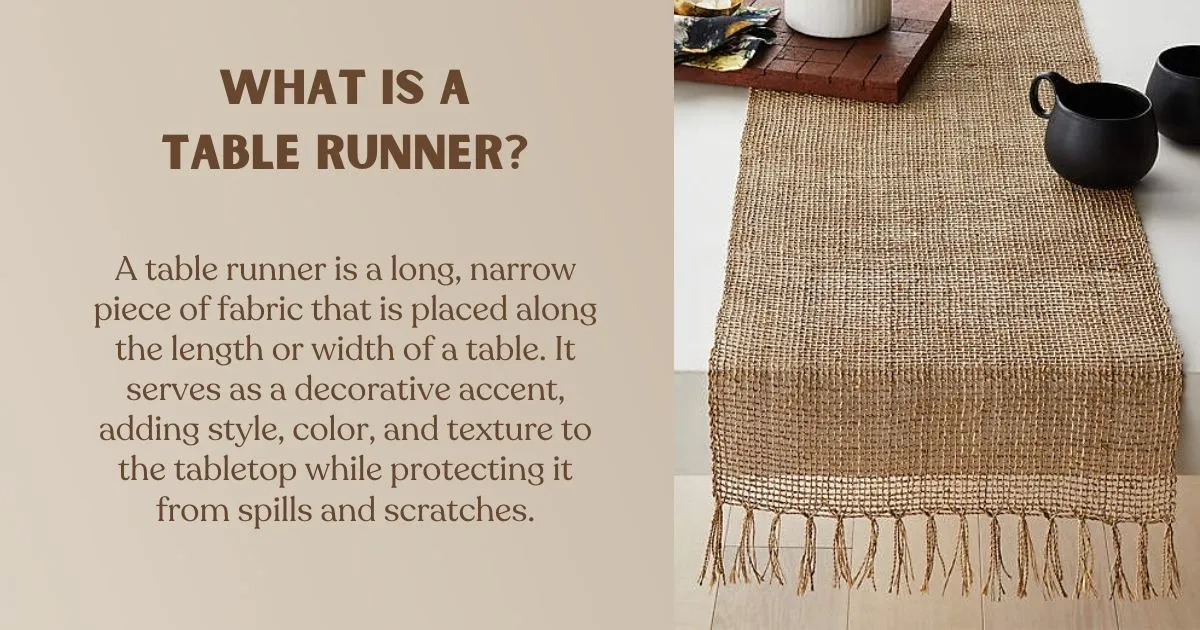
What is a table runner?
A table runner making is a long, narrow piece of fabric that is placed along the length or width of a table. It serves as a decorative accent, adding style, color, and texture to the table top while protecting it from spills and scratches.
My journey of learning to sew table runners
Initially, when I did not know how to sew table runner, the absence of table runners left me with a sense of longing. My dining area felt incomplete, lacking the finishing touch that would effortlessly elevate its ambiance. Determined to remedy this situation, I embarked on a quest to acquire the necessary skills to learn how to sew a table runner, spurred by a desire to transform my space and infuse it with a newfound sense of style.
With every completed table runner, I have experienced a profound sense of fulfillment. I have witnessed firsthand the transformative power of their creations as they adorned my table with elegance and grace. The once lackluster dining area blossomed into a sanctuary of refinement and beauty. The joy and pride derived from sewing my own table runners permeated every gathering, leaving guests in awe of the artistry and attention to detail.
Through the journey of sewing table runners, I discovered not only a newfound talent but also a deeper connection with my living space. The act of creating something with my own hands brought immense satisfaction and a renewed sense of purpose. My creative endeavors instilled a sense of pride, knowing that they had taken an active role in enhancing my environment. So in this article, I will let you know about How to sew a table runner by different methods.
Different Styles of Table Runners
Table runners, like strokes of artistic expression, come in various styles, each offering a distinct visual impact. Let’s explore a few captivating styles that are sure to elevate your table setting:
Rectangular Table Runners
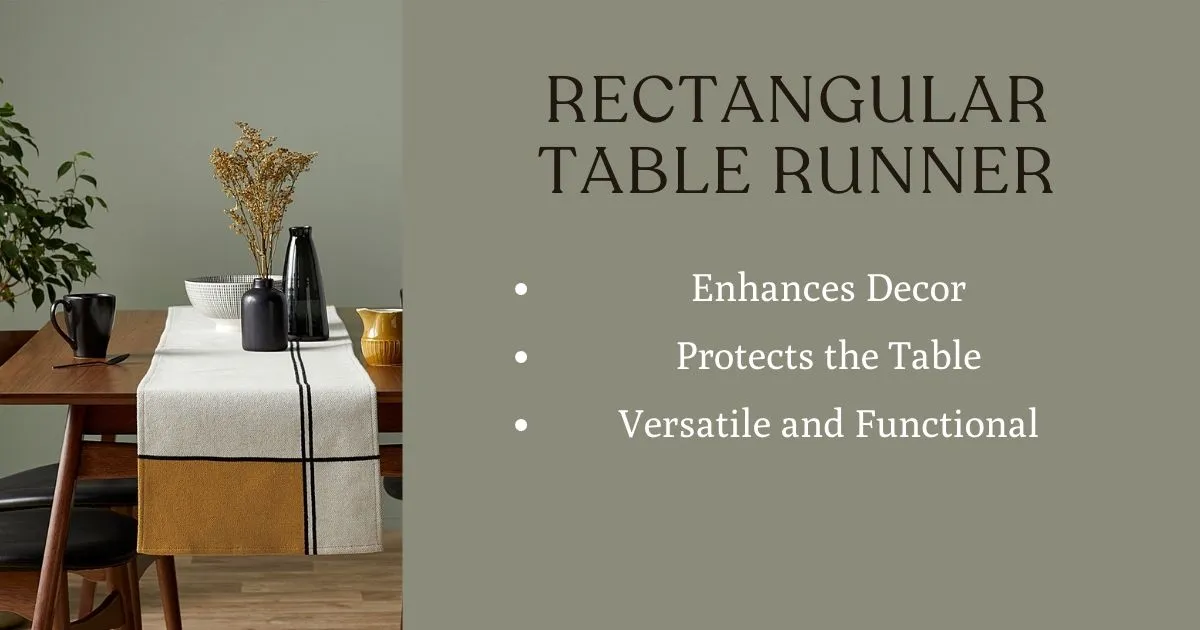
The epitome of timeless elegance, rectangular table runners grace tables with their refined presence. Within this category, there are multiple styles to consider, including:
Rectangular Simple
Embracing simplicity and clean lines, these table runners exude a sophisticated charm. They effortlessly complement a range of decor styles, allowing your tableware and centerpieces to take center stage.
Rectangular Reversible Table Runners
Offering versatility and a touch of whimsy, reversible table runners grant you the freedom to switch up your table’s look with a simple flip. With two distinct designs, they allow you to infuse your space with creativity and adaptability.
Pointed Triangular Table Runners
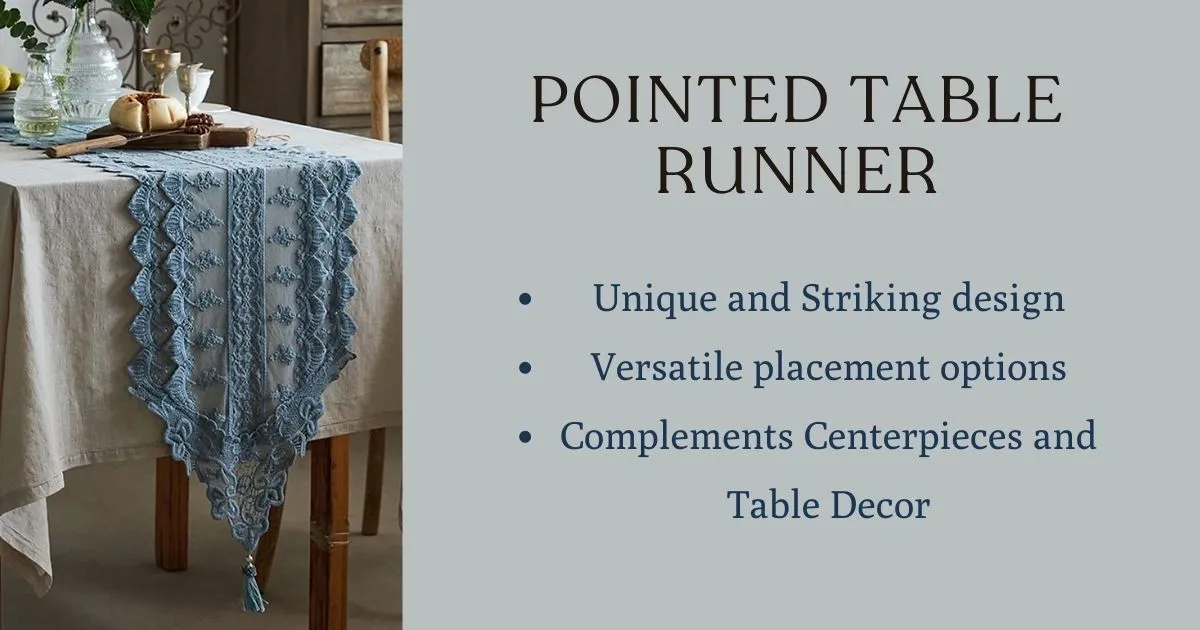
Infusing a delightful dose of playfulness, pointed triangular table runners add a unique touch to any table arrangement. With their tapered ends, these runners create a captivating visual effect, drawing the eye towards the center. They are ideal for showcasing decorative items or accentuating a specific theme or color scheme.
No sew table runners
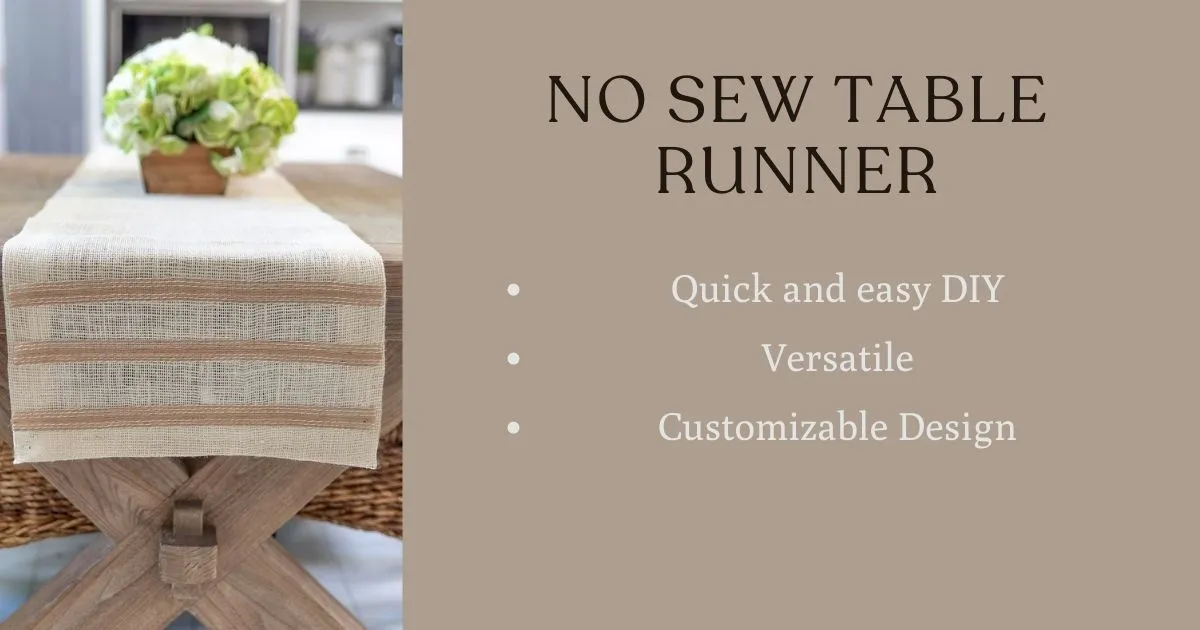
Table runners without sew bring a touch of convenience and creativity to table settings, allowing for effortless customization and instant style. These no-sew table runners offer a hassle-free solution for adding elegance and charm to any dining occasion.
How to make a table runner- Size of table runner
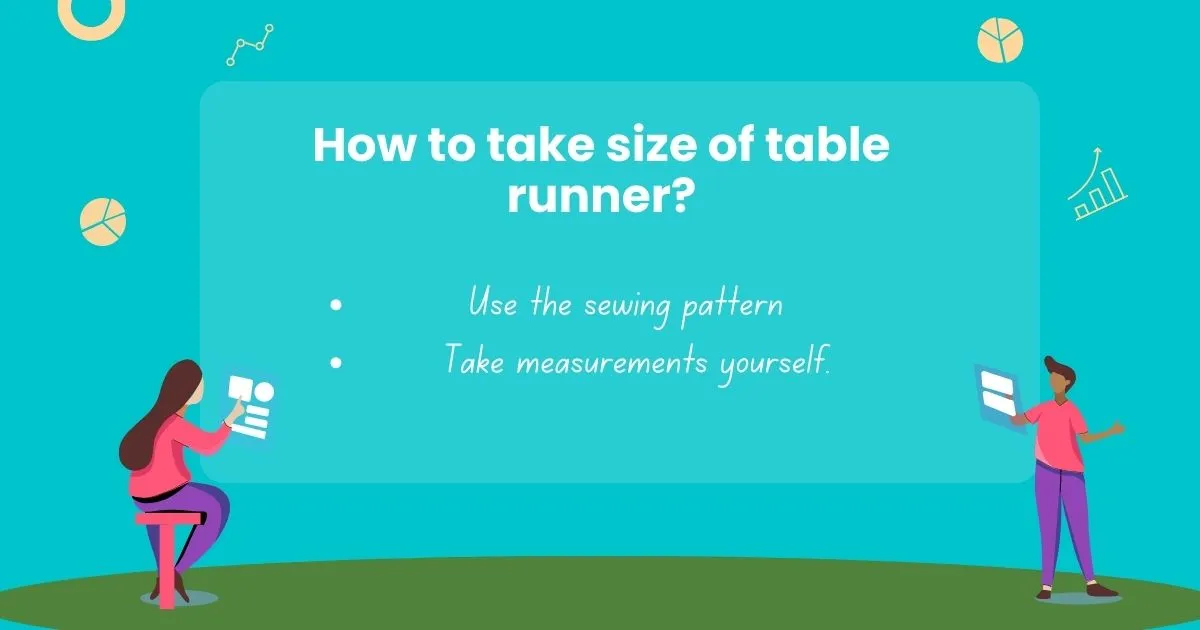
When learning how to sew a table runner, firstly you have to note down that you have to get knowledge about length and width of table runners. If you have sewing pattern you can use that, or either you will have to take measurements yourself.
Length
When it comes to the length of a table runner, several key considerations come into play
Width
The width of a table runner, a vital aspect that contributes to its visual impact, can be influenced by individual preferences and desired effects
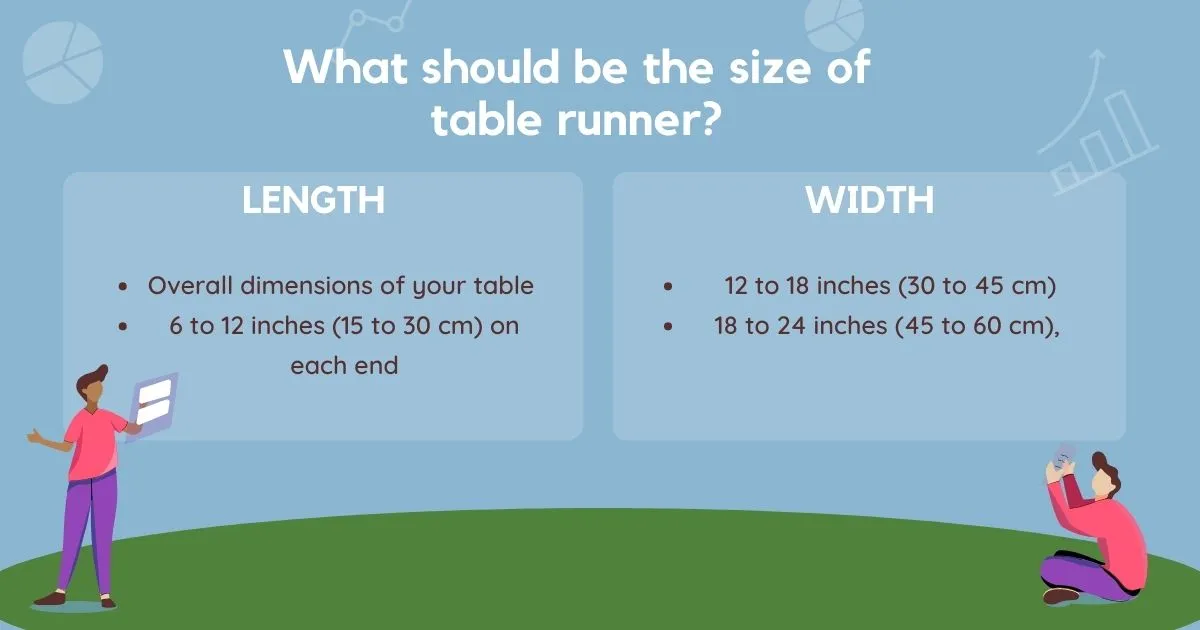
In essence, the size of your table runner should be thoughtfully customized before starting to learn how to sew a table runner, to suit your specific requirements and artistic preferences. Endeavor to carefully assess your table’s dimensions, ascertain the desired overhang, and envision the overall aesthetic you wish to achieve.
Prior to embarking on the actual sewing process, it is judicious to measure your table diligently and experiment with various lengths and widths using fabric samples or paper cutouts, thereby providing a tangible visualization of the final result.
Prior to sew a table runner – Prewashing of fabric
When it comes to making a table runner out of fabric, prewashing is a crucial first step. Prewashing fabric before sewing a table runner is essential to prevent unwanted shrinkage in the finished product. By laundering the fabric prior to cutting and stitching, you allow it to shrink and stabilize, minimizing the risk of distorted or ill-fitting garments or projects. This step ensures that your final creation maintains its shape and size even after subsequent washes, resulting in a professional and long-lasting outcome. In conclusion, understanding the importance of prewashing fabric and following the necessary steps is crucial when learning how to make a table runner out of fabric.
Materials needed to sew a table runner
Before we dive into the step-by-step process of how to sew a table runner, gather the following materials to ensure a smooth and enjoyable sewing experience:

How to sew rectangular table runners? Step by step
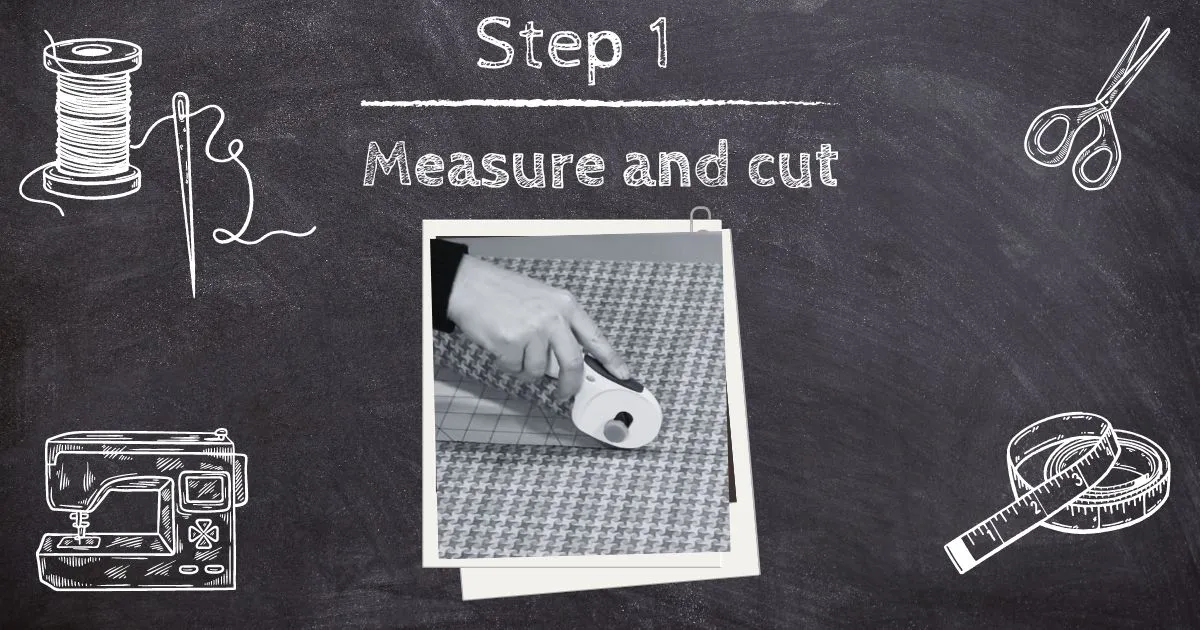
Step 1: Measure and Cut
Using a measuring tape, determine the desired length and width of your table runner. Add an extra 1-2 inches to each side for seam allowances. Carefully mark the measurements on your chosen fabric and use sharp fabric scissors to cut along the lines, ensuring clean and even edges.
Step 2: Hem the Edges
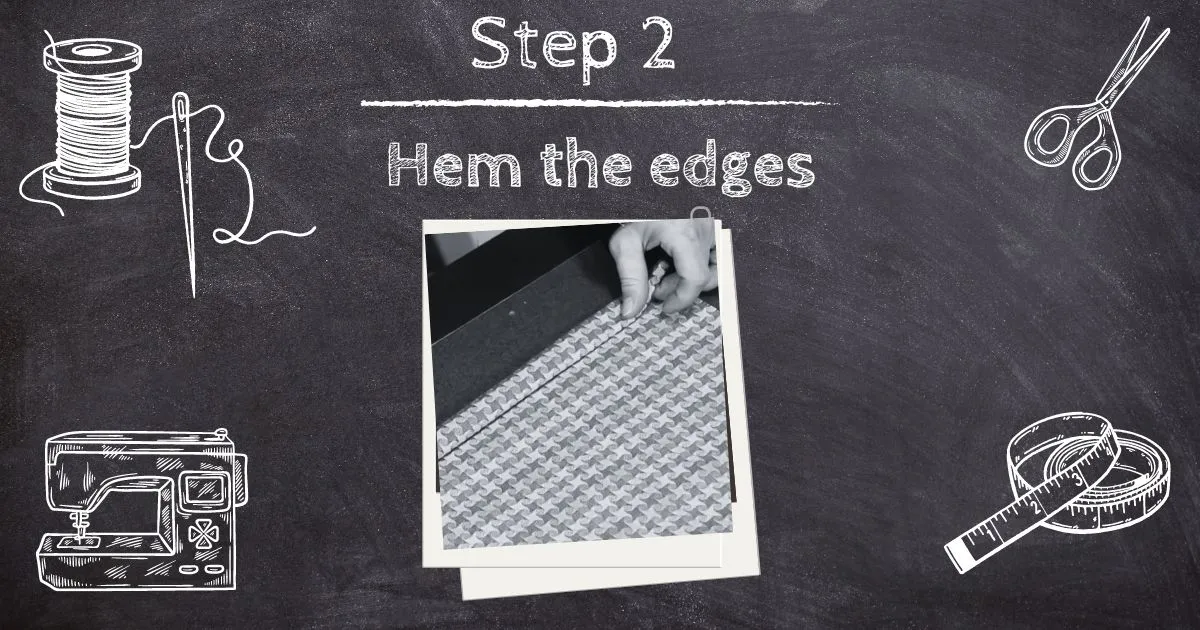
To prevent fraying and add a professional touch, fold the edges of the fabric inwards by half an inch and press them with a hot iron. Repeat the process, folding the fabric another half inch and pressing it again. Secure the folded hem in place using pins, readying it for stitching.
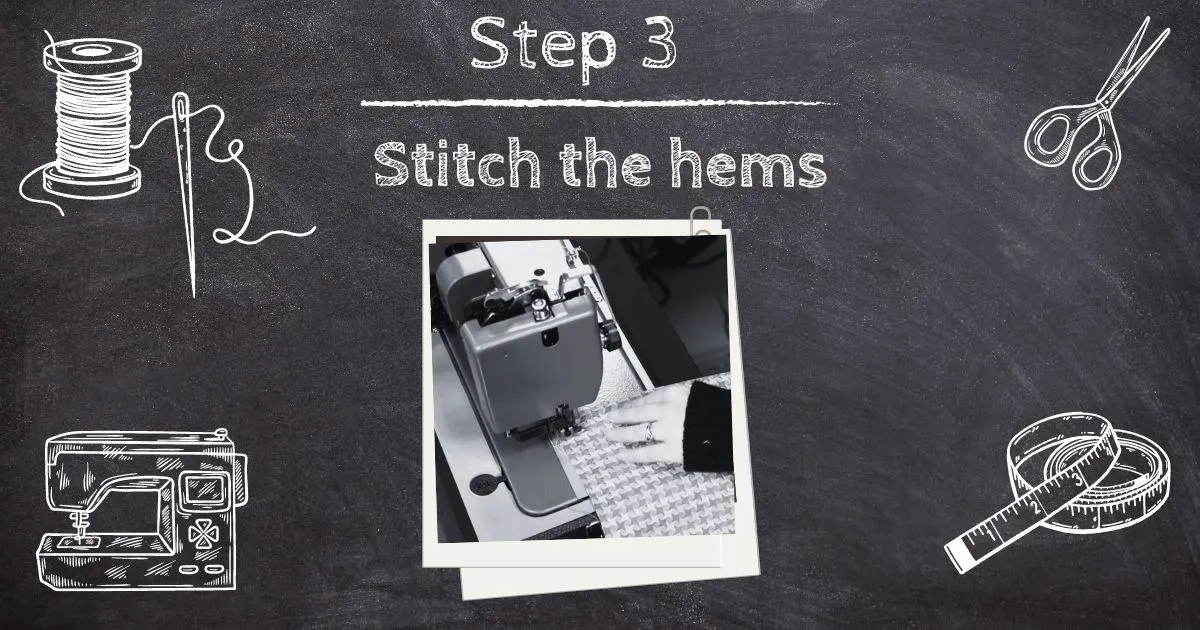
Step 3: Stitch the Hems
With your sewing machine or needle and thread, stitch along the folded edge of the hems, removing the pins as you progress. Maintain steady control over the fabric, ensuring consistent and straight stitches. Take your time to ensure precision, as this step contributes significantly to the overall quality and elegance of your table runner.
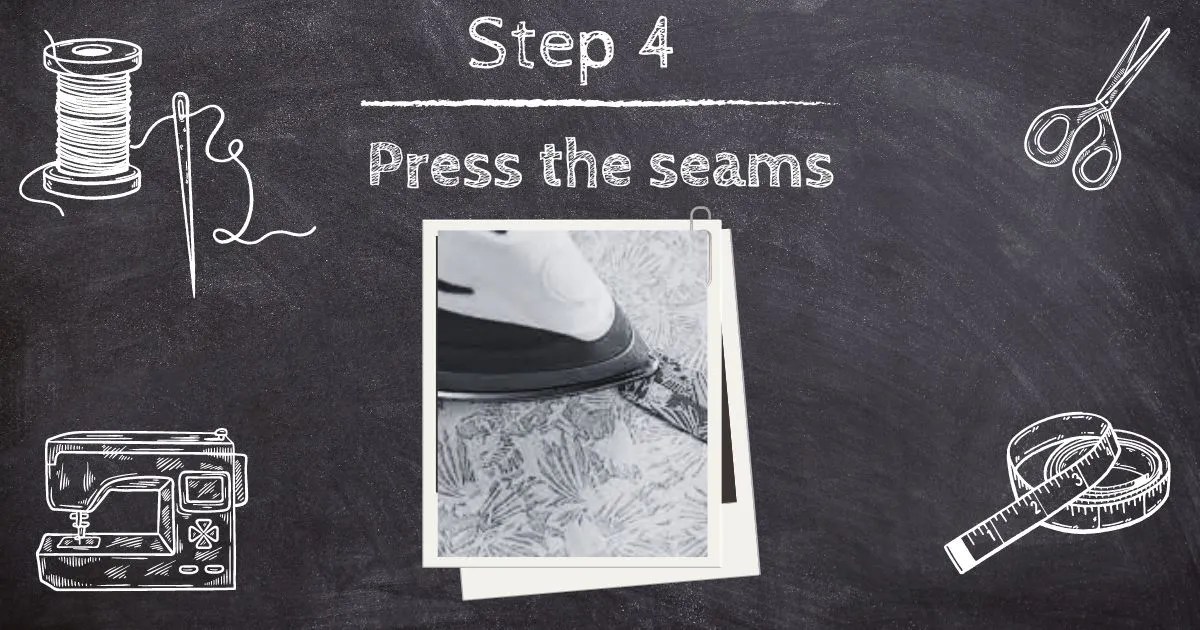
Step 4: Press the Seams
Once the hems are securely stitched, lay your table runner flat on an ironing board. Gently press the seams with a hot iron, setting the stitches and giving your creation a refined appearance. Be cautious not to apply excessive pressure, which may distort the fabric or compromise the hems.
Step 5: Final Touches
After ironing, inspect your table runner for any loose threads or imperfections. Trim any excess threads and ensure that all stitches are secure. Take a moment to admire your handiwork and appreciate the craftsmanship and care invested in this creative endeavor.
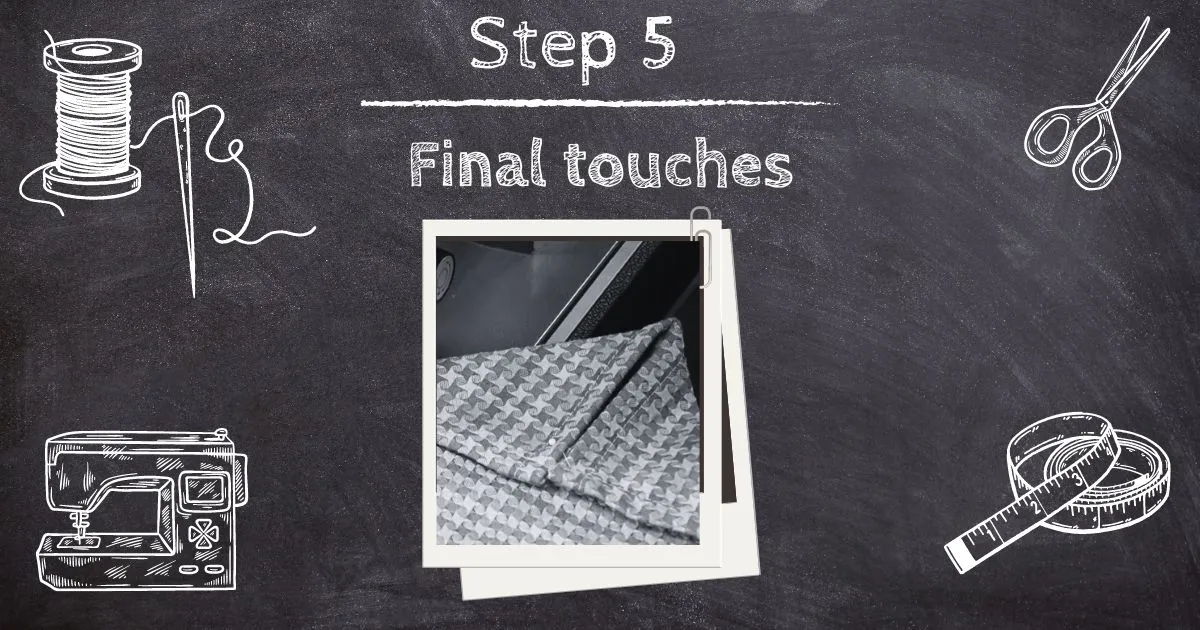
Table runner DIY.
Sewing a table runner pattern
Sewing a table runner pattern is a delightful and creative way to enhance your dining table or any other surface in your home. Table runners add a touch of elegance, protection, and style to your décor while allowing you to showcase your sewing skills. With various types and designs available, you can personalize your table runner to match any occasion or interior theme.
Types of Table Runner Patterns:
Sewing a table runner pattern is a rewarding and enjoyable project that allows you to infuse your personal style into your home décor. Whether you opt for a basic, quilted, seasonal, or patchwork design, a handcrafted table runner adds a touch of charm and sophistication to any table setting. So, gather your fabrics, select a pattern that resonates with your creativity, and embark on the journey of sewing a table runner that will undoubtedly become a cherished centrepiece in your home.
Homemade table runners
Homemade table runners are a wonderful way to add a personal touch and unique flair to your dining table or any surface in your home. Creating your own table runner allows you to customize the design, fabric, and embellishments to perfectly complement your decor and style. Whether you’re a novice or experienced in sewing, making homemade table runners is a fulfilling and enjoyable project that brings warmth and creativity to your living space.
Types of Homemade Table Runner examples:
How to sew a reversible table runner?
Following steps must be taken into account when learning how to sew a table runner in a reversible way.
Fabric Selection
Choose coordinating fabrics that complement your decor, ensuring suitable quality and weight for table runners.
Measure and Cut
Determine desired dimensions and cut two equal-sized rectangles from each fabric, accounting for seam allowances.
Pin and Sew
Align fabric pieces with right sides together, pin along edges, and sew around perimeter, leaving a small opening for turning.
Trim and Turn
Trim excess fabric, clip corners, and carefully turn the runner right side out through the opening. Press for a crisp finish.
Topstitch and Close
Enhance durability and add decorative touch by topstitching along edges, securing the opening as you sew.
Press and Enjoy
Press the completed reversible table runner for a polished appearance. Proudly display it on your table, alternating between both beautiful sides.
With these steps, you can skillfully sew reversible table runners, adding style, versatility, and a touch of creative flair to your dining area.
How to make Table Runners- DIY table runners Fast, Easy and Reversible
Benefits of sewing a reversible table runner
How to sew a table runner with triangular ends?
Learning how to sew a table runner in triangular shape requires precision and careful attention to detail.
Sewing a Table Runner to make with triangular ends In 10 Minutes
How to sew a table runner with quilting?
Learning how to sew a table runner by quilting is a delightful project that adds both beauty and functionality to your dining space.
How to Quilt as you go: Make a quick table runner
How to make a table runner by no sew?
Learning how to sew a table runner without the need for sewing allows for a quick and easy DIY project. Following steps are required to learn how to sew a table runner by no sew technique.
No-Sew DIY Table Runner
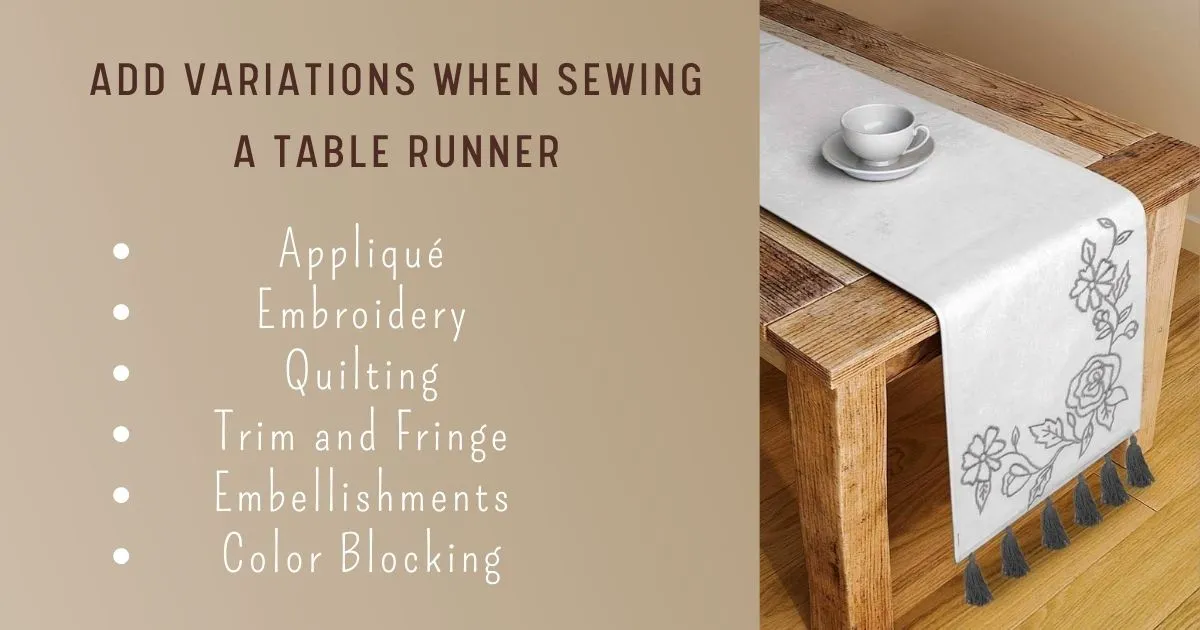
Add variations when making table runners
You can elevate the look of your table runner with these exciting variations
Explore these variations and infuse your table runner with personality, transforming it into a stunning centerpiece that adds style and charm to any dining experience.
Additional tips for how to sew a table runner
Conclusion
In conclusion, learning how to sew a table runner opens up a world of creative possibilities to elevate your dining experience. By following this step-by-step guide, you have embraced the art of sewing and created a unique masterpiece that will effortlessly elevate your dining experience. Whether you choose to display it during family gatherings or special occasions, your beautifully sewn table runner is bound to captivate guests and infuse your space with an air of refinement. So, savor this moment of accomplishment, and let your creative spirit continue to flourish in future sewing endeavors.

