How To Sew a Half Apron: Easy DIY Project
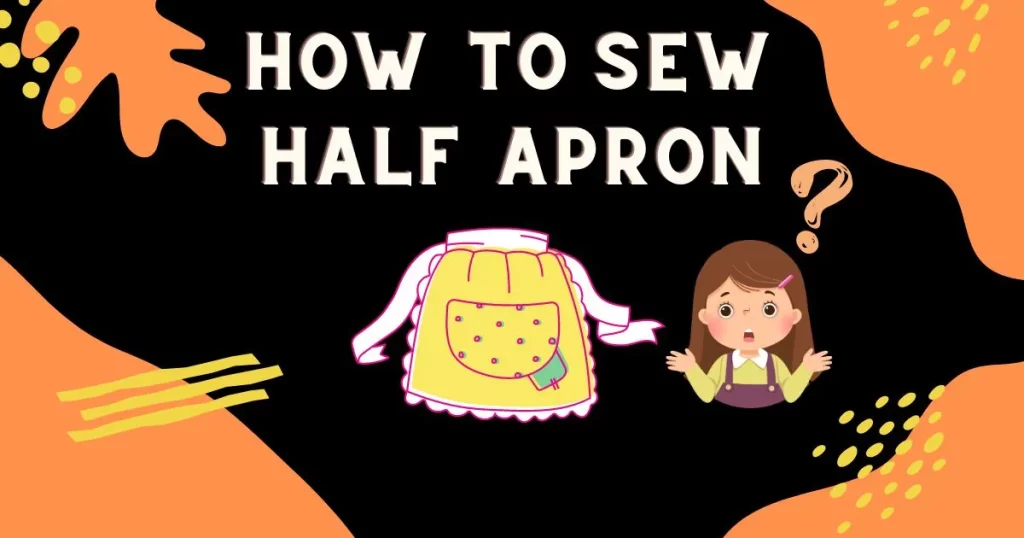
Want to know How to sew a half apron? If you enjoy baking or cooking, you know the value of a quality apron. In addition to shielding your clothing from spills and stains, an apron may dress up your kitchen outfit. Furthermore, what better way to obtain the ideal half apron than to make it oneself?
A half apron, also known as a waist apron or a server’s apron, is a type of apron that covers only the lower part of the body, typically from the waist to mid-thigh. Unlike full aprons, which cover the entire body from the neck down, half aprons are often used in settings where the wearer needs more mobility, such as in a restaurant or kitchen. Half aprons can be sewn in a variety of styles and fabrics, and may include pockets or other functional features. This post will teach you how to sew a half apron step-by-step.
How to sew a half apron with a sewing machine
Supplies required
Half apron patterns
Half apron patterns offer a variety of options for creating waist-down garments that are both functional and stylish. There are several basic types of half apron patterns to choose from:
Classic Half Aprons
Ruffled Half Aprons:
Wrap-around Half Aprons:
How to make a half apron with a sewing machine- step by step
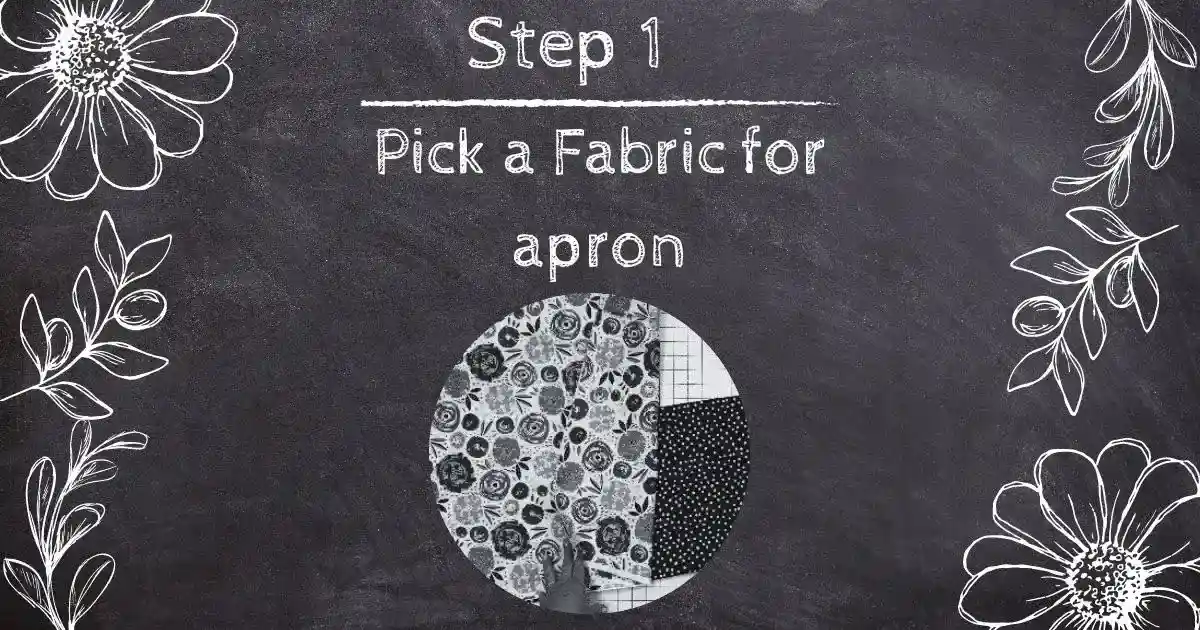
Step 1: Pick a Fabric for apron
Think about the apron’s style and longevity when choosing the fabric. A kitchen apron should be made of a cotton or linen blend because it is stain-resistant and easy to clean. Consider the color or pattern you wish to utilize as well. Your kitchen wear can be given a personality boost with a bold color or playful print.
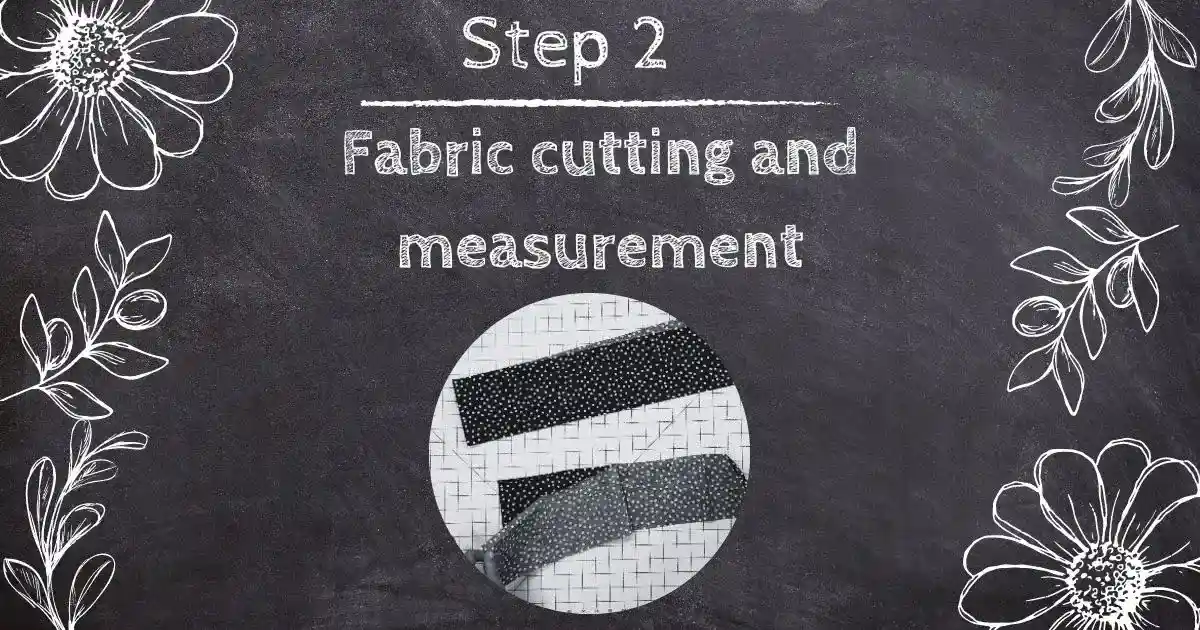
Step 2: Fabric cutting and measurement
Cut your fabric using a sewing scissors to the correct length and width using your measuring tape.
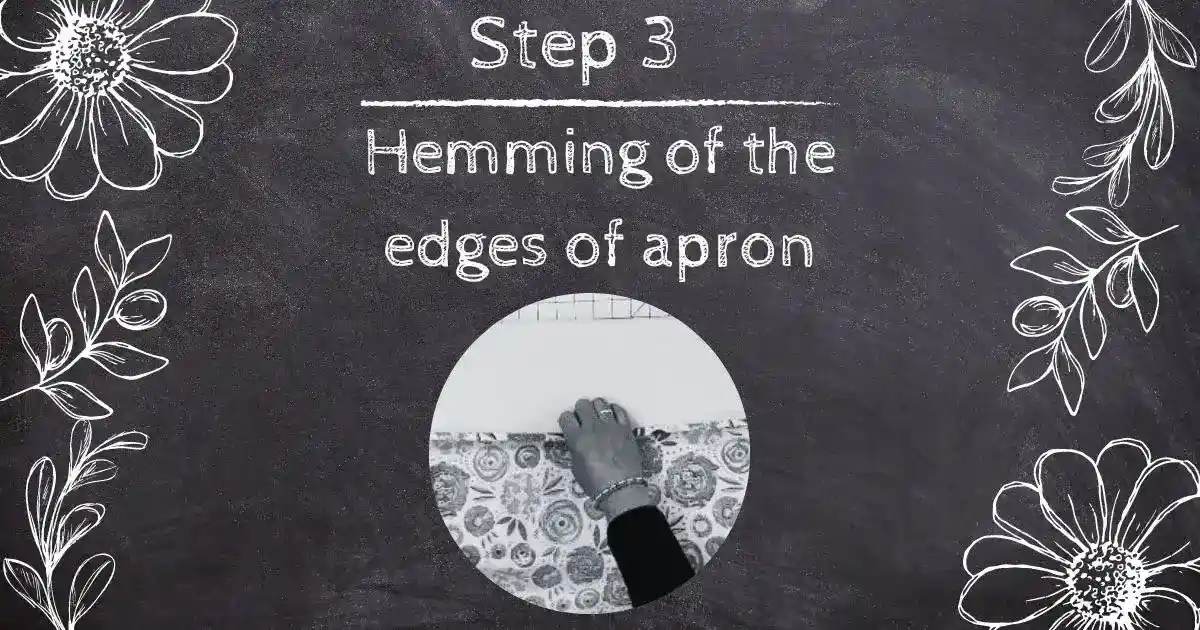
Step 3: Hemming of the edges of apron
Hem the apron’s edges to stop fraying. The cloth should be folded over once and ironed after each 1/4-inch fold. Place a pin there, then stitch with your sewing friend i.e. with a sewing machine along the folded edges.
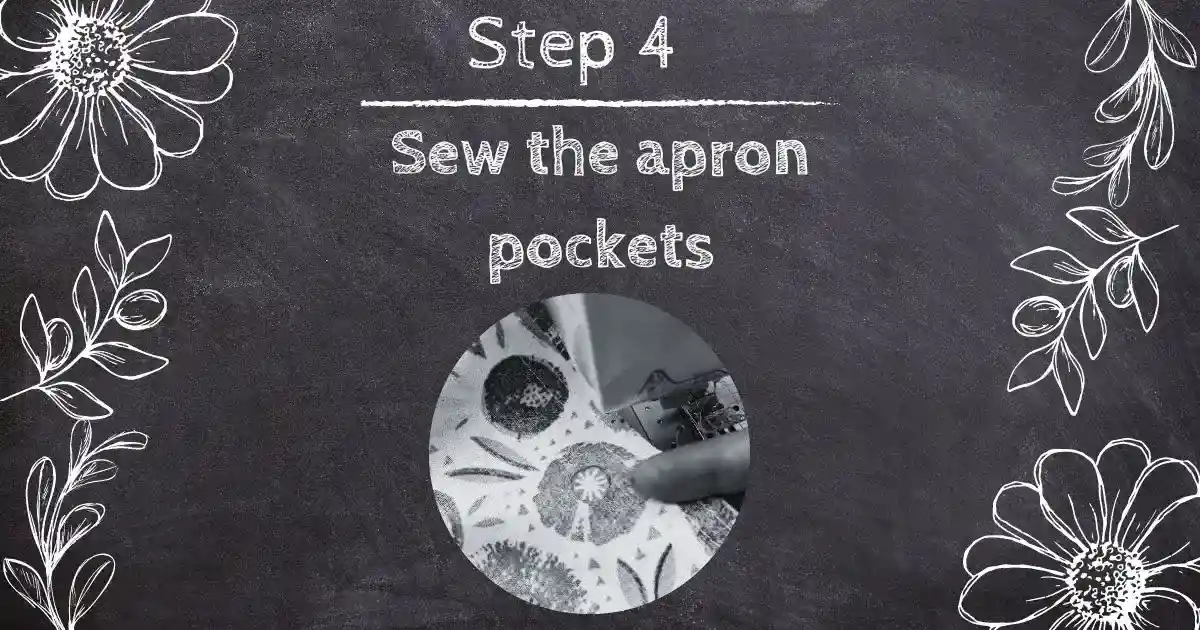
Step 4: Sew the apron pockets
When learning “how to sew a half apron” you should know that your apron can be made even more useful and practical by including pockets. Prior to sewing pockets into your apron, choose their location. Add a 12 inch seam allowance to each side as you cut two pieces of cloth to the proper size for your pockets. Each pocket’s top border should be folded over and ironed. After that, sew across the sides and bottom of the pockets while leaving the top border unstitched. To separate the pocket into pieces for keeping utensils or other goods, you can also add more stitching. This easy method makes it simple to modify your apron to meet your unique requirements.
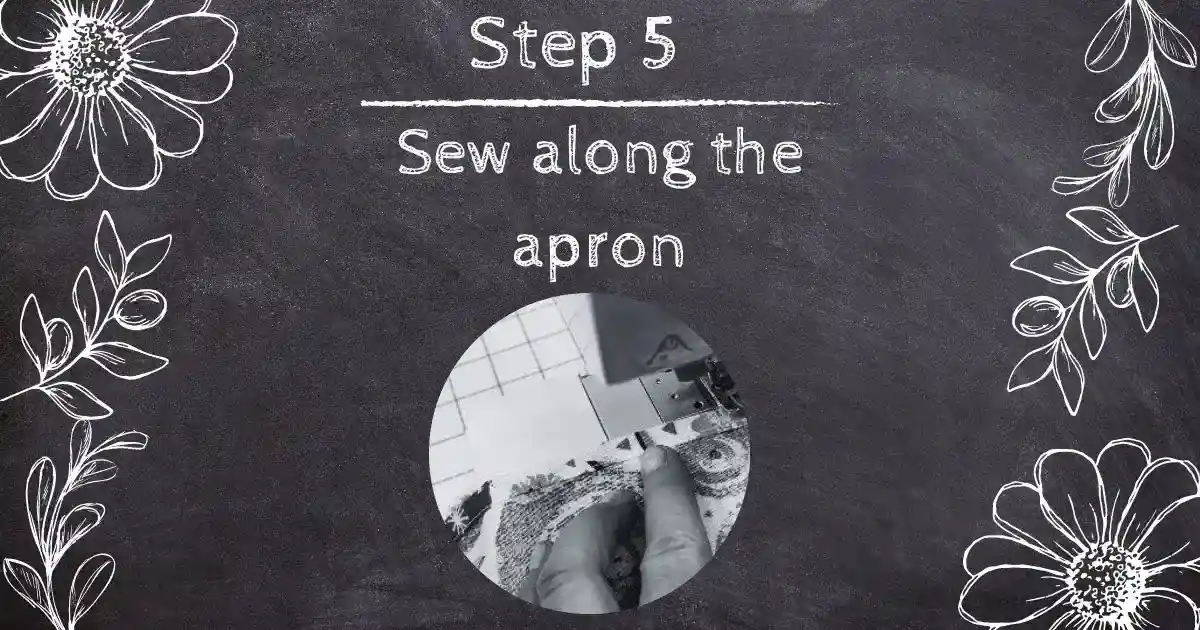
Step 5: Sew along the apron
When learning how to sew a half apron, remember that the right sides of each fabric strip should face each other when folding in half lengthwise. Sew along the long edge, leaving the short ends exposed. Press with an iron after turning the strips right side. Each strip’s ends should be tucked under and secured with pins.
Read more: How to sew a snap button?
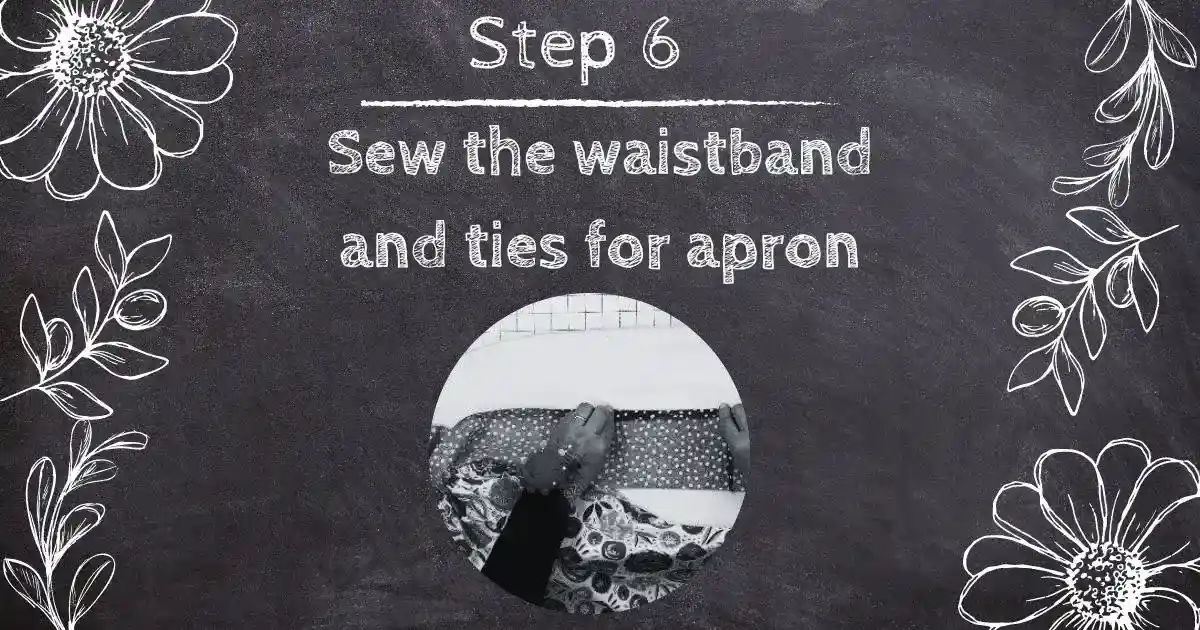
Step 6: Sew the waistband and ties for apron
After that, stitch the ties and waistline to the apron using your sewing partner sewing machine and carefully space them evenly. Sewing a half apron requires sewing both the waistline and ties. The steps for sewing the ties and waistline are as follows:
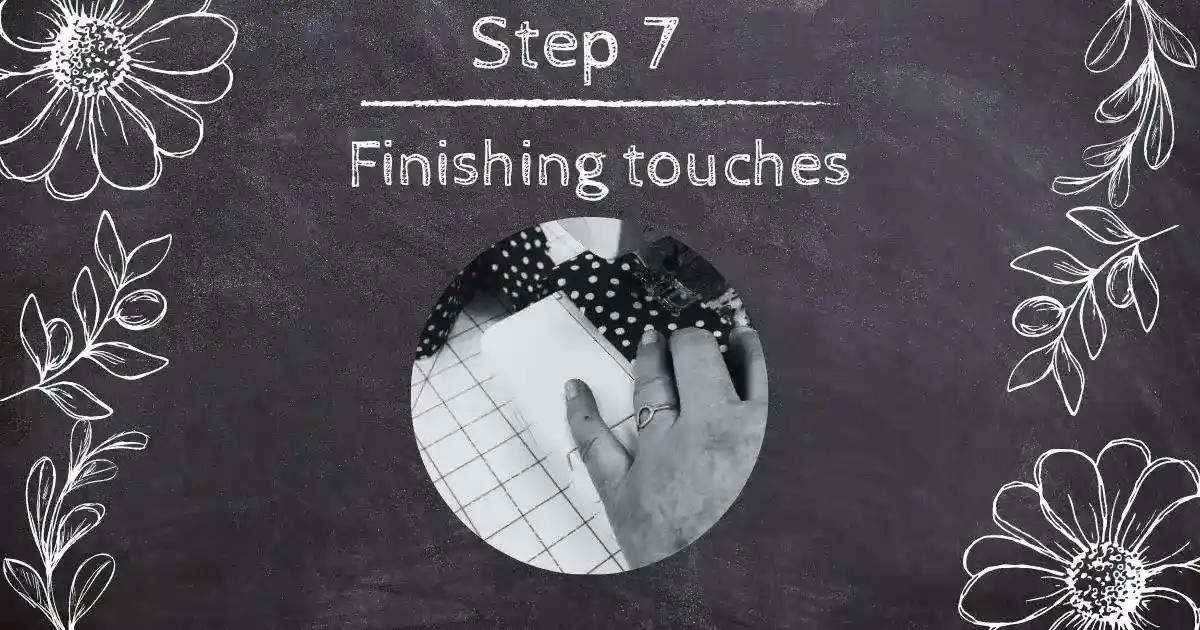
Step 7: Finishing touches
You can add a trim, or embroidery to the apron to give it a stylish flair. Make the apron wholly unique to you by using your creativity.
DIY half apron patterns:
Half apron patterns
Half apron patterns offer a variety of options for creating waist-down garments that are both functional and stylish. There are several basic types of half apron patterns to choose from:
Types of Half Apron Patterns:
Classic Half Aprons
Ruffled Half Aprons:
Wrap-around Half Aprons:
Half Apron with Pockets Pattern:
Waist apron pattern
The waist apron pattern is a sewing pattern that allows you to create a versatile and practical garment that covers the waist and part of the lower body. This type of apron is commonly used in various industries, including hospitality, gardening, and crafting. Waist apron patterns come in different styles and variations, providing options to suit different preferences and requirements.
Types of Waist Apron Patterns:
Basic Waist Apron:
Waist Apron:
Adjustable Waist Apron:
Stylish Waist Apron:
Waitress apron pattern
The waitress apron pattern is a specialized sewing pattern designed specifically for waitstaff in the hospitality industry. These aprons are crafted to meet the unique needs of servers, providing functionality, durability, and a professional appearance. Waitress apron patterns come in various styles and variations, tailored to accommodate the fast-paced nature of serving and the practical requirements of the job.
Types of Waitress Apron Patterns:
Multi-pocket Waitress Apron:
Cross-Back Waitress Apron:
Bistro Waitress Apron:
Apron with Embroidered Logo:
How to sew a half apron by hand?
How long does it take to sew a half apron?
The time it takes to sew a half apron varies based on the design and the sewer’s skill level. A basic half apron may take only 1-2 hours to complete. More intricate designs or additional features may take longer.

How much fabric is needed for sewing a half apron?
To sew a half apron, you will need approximately one yard of fabric, which is equivalent to 36 inches in length and 44-45 inches in width. However, the amount of fabric required may vary depending on the size of the apron and any additional features you choose to add, such as pockets or trim. It’s always a good idea to measure and cut your fabric based on the specific dimensions of your apron pattern or design to ensure you have enough fabric to complete the project. Use extra pieces of fabric for pockets and ties.

How long should apron ties be?
Apron ties should be at least 30-36 inches long, but can vary depending on personal preference and apron size.

Additional tips for sewing a half apron
Conclusion
A simple and enjoyable DIY project that can help you express your unique sense of style in the kitchen is knowing how to sew a half apron. You may quickly create a lovely and useful apron by following these easy instructions and speaking positively. So gather your supplies and begin creating!
How to Sew a Half Apron


