HOW TO MITRE A CORNER ON QUILT BINDING–10 EASY STEPS
Want to learn how to mitre a corner on quilt binding? Are you prepared to add perfect edges to your quilt to enhance its beauty? You’ve come to the right site if you’ve ever wondered how to achieve seamless and professional-looking mitered corners on your quilt binding. Follow our simple guide to elevate the overall appearance and craftsmanship of your quilting projects.
What does binding a quilt mean?
Binding a quilt is the final step in the quilting process, where a fabric strip is sewn around the edges to enclose and secure the raw edges of the quilt sandwich. It adds a beautiful finishing touch, enhances durability, and provides a polished look to the quilt, making it ready to be cherished and enjoyed for years to come.

What does mitered corners mean?
Mitered corners in quilting refer to a technique where the fabric edges at the corners are cut at a 45-degree angle, allowing them to meet neatly and seamlessly. This creates a clean and professional finish, adding an elegant and polished look to the quilt, enhancing its overall beauty and craftsmanship.

How to sew mitered corners? Step by Step Guide
In this guide, you will learn how to sew mitered corners with ease. Mitered corners give a professional and tidy finish to your sewing projects, adding a touch of sophistication to quilts, tablecloths, and other fabric items. Follow these simple steps to achieve seamless and polished corners in your sewing endeavors.
Materials requires for mitered corners
To learn sewing how to mitre a corner on quilt binding, you will need the following materials:
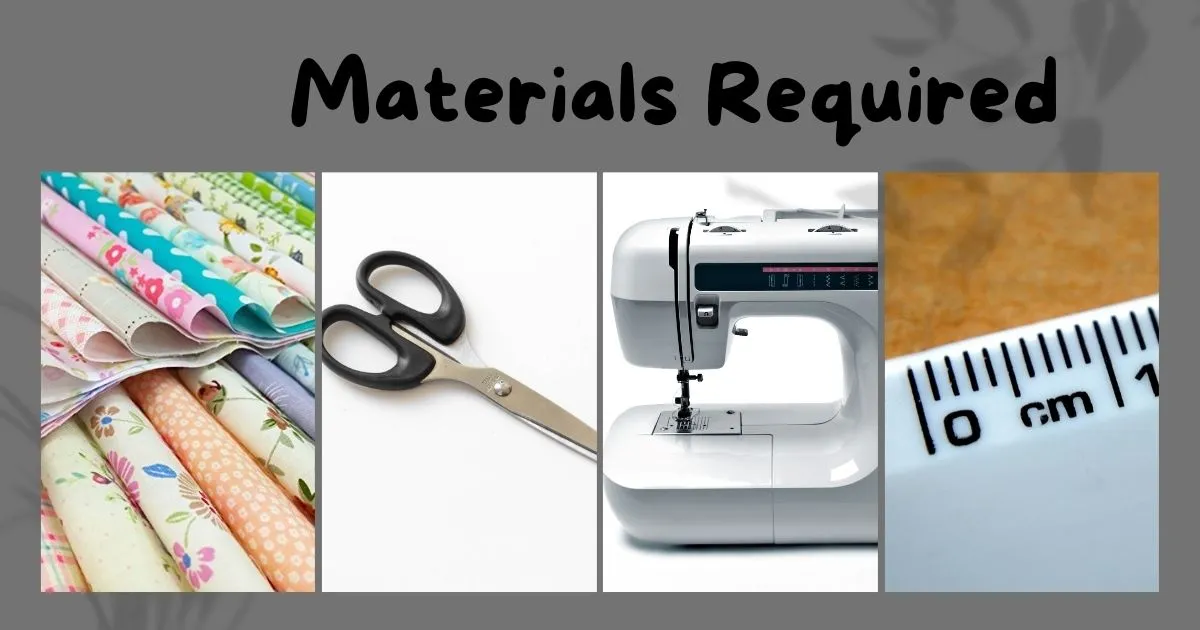
With these materials on hand, you’ll be well-equipped to create flawless mitered corners in your sewing projects.
How to mitre a corner on quilt binding – 10 Step Tutorial

1. Prepare your quilt
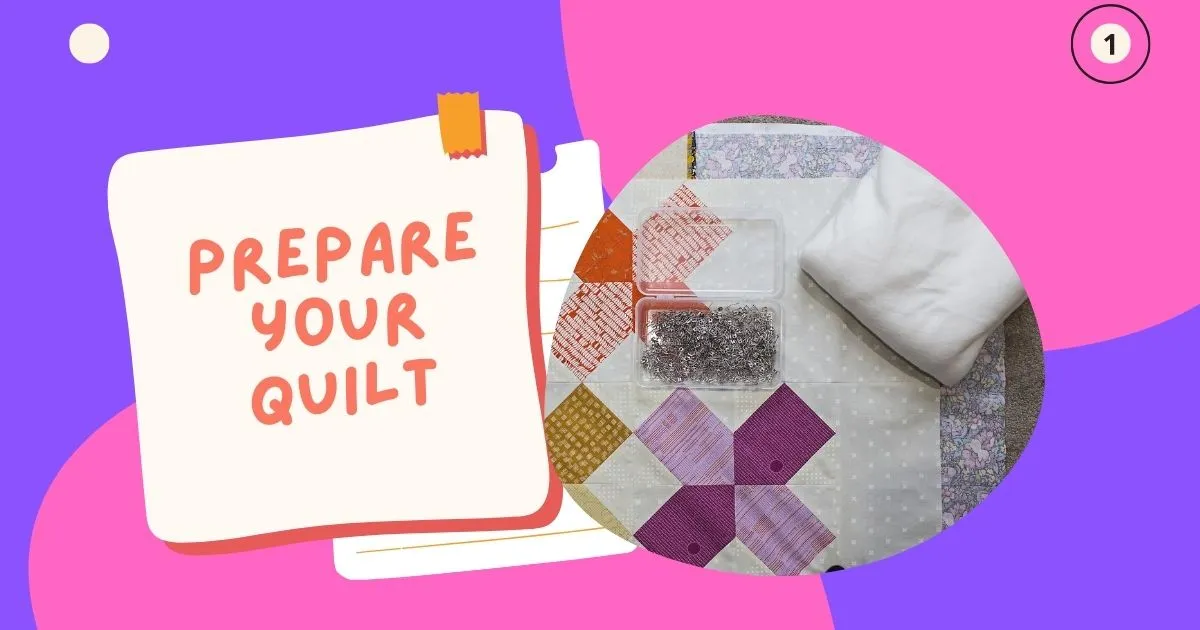
Making sure your quilt is ready for work is crucial before beginning the enjoyable adventure of how to mitre a corner on quilt binding. Consider how well your quilt’s top, batting, and backing were stacked and baste-joined together.
Their seamless blending lays the groundwork for an impending masterpiece. You can feel the anticipation growing with each stitch as you reach the final flourish of perfection. To demonstrate the technique of mitering quilt corners with grace and finesse, let’s make sure every fabric layer is perfectly aligned and secured.
2. Folding the binding
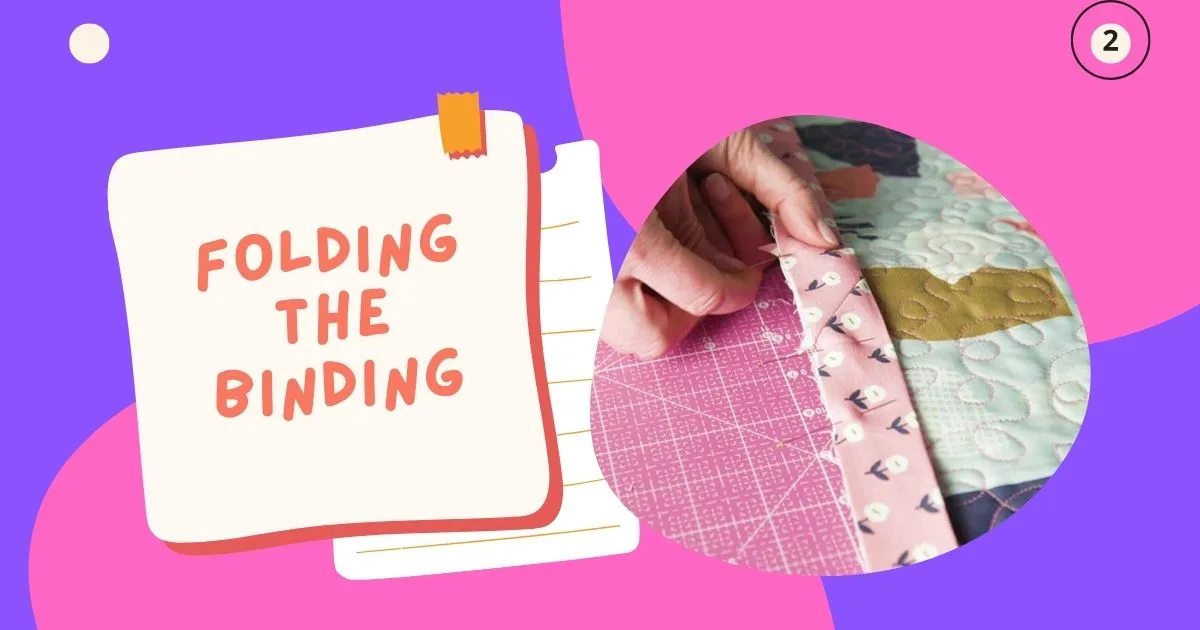
Second important step for how to mitre a corner on quilt binding is folding the binding. When the binding is folded, an incredible event occurs where your quilt corner becomes a work of art. Feel the tenacity and smoothness of the fabric beneath your fingertips as you grasp your binding strip. Fold it in half lengthwise with gentle precision, letting the incorrect sides meet harmoniously.
An aura of expectation permeates the room as you move along the center crease. The binding strip encircles the quilt’s edge and is prepared to set out on an elegant voyage. This straightforward folding procedure creates a nice mitered corner and lends your quilt a touch of refinement that will enthrall anybody who sees it.
3. Start sewing the binding
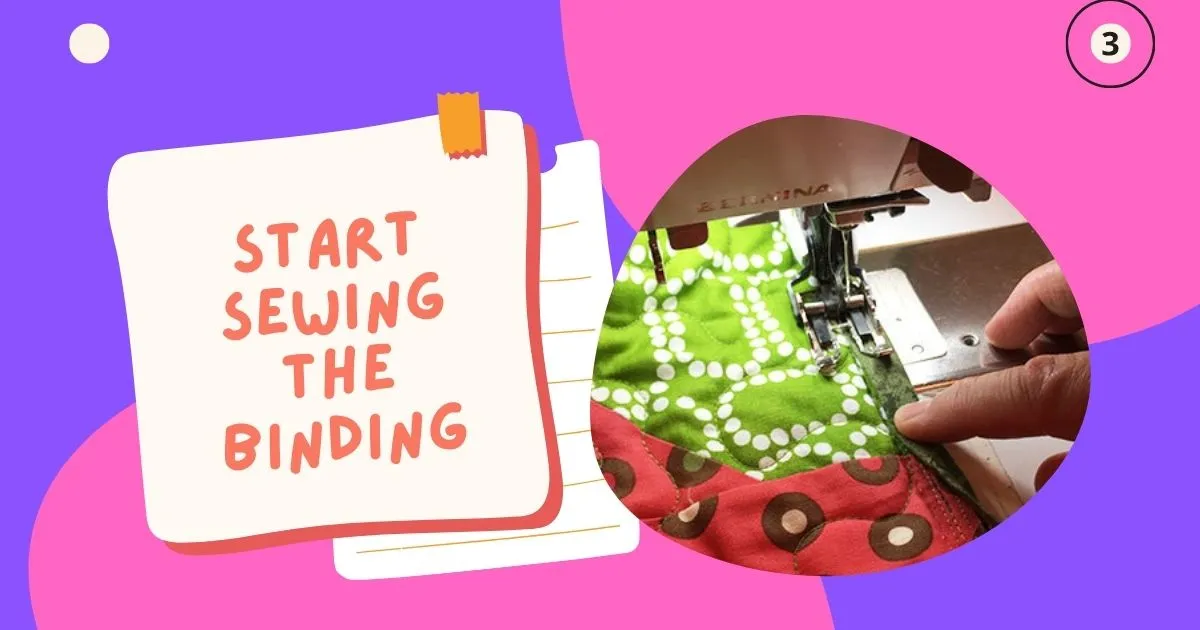
As you start the enthralling process of sewing the binding onto your quilt, start the stitching. This is principle step of how to mitre a corner on quilt binding. You bring the binding strip and the quilt’s edge together, fusing them into a seamless union, with a needle in your hand and a heart full of imagination.
A symphony of stitches appears as you move the fabric through the machine, each one a reflection of your talent and enthusiasm. The quilt is beautifully embraced by the binding, which envelops it in a warm embrace. With each stitch, you get closer to transforming your quilt into a stunning work of art and opening the door to showing the elegance of mitered corners.
Leave a tail of about 6 to 8 inches after you start stitching the binding to the quilt’s edge. Align the binding’s raw edges with the unfinished edges of your quilt.
4. Sewing the first side
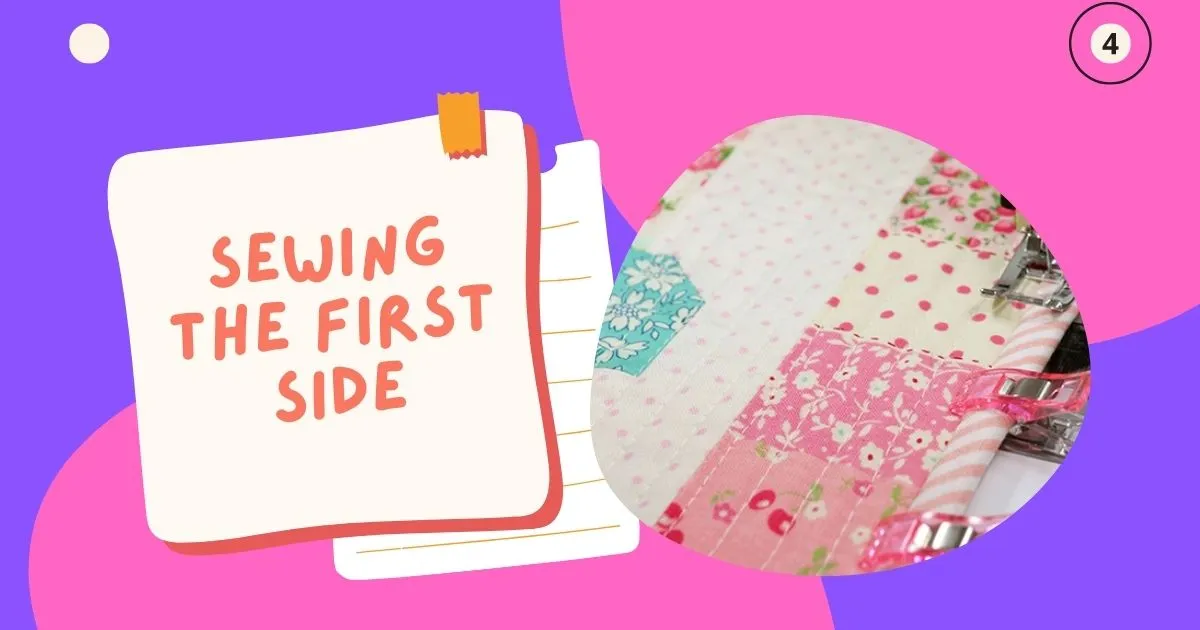
Let’s begin the enjoyable journey for how to mitre a corner on quilt binding by sewing the first side of your quilt, where artistry and skill combine to realise your vision. Guide the fabric through the sewing machine with care and precision, allowing each stitch produce a visual symphony. A sense of success permeates the room as the binding elegantly encircles the quilt’s edge.
Your skill and attention to detail are evident in every stitch, which guarantees a polished and faultless appearance. As your quilt develops into a great work of art, you may feel the excitement building as this phase provides the groundwork for the mitered corner. Quilt’s binding should be attached to the first side, stopping 1/4 inch from the corner. To keep the stitching in place, back stitch.
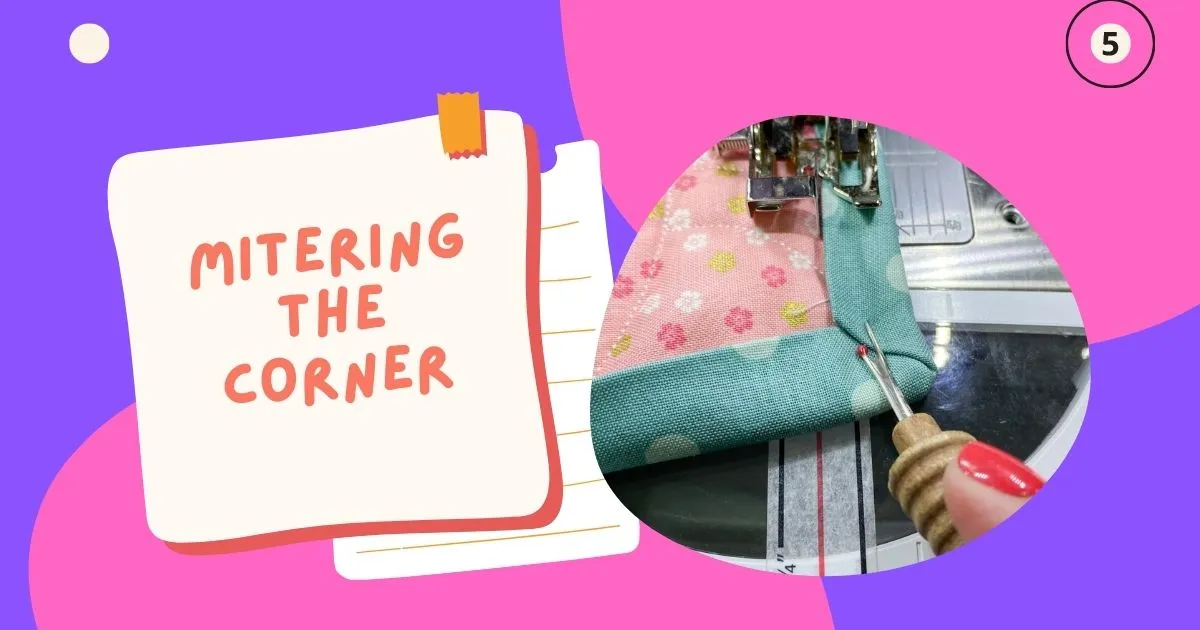
5. Mitering the corner
It’s time to discover the secrets of mitering the corners, where your quilt acquires a beautiful and polished appearance. Fold the binding strip up and away from the quilt with a sense of anticipation, making a lovely 45-degree angle at each corner.
This fold’s accuracy creates the right environment for a corner’s flawless mitering, which will wow you. Your heart fills with joy as you lower the binding strip once more and match it perfectly with the following side of the quilt. By adding elegance and class, this artistic method takes your quilt to new heights and will enthrall anybody who sees it.
6. Folding the binding
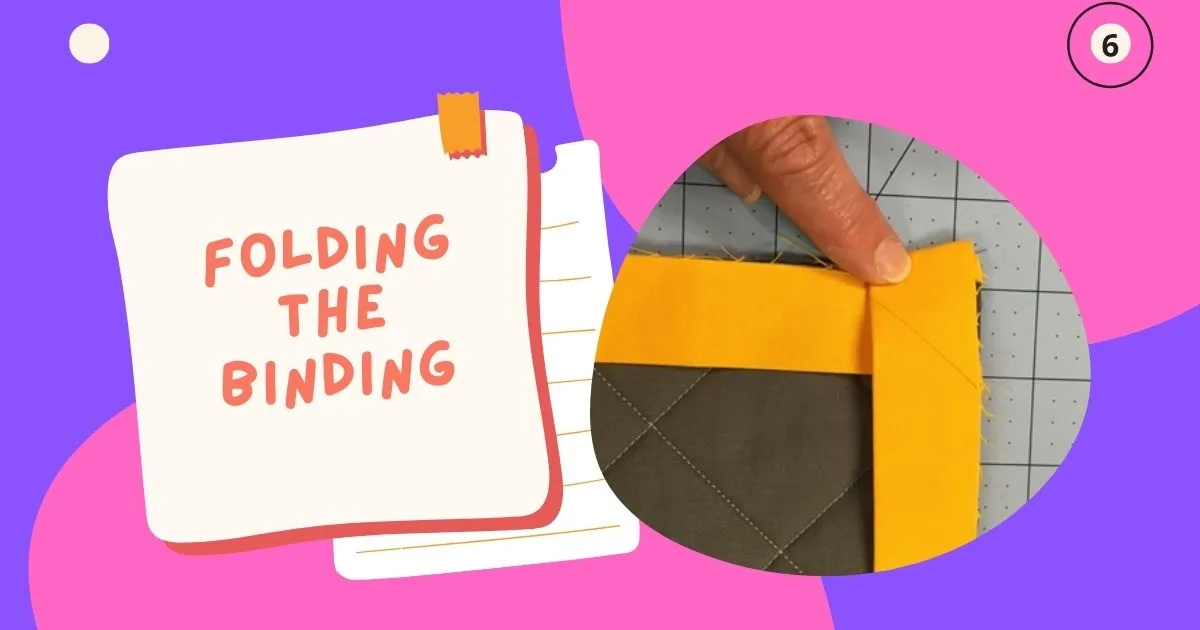
The secret to getting properly mitered quilt corners is to perfect the binding folding technique. Your binding strip should be folded in half lengthwise, with the raw edges perfectly aligned. This process produces a neat, accurate fold that lays the groundwork for perfectly completed corners.
The cloth softly conforms as you press the fold, getting ready to encircle the quilt’s edge. This ostensibly easy step creates the foundation for a refined and expert result, giving your quilt a dash of flair and sophistication. So, when you begin the path of folding the binding and creating your quilt into a beautiful masterpiece, do so with patience and attention to detail.
7. Sewing the second side
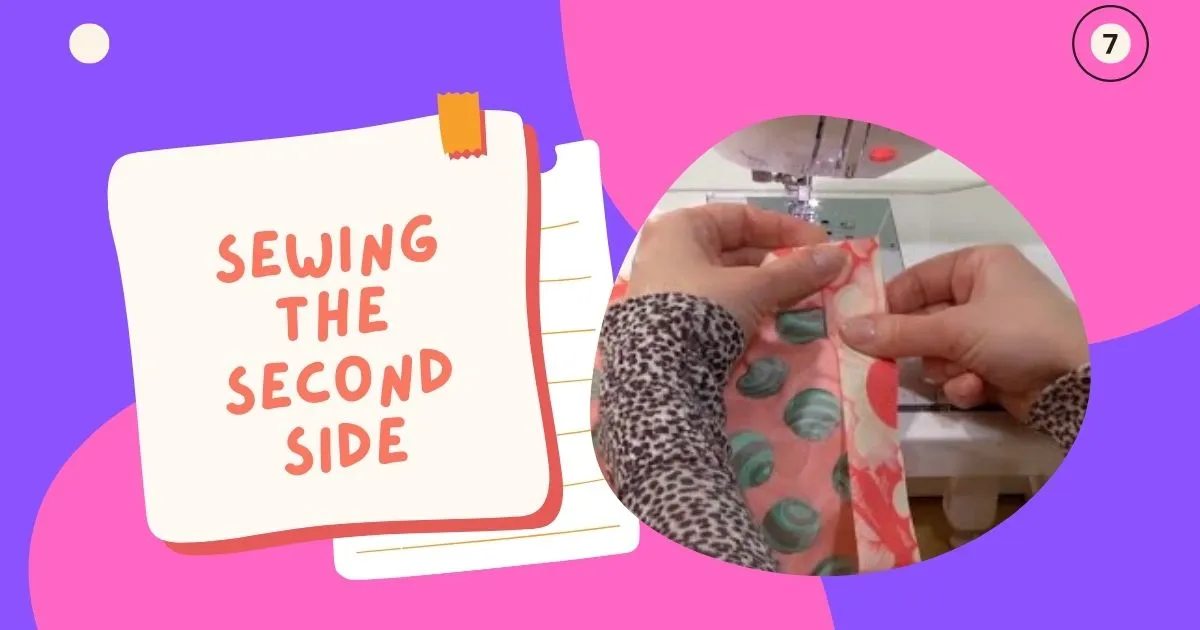
It’s time to start sewing the second side of your quilt after finishing the first side and feeling accomplished. Align the binding carefully and precisely with the edge of the quilt. The cloth seamlessly melds together as you stitch, giving the finished product a seamless and elegant appearance. Each thread advances the quality of your quilt by demonstrating your talent and commitment.
As you watch your quilt transform into a true work of art, this step prepares you for the forthcoming mitered corner and makes you feel eager. Continue sewing with assurance, knowing that each seam will bring your finished quilt closer to being captivating and inspirational.
8. Repeat for all corners
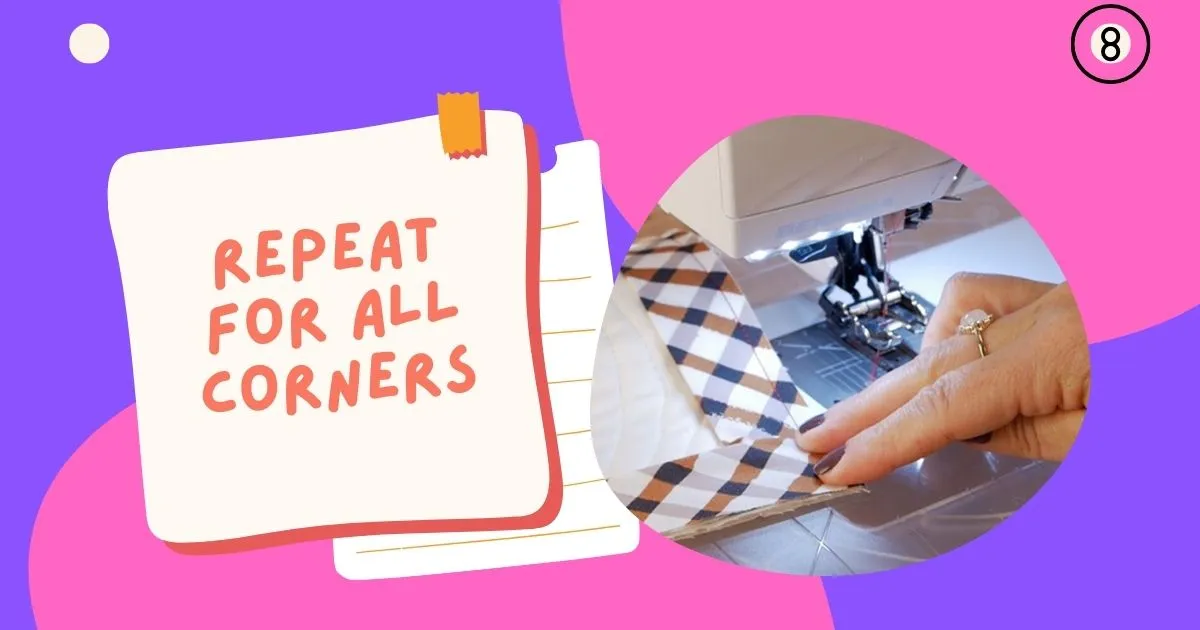
Repeat these techniques for each of your quilt’s corners for how to mitre a corner on quilt bindingrather than stopping at just one stunning corner. You set off on a mini-adventure with each corner, giving your quilt uniformity and accuracy. A sensation of expertise sets in as you fold, sew, and mitre, and your quilt develops into a symphony of precisely aligned corners.
The repetition of these actions enables your craftsmanship to stand out, resulting in a unified and aesthetically pleasing quilt. So, embrace the flow of the process and allow each turn to serve as a reminder of your commitment and creativity.
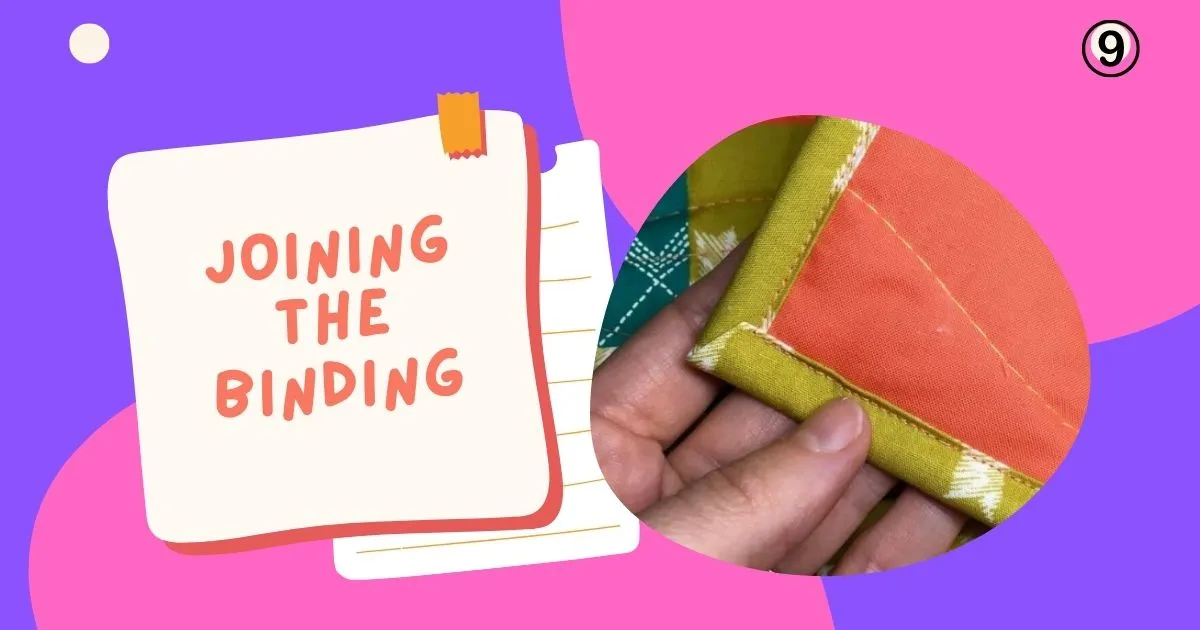
9. Joining the binding
It’s time to attach the binding and skillfully finish everything as you come to the end of your quilt corner journey. Trim the extra binding, leaving an elegantly overlapping tail that is a few inches longer than the original tail. Open up the tails precisely and cut them at a 45-degree angle to guarantee a tight attachment.
The second tail should then be folded over the first to provide a clean junction for how to mitre a corner on quilt binding. The binding is what brings your hard work and meticulous attention to detail together, making your quilt a beautiful, well-executed work of art. You go one step closer to unveiling a quilt that will enthrall everyone who sees it with each stitch used to secure the binding.
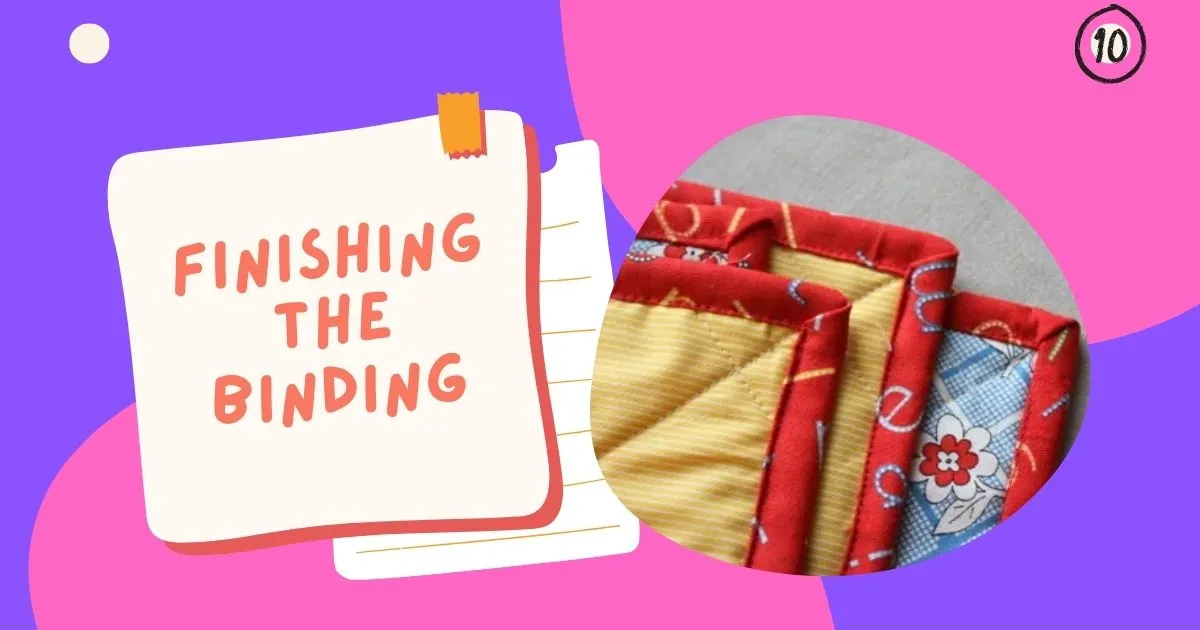
10. Finishing the binding
It’s time to make the last adjustments to ensure a flawless finish now that the binding is on and the quilt is almost finished. Start by carefully and precisely enclosing the raw edge of the binding by folding it to the back of the quilt. An air of contentment permeates when you hand stitch using a delicate blind stitch.
The binding is kept firm and the corners are properly mitered thanks to the concealed stitches that serve as a tribute to your expertise. This final procedure strengthens the quilt’s endurance while also completing its aesthetic appeal. The end result is a quilt that exudes beauty and displays your talent and commitment for all to see.
Tips for how to mitre a corner on quilt binding
Spend some time measuring and carefully cutting your binding strips. A smooth and flawless finish is guaranteed by precise measurements.
To get crisp folds and exact corners, press your binding strips and quilt edges before sewing.
Before sewing the binding in place, fix it in place using pins or clips. As a result, alignment will be preserved, and shifting will be avoided.
If you’re just learning how to mitre corners, practice on a scrap of cloth before doing it on your quilt. You’ll develop your confidence and improve your technique as a result.
Pay close attention to the fold’s mitered angle. To make a clean, polished corner, it must be precisely 45 degrees.
Sew evenly and slowly as you approach and stitch the corners. Greater control and accuracy are thus possible.
Trim any extra fabric or batting from the corners to make the folds smooth and reduce bulk.
When binding, use a high-quality thread and a fine needle to create precise, practically invisible stitches.
Learning how to mitre a corner on quilt binding can be difficult at first. However, try not to give up. You’ll soon be able to create quilt corners that are picture-perfect if you continue to practice and polish your technique.
VARIOUS APPLICATIONS AND USES OF MITRED CORNER QUILTS
| Applications of miter corners on a quilt | Use of miter corners on a quilt |
| Bed Quilts | Provide warmth and decorative bedding |
| Wall Hangings | Add artistic and decorative elements to walls |
| Sofa Throws | Enhance the appearance and comfort of sofas |
| Baby Quilts | Create cozy and comforting bedding for babies |
| Table Toppers | Decorate and protect tables during meals |
| Lap Quilts | Keep warm while sitting or resting |
| Picnic Blankets | Provide a comfortable surface for outdoor picnics |
| Home Decor | Add a touch of handmade charm to interiors |
| Gifts | Offer personalized and thoughtful presents |
| Arts and Crafts Projects | Use in crafting and DIY activities |

Mitred corner quilts are versatile and can be used in many ways, making them a popular choice for both functional and decorative purposes.
Popular Quilting Patterns for Mitered Quilt Corners
Learning how to mitre a corner on quilt binding is important and so is to learn various applications. Mitred corners are a popular technique in quilting that adds a clean and professional finish to the quilt. There are several quilting patterns that work well with mitred corners. Here are some popular ones:

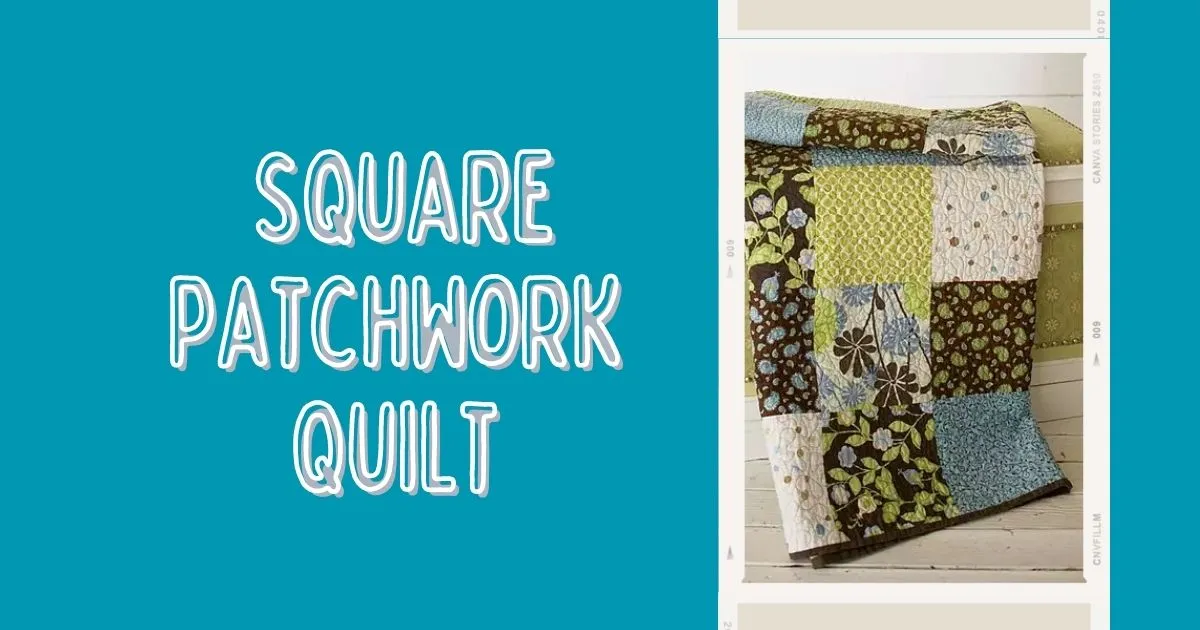
Square Patchwork Quilt:
This classic quilt pattern involves sewing together squares of fabric in a grid-like pattern. The mitred corners help create a seamless and neat border around the quilt.
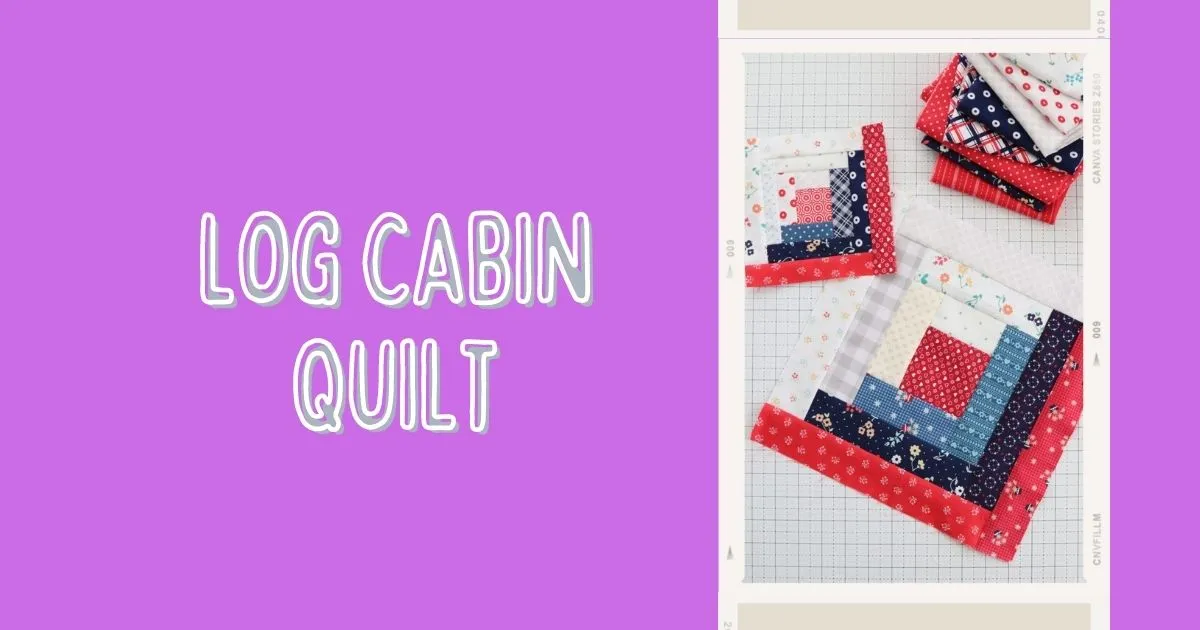
Log Cabin Quilt:
In this pattern, fabric strips are sewn around a central square in a log cabin style. Mitred corners give a polished look to the quilt’s outer edges.
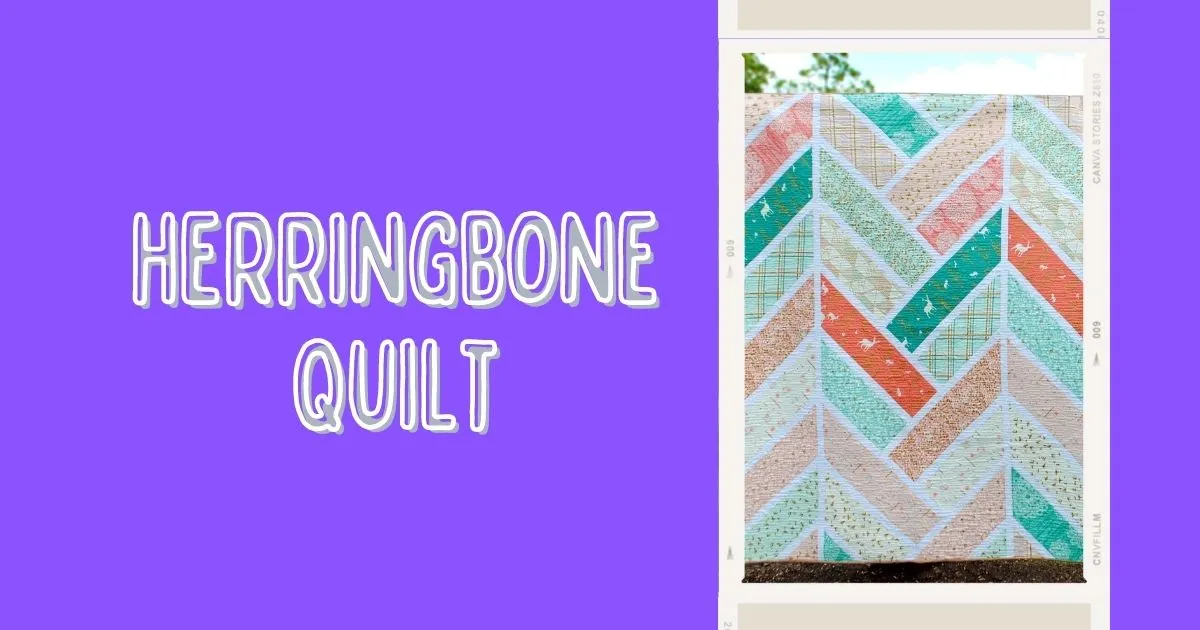
Herringbone Quilt:
Herringbone patterns involve arranging fabric pieces in a V-shape pattern. Mitred corners maintain the flow of the pattern across the borders.
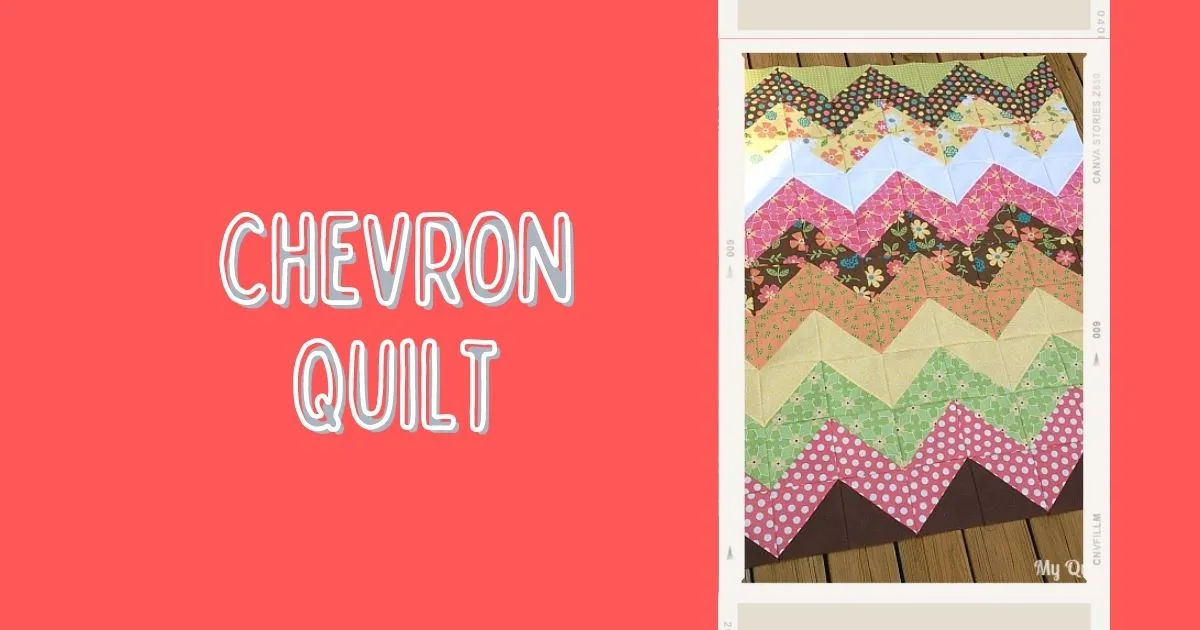
Chevron Quilt:
Similar to herringbone, chevron quilts feature V-shaped patterns. Mitred corners ensure the continuity of the chevron design along the edges.
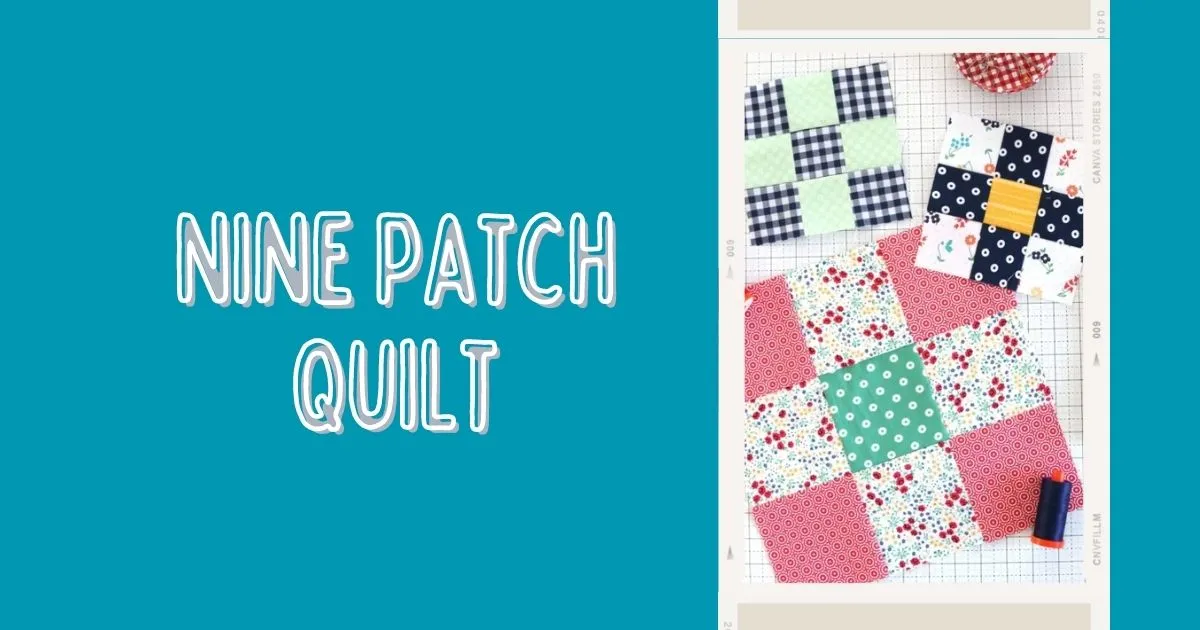
Nine Patch Quilt:
This traditional quilt pattern consists of nine fabric squares sewn together to form a larger block. Mitred corners complete the quilt with a professional touch.
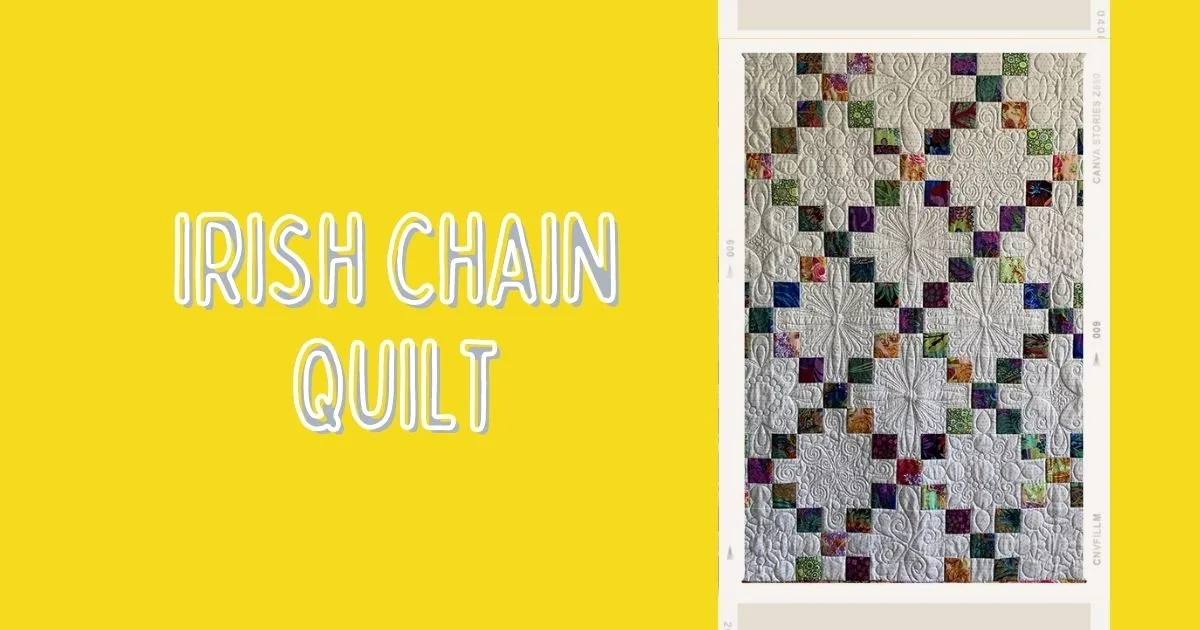
Irish Chain Quilt:
In this pattern, blocks are set in a grid with a chain-like appearance. Mitred corners help maintain the continuity of the chain effect around the quilt’s perimeter.
Flying Geese Quilt:
Flying geese units are used to create various patterns. Mitred corners contribute to a seamless and visually appealing border.

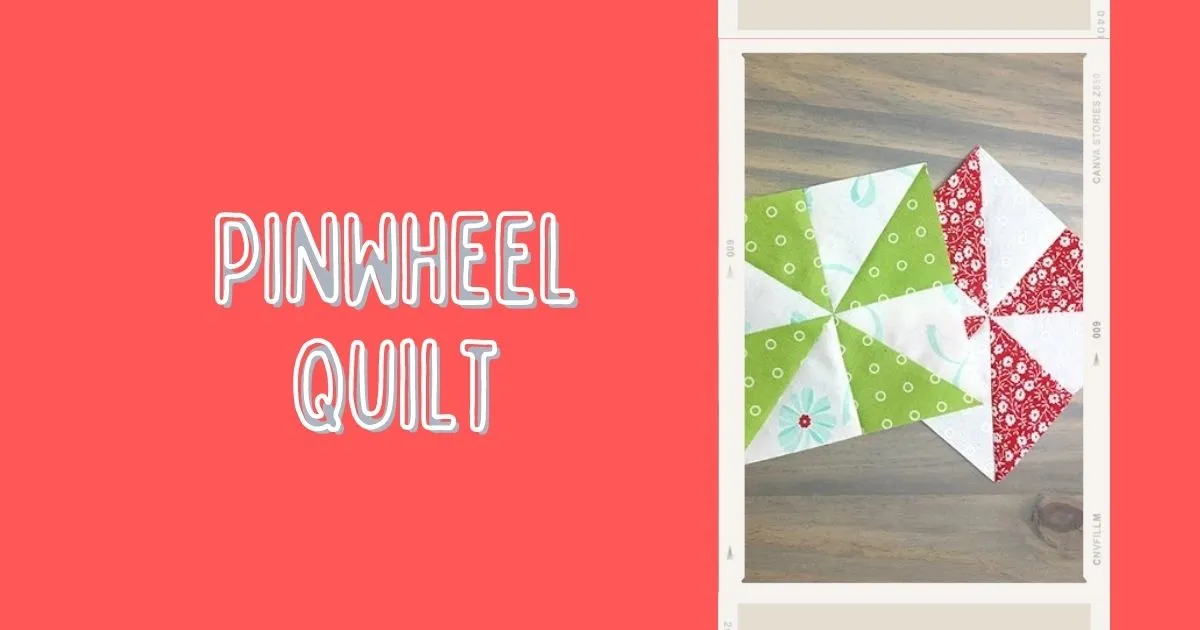
Pinwheel Quilt:
Pinwheel blocks are arranged to form a dynamic pattern. Mitred corners complement the spinning effect of the pinwheels.
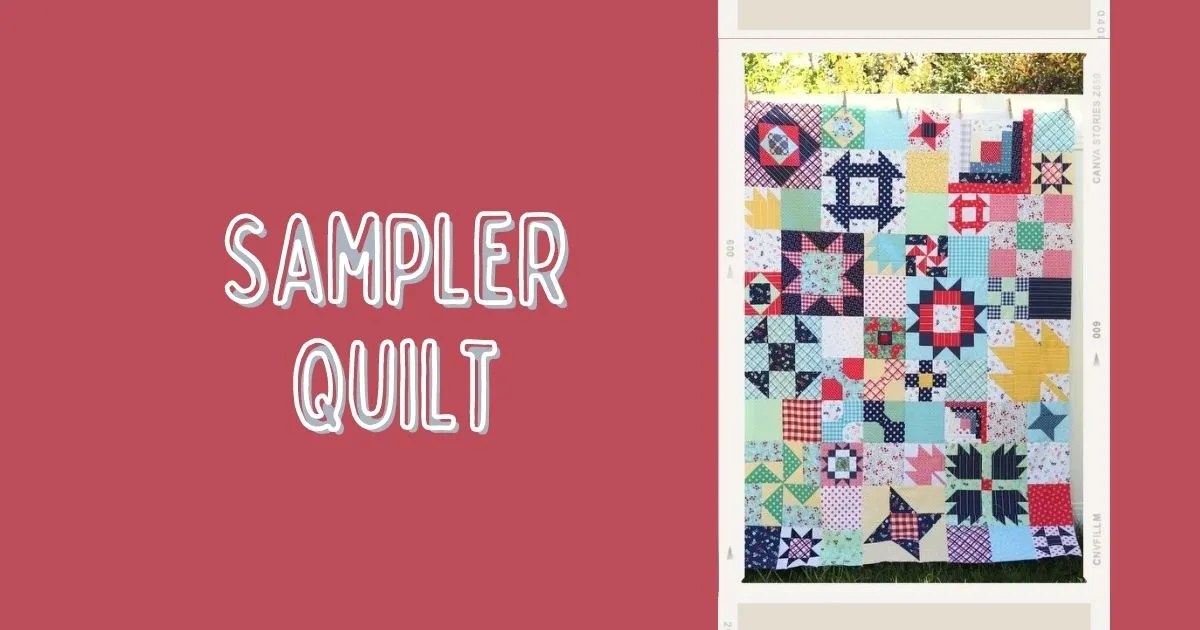
Sampler Quilt:
Sampler quilts feature a mix of different block patterns. Mitred corners bring a cohesive finish to the varied designs.
Medallion Quilt:
These quilts have a central motif surrounded by multiple borders. Mitred corners play a crucial role in providing a polished look to the various layers.

Tip:
Remember, the mitred corners technique can be applied to many different quilt patterns, and the choice ultimately depends on your preferences and the overall design you want to achieve.
Some common mistakes to avoid while sewing miter corners on quilt
When sewing miter corners in quilting, it’s essential to watch out for some common mistakes to ensure a clean and professional finish. Here are some pitfalls to avoid:
Tip:
By being mindful of these potential mistakes and taking your time during the learning of how to mitre a corner on quilt binding and sewing, you can achieve beautifully crafted mitered corners and elevate the overall quality of your projects.
Conclusion – How to mitre a corner on quilt binding
In conclusion, perfecting the art of miter corners on quilt requires a combination of talent, accuracy, and inventiveness. The preparation, folding, sewing, and finishing processes you followed helped your quilt reach a higher level of artistry. Your passion and meticulousness are evident in every mitered corner, which produces a quilt that oozes class and professionalism. Your heart is filled with happiness and pride as you gaze at your finished piece, knowing that you have produced a truly magnificent work. Knowing how to mitre a corner on quilt binding will enable you to approach upcoming quilting projects with assurance and add beauty and artistry to each one.
HOW TO MITRE A CORNER ON QUILT BINDING
