How To Sew Suspender Buttons – Complete Guide

Knowing how to sew suspender buttons is essential whether your goal is to give a touch of classic style to your ensemble or you simply enjoy the comfort and convenience of suspenders. To help you master this technique and up your style game, we will walk you through the steps of sewing a suspender buttons in this post. For anyone who wants to wear suspenders or brace buttons and wants to switch from wearing belts, knowing “how to sew suspender buttons on pants” is important.
How to sew suspender buttons: Step by Step
Step 1: Collect Resources
Before you can begin sewing a suspender button, you’ll need to gather the necessary materials. These include
It’s crucial to get a suspender button that fits your suspenders properly. The majority of suspender buttons have a diameter of between 5/8″ and 3/4″, however it’s best to measure the width of your suspenders before selecting a button.

Step 2: Select the button position
Choosing the button’s location and placement of suspender buttons is the next step in learning “how to sew suspender buttons”. The following points should be taken into account when learning how to sew a suspender button onto your pants.
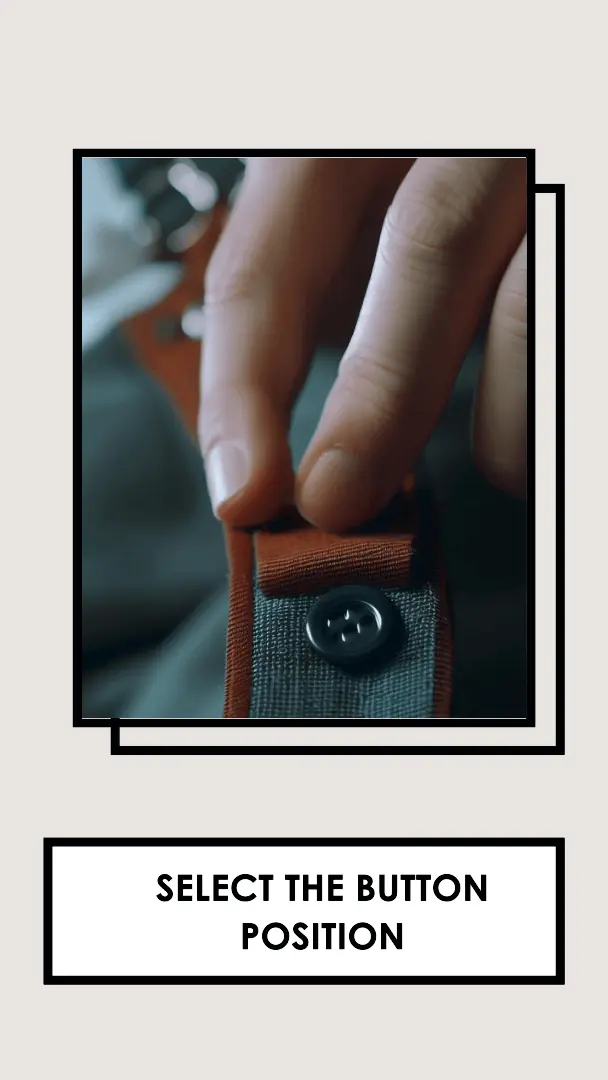
Suspender button placement
The placement of suspender buttons on your pants is a crucial aspect to consider when sewing them. Optimal suspender button placement is typically on the outside of the waistband. This strategic placement allows for easy attachment and adjustment of suspenders, ensuring convenience and functionality. By evenly spacing the buttons along the waistband, you can achieve proper support and balance when wearing suspenders, enhancing both comfort and style. Carefully considering the suspender button placement guarantees a well-executed and polished appearance, allowing you to confidently wear suspenders with your pants.
Choose Your Style
Finding your own particular style is the first step in determining where to put the button on your suspenders. Think on the overall aesthetic you want to create as well as the colour, fabric, and pattern of your suspenders. Do you like a more contemporary and trendy style or a timeless classic?
Measure Up
It’s time to take some measures to sew suspender buttons on pants once you’ve chosen your style. Start by taking measurements two inches from your pants’ side seams and two inches from the waistband. This is a useful generalization that will assist you in creating a balanced and cozy fit. In order to prevent the suspenders from slicing into your shoulders, you might want to slightly modify the positioning if you have a longer torso.
Consider Comfort
The most important factor to consider when placing your suspender buttons is comfort. The suspenders shouldn’t be overly tight or too loose because doing so can make you uncomfortable and detract from your attractiveness. Before putting on your suspenders in public, make sure they fit properly.
Make a Statement
Last but not least, keep in mind that suspenders are a fashionable item that can help you stand out. To develop a distinctive style that reflects your individuality, don’t be afraid to experiment with various colors, patterns, and fabrics. Your suspenders will definitely draw attention if worn correctly and with confidence, and they will also make you feel fashionable and well-dressed.
Use your marking tool to put a tiny dot on the fabric where you want the button to go after you’ve decided where it will go. You can use this as a guide to start sewing a suspender button.
Step 3: Thread the Needle
During learning “how to sew a suspender button” in the step of threading the needle you should take care of the following steps.
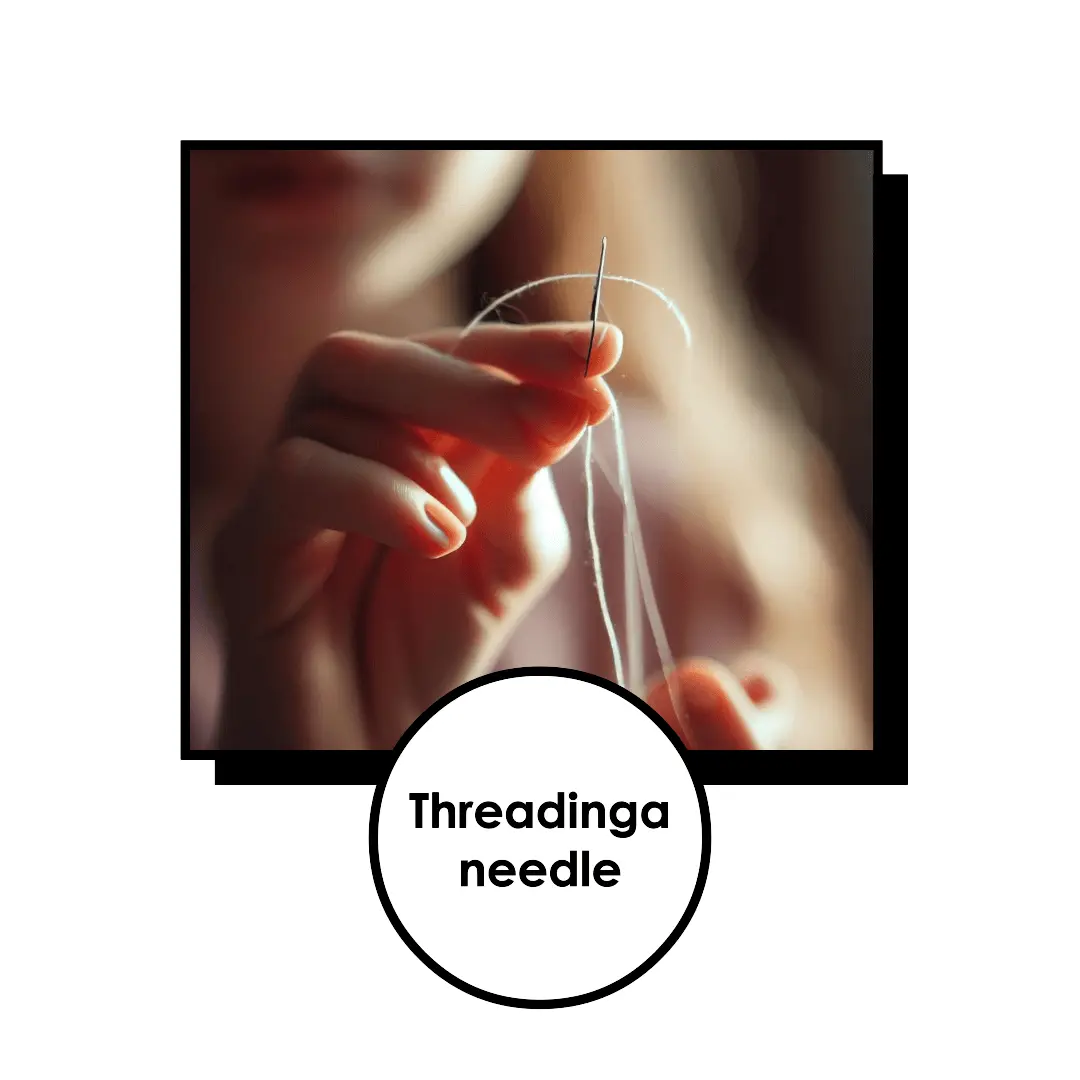
Choose the Right Thread
Before you start threading your needle, it’s important to choose the right thread for your project. Consider the weight and color of the fabric you’ll be sewing and choose a thread that will complement it.
Cut the Thread to Length
Once you’ve chosen your thread, cut a length that’s about 18 inches long. This will give you enough thread to work with without it becoming too tangled or difficult to manage.
Double the Thread and Knot the End
To make your stitches stronger and more secure, double the thread over and knot the end. This will create a double thickness of thread that will hold up well to wear and tear.
Position the Needle
Hold the needle in your non-dominant hand and the thread in your dominant hand. Position the needle so that the eye is facing up and the point is facing down.
Thread the Needle
Bring the thread end up to the needle with your dominant hand and compress it between your thumb and forefinger. Put the thread’s end through the needle’s eye using your other hand. Till you have the same length on both sides, pull the thread through.
Now that your thread is tensioned and your needle is threaded, you may begin stitching a suspender button. Take a deep breath, unwind your shoulders, and concentrate on making straight, even stitches.
Step 4: Begin Sewing
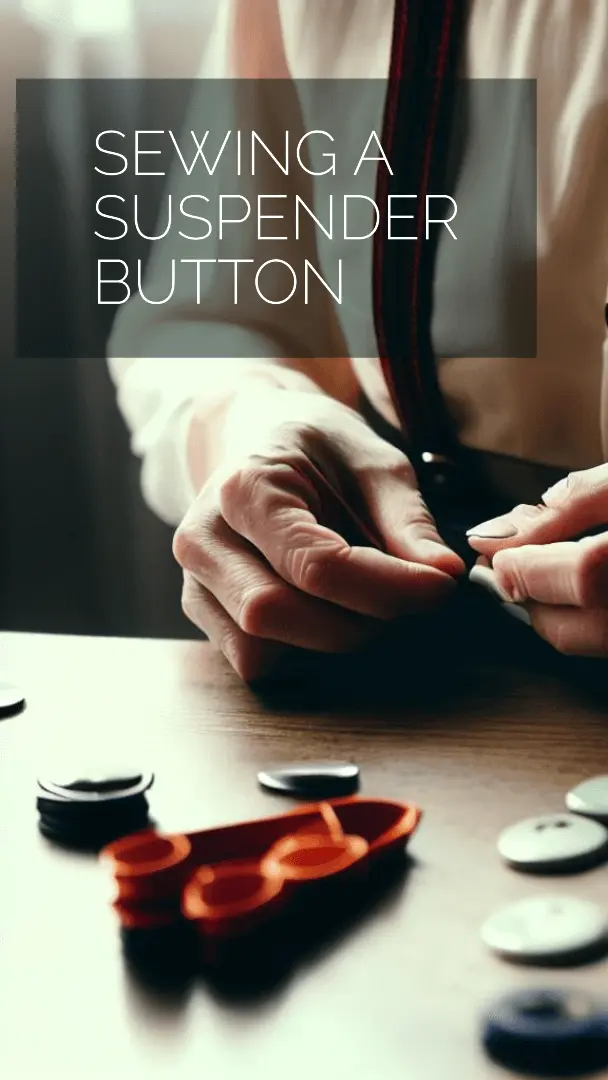
Start Sewing
At the specified dot, raise the needle from the wrong side of the fabric and start sewing your suspender button. Till the knot catches on the reverse side of the fabric, pull the thread through. Your stitches will have a solid and safe starting place if you do this.
Thread the Button
Next, insert the needle from the front of the fabric through the hole in the suspender button. Till the knot catches on the button’s back, pull the thread through. The button will be anchored to the fabric and held firmly in place as a result.
Sew the Button
Once more, insert the needle into the fabric from the the back, about 1/8″ from the beginning of the stitch. Then, insert the needle through the button’s opposite hole from the fabric’s front. Till the knot catches on the button’s back, pull the thread through. You’ll make your first stitch as a result.
Continue Sewing
Keep the button level and firmly in place by repeating this procedure six to eight times. Keep your stitch spacing and consistency the same as you sew. Take your time and concentrate on producing a tidy appearance.
Tie Off Your Thread
After stitching your button in place, tie off your thread on the fabric’s wrong side. This will produce a finished product that looks safe and expert.
When it comes to enhancing your sense of style, learning “how to sew a suspender button” is a very enjoyable chore. Keep in mind to take your time, concentrate on making even, dependable stitches, and firmly tie off your thread. You can make fashionable, useful suspenders quickly by using these tips!
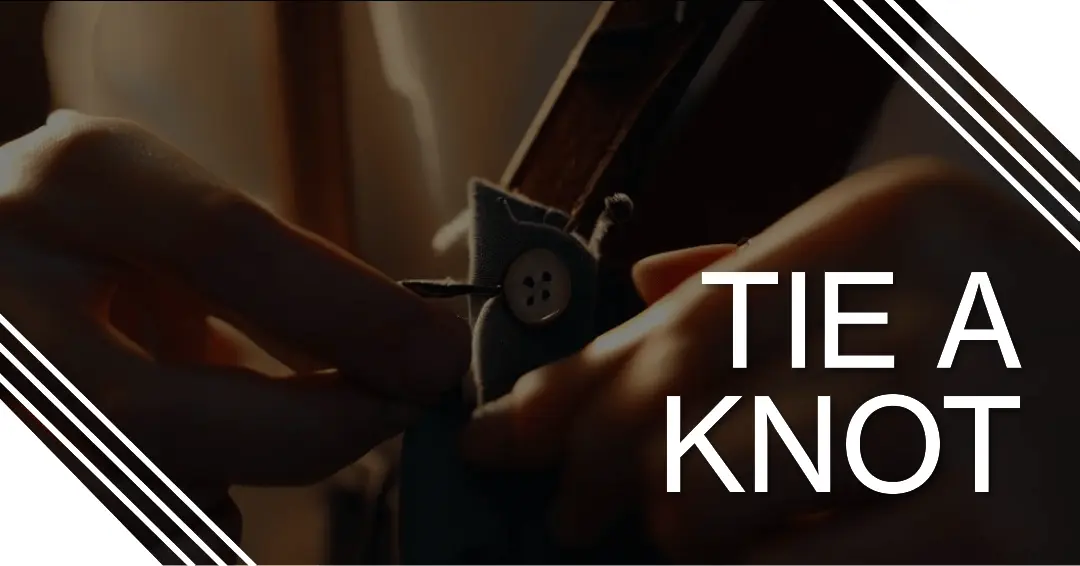
Step 5: Knot the Thread
Secure Your Button
Congratulations! You’ve successfully sewn your suspender button into place. Now it’s time to ensure that your button will stay securely attached for as long as possible.
Knot Your Thread
To do this, insert the needle from the backside of the fabric; do not insert the needle through the button. Instead, several times loop the thread around the stitch base before driving the needle back into the fabric. This will result in a knot that is firmly fastened to the material.
Double Knot Your Thread
Repeat the process of winding the thread several times around the base of the stitches and inserting the needle back through the fabric to reinforce the knot. By doing so, you’ll make a double knot that will retain your button in place firmly.
Cut the Thread
Now that you’ve created a double knot, it’s time to trim the excess thread. Cut the thread close to the knot, being careful not to cut the knot itself. This will create a clean and tidy finish to your sewing project.
Admire Your Handiwork
Take a step back and appreciate your craftsmanship. You just expertly and precisely sewed a suspender button into place. You’ll be able to learn to sew suspender buttons onto any of your favourite garments with a little practise.
Sewing suspender buttons can be a pleasant and enjoyable activity that lets you give your clothes a unique touch. You can make fashionable, useful suspenders quickly by using these tips! To produce a finished product you can be pleased of, remember to take your time, concentrate on making equal and consistent stitches, and knot your thread securely.
Step 6: Test Your Suspenders
Congratulations on successfully learning how to sew a suspender button onto your pants! The final step is to give your new accessory a test run. Attach the suspenders to the buttons on your pants and adjust the length to your liking.

Adjust for Comfort
Check to see if the suspenders are snug and secure on your shoulders. Adjust the length until they are the perfect fit if they are too tight or too loose. Make sure the suspenders are secure enough to keep your pants up without being overly constricting or uncomfortable.
Show Off Your Style
It’s time to flaunt your suspenders now that they are securely fastened! Wear them with pride and assurance, knowing that you’ve enriched your wardrobe with a fashionable and useful addition. Suspenders are a traditional and classic piece of clothing that may lend refinement to any ensemble.
Practice Makes Perfect
Remember that it can take some practise to learn how to sew a suspender button onto your suspenders. If your first try isn’t ideal, don’t give up. Maintaining and improving your technique will enable you to sew buttons onto all of your favourite garments in no time.
Enjoy Your New Accessory
After completing all the steps, you can confidently use your new suspender attachment. By producing something distinctive and fashionable, you have demonstrated your originality and workmanship. You’ve turned a plain pair of suspenders into a useful, stylish accessory that you can wear with pride with a little bit of work and patience.
How to Sew Suspender Buttons on Pants
Sewing suspender buttons on pants is a practical skill that can come in handy when you want to wear suspenders with your trousers. Whether you’re looking to add a touch of vintage charm or improve the functionality of your pants, sewing suspender buttons is a straightforward process that can be accomplished with a few simple steps. In this guide, we will outline the basic steps to help you sew suspender buttons onto your pants, ensuring a secure attachment and allowing you to confidently wear suspenders with your favorite trousers.
Steps for Sewing Suspender Buttons on Pants:
By following these steps, you can successfully sew suspender buttons onto your pants, giving you the option to wear suspenders and add a touch of style or functionality to your outfit. Remember to choose sturdy buttons and use a strong thread for a secure attachment. With a bit of practice and attention to detail, you’ll be able to sew suspender buttons onto your pants with ease, opening up new styling possibilities for your wardrobe.
How to sew suspender buttons with a sewing machine?
Understanding how to sew suspender buttons with a sewing machine shows the need of this tool in our creative arsenal. This guide will highlight the process of how a sewing machine transforms simple fabric and buttons into a functional and fashionable accessory, showcasing precisely why you need a sewing machine for such endeavours.
Sewing suspender buttons with a sewing machine not only simplifies the process but also guarantees a strong and reliable attachment. From reinforcing buttons to ensuring a comfortable fit for suspenders, a sewing machine adds a professional touch to your sewing projects, making it an indispensable companion for those striving for both style and functionality in their wardrobe.
Additional key points for sewing suspender or brace buttons

Suspender buttons inside or outside?
When it comes to sewing suspender buttons onto pants, one common question is whether they should be placed inside or outside of the waistband. The best practice for sewing suspender buttons is to attach them on the inside of the waistband. By doing so, the buttons remain hidden when suspenders are not being worn, maintaining a clean and polished appearance.
Placing the buttons on the inside also ensures a more secure attachment, as they are less likely to catch on anything or cause discomfort when worn without suspenders. However, it is essential to position the buttons at appropriate locations along the waistband, evenly spaced to provide proper support and alignment when suspenders are attached. Ultimately, sewing suspender buttons on the inside of the waistband offers both functionality and a sleek look for your pants.
Conclusion- How to sew buttons for suspenders
In conclusion, sewing a suspender button onto pants is a simple process that can be easily accomplished by following a few steps. With the right tools, materials, and attention to detail, anyone can achieve a secure and professional-looking result. Whether you’re new to sewing or an experienced DIY enthusiast, sewing a suspender button onto pants is a practical and rewarding skill to have.
Read more: How to sew a 4 hole button
How to Sew On Suspender Buttons

