How To Sew A Dart – Easy DIY Guide
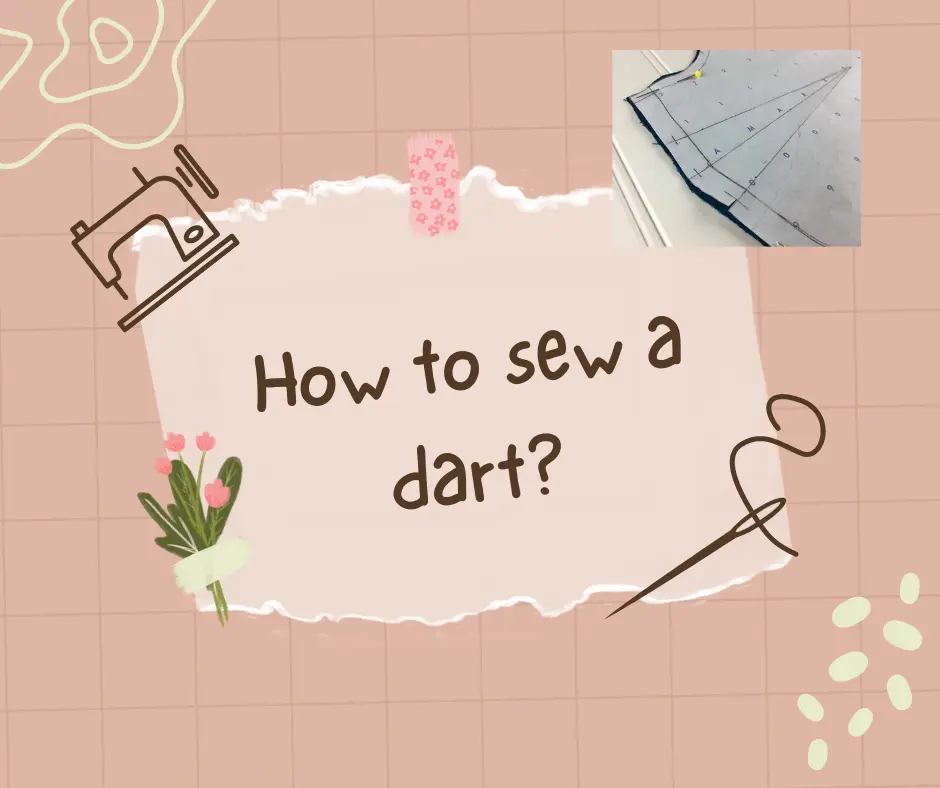
To sew a dart, start by marking the dart lines on your fabric using tailor’s chalk or a fabric pen, then fold the fabric right sides together so the dart legs align. Pin along the dart, beginning at the wide end and tapering to the point. Sew from the wide base toward the tip, gradually easing off the stitch near the point without back-stitching. Knot the thread ends to avoid puckering. Press the dart flat toward the center or down, depending on the garment type for a smooth, professional finish. Darts help shape fabric to fit the body, especially in bust, waist, or hip areas.
Mastering the art of learning how to sew a dart can be an invaluable skill for anyone interested in creating well-fitted, high-quality garments. With the use of darts, the fabric may be shaped and made to match the contours of the body in a pleasing way.
Despite the fact that sewing a dart may seem easy to understand, a polished and expert-looking outcome of sewing a dart demands accuracy and close attention to detail. Learning how to sew a dart may improve the fit and quality of your projects, whether you are a novice or an expert sewer. The end result will be wonderfully fitted clothes that will make you feel good about yourself and fashionable.
As a sewing beginner, I have been struggling to know different sewing techniques, but the best one that I came across was “sewing darts”. Without darts in sewing, I came to know that the clothing was not in a proper fit, but this was still than when I was unaware of darts in sewing. As soon as I come to know about “how to sew a dart”, and I incorporated them in my sewing fabrics a significant improvement in the garments fitting was found.
Adding sewing darts to my clothing, allowed me to create precise and accurate sewing details to my clothing. I was so happy after sewing the clothes which had sewing darts in them that a sense of satisfaction and a feeling of empowerment was in my mind. Because I was able to achieve a high level of precision and accuracy in sewing clothes. This technique of sewing darts resulted in well-fitted garments of my choice and it enhanced my confidence and comfort level to master this technique in sewing.
In this thorough instruction, I‘ll show you how to sew a dart and provide you with practical advice and approaches to help you master this essential sewing skill of sewing darts. Also we will discuss some types of darts used in sewing.
How to sew a dart? Step by step
Collect all required tools and Equipment:
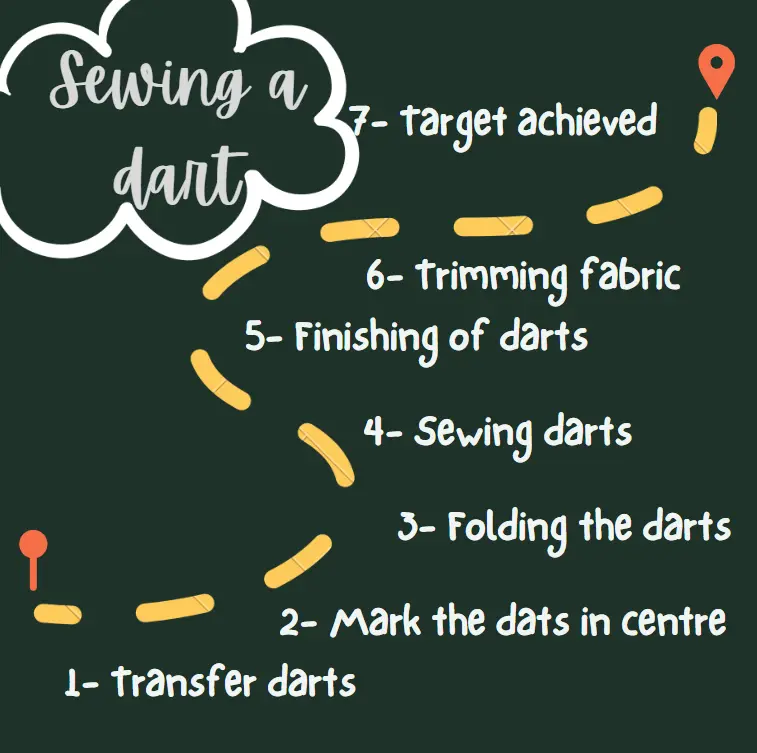
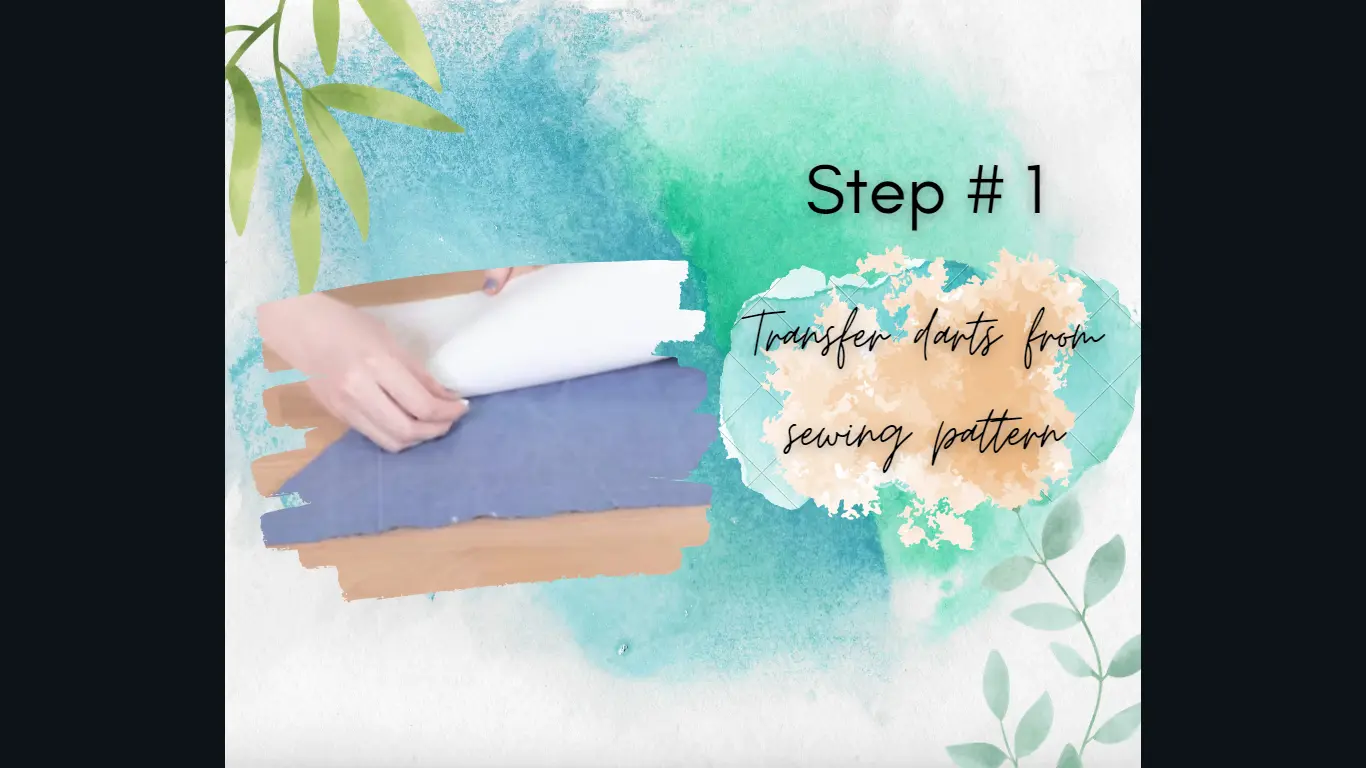
Step 1 – Transfer darts from a sewing pattern to a fabric
A crucial step in sewing is transferring darts from a sewing pattern onto your cloth. This is how you do it:
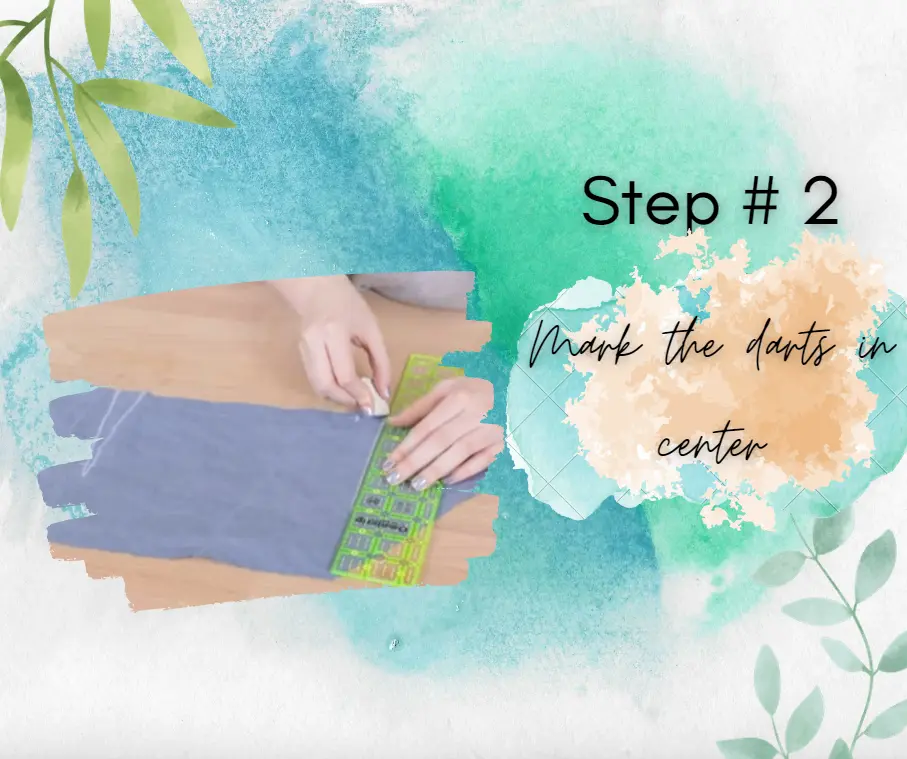
Step 2 – Mark the dart in centre
Marking the centre of the dart on your cloth is the second step in sewing a dart. The distance from the fabric’s edge to the spot where the dart will start can be measured using a ruler or measuring tape. Then, use a pin or another marking tool to indicate this spot. Next, determine the dart’s length and mark the endpoint. Using your marking tool, draw a straight line joining the two spots and draw a line in the centre of the dart.
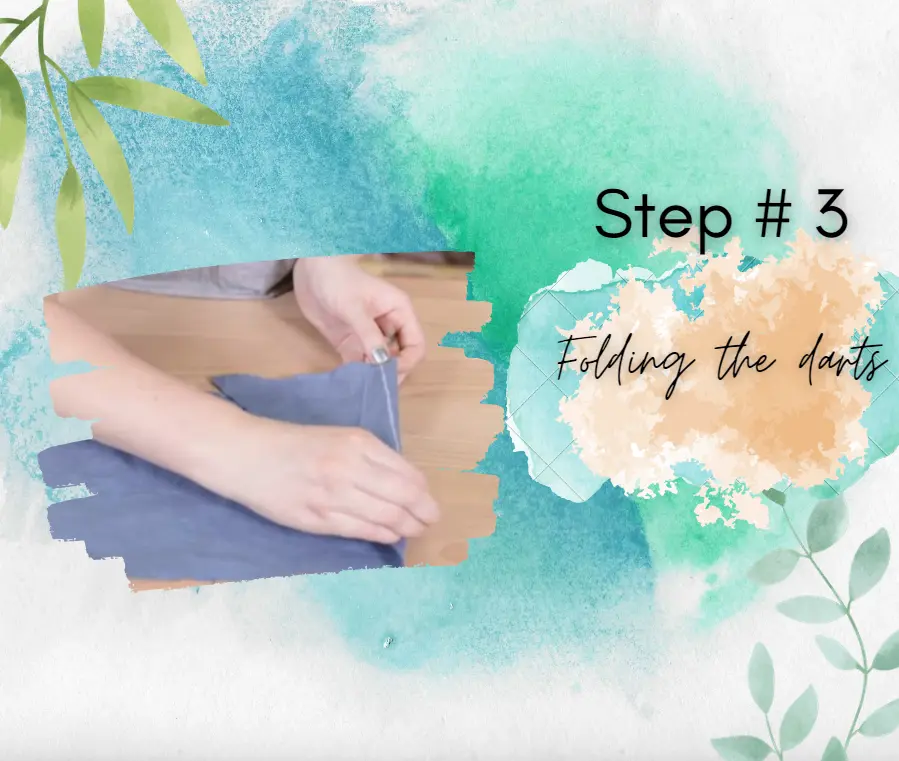
Step 3 – Folding the dart in sewing darts
The third stage involves folding the darts. Fold the cloth along the marked line with the right sides facing each other and the two sides of the line parallel to one another. This makes it easier to make sure the fabric is folded evenly and that the dart is properly stitched. Pins can be used to secure the cloth in place so that it stays in place while being sewn. These methods will help you make a dart that adds structure and shape to your garment and has a professional appearance.
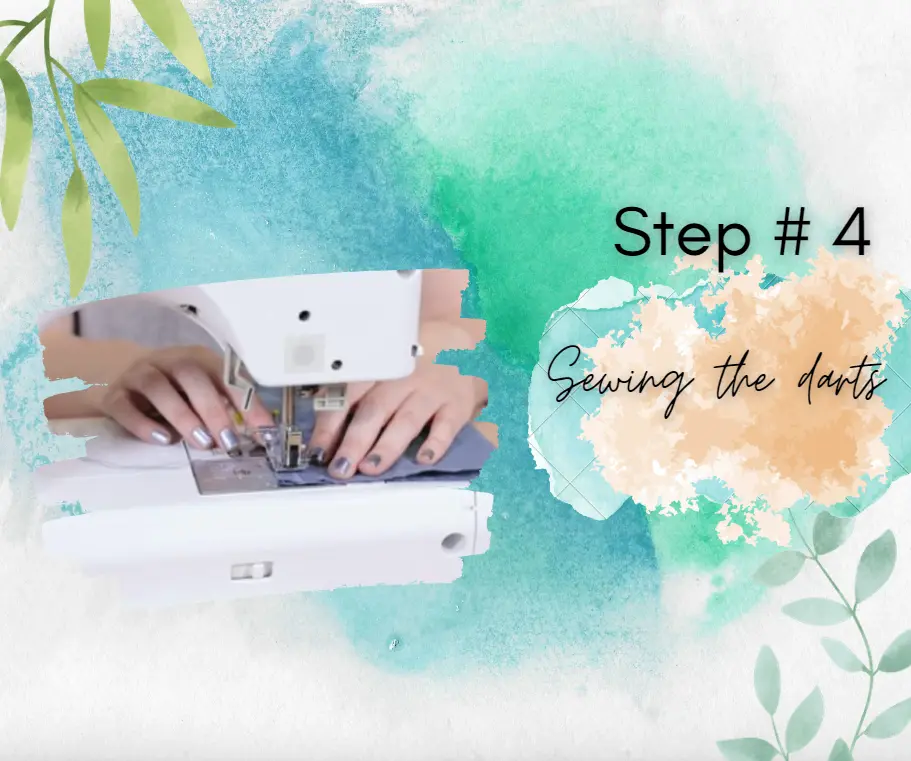
Step 4 – Darts sewing
The fourth step in sewing darts entails running a sewing machine along the fabric’s specified line, starting at the larger end of the dart and ending at the point. This results in a tapered shape that makes it possible for the clothing to fit more closely to the body. Backstitching is necessary to anchor the stitches and keep them from unraveling overtime at the start and end of the dart. Even though attaching darts to a garment may seem like a little component in the process of creation, it has a significant impact on how well it fits and looks overall.
Read more: What are notches in sewing?
Step 5 – Finishing of the dart in sewing darts
Finishing the dart in learning how to sew a dart is crucial for producing a garment with a polished appearance. To help shape the cloth and make the dart lie flat, the dart should be pushed with a hot iron after it has been sewn. A tailor’s ham can be used to push the dart if it is on a curved portion of the garment. The cloth is shaped and given a smooth finish with the aid of this specialized pressing tool. The cloth will lay flat and take on the desired shape if the dart is pressed, producing a well-fitting and aesthetically pleasing garment.

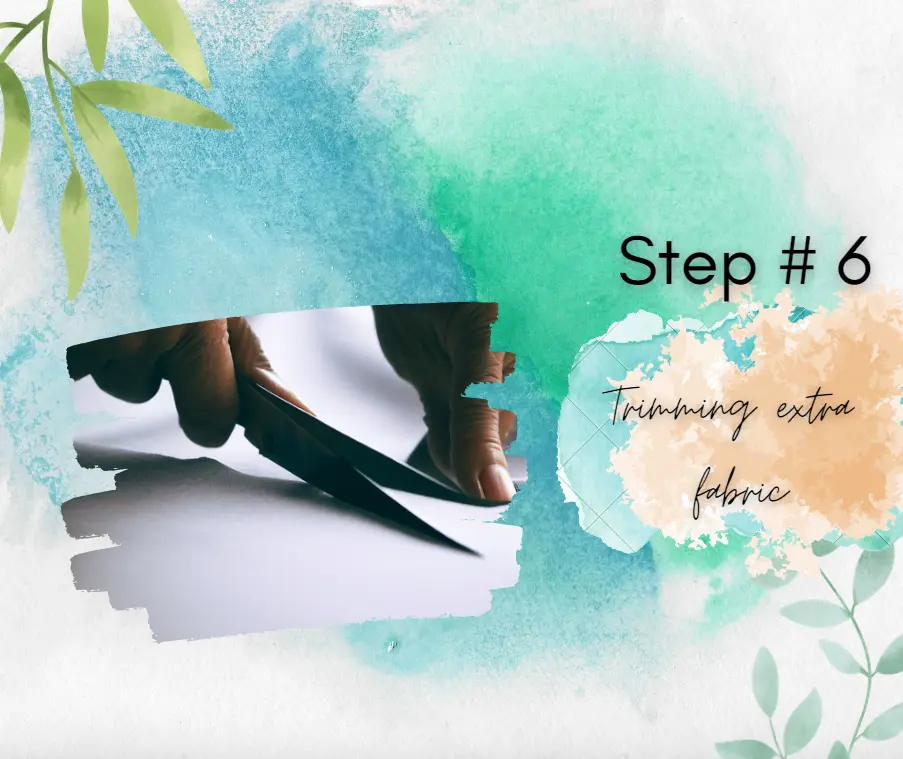
Step 6 – Trim the excess fabric
Trimming the excess fabric in learning how to sew a dart is essential for producing a neat and polished-looking garment. The excess fabric inside the garment should be trimmed once the dart has been pressed. If you want to keep the dart from unraveling over time, make sure to leave a very minimal seam allowance. It’s equally crucial to avoid cutting through the stitches, as doing so could jeopardize the integrity of the dart and the garment as a whole. You can ensure that your garment looks nice and polished and that the dart will keep its shape and structure over time by taking the time to carefully remove the surplus fabric.
Step 7 – Enjoy the fitted fabric after sewing darts
Well done! You’ve brilliantly learned how to sew a dart successfully. You can master molding fabric to fit the contours of the body with a little practice. Keep in mind that sewing darts demands patience and accuracy, so take your time and do it right.

Types of sewing darts – 12 Types of darts in sewing
Darts are a versatile and essential component of sewing. They are used to create shape and contour in fabric to fit the curves of the body. Here are 12 different types of sewing darts that you can use in your sewing projects:
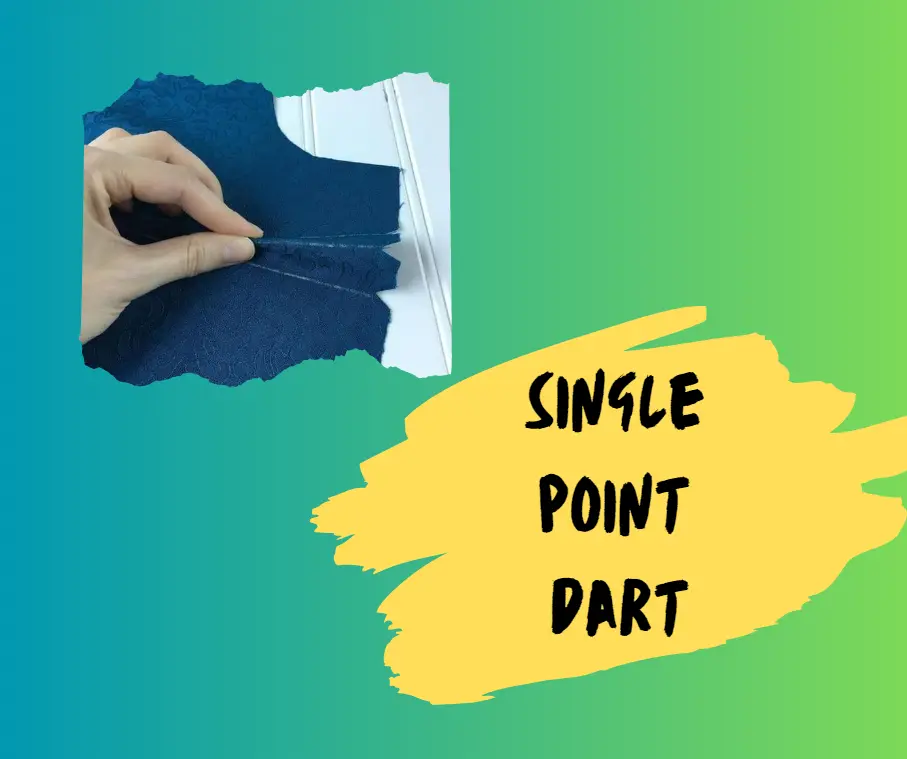
Single-point dart
This is the most basic type of dart, with a single point at the end of the dart. A kind of dart used in sewing is the single-point dart, which is used to shape and contour fabric to meet body curves. With just one point at the end, they are the most fundamental kind of dart and are frequently employed in a range of clothing, including dresses, skirts and pants.
The cloth is folded along a line drawn on the pattern to form single-point darts, with the point of the dart finishing at the seamline. After that, the dart is stitched together, tapering from its widest point to its point.
Single-point darts are a useful and important sewing tool that may be used to shape and contour fabric in a variety of ways.
Double-point dart
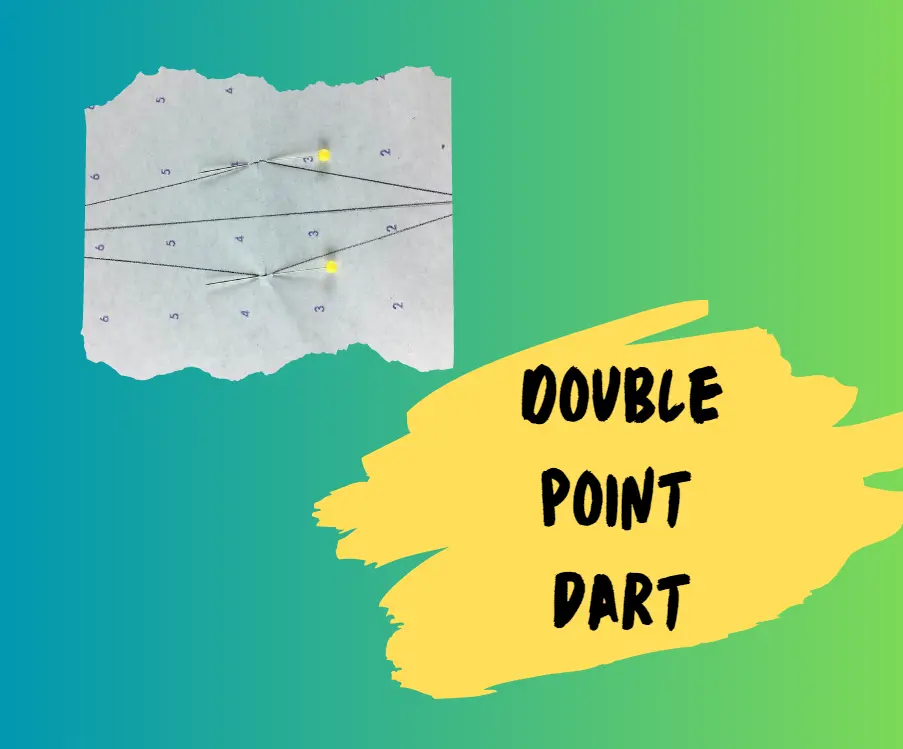
The end of this dart has two points, giving it a wider form. A type of dart used in sewing is the double-point dart, which is used to shape and contour fabric to fit body curves. They have two points at the end of the dart, as the name would imply—one at the top and one at the bottom. Double-point darts are frequently used to produce shaping in the front and back of clothing, such as blouses and dresses. Usually, the fabric is folded along two lines indicated on the pattern, and the dart legs are then sewn together.
Curved dart
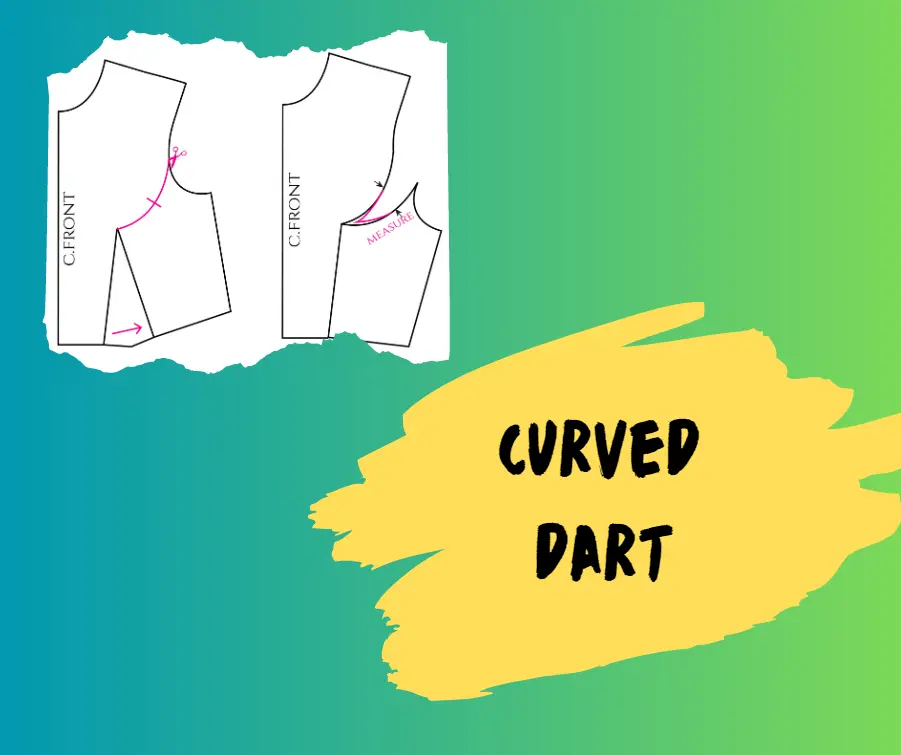
This type of dart is used to contour cloth to the bust, hips, and other curving parts of the body. The type of dart used in sewing to shape and contour fabric to fit the curves of the body is called a curved dart. Curved darts, as opposed to single- or double-point darts, which are straight, mimic the body’s natural curve. Dresses and jackets frequently have curved darts to offer shape around the breast or hip region.
Usually, to make a dart, a curved line is drawn on the fabric, and the fabric is folded along this line. When learning “how to sew a dart”, the dart legs are then sewn together, with the taper beginning at the widest point and ending at the point.
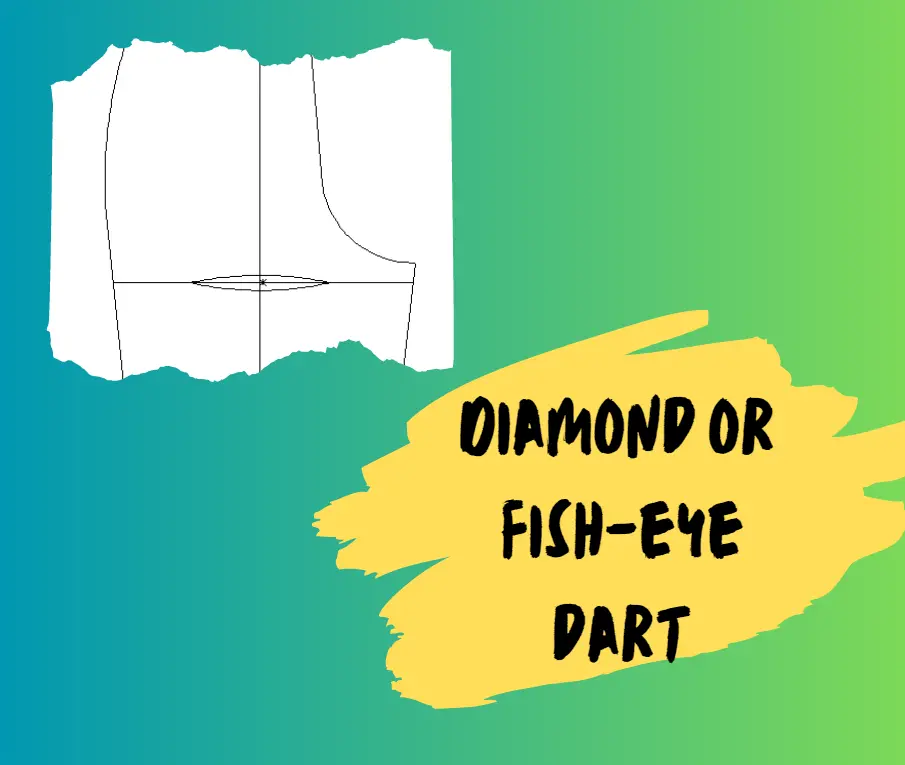
Diamond dart or Fish eye dart
This diamond-shaped sewing dart is frequently used in men’s formal shirts. A fish eye dart is another name for it. Diamond-shaped darts have curved sides and points at each end, giving them the appearance of a real diamond. In women’s clothes, they are frequently used to shape fabric around the bust or hip region where a regular dart might not be able to do so. Fabric is cut along the centre of a diamond-shaped pattern to make diamond darts, which are then folded into a V shape.
Inverted dart
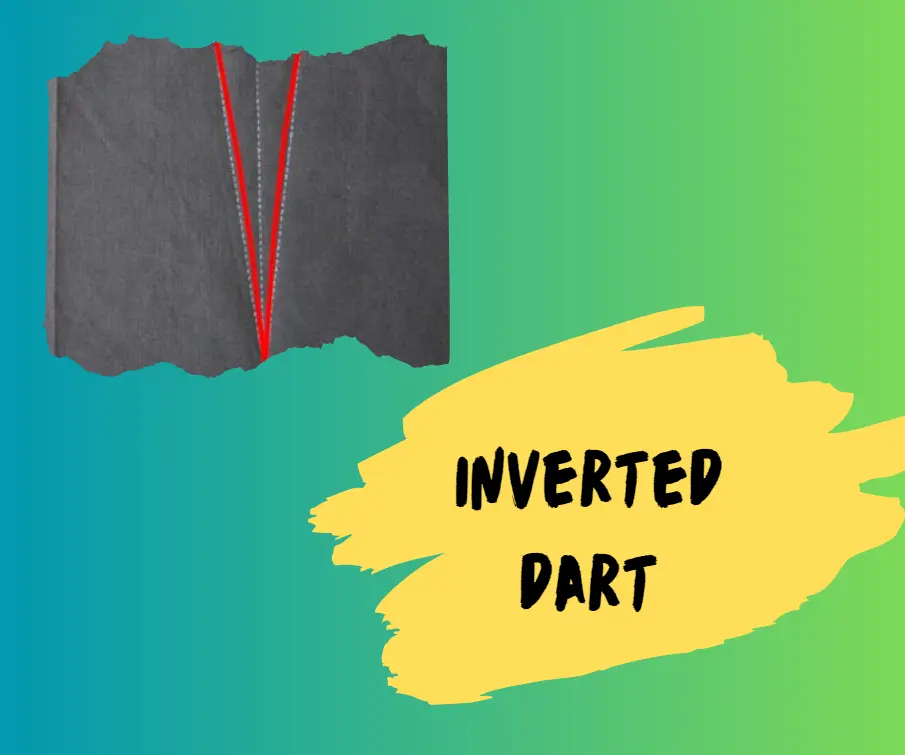
This dart has a raised seam on the fabric because it is sewed in the opposite way of a typical dart.
A form of dart called an inverted dart is used in sewing to shape and contour fabric to meet body curves. Inverted darts begin at a point and then broaden out towards the seam in contrast to conventional darts, which taper from the widest point down to the point. In order to shape the back of clothing, inverted darts are frequently utilised in blouses and jackets. Usually, in mastering the art of “how to sew a dart”, a straight line is marked on the fabric, and the fabric is folded along this line. This is inverted from a normal sewing dart.
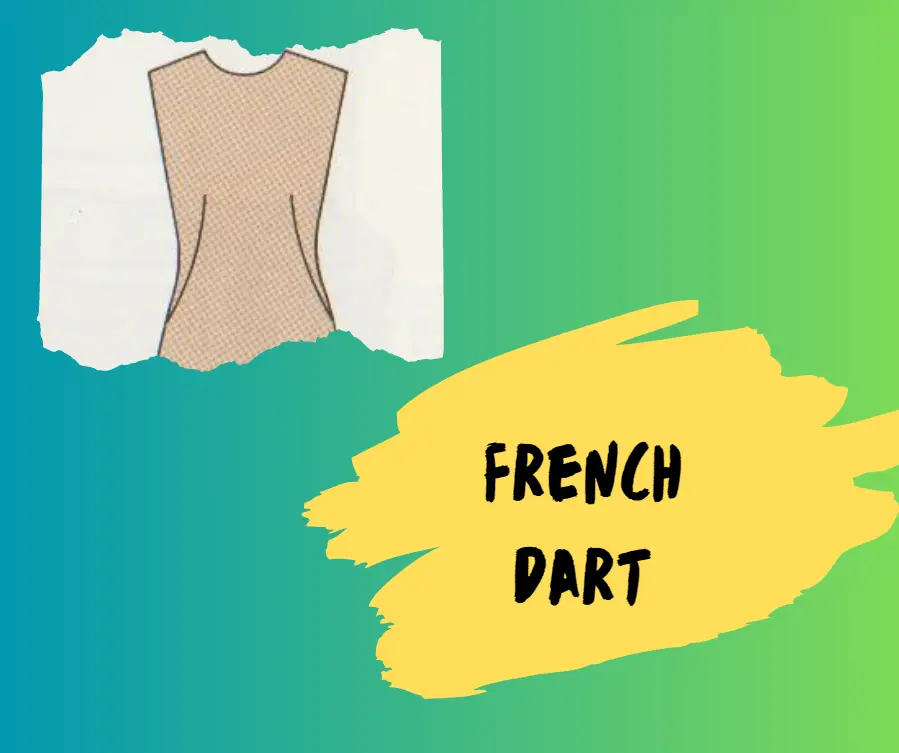
French dart
This dart creates a more fitting form by beginning from the side seam and tapering towards the bust. An example of a dart used in sewing is the French dart, which is used to mould and contour fabric to fit body curves. It is a diagonal dart that rises up towards the bust or armhole from a garment’s side seam.
French darts are frequently employed to offer shaping around the bust area in women’s apparel, such as blouses and dresses. Usually, they are made by folding the fabric along a line drawn on the pattern, then sewing the dart legs together such that the point of the dart is tapered from the broadest section of the dart. French darts are a flexible and refined technique for learning how to sew a dart.
Side dart
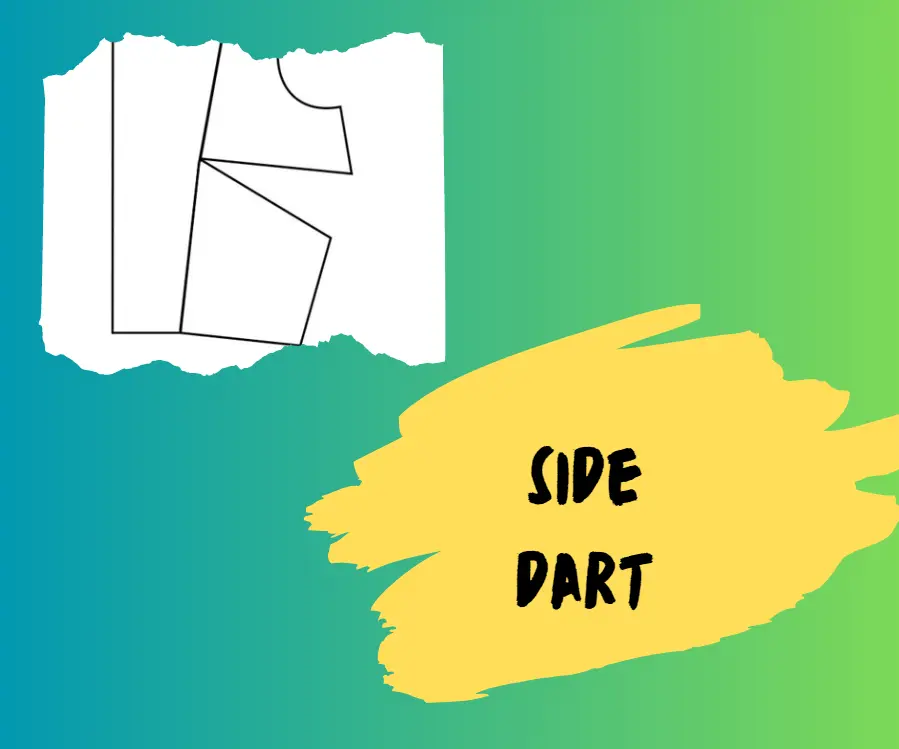
This dart is positioned on the side of a garment to give the waist area a more fitting appearance.
An example of a dart used in sewing is a side dart, which is used to shape and contour fabric to meet body curves. It is attached to a garment’s side seam and stretches up towards the bust or waist, as the name suggests. Women’s apparel, including dresses and blouses, frequently has side darts to assist shape and provide a more attractive silhouette.
Usually, they are made by folding the fabric along a line drawn on the pattern, then sewing the dart legs together such that the point of the dart is tapered from the broadest section of the dart. Using side darts is an easy and effective method of mastering the art of how to sew a dart.
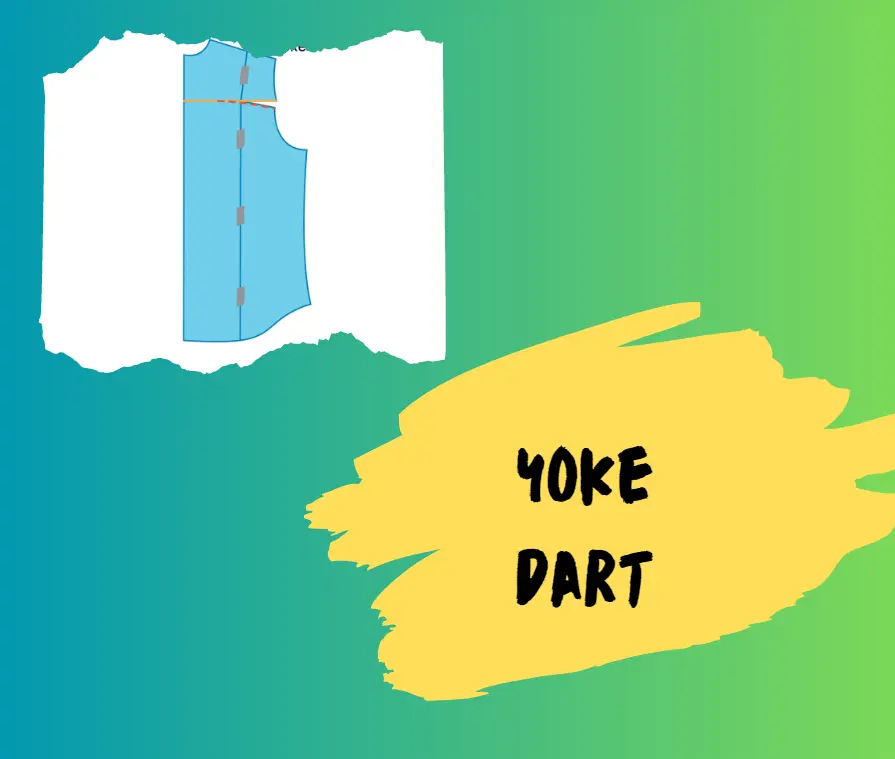
Yoke dart
This Y-shaped dart is frequently located on the back of shirts or dresses. To shape and contour cloth in the yoke portion of a garment, such as a shirt, dress, or blouse, a yoke dart is a sort of dart that is frequently used in sewing.
The yoke dart is used to offer shaping and a better fit in this area. The yoke is the portion of cloth that sits across the shoulders and upper back. Yoke darts are normally made by folding the fabric along a line drawn on the pattern, then sewing the dart legs together so that the point of the dart is tapered from the broadest section of the dart. Yoke darts are a practical tool for adding shape to a garment, while maintaining a clean and streamlined look. It is a yoke dart that starts from the waistline and extends up towards the bust or armhole.
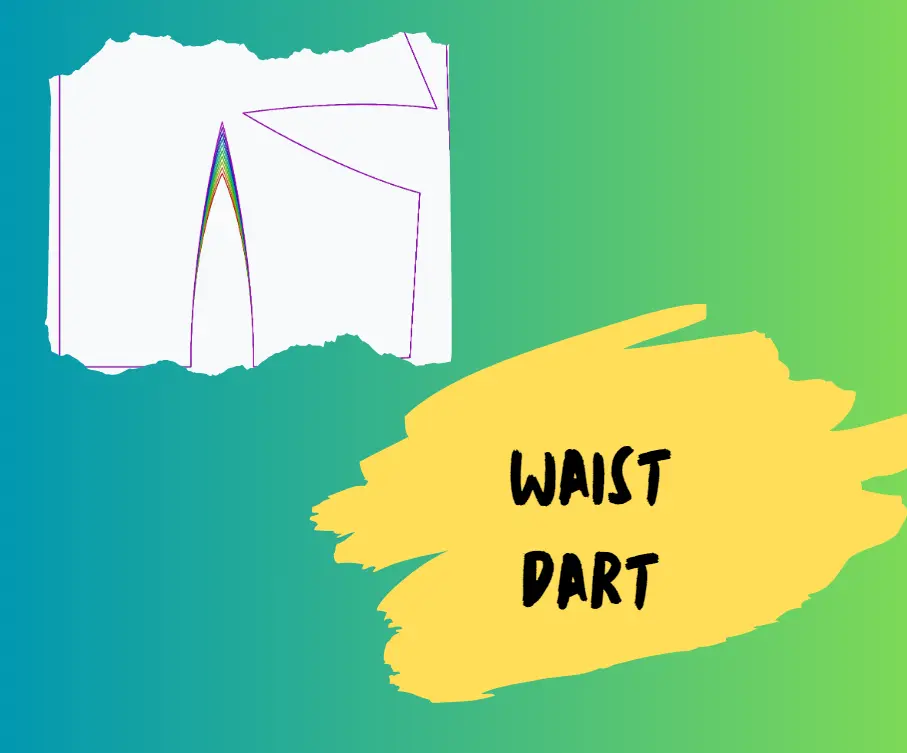
Waist dart
To give shape to the waistline, this waist dart is sewn into the front and back of a garment. It is a diagonal seam that rises up towards the bust or armhole from the waistline. Women’s apparel, including dresses, blouses, and skirts, frequently has waist darts to enhance shaping and provide a more form-fitting silhouette.
To make them, fold the fabric along a designated line on the pattern, then sew the dart legs together such that the point of the dart is tapered from the broadest part of the dart. Waist darts are a quick and easy way to give a garment shape, and they can assist produce a more tailored and fitting appearance.
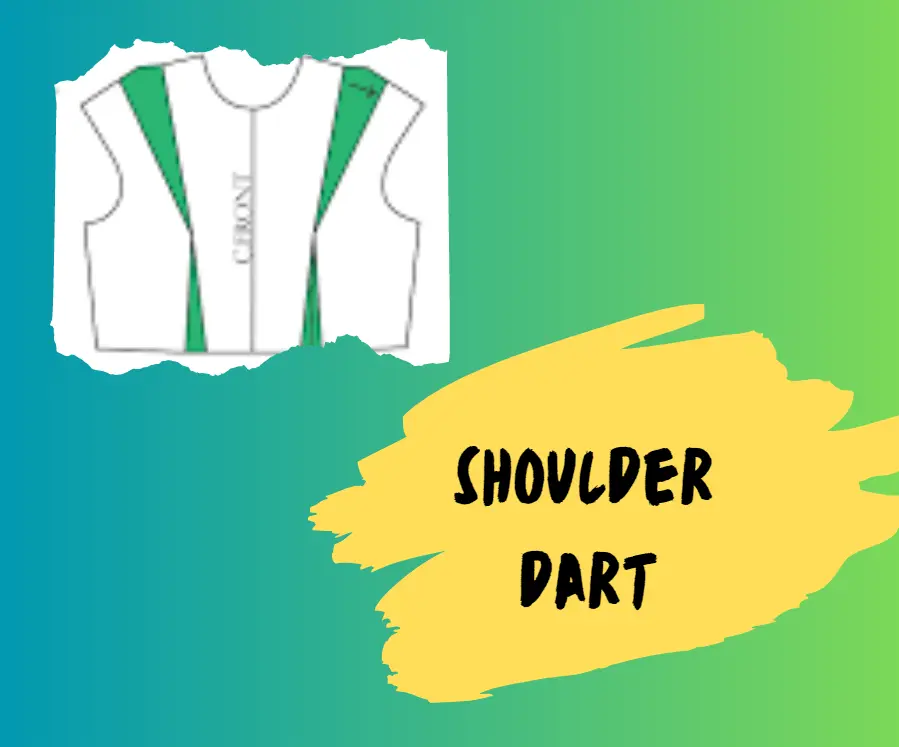
Shoulder dart
This dart is sewed at the seam of the shoulder to give the armhole contour. It is frequently discovered in clothing with built-in sleeves, such as coats, skirts, and blouses. The fabric is folded along a defined line on the design to form the shoulder dart. The dart legs are then stitched together, tapering from the widest section to the point. Shoulder darts can serve to give a garment’s shoulder area shape and structure as well as contribute to a more tailored and fitting appearance. They are helpful for modifying a garment’s fit to account for various shoulder widths and slopes.
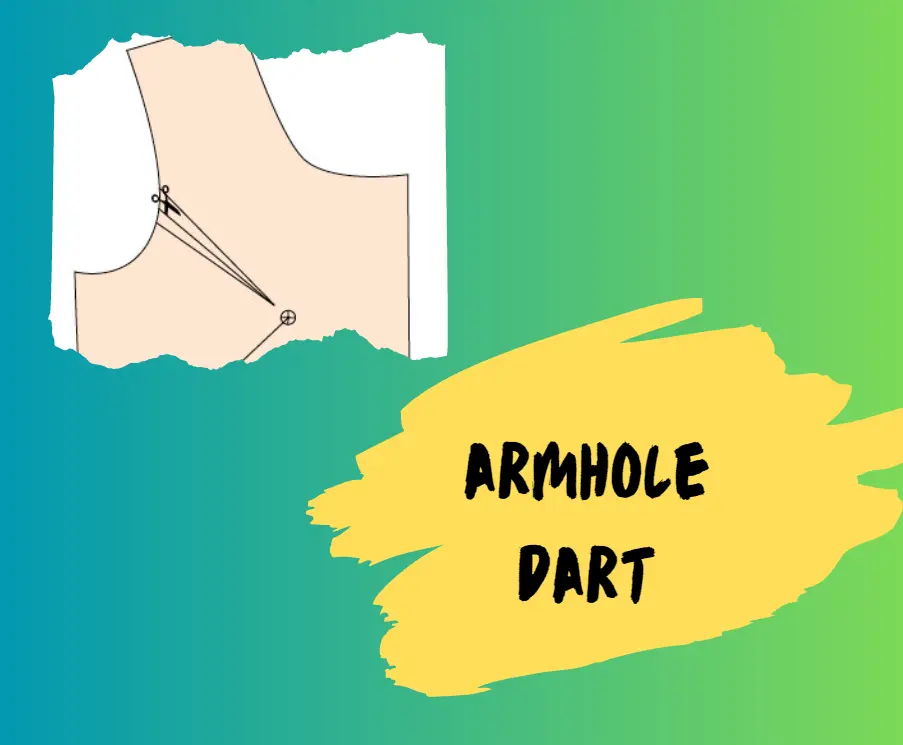
Armhole dart
In understanding on how to sew a dart it is important to know about armhole dart. This dart is stitched at the armhole to give the shoulder and underarm contour. Armhole darts are a practical approach to give the armhole area a more tailored and fitting appearance. They can also be used to modify the fit of a garment to match various body types.
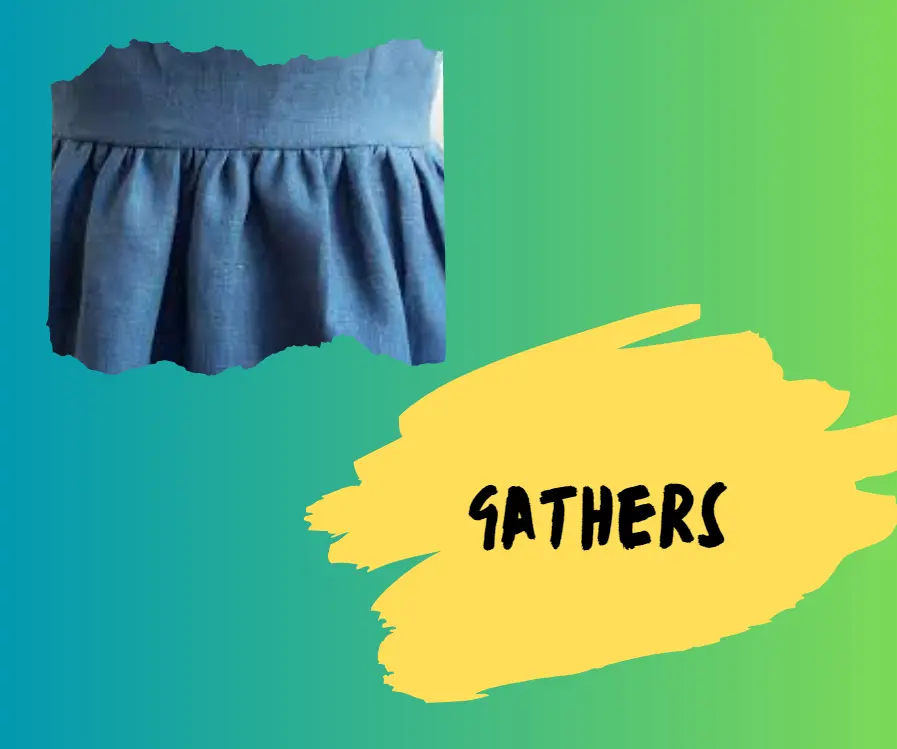
Gathers
Gathers, while not strictly a dart, are used to give cloth structure and fullness, as in a gathered skirt or waistline. A sewing method called gathering can give a piece of fabric more fullness. They are made by pulling the fabric in small, even folds along a thread or line of stitching.
Gathers can be utilised in many different ways, such as to shape a garment’ bodice or add fullness to a skirt or top. They can be completed by hand or using a sewing machine’s gathering foot. Using gathering, which can be used to produce a range of distinct looks for clothing, is an easy and efficient approach to give it stylish texture and versatile dimension.
These are just a few of the many types of darts you can utilize when learning how to sew a dart, in your sewing projects. Experiment with different dart shapes and placements to create unique and custom-fit garments.
How to press darts in sewing?
Pressing is a crucial step in sewing darts, as it helps to shape and set the fabric in place. Here are the steps to properly press sewing darts:
Difference between pleats and darts in sewing
The sewing techniques of pleats and dart are both used to shape and contour fabric to fit the curves of the body. They are different in terms of construction and look, though.

Additional tips for how to sew darts
Here are some additional tips for sewing darts

Conclusion
In conclusion, sewing darts is an essential attribute for creating a garment with a polished appearance that fits properly and enhances the wearer’s form. You may master this technique and produce clothes that highlight your sewing abilities by following the instructions laid out in this tutorial and putting the advice you learn into practise.
As you hone your technique, keep in mind to take your time, use high-quality supplies and tools, and practise patience. Sewing darts will become simpler and more instinctive with practise and close attention to detail, enabling you to make lovely, well-fitted clothes that will be praised and loved for years to come.
How to Sew Darts – Beginner & Advanced

