HOW TO SEW ON A BUTTON WITH 4 HOLES: BASIC GUIDE
How to sew on a button with 4 holes is a useful skill to have in your sewing store. Whether you are mending a clothing or generating a new clothing item, knowing how to sew on a four hole button is very much essential. Four hole buttons are the most common type of button and can be found on a wide range of clothing items.
In this article, we will walk you through the steps on how to sew on a button with 4 holes with ease. Follow these simple instructions, and you’ll be able to sew on a four hole button like a pro in no time.
How to sew on a button with 4 holes
Materials Required- How to sew 4 hole button

When knowing how to sew a button with four holes the following materials are required:
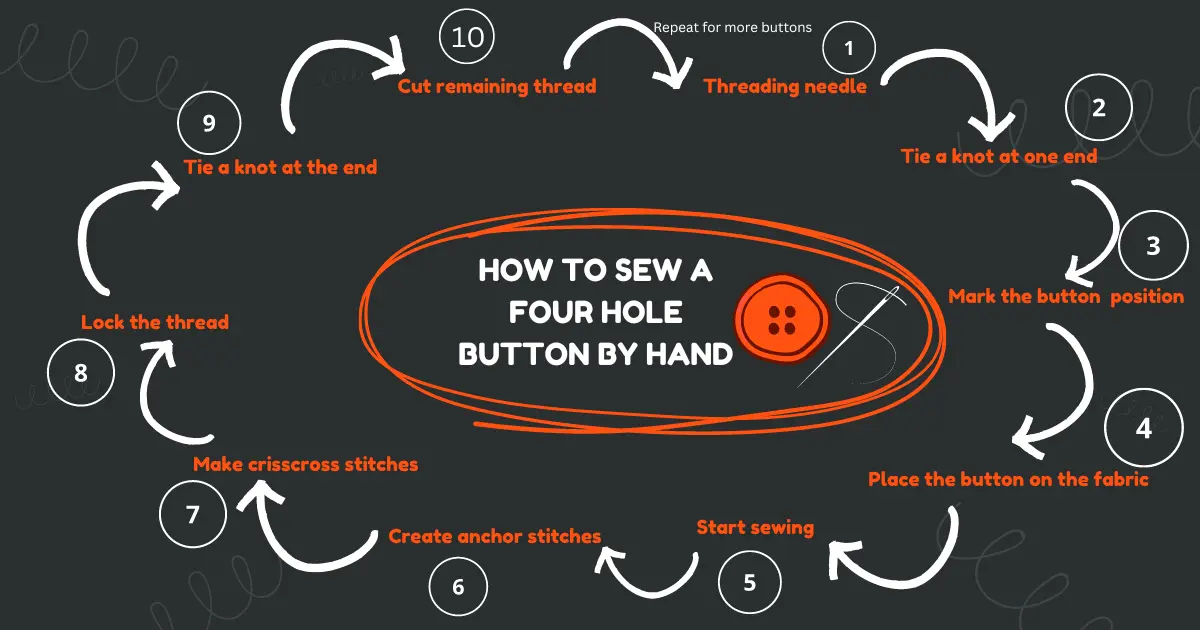
Step 1: Threading the sewing needle
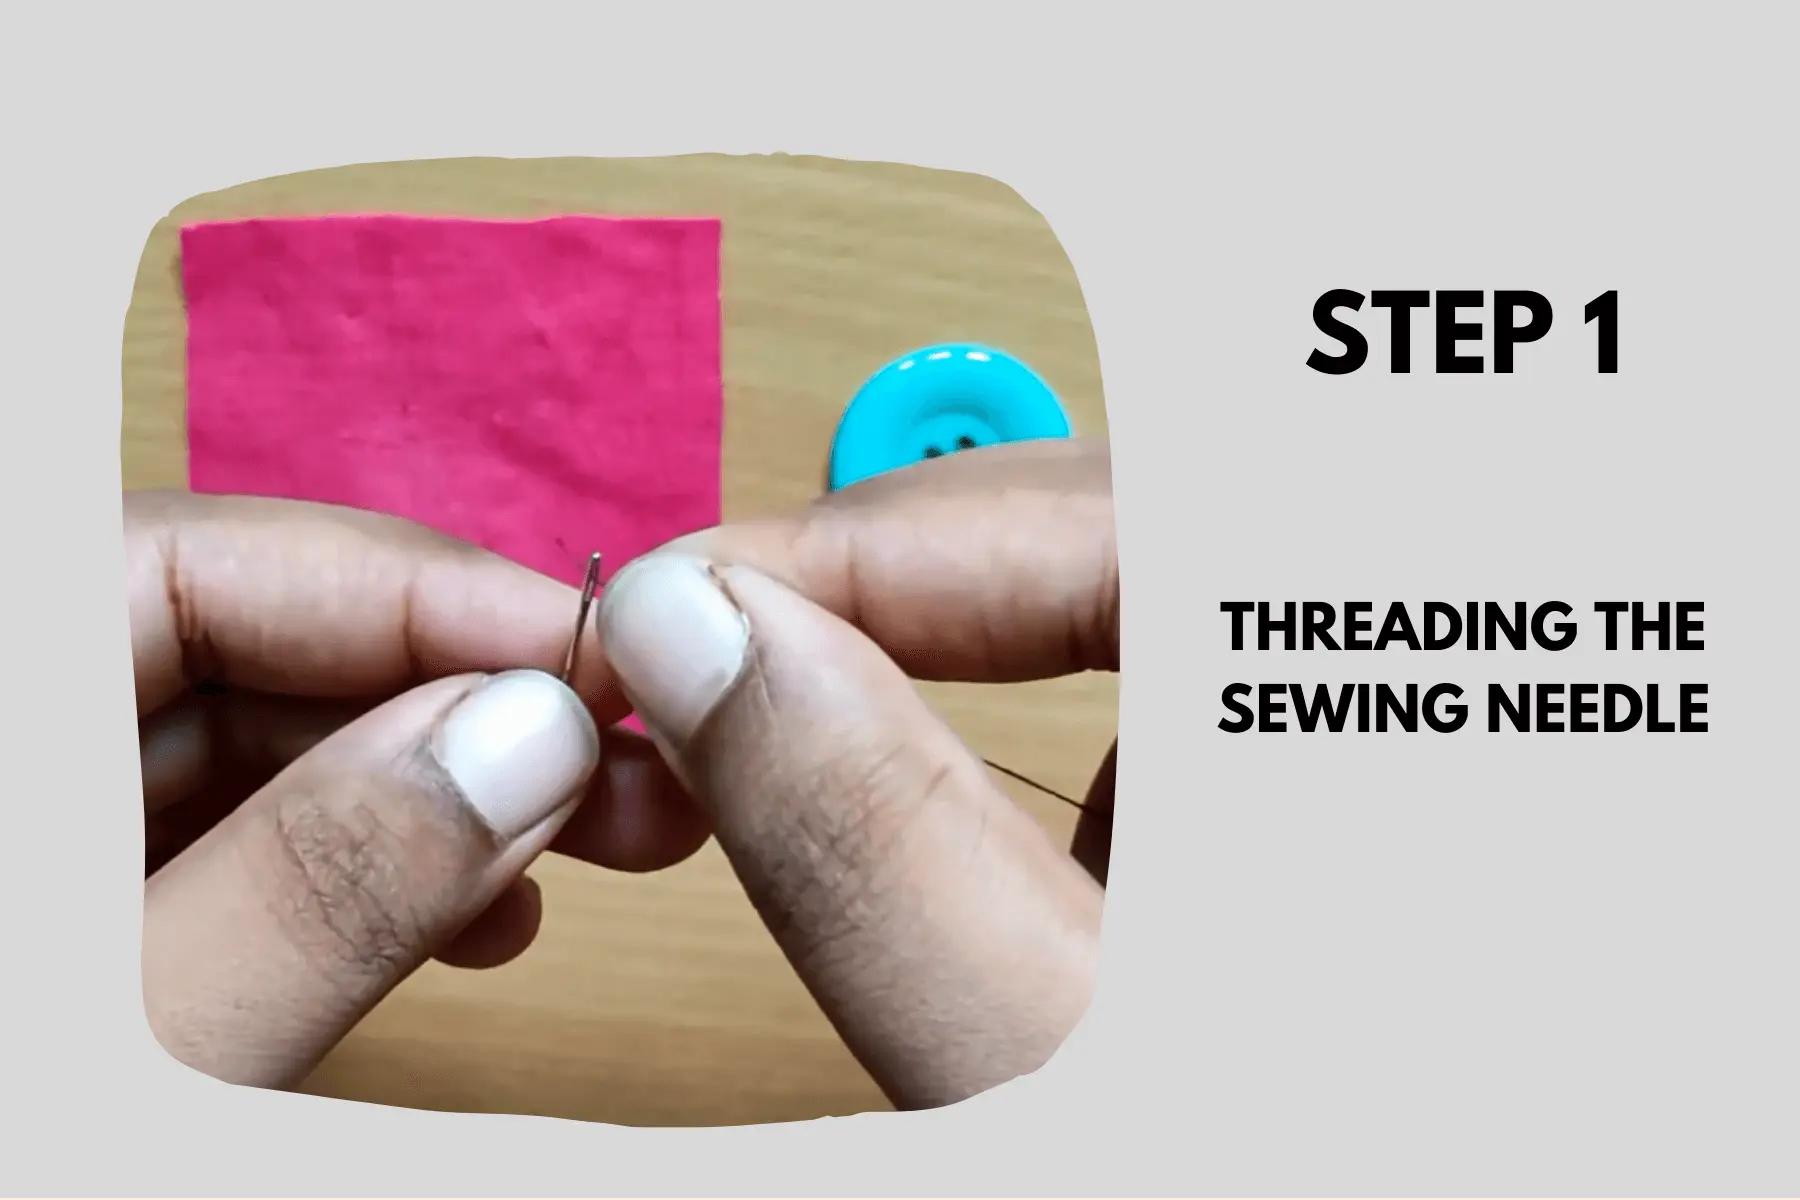
Threading the needle is the first step in sewing a four-hole button. It’s crucial to pick a thread colour that goes with the item of clothing or accessory you’re sewing the button onto. To ensure you have enough thread to sew the button on firmly, cut a length of thread that is twice the length of your arm. After preparing your thread, pass it through the needle’s eye.
To make it simpler to thread through the needle, you can lightly moisten the end of the thread. Before fully pulling the thread through the needle, leave about two inches of thread at the tip. When you begin sewing the button onto the fabric later, this extra length will come in handy. The first step is finished once the thread has passed through the needle, and you are now prepared to continue on to the second step.
Step 2: Tie a knot at one end
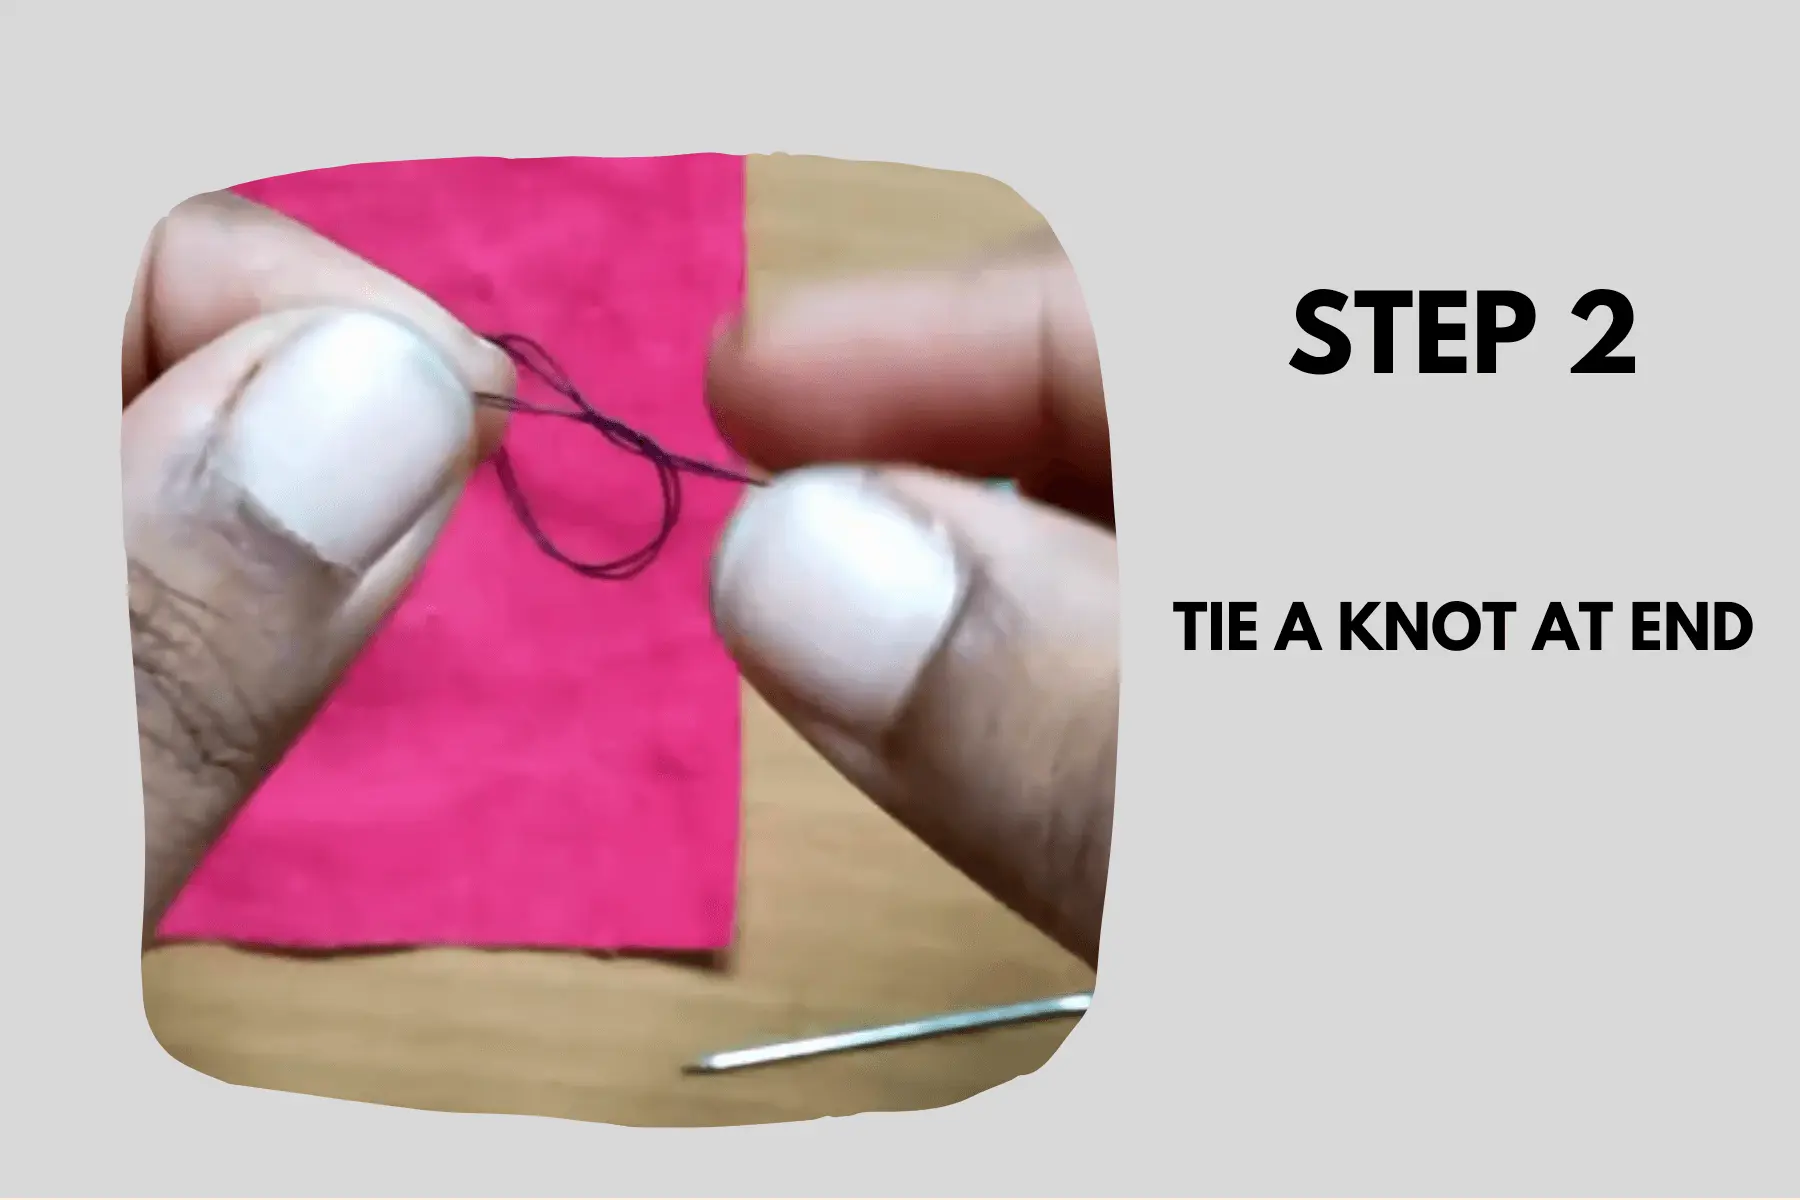
The next step in knowing how to sew 4 hole button, is to tie a knot at the end of the thread after you have first threaded your needle. To do this, fold the thread tail over twice and leave a brief tail at the end of the thread that is about 2 inches long. The end of your thread should now have a loop as a result. With one hand, wrap the thread three times around the loop while holding it at the base with two fingers.
After that, gently pull the long end of the thread through the loop’s center until the knot is at the tail’s end. Make sure the knot is firmly fastened, but not so tightly that the thread bundles up. To make sure the short tail is sturdy and does not slip through the fabric, it should be left near to the knot. Making a knot before stitching is crucial because it prevents the thread from unravelling or coming loose. You can now sew the button on after completing this step.
Step 3: Mark the button placement position
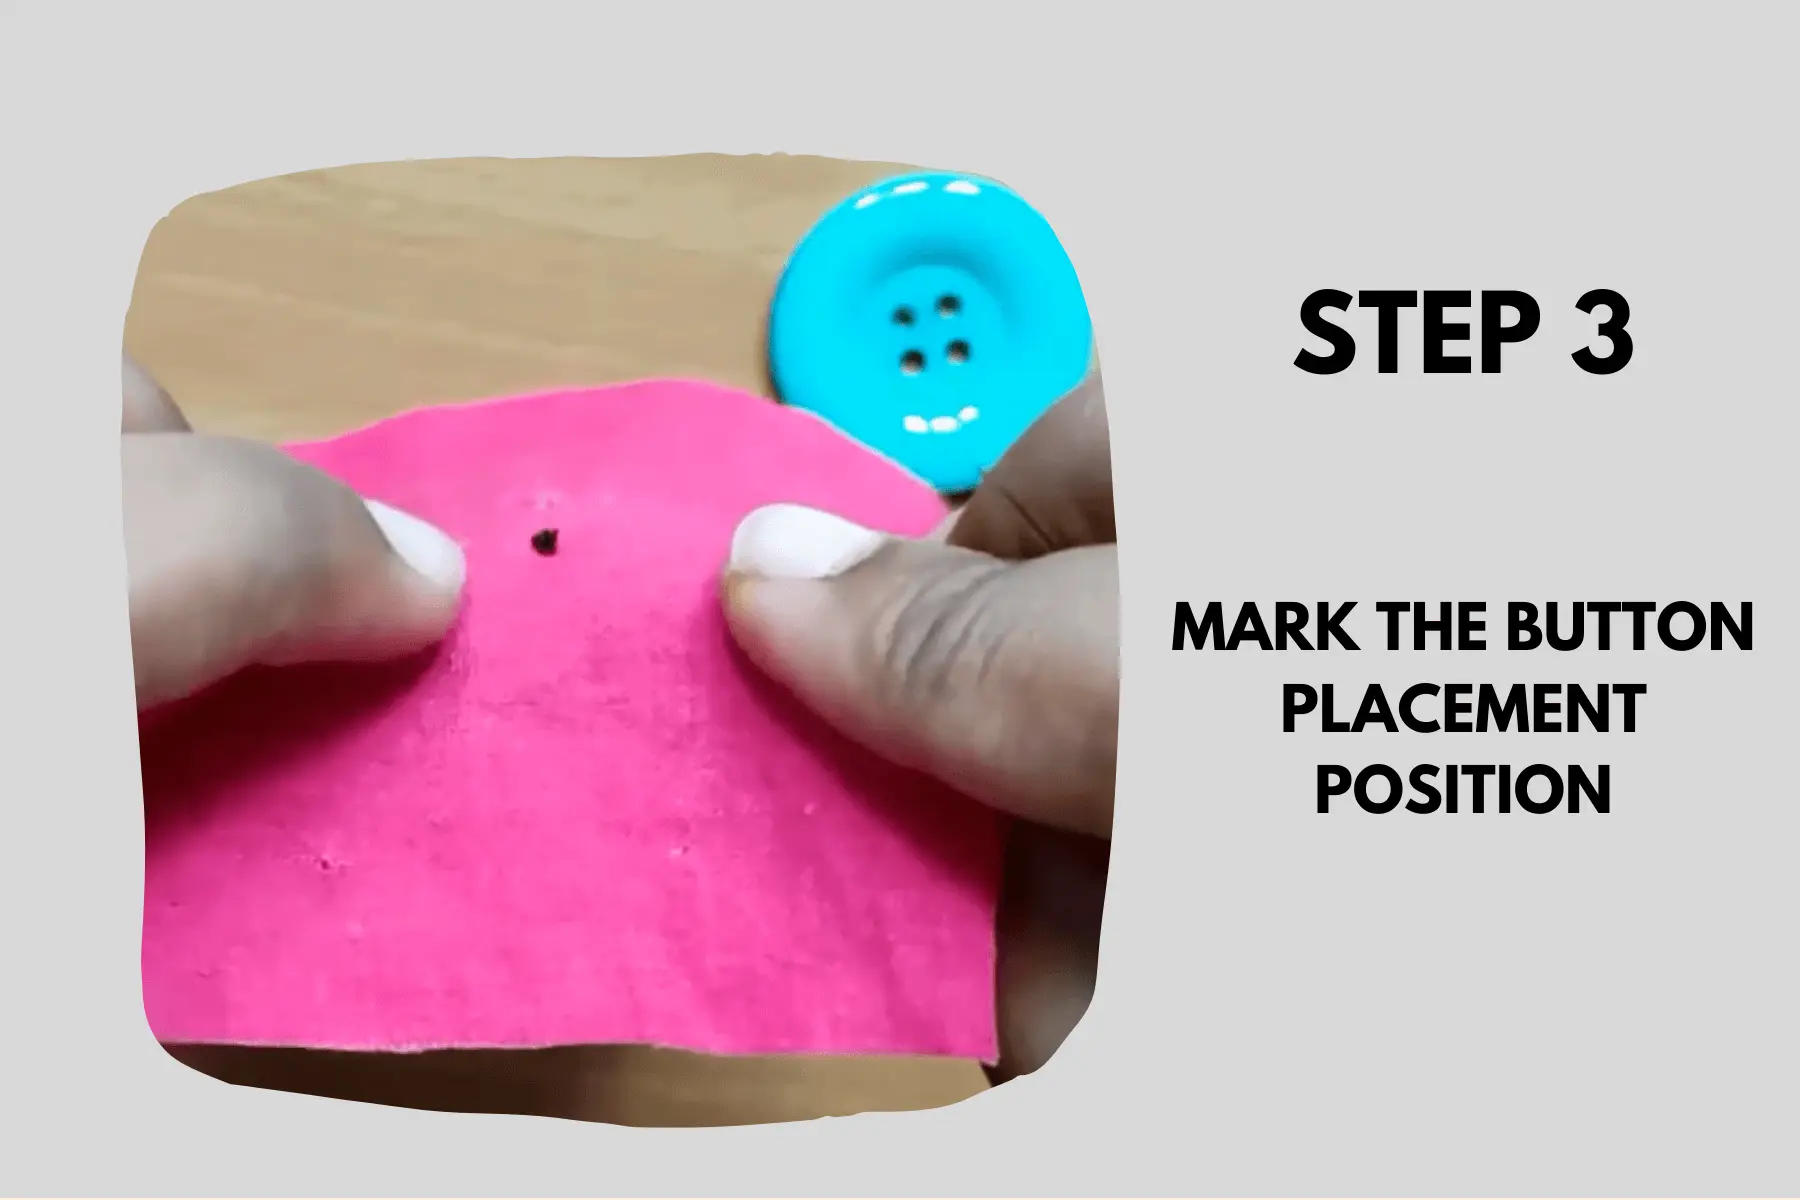
It’s time to designate the location of the button after you’ve secured the thread knot. This is a crucial step in making sure your clothing looks clean and polished. Start by taking a measurement from the edge of the fabric to the desired placement of the button. This distance will vary depending on the type of clothing you are fastening the button to and the size of your button. Measure and mark the center point of the area where you want your button to be affixed using a ruler.
Using a button gauge will help you place your buttons correctly if you are mounting several. With a button gauge, you can measure and space buttons at precise intervals. It may be placed on the cloth, and the sliders can be moved to change the distance between the buttons. This makes sure that your buttons are distributed equally throughout your outfit. In order to give your clothing a flawless finish, marking the button placement is essential since it guarantees that the button is centered and aligned appropriately. After completing this step, you can continue attaching the button by sewing.
Step 4: Place the button on the fabric
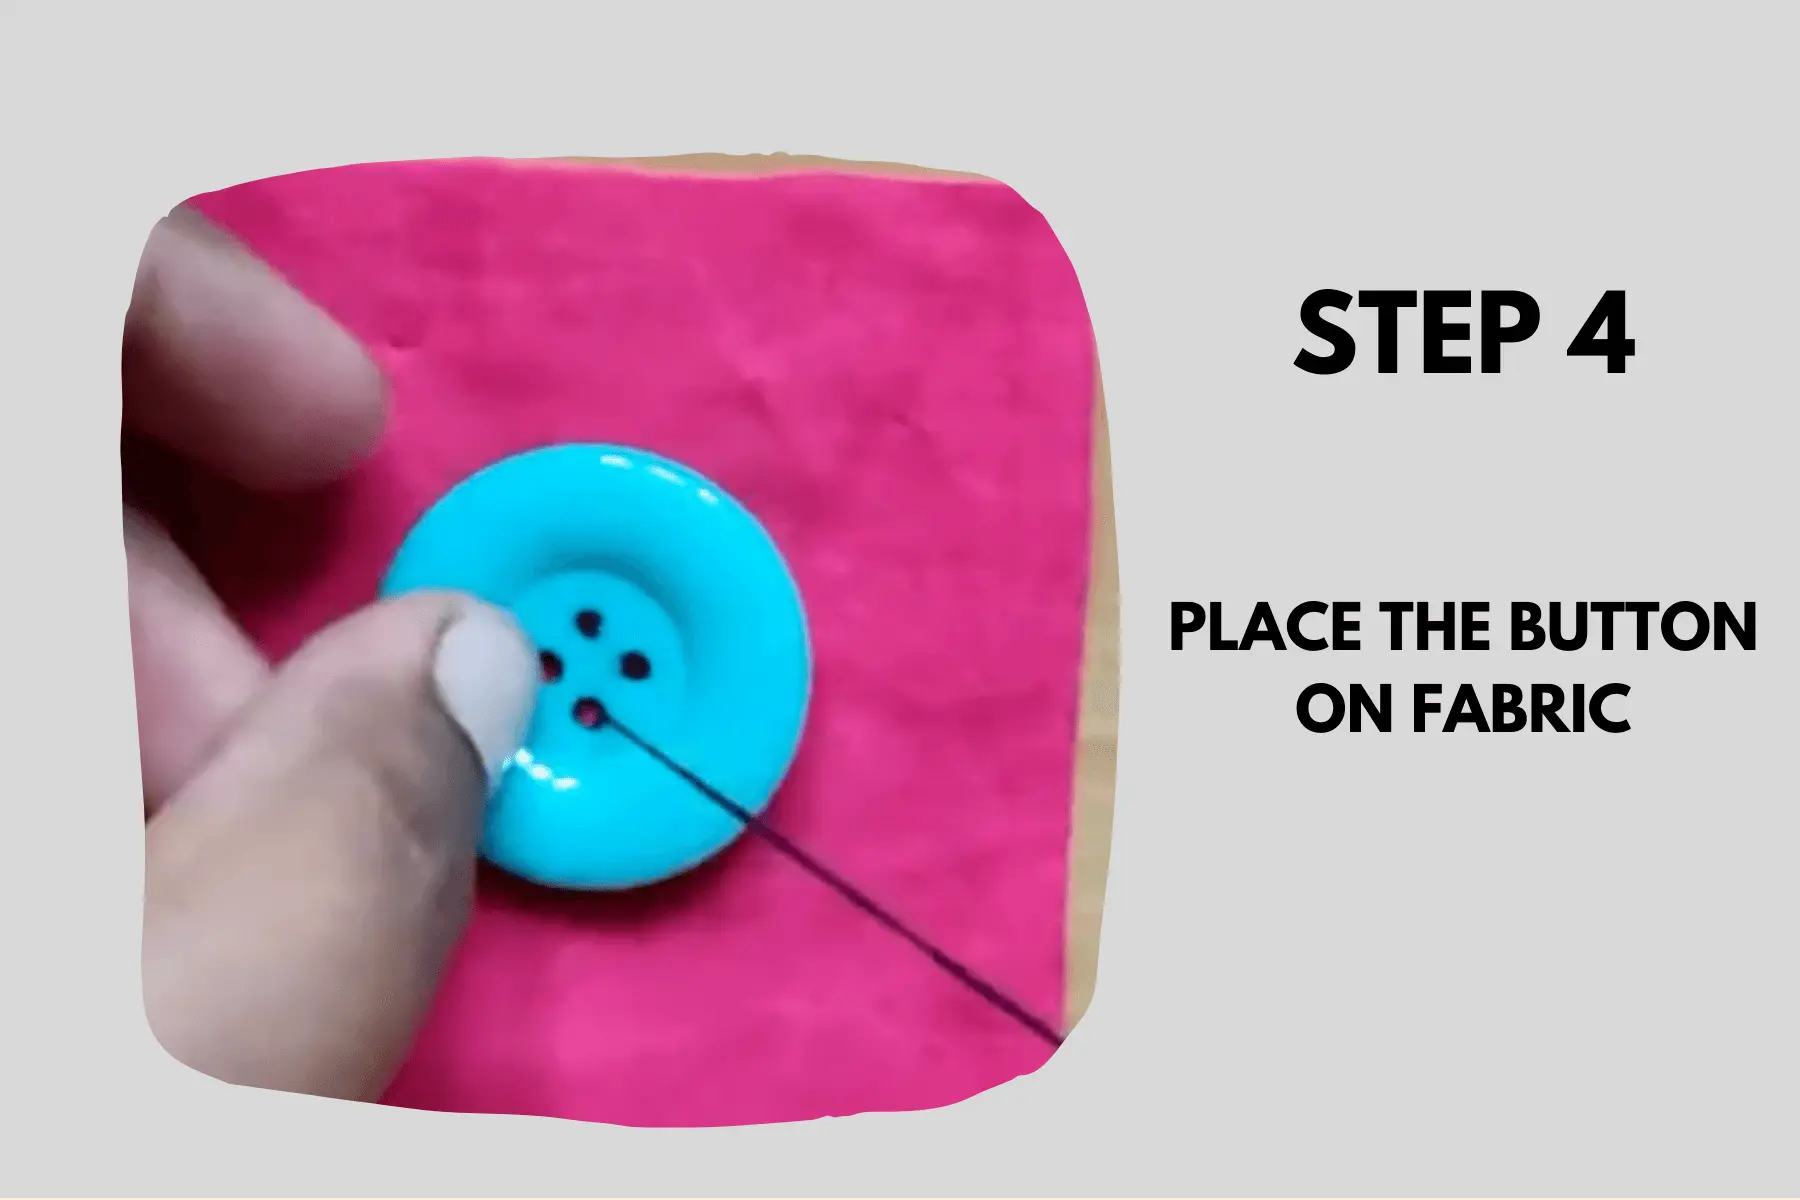
Your outfit might gain some class and charm by placing the four hole button at ideal place. It’s time to carefully and precisely install the ideal button once you’ve made your choice. Mark the location where your button should be placed on your fabric. Then, with the right side facing up, place the button of your choice over the mark with a steady hand. This is the last stage to finishing your gorgeous new costume, and with a little bit of time and care, you’ll have a gorgeously finished item that will impress and delight.
Step 5: Start sewing
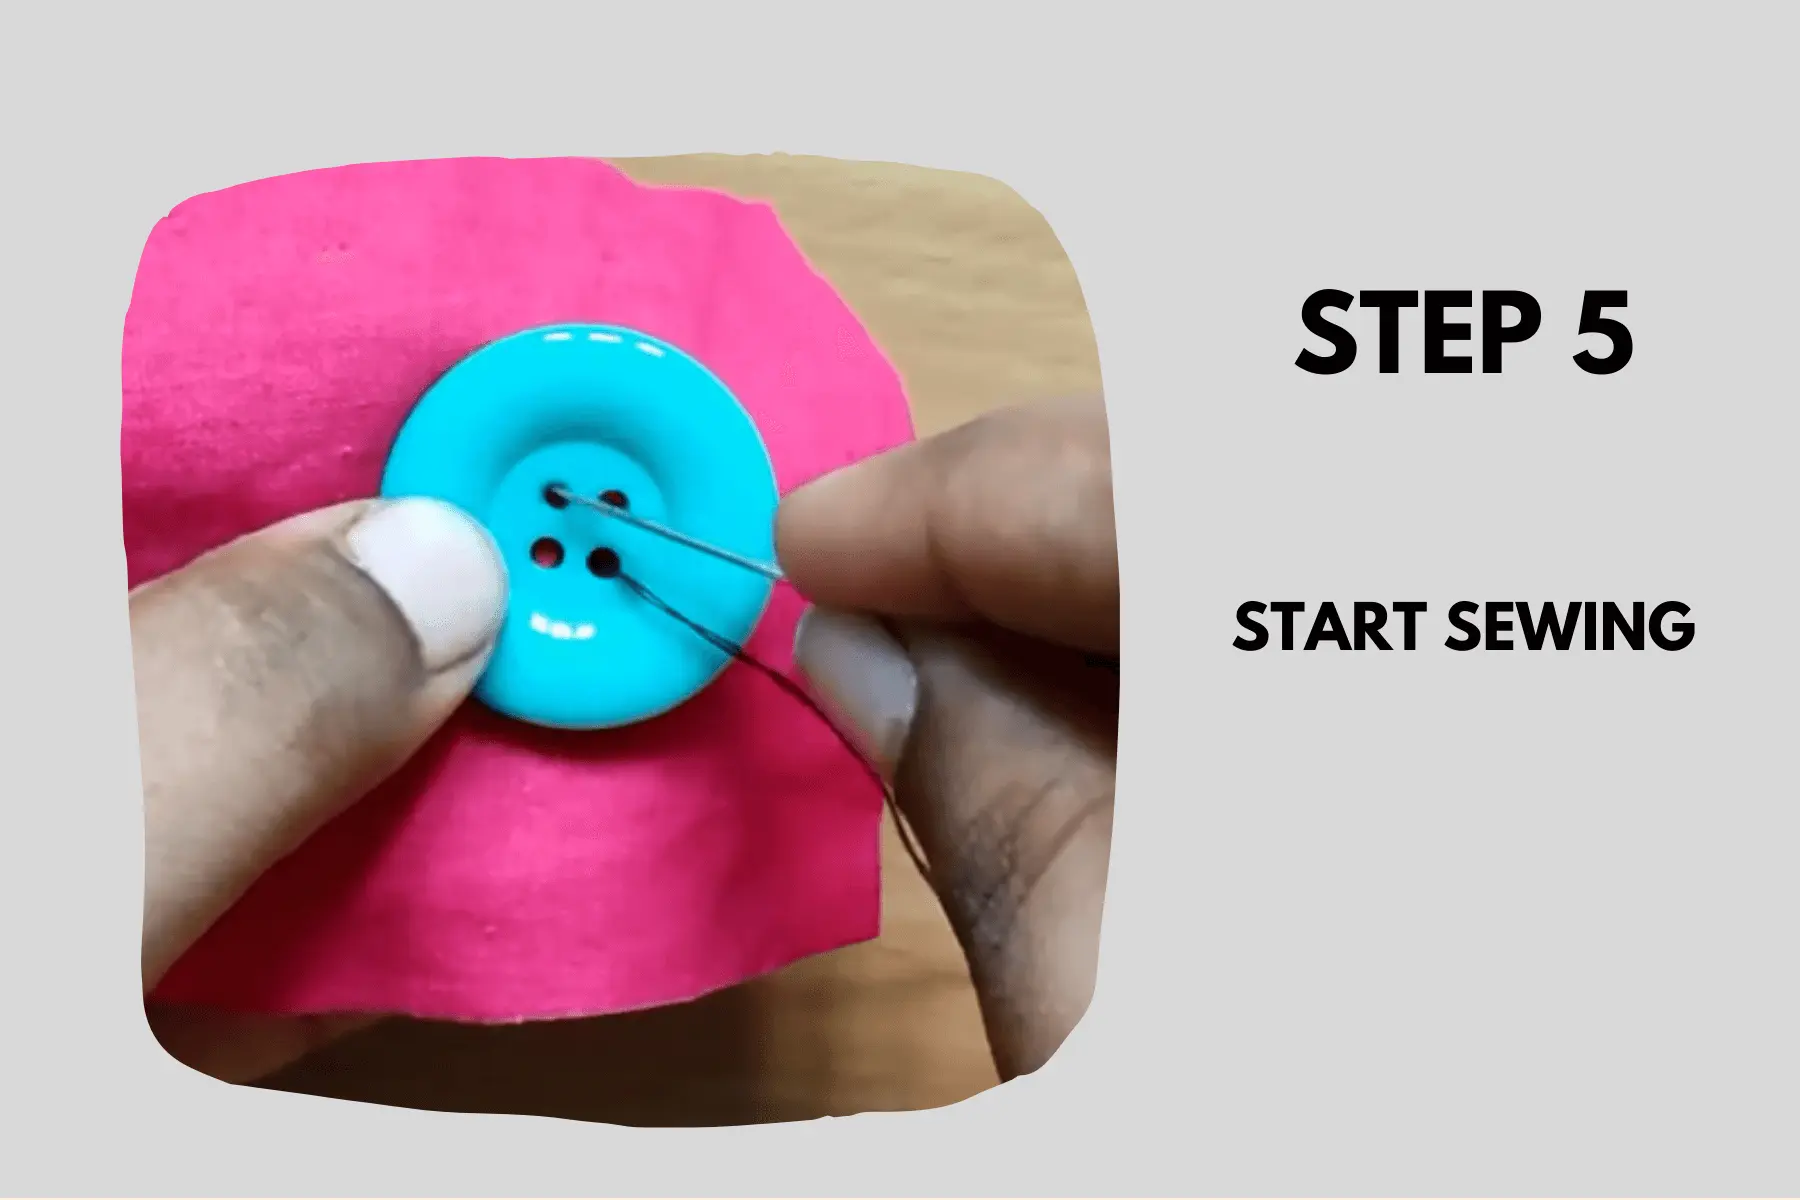
As you get ready to secure your button, breathe deeply and keep your hand firm. Start by gently passing the needle up through one of the four holes from the back of the fabric. Get the delight of watching your button take shape with each stitch as your thread creates a lovely pattern in the fabric. Watch as the knot at the end of the thread firmly catches on the fabric as you pull it all the way through. Your work of sewing a four hole button keeps getting more and more lovely.
Step 6: Create anchor stitches
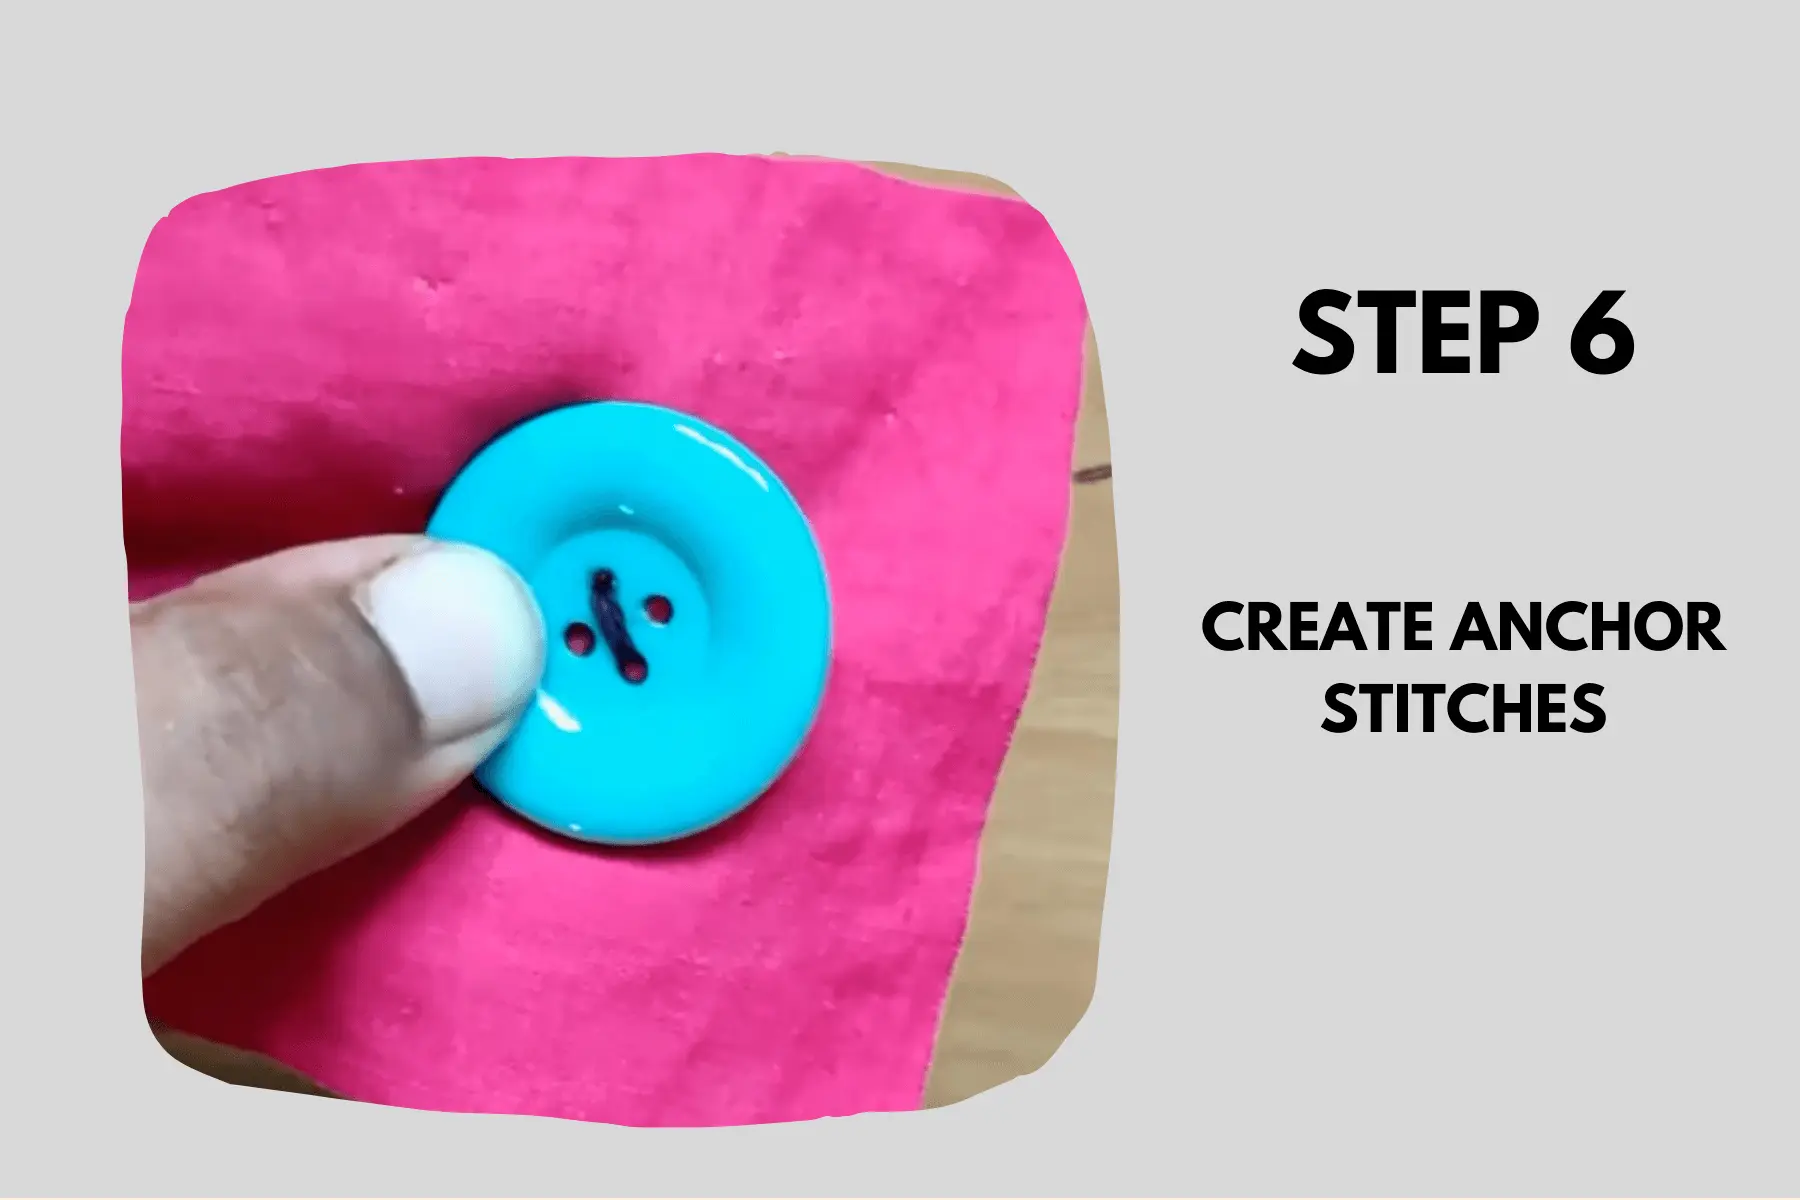
When sewing a four hole button, accuracy is crucial, and making solid anchors is a crucial step in every button sewing task. Start by sewing a miniscule bit over the first hole to form an anchor. Your button will be supported by this stitch, which will keep it in place and stop any unintended movement. You lay the groundwork for a treasured and admired masterwork with each anchor stitch you create.
Step 7: Make crisscross stitches
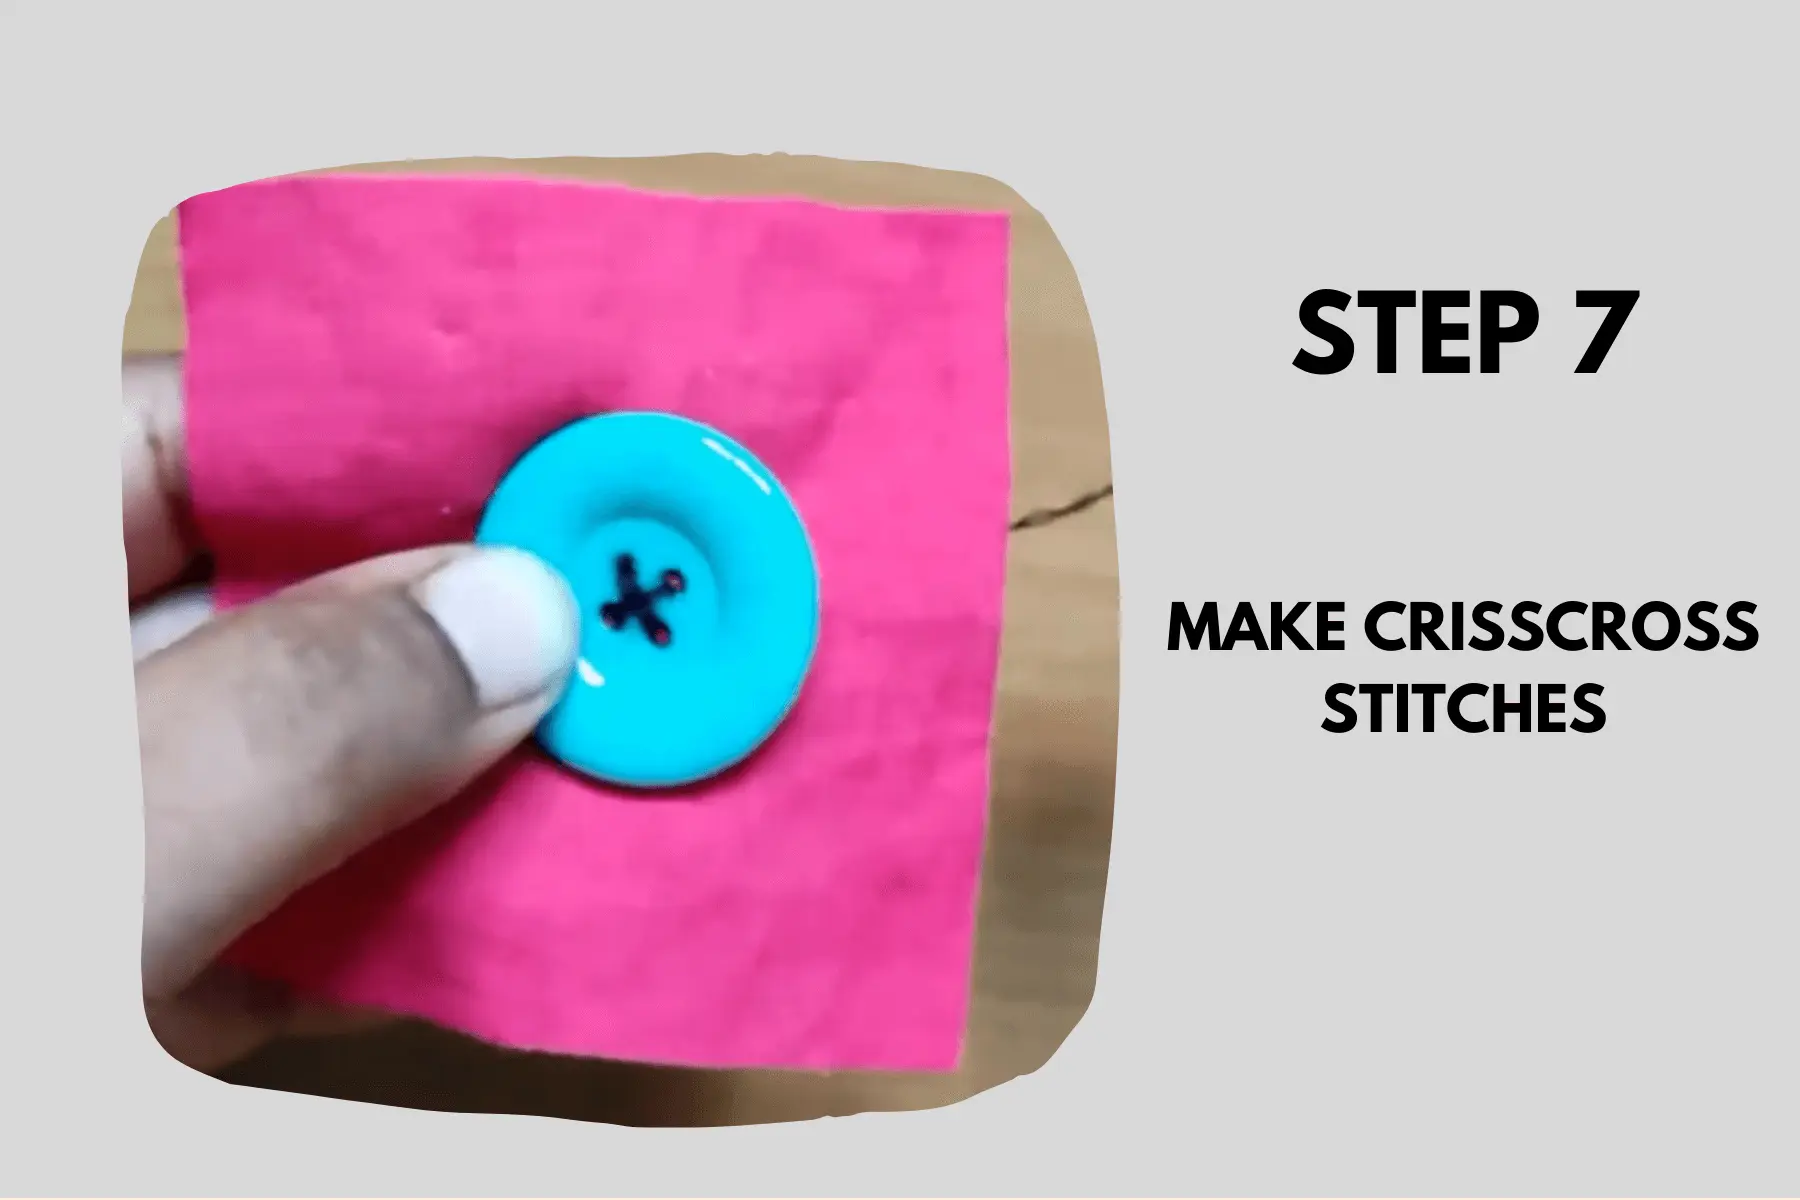
Doing two crisscross stitches after making your anchor requires sticking the needle diagonally through the buttonhole on the opposing side. These stitches not only provide your four hole button more stability, but they also give your clothing a wonderful finishing touch. To ensure that your button is securely fastened and precisely positioned while you sew, take care to keep your stitches even and constant.
You can soon add a beautiful new piece to your wardrobe that you made by hand by repeating this process on the other diagonal buttonhole. Your love for sewing will only increase as you gain confidence and expertise with each button you stitch. Repeat these steps for all four holes, until the button is securely fastened to the fabric. You should make several crisscross stitches, depending on the size of the button.
Step 8: Lock the thread
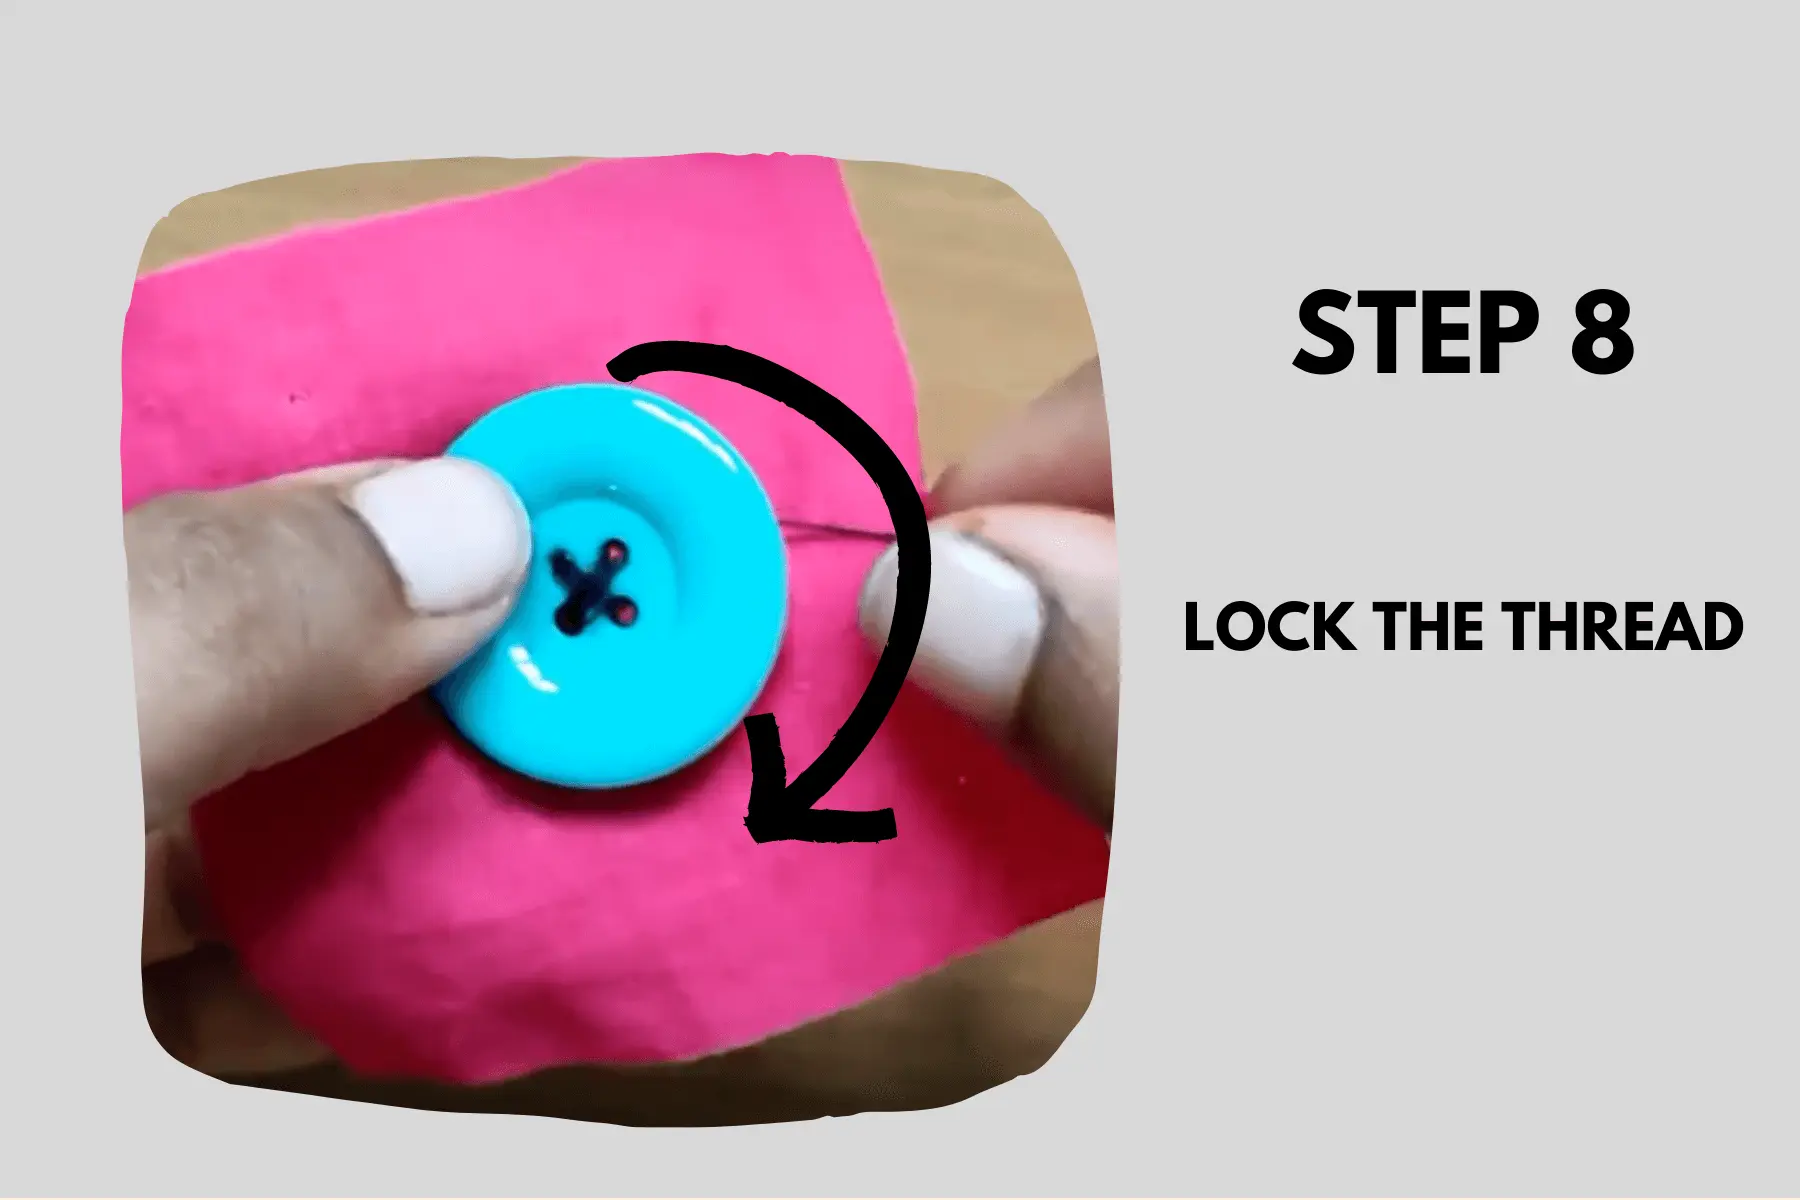
Learning how to sew on a button with 4 hole buttons may seem very difficult, but when you go through the steps you come to know that it is very easy and interesting task. The time has come to secure your thread after you have completed your crossing stitches. Start by putting the needle through the fabric from the back to the front, being careful not to pull it through completely. Instead, insert the needle beneath the stitches you’ve previously made to make a loop that will give your button more strength and stability.
This method not only makes your four hole button more robust, but it also gives it a great ornamental touch. You may quickly sew a button that will be the envy of all your friends by repeating this process on the other diagonal buttonhole.
Step 9: Tie a knot at the end
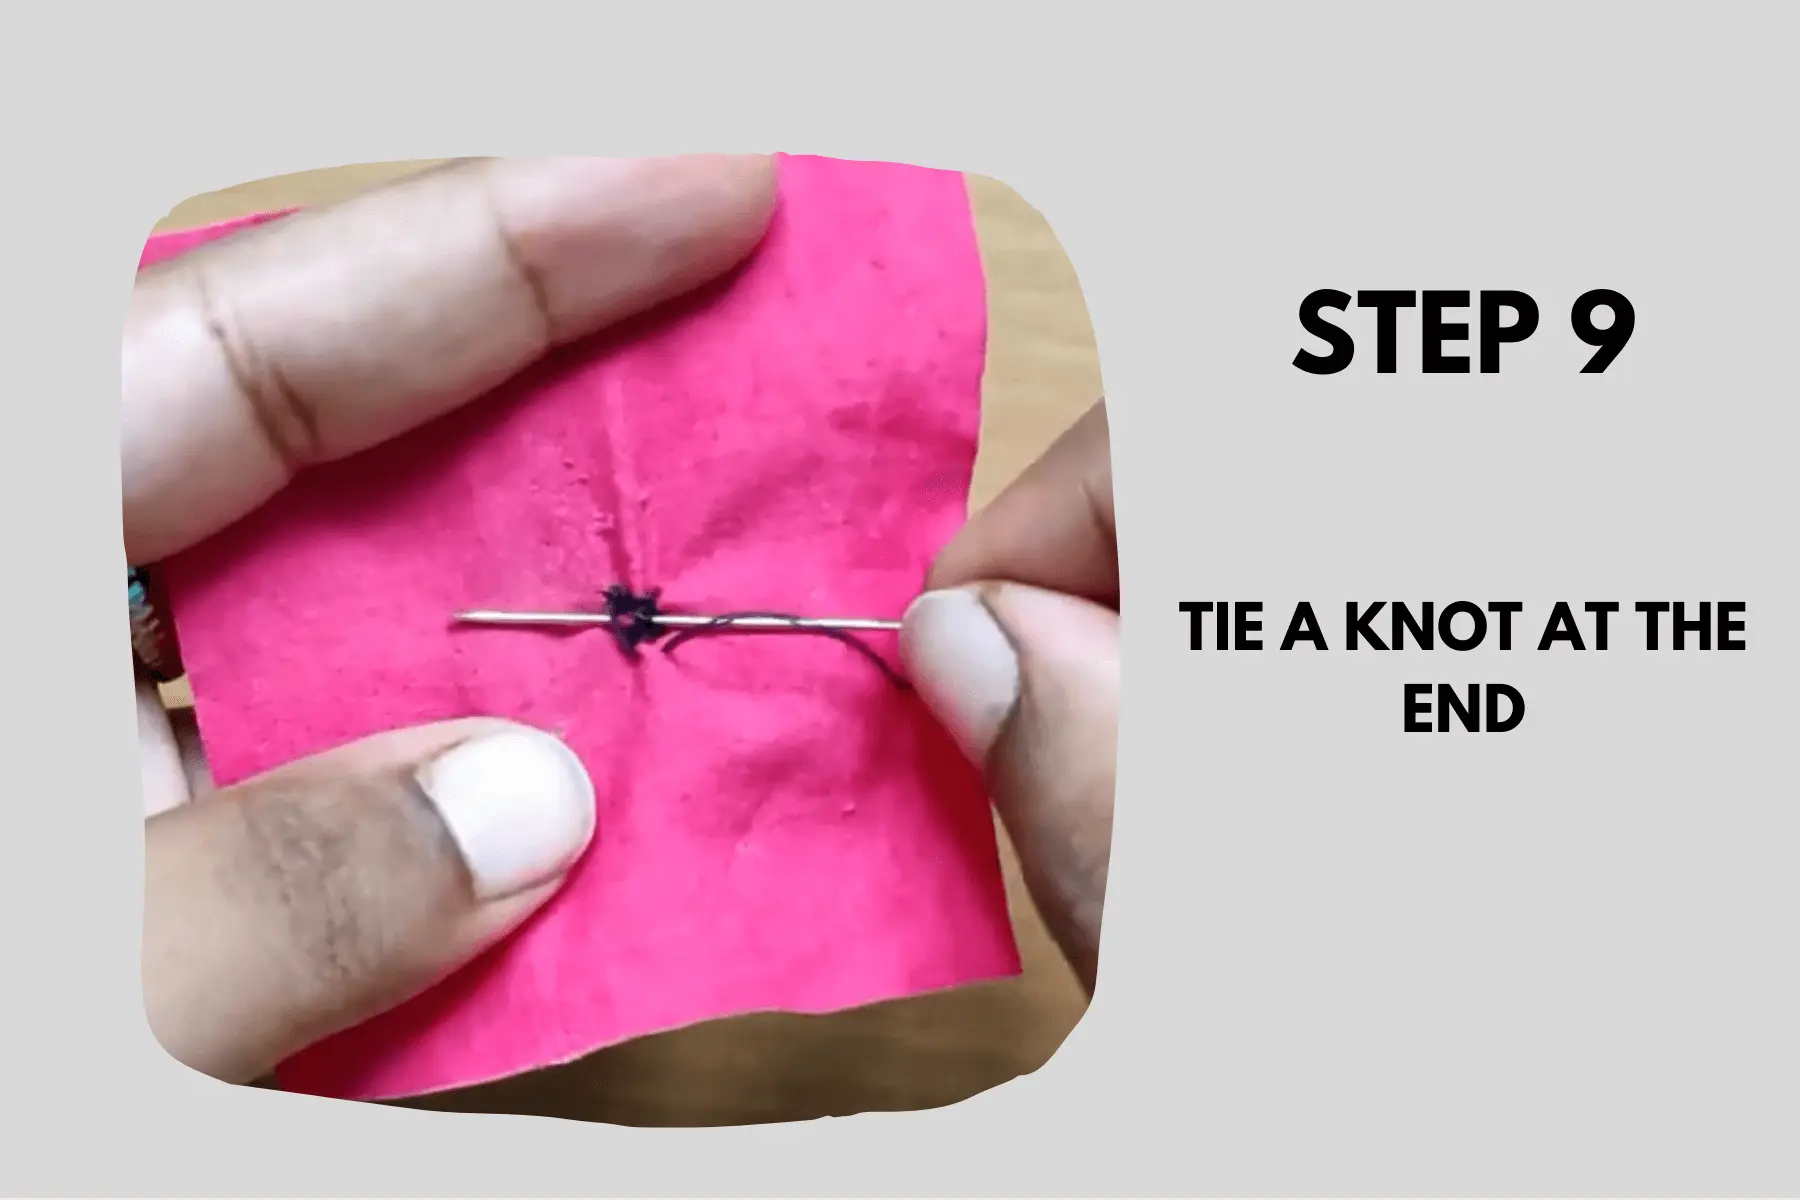
After you have made the thread secure and firm now, pass the needle from the thread loop that you have formed, and pull the thread tightly to create a thread knot. Repeat this step again to create a secured knot.
Step 10: Cut the remaining thread

Trim the remaining leftover thread, leaving a short appendage at the end. This can be hidden in the attire or trim near the knot.
Well done! You have are successful in learning how to sew on a button with 4 hole buttons by hand. With little more practice, you will be more expert in placing and sewing buttons onto desired fabric.
Read more: Sewing a Mini-Skirt tutorial
Procedure 2: How to sew on a button with 4 hole buttons by Sewing Machine
Looking for a quicker and more efficient way how to sew a four hole button by sewing machine? Our solution will help you attach four hole buttons in no time, leaving you with more time to enjoy your favorite activities.
Sewing a four hole button by machine can save you time and hassle, leaving you with more time to strut your stuff in your newly repaired garments. Sewing a button by machine can be a quicker and more efficient alternative to hand-sewing. Knowing how to sew a button with 4 holes onto your garment is an essential skill for anyone who wants to make simple repairs or customize their clothing.
Here are the step-by-step instructions for how to sew a four hole button by sewing machine:
Pre-startup preparations
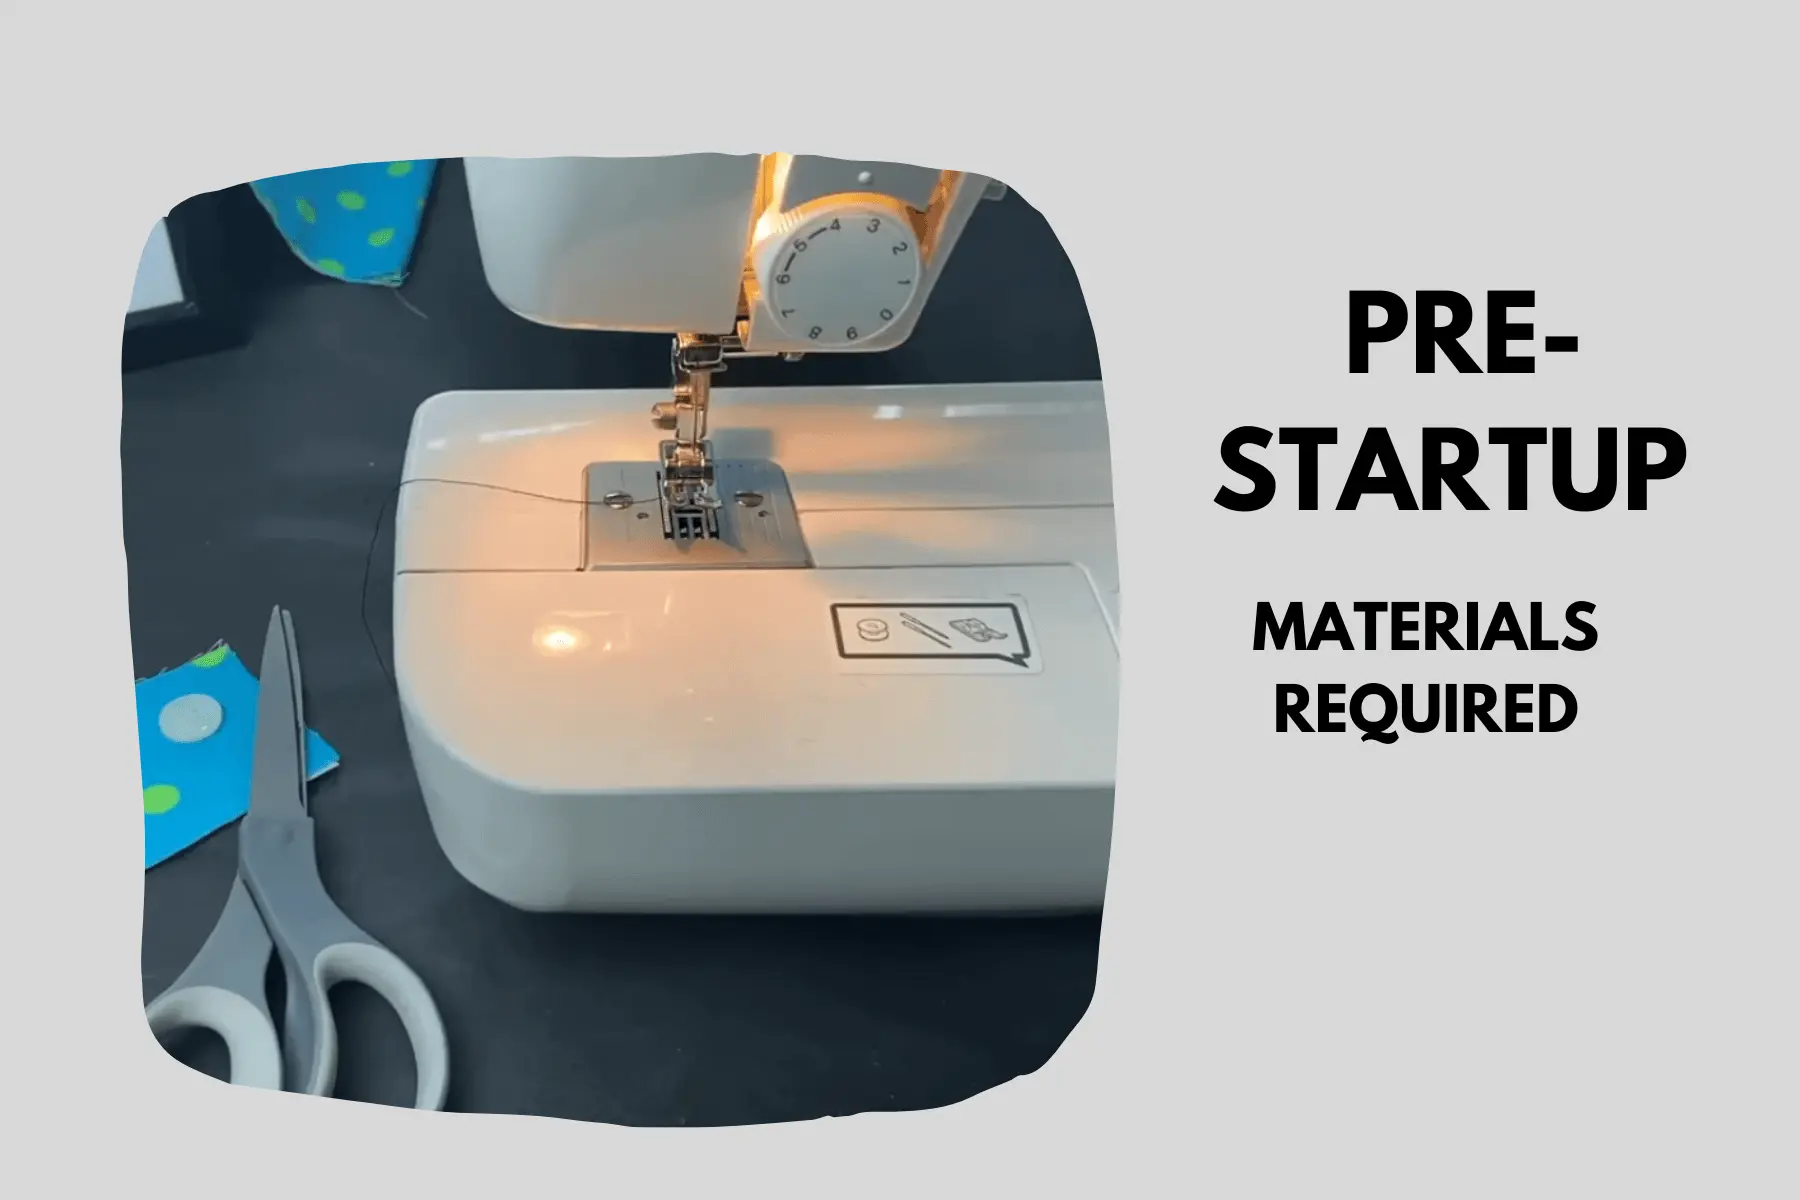
- Select the right thread
- Add thread to the needle
- Take a button foot
- Set the machine
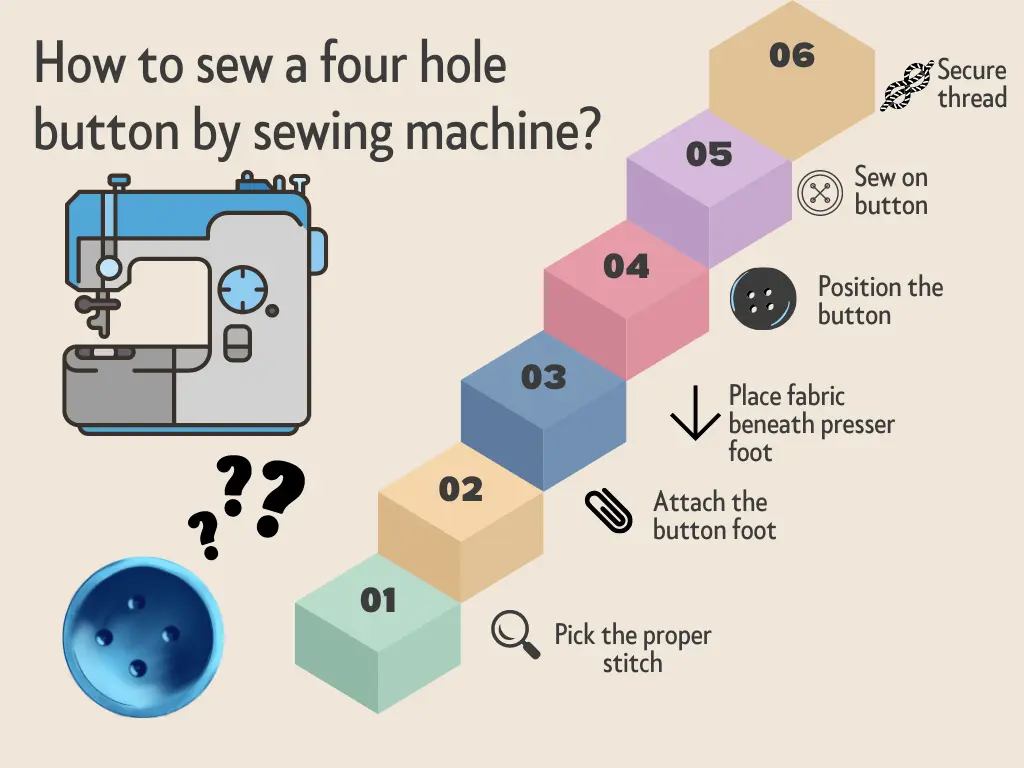
Step 1: Pick the proper stitch
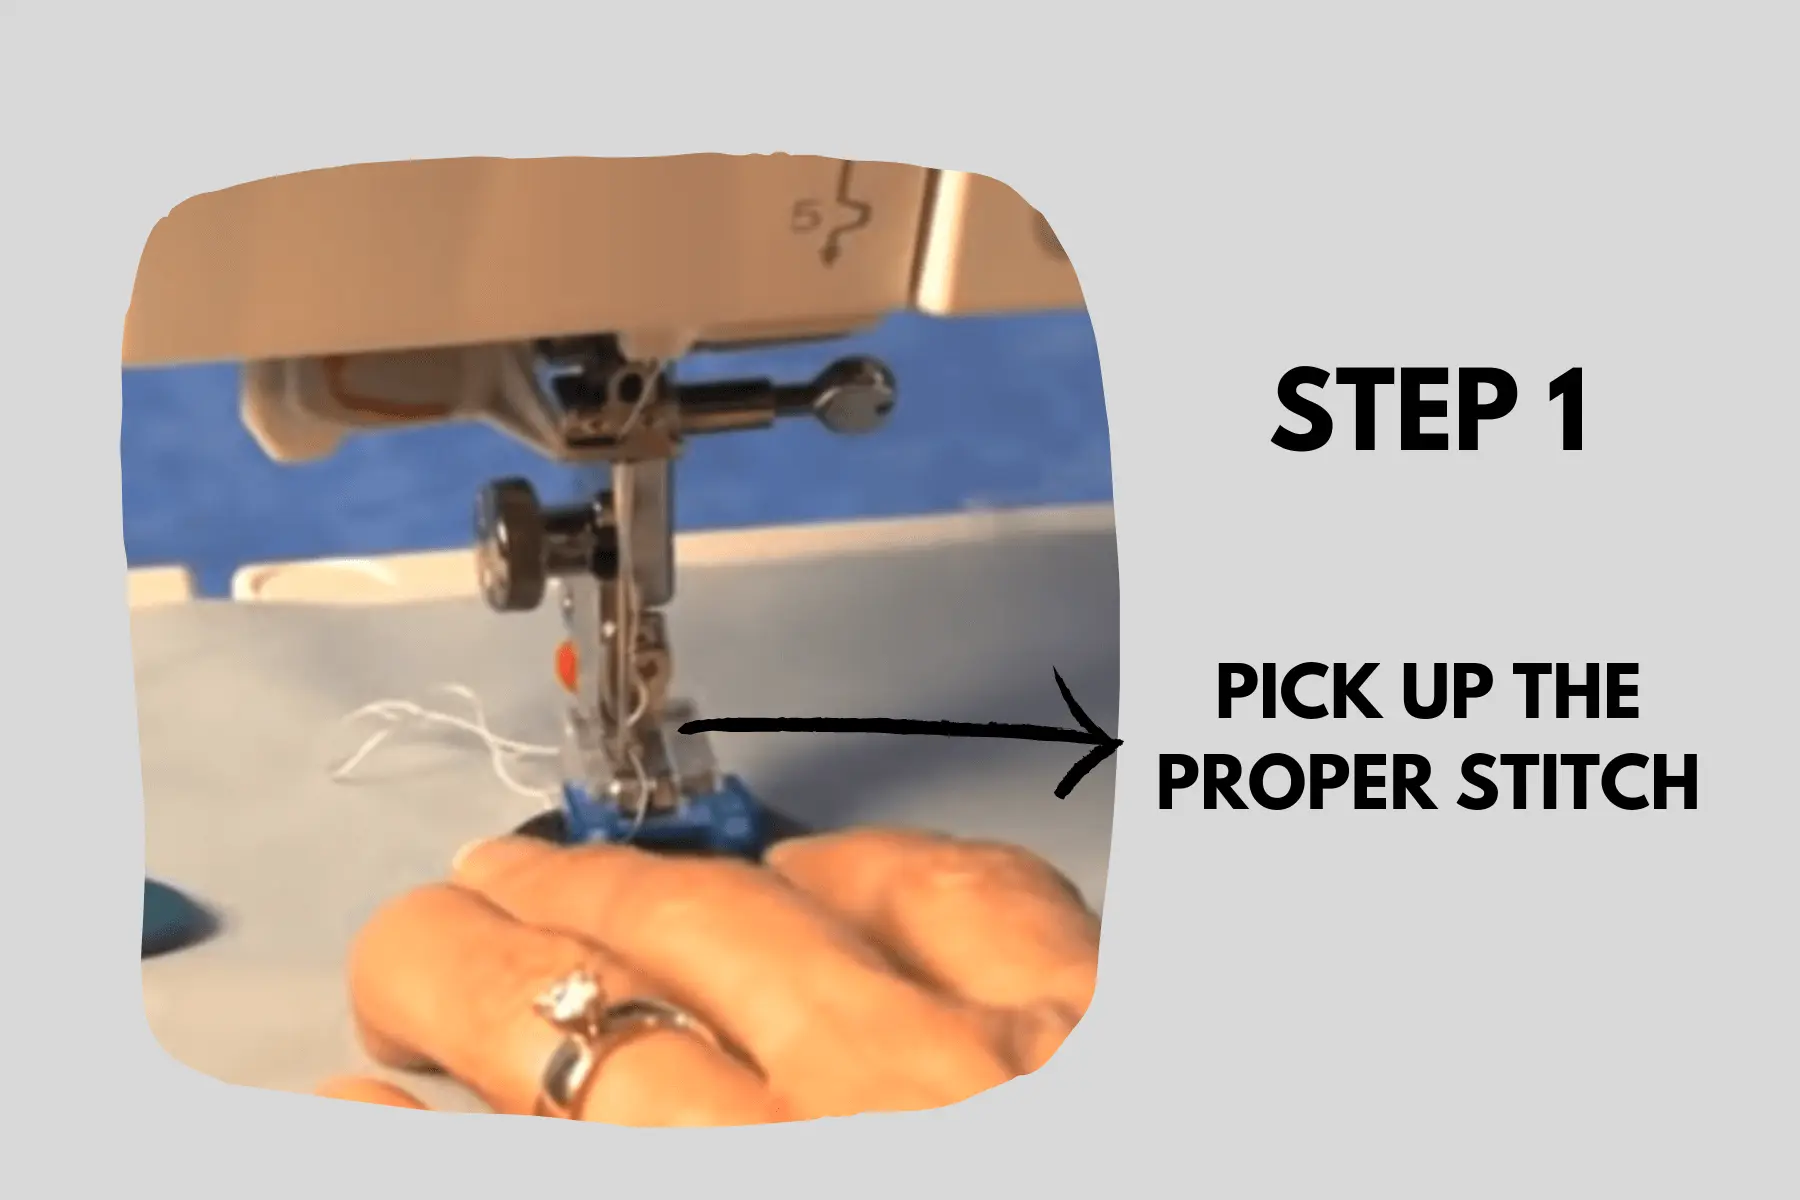
This stitch will be zigzag and have a zero stitch length. If you’re unsure of the stitch to use, consult the instructions that came with your sewing machine.
Step 2: Attach the button foot
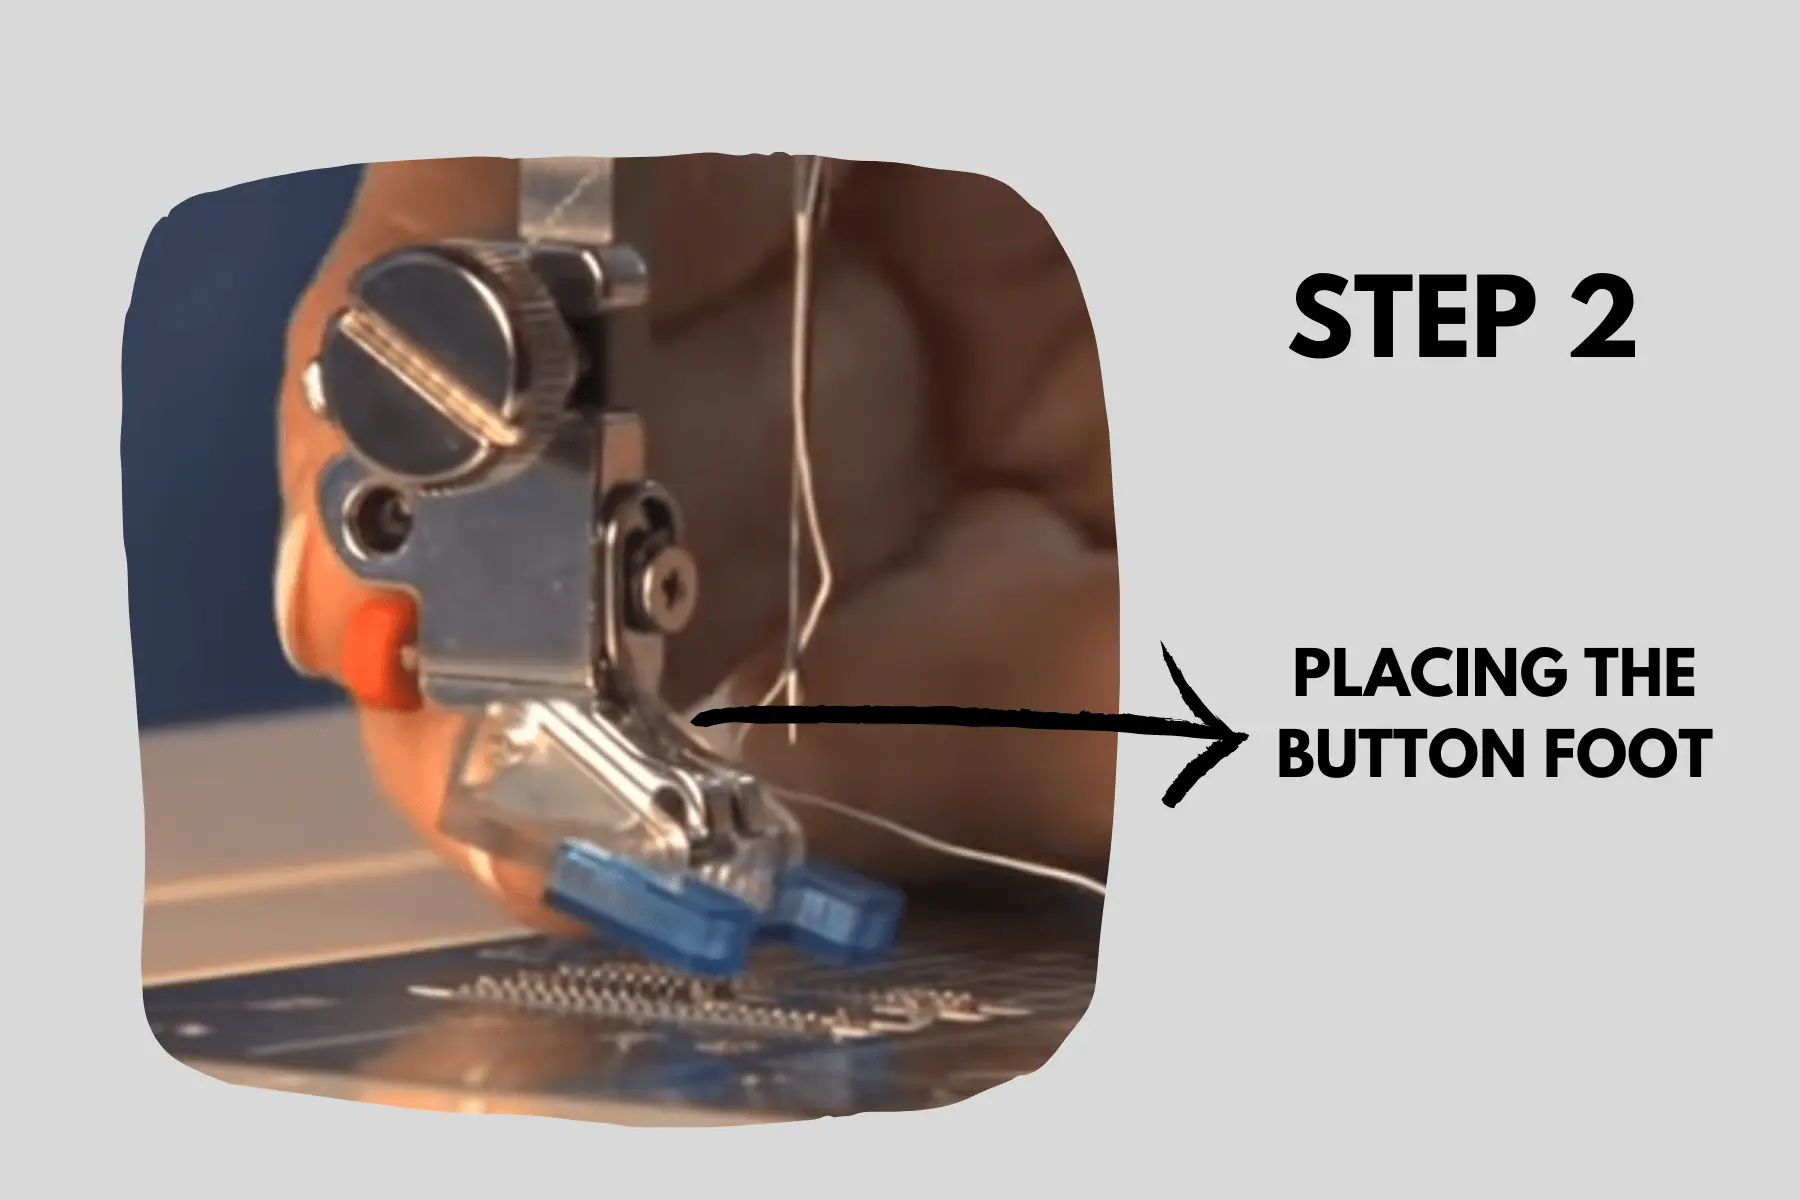
The button foot, a little accessory that aids in holding the button in place while stitching, is a common addition to sewing machines. As directed by the manufacturer, attach the button foot to your sewing machine.
Step 3: Placing the button below the fabric
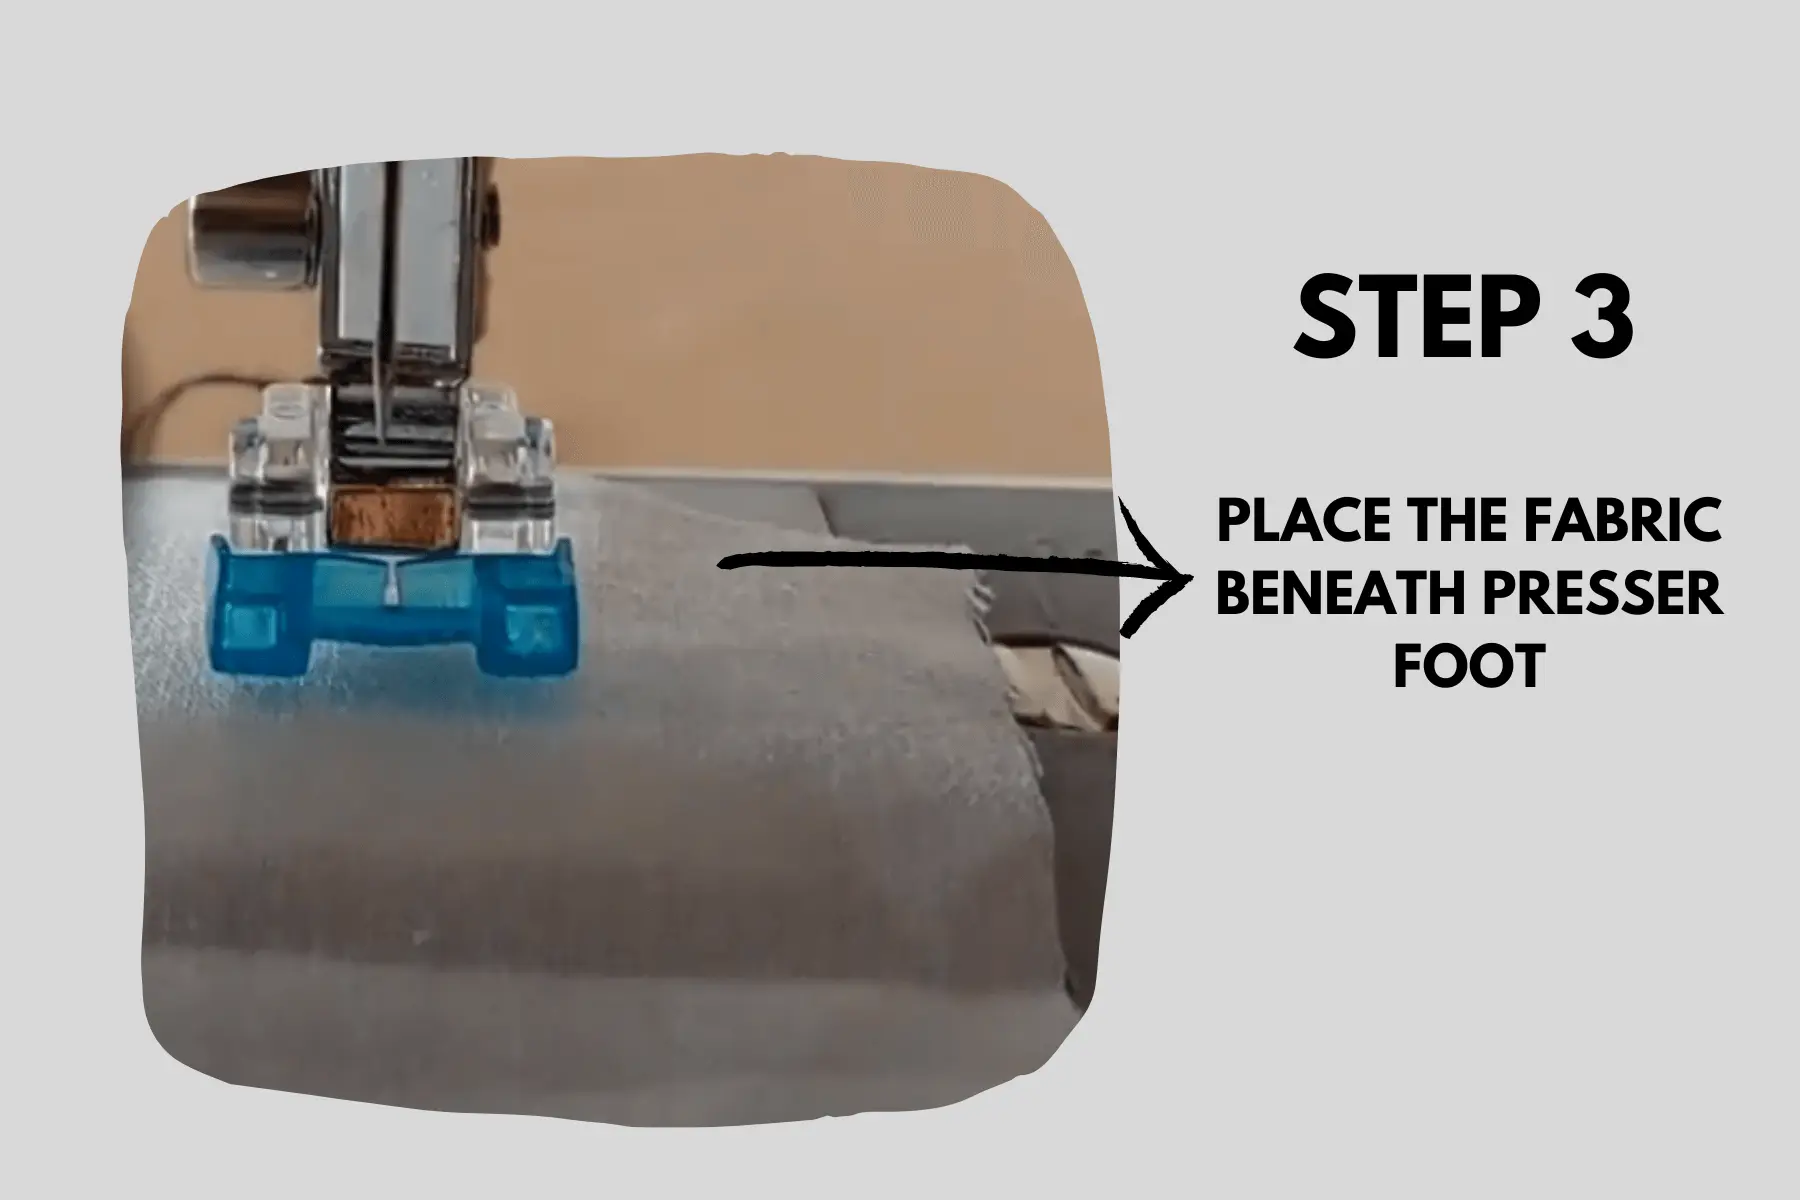
The third step in knowing how to sew a 4 hole button is the placement of button below the fabric. Place the fabric with the marked button placement under the sewing machine’s presser foot.
Step 4: Position the button
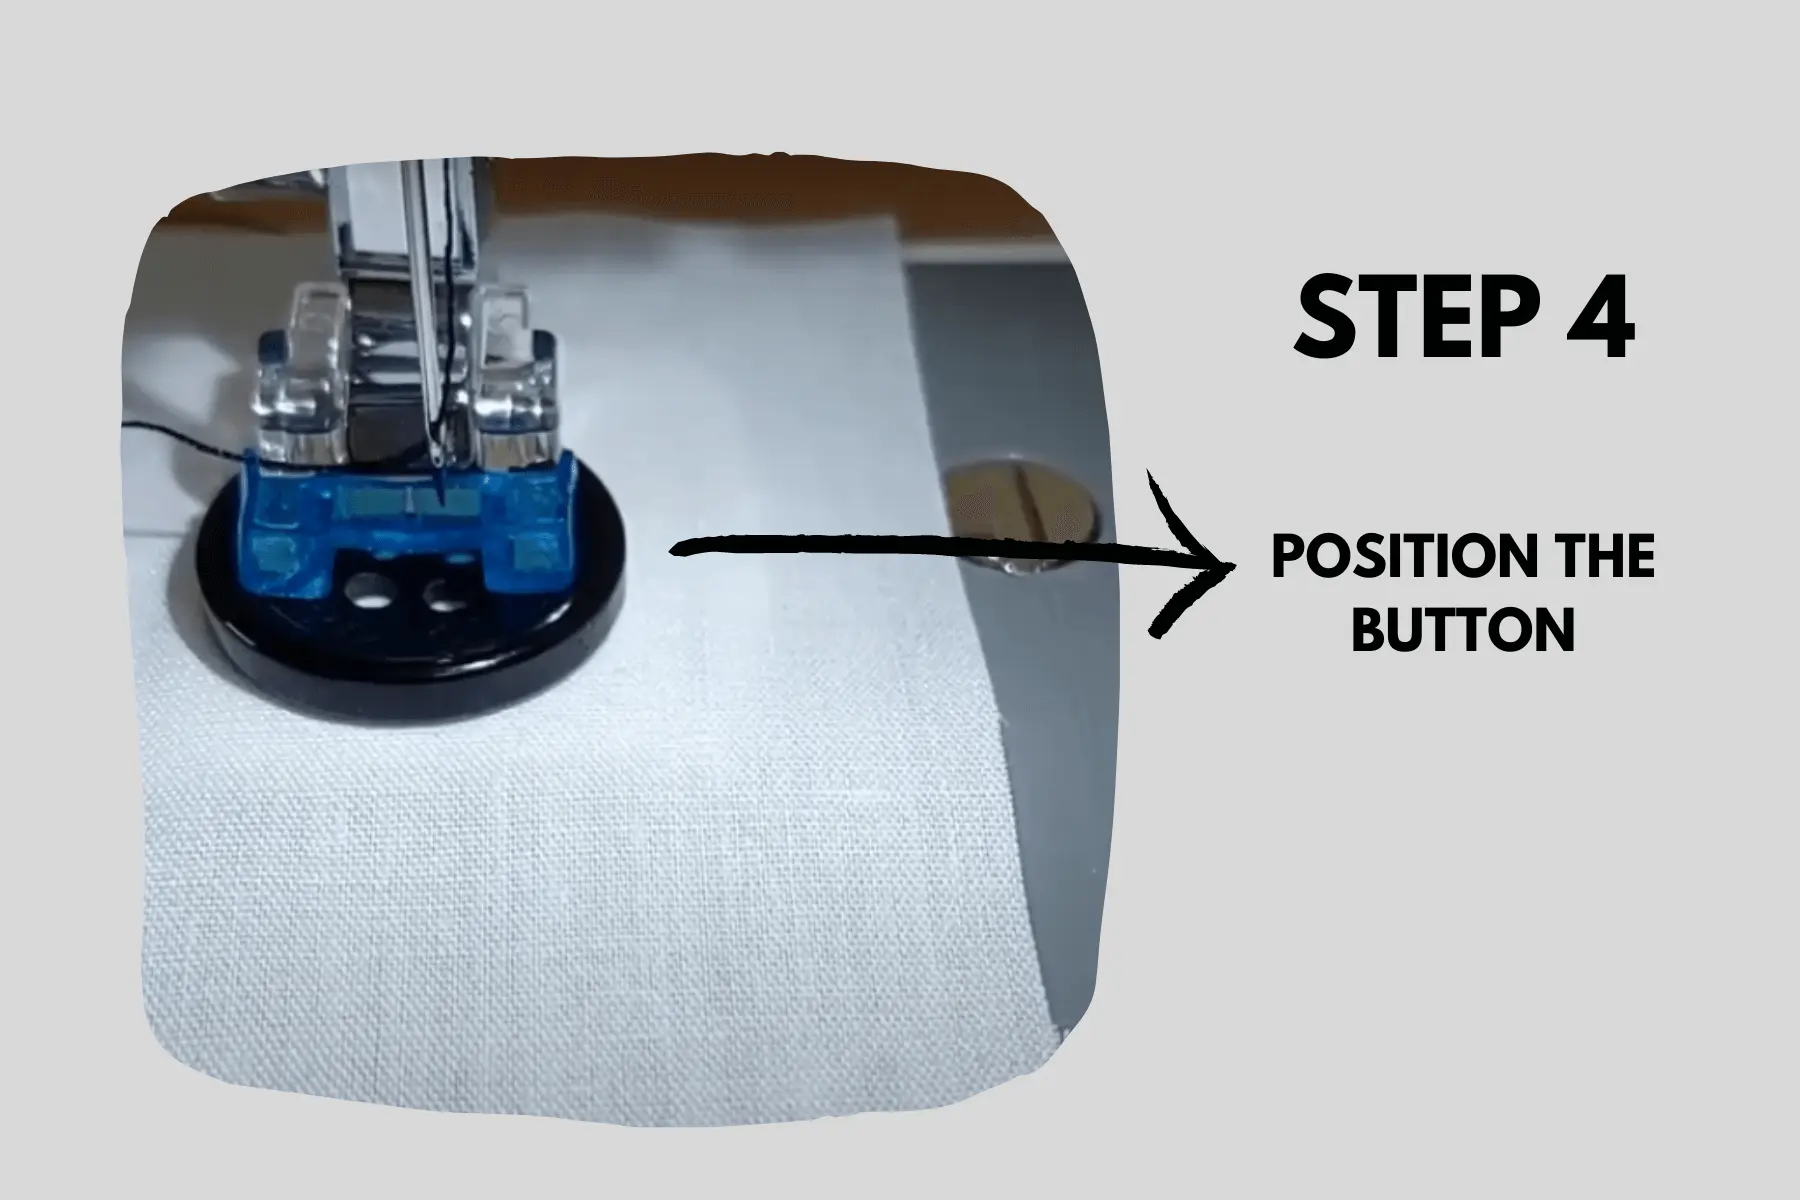
Mark the button’s location on the fabric with chalk or a fabric pen. By ensuring that the button is properly aligned, you can take your garment’s appearance to the next level, giving it a polished and professional finish. Place the button on top of the marked position on the fabric, and then lower the button foot to hold the button securely in place.
Step 5: Sew on a button
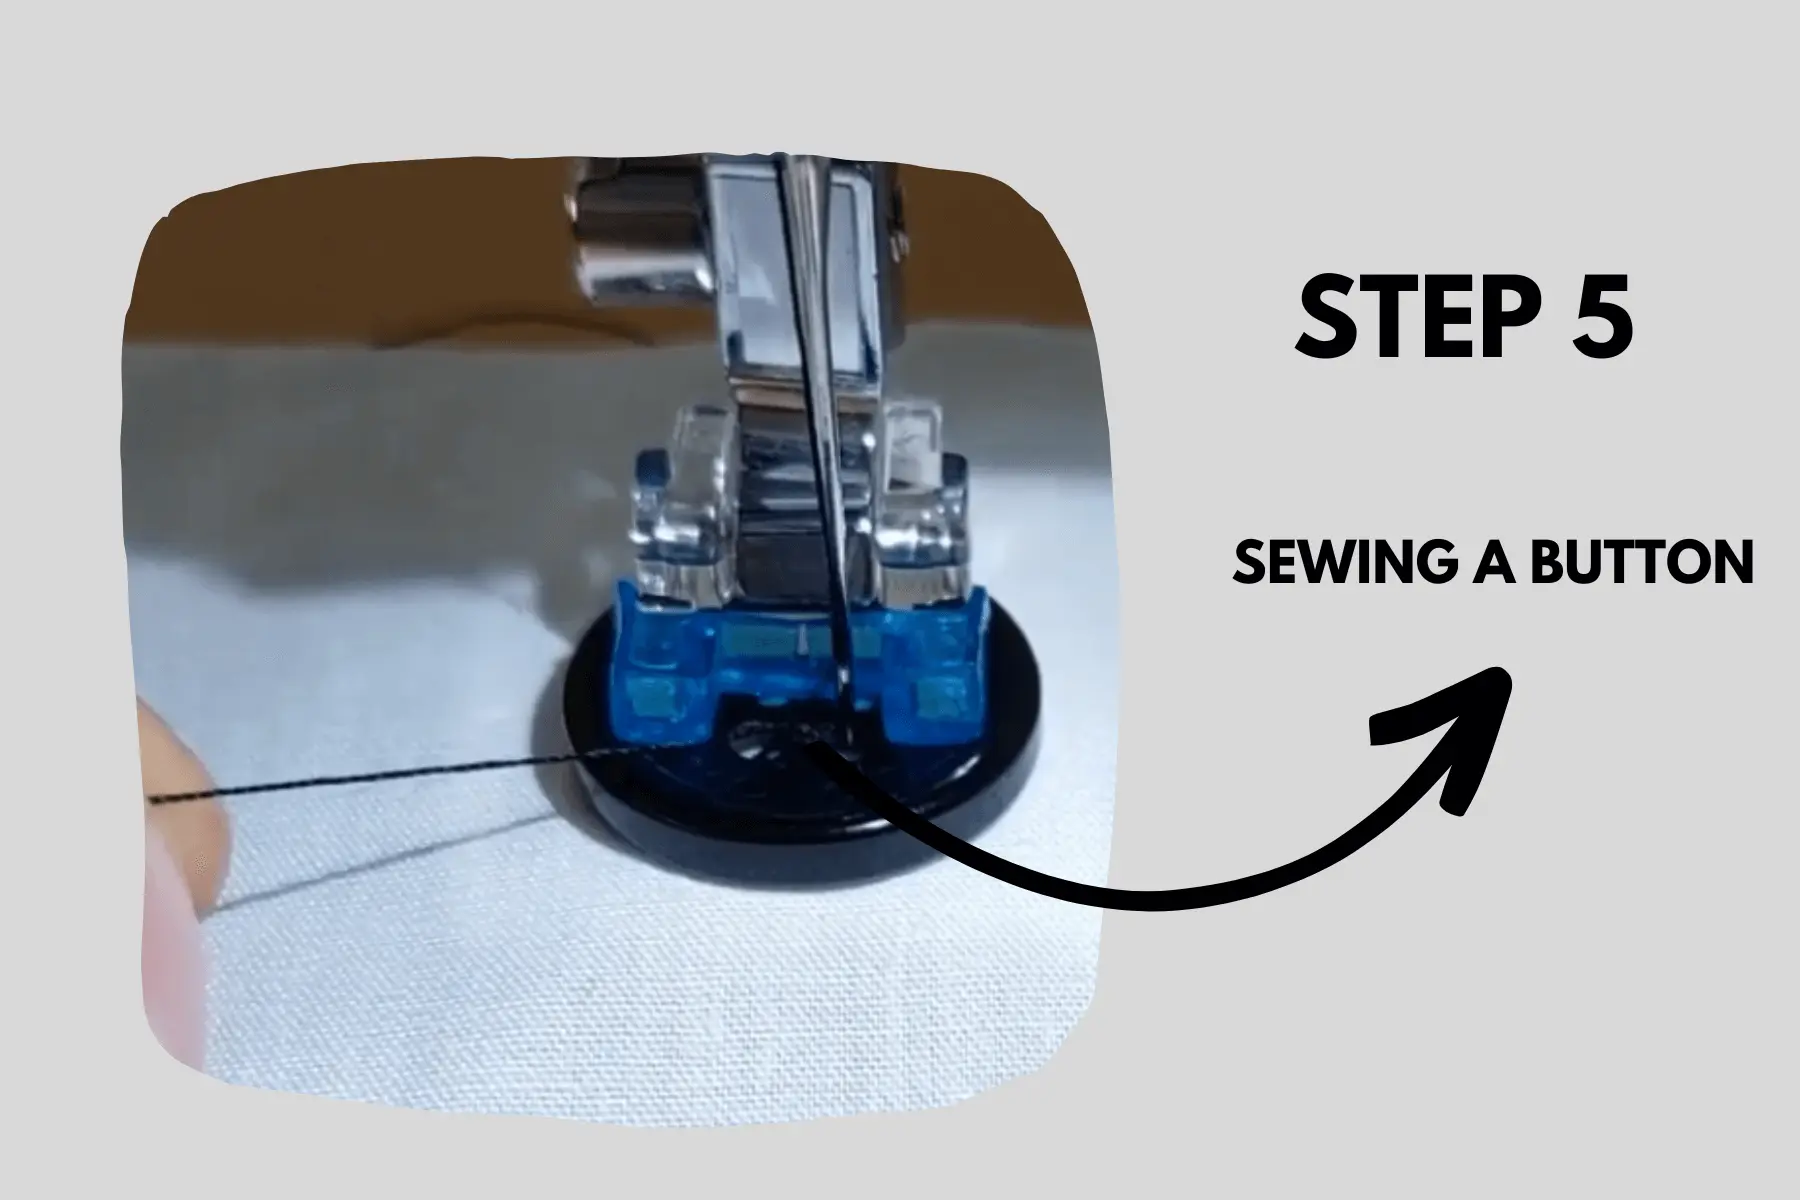
To achieve perfect results when sewing your button, simply set your sewing machine’s stitch length to zero and watch as it flawlessly attaches to your garment. By pressing the sewing machine’s foot pedal, you can start sewing. The button will be secured in place by the zigzag stitch, which sews back and forth across it. Sew for a short while until you are confident that the button is firmly fastened.
Step 6: Secure thread
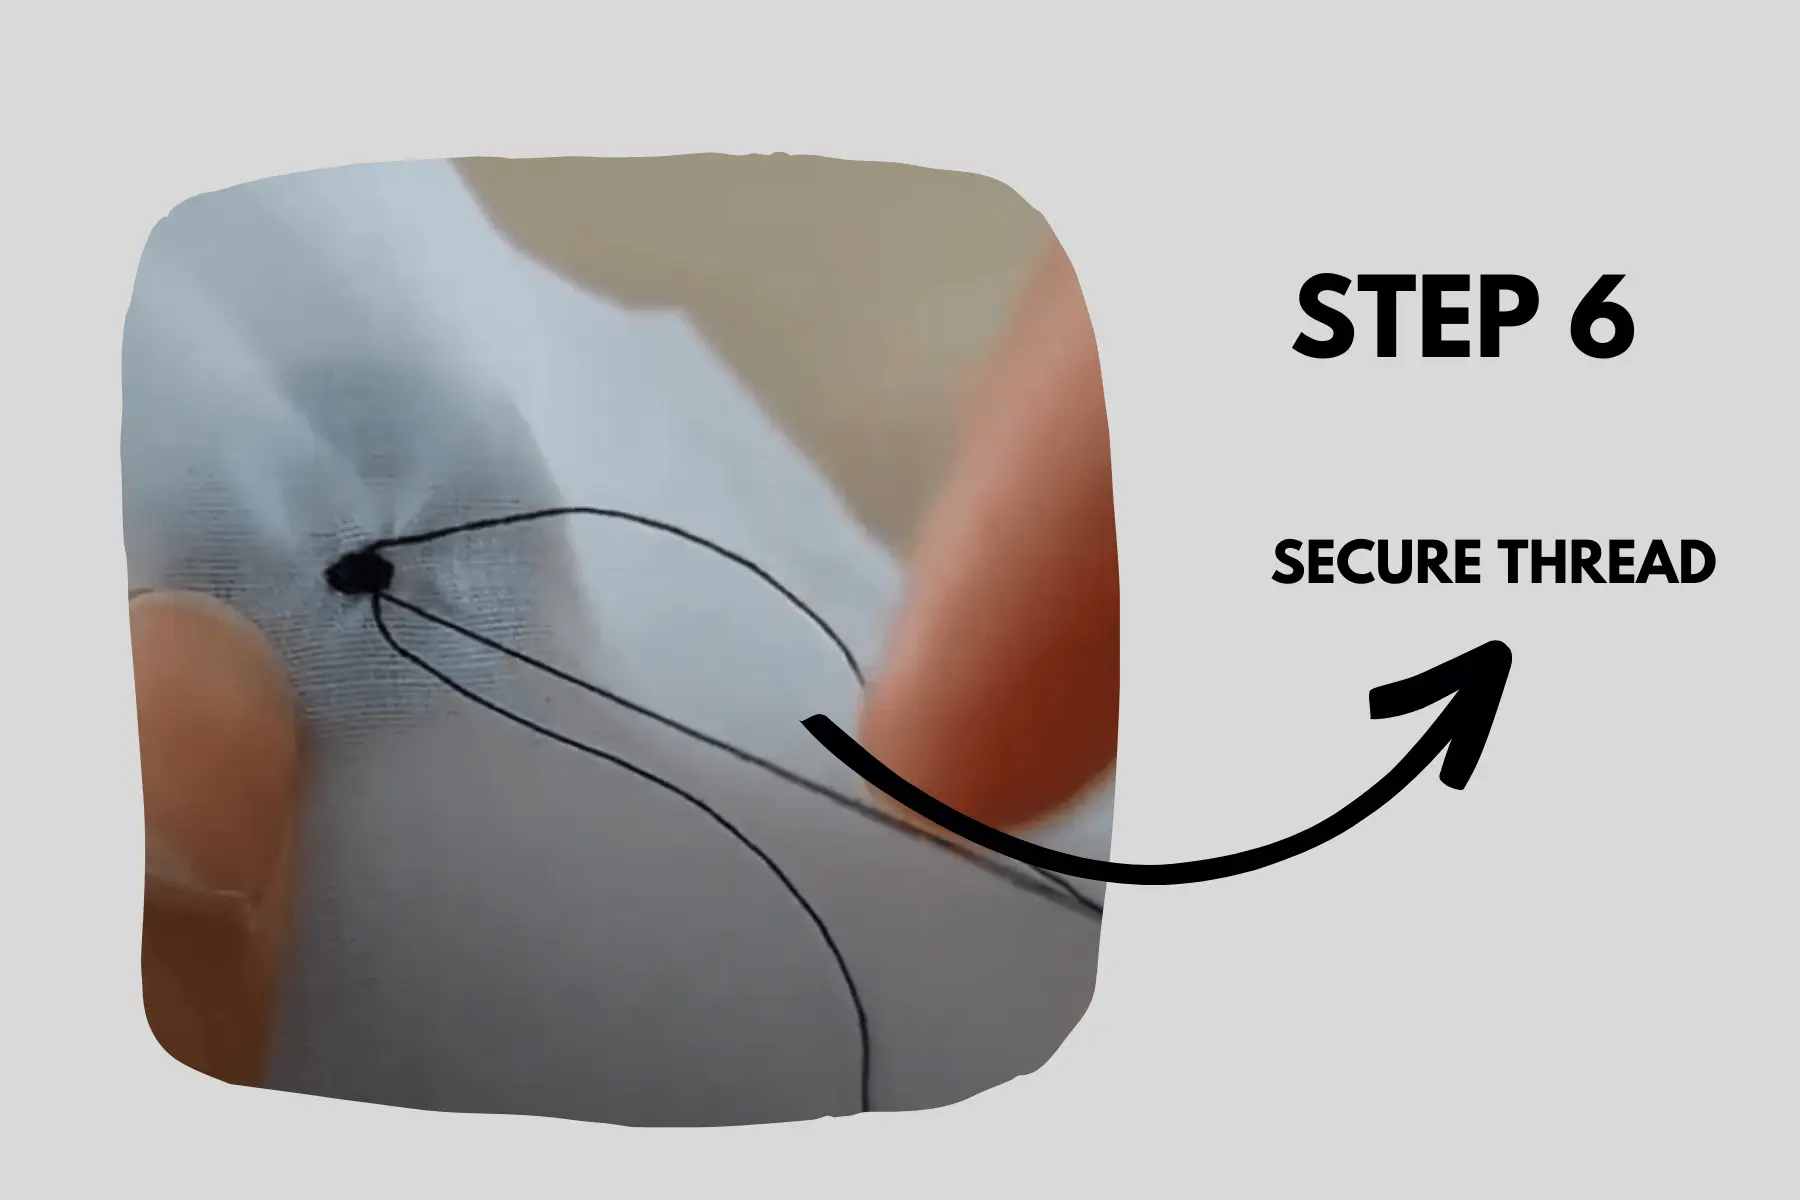
After sewing, secure the thread by cutting it with scissors, leaving a tip of thread. To attach the thread, tie a knot after pulling it through with a needle to the fabric’s back. Repeat the same for more buttons.
How to sew on a button with 4 hole buttons
Conclusion- How to sew on a 4 hole button
Sewing a four-hole button either by hand or by sewing machine is an essential skill for any sewist, whether you’re a beginner or an experienced tailor. When done properly, it can add a touch of stylishness and functionality to any clothing item. By following the above mentioned steps carefully, you can achieve the desired outcome.
Read more: How to sew a snap button?