HOW TO IRON A LOGO? – 10 EASY STEPS FOR DIY IRON-ON TRANSFER
Ironing a logo onto clothing is a versatile and convenient way to personalize your garments, whether it’s for brand promotion, artistic expression, or creating custom apparel. This process allows you to add logos, graphics, and designs onto shirts, hoodies, hats, and various other clothing items.
In this detailed guide, we will explore the step-by-step process of “how to iron a logo” onto different types of clothing, as well as the pros and cons of this popular DIY technique.
Understanding Iron-On Logos and Transfers
Before delving into the ironing process, let’s familiarize ourselves with iron-on logos and transfers.
What are Iron-On Logos and Transfers?
Iron-on logos and transfers are designs printed on special transfer paper with a heat-sensitive adhesive on one side. These transfers adhere to fabrics when heat and pressure are applied, making it possible to create custom designs on clothing.
Types of Iron-On Transfers
There are two main types of iron-on transfers
Vinyl Transfers
Vinyl transfers are made from colored vinyl sheets and are cut into the desired shape using a plotter or a die-cutting machine and customized shirts are made by using cricut machine.
Inkjet Iron-on Transfers
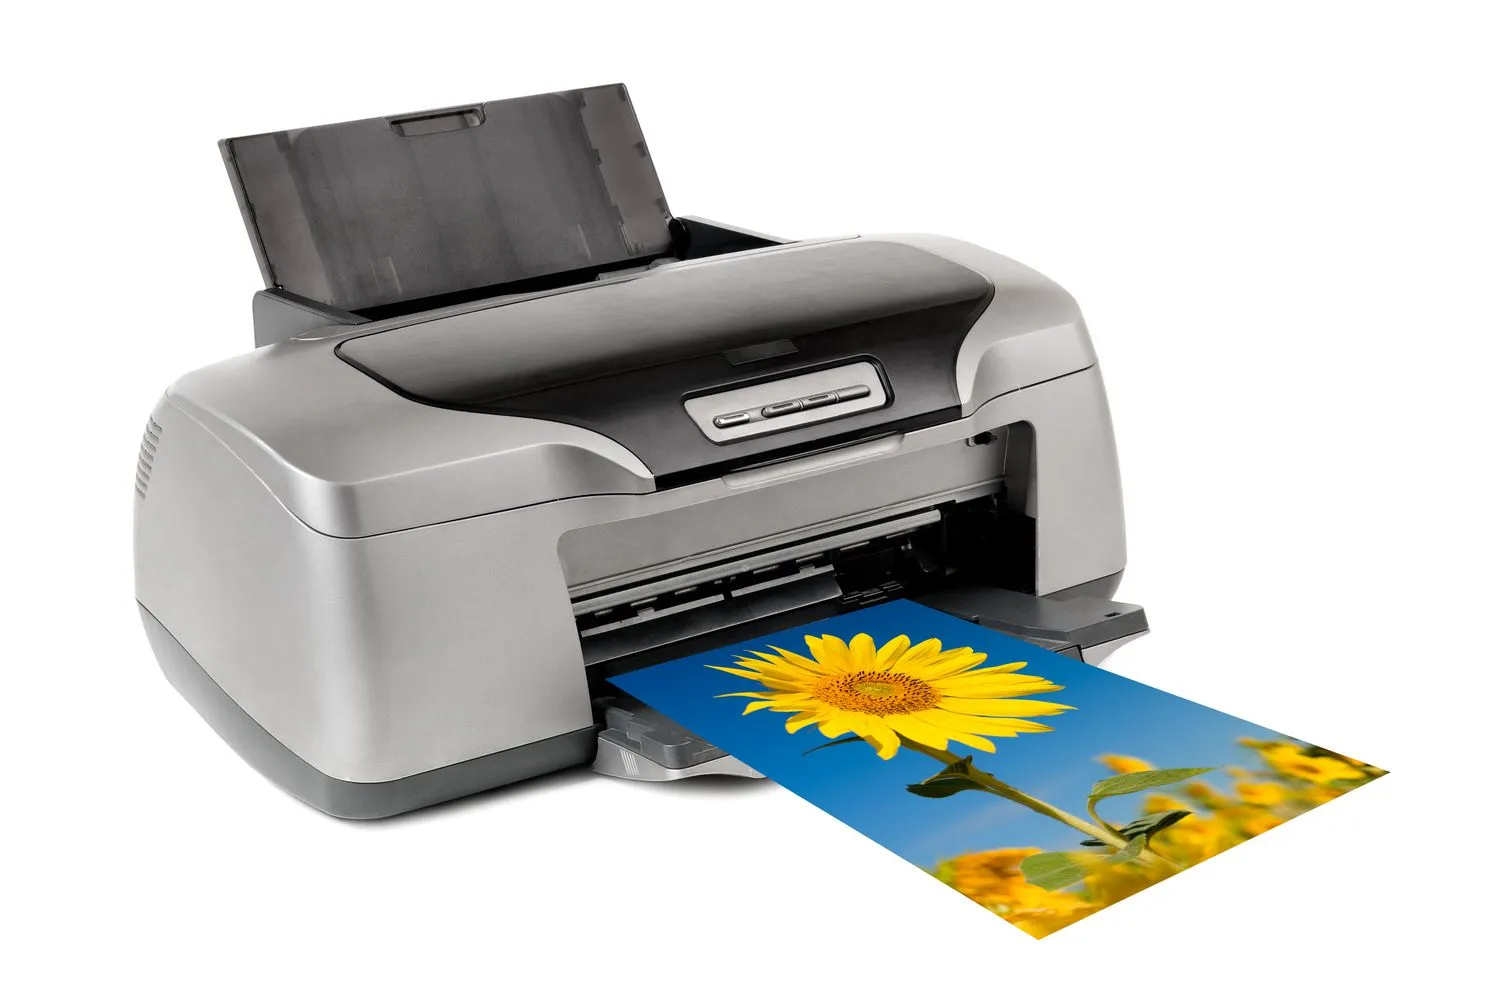
Inkjet transfers involve printing the design onto special transfer paper using an inkjet printer. The transfer paper has a heat-sensitive adhesive coating on one side, which allows the design to stick to the fabric when heat is applied. The inkjet transfers are then ironed onto the garment to transfer the design permanently.
Importance of Inkjet for Custom Iron Transfers
Mastering the art of how to iron a logo holds significance, and this guide is an invaluable resource to enhance your skills significantly. Inkjet transfers play a crucial role in the realm of DIY custom iron clothing and branding for several reasons:
When choosing the appropriate how to iron a logo, iron-on transfer method, consider the specific requirements of your project, the level of detail in your design, and the desired characteristics of the final result. With the right approach, you can create stunning and personalized clothing items using either vinyl or inkjet transfers.
How to iron a logo? Step by step

I- Preparing Your Clothing and Logo
Gaining proficiency in how to iron a logo is crucial, and this article serves as a valuable aid in achieving that goal. Proper preparation is crucial for successful iron-on logo application. Follow these steps:
Step – 1: Gathering Materials

Before you begin, gather all the necessary materials to ensure a smooth DIY iron-on transfer process. Here’s a list of items you’ll need:
Step – 2: Choosing the Right Image

Understanding the techniques of how to iron a logo is essential, and following these comprehensive steps will be a great asset in honing your expertise.
Selecting the appropriate image is the foundation of a successful iron-on transfer project. Ensure that your chosen image or logo meets the following criteria:
Step -3: Choosing the Right Clothing Items

Step – 4: Designing or Acquiring Your Logo
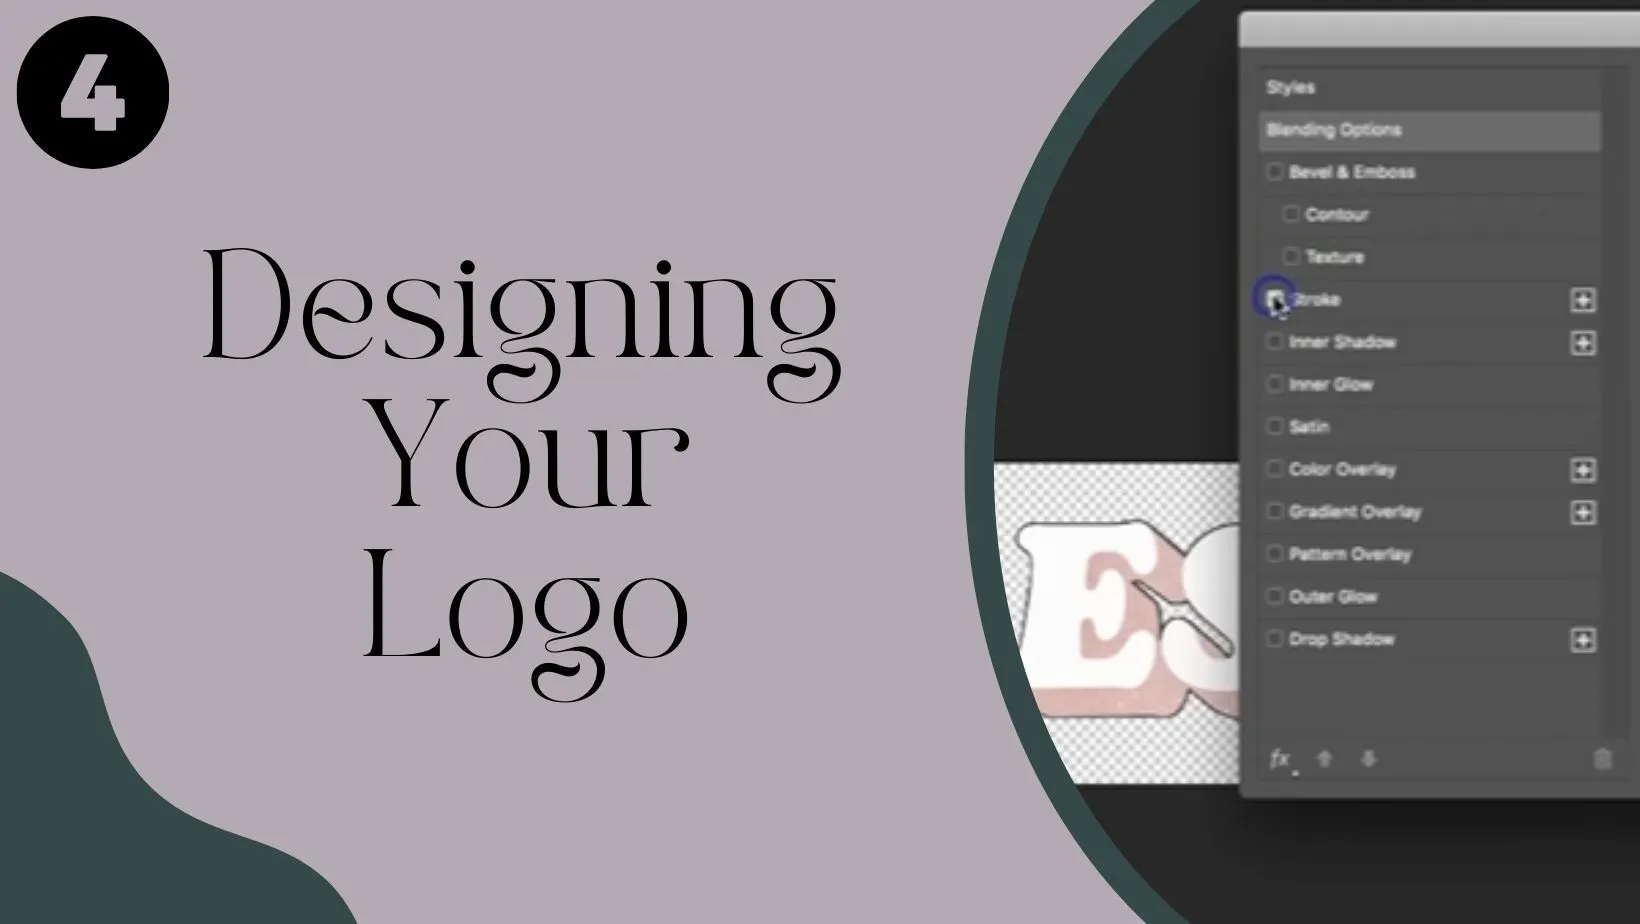
When learning how to iron a logo, you have to design a new logo by yourself. If you don’t have a pre-made logo or image, you can design one using image editing software. Here’s how to do it:
Tip
Step – 5: Printing the Logo – Printing the Iron-On Transfer
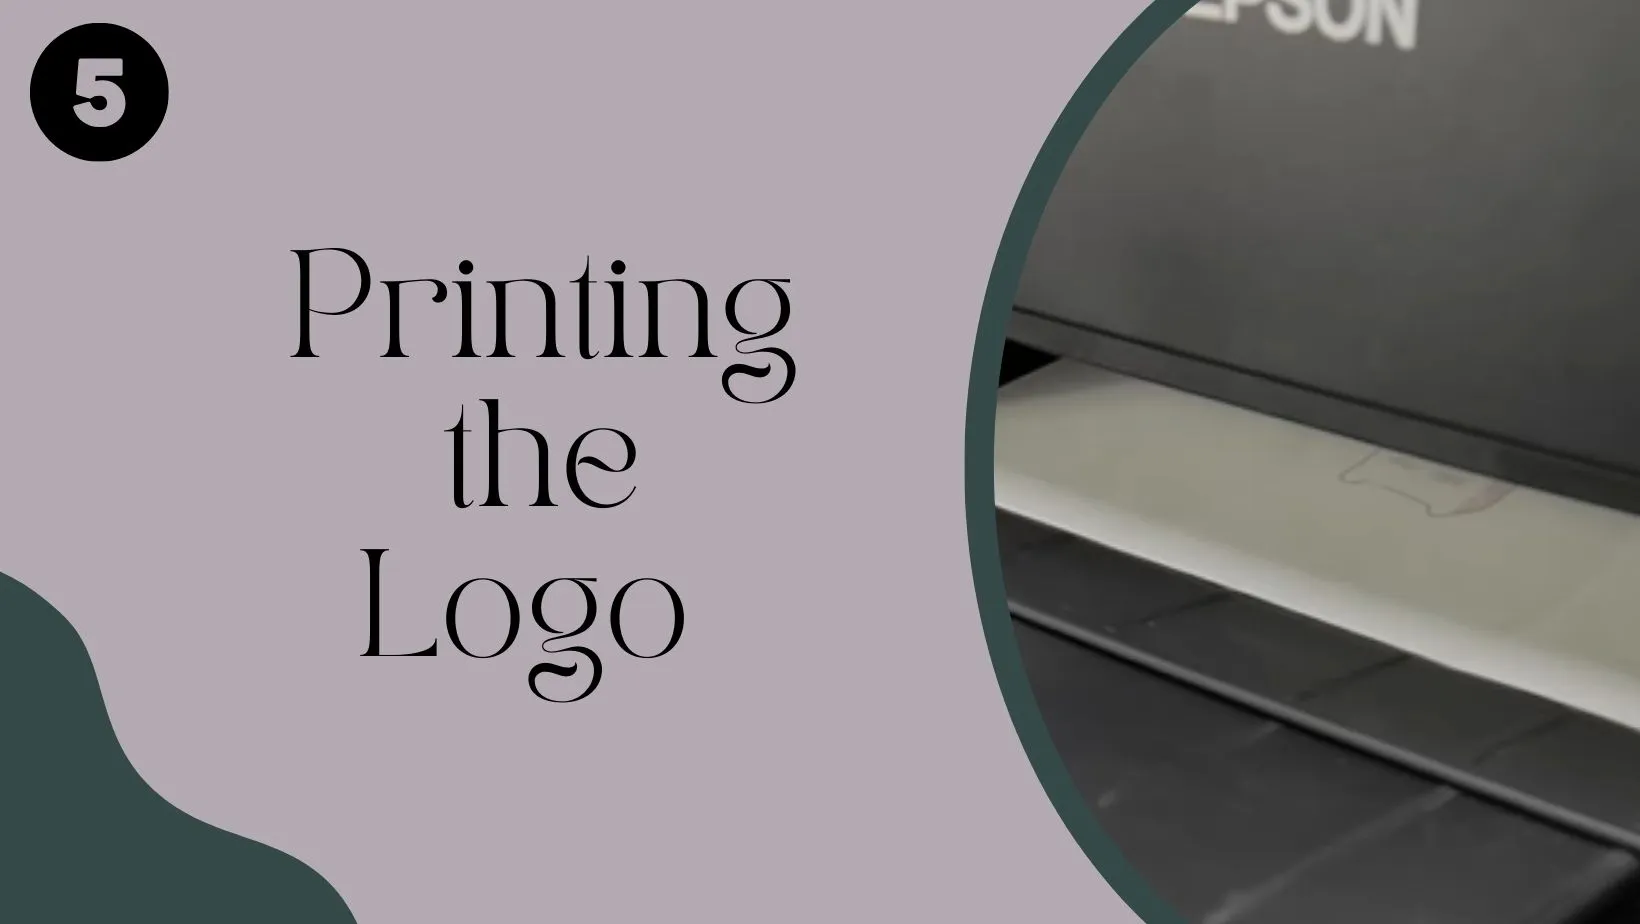
Now that you have your design ready, it’s time to print it onto the iron-on transfer paper:
Tip:
II- How to Iron a Logo onto a Shirt or Hoodie
Acquiring proficiency in how to iron a logo is essential, and these informative steps are here to support your learning journey. Let’s dive into the step-by-step process of ironing a logo onto shirts and hoodies:
Step – 6: Preparing the T-Shirt
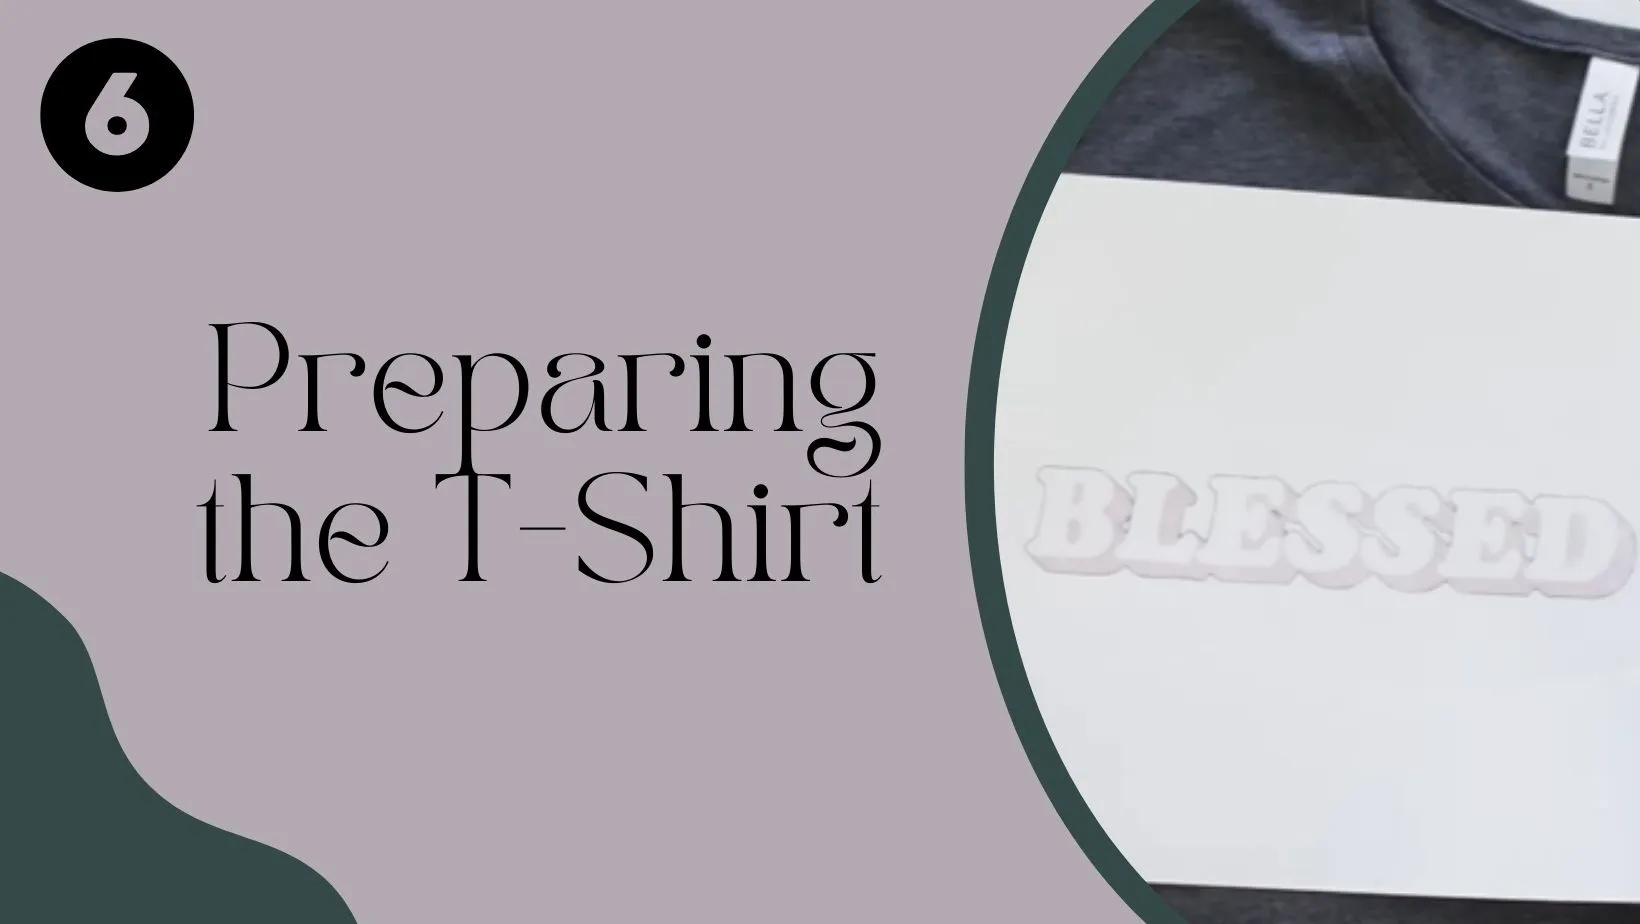
Before applying the iron-on transfer, you must prepare the t-shirt or hoodie:
Step – 7: Preparing the Iron and Surface
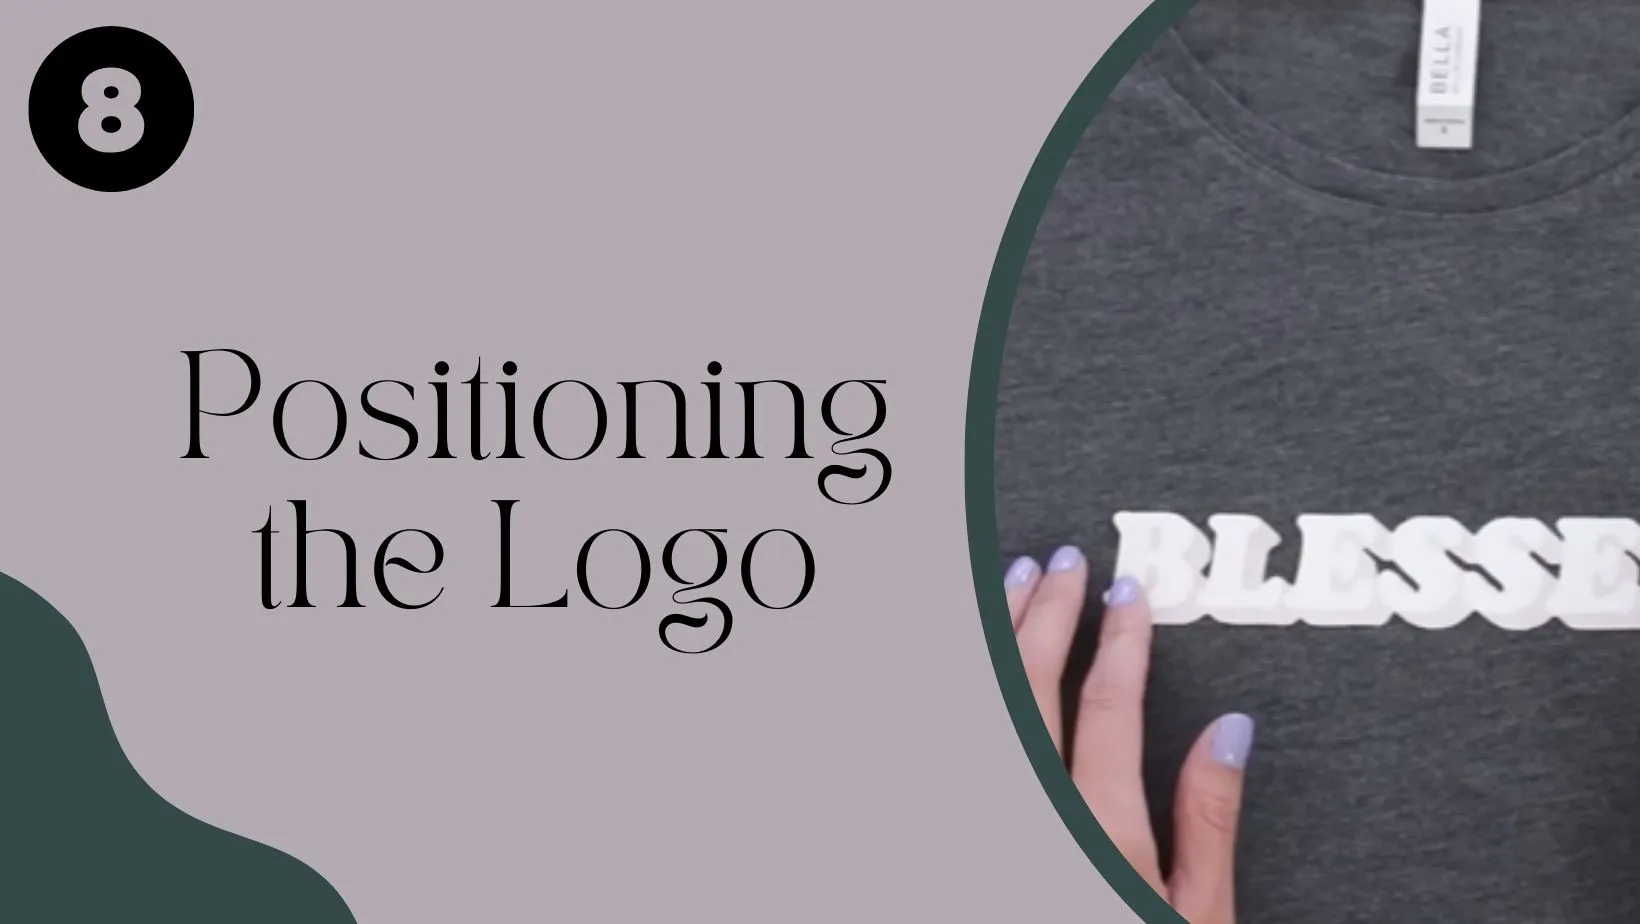
Step – 8: Positioning the Logo
Step – 9: Ironing the Transfer by Applying Heat and Pressure

Tip:
Step -10: Peeling off the Backing Paper
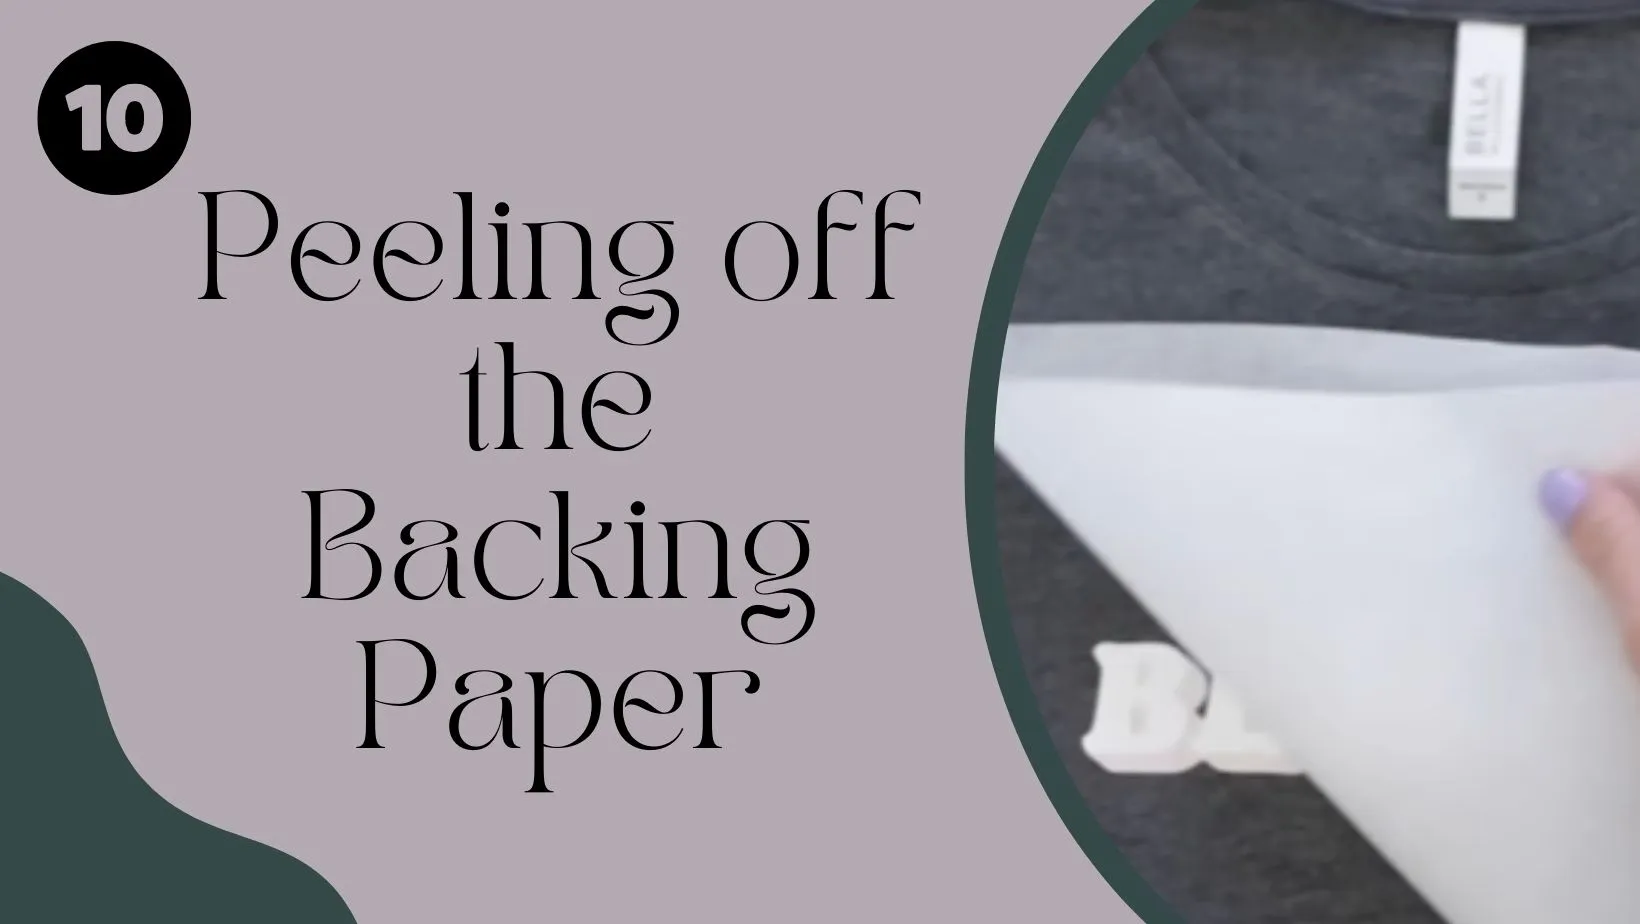
Caring for Your Custom Iron-On Transfer Shirt
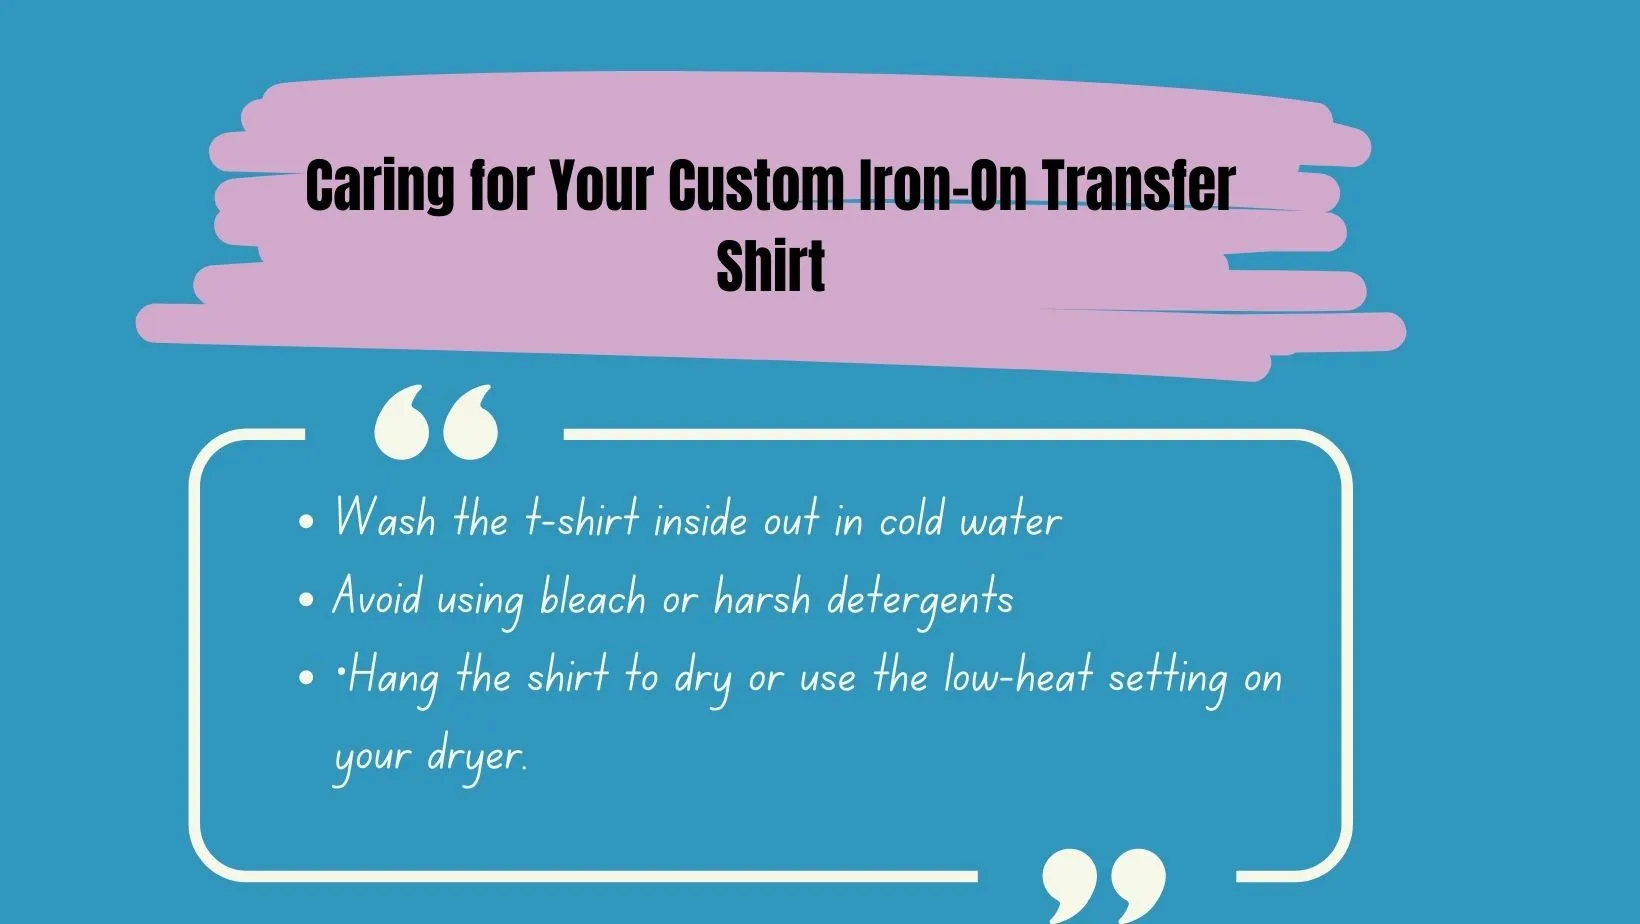
Grasping the process of how to iron a logo is vital, and following the above steps will be immensely beneficial to your skill development. Proper care will prolong the life of your iron-on transfer shirt:
How to Iron a Logo onto a Hat?
Improving your abilities for how to iron a logo on a hat is of utmost importance, and valuable steps are here to assist you throughout the learning process. Applying a logo to a hat requires a slightly different approach:
Material Selection
Printing the Logo and Preparing the Hat
Ironing Process for Hats
Iron-On Labels and Transfers for Clothing
Iron-on labels and transfers offer a quick and easy way to identify clothing items:
Customizing Iron-On Labels
Iron-on labels are particularly useful for marking clothing items for kids, school uniforms, or nursing home residents. Customize the labels with names or initials using either vinyl or inkjet transfers.
Applying Iron-On Labels
Follow the standard ironing process described earlier to apply the labels onto the clothing items.

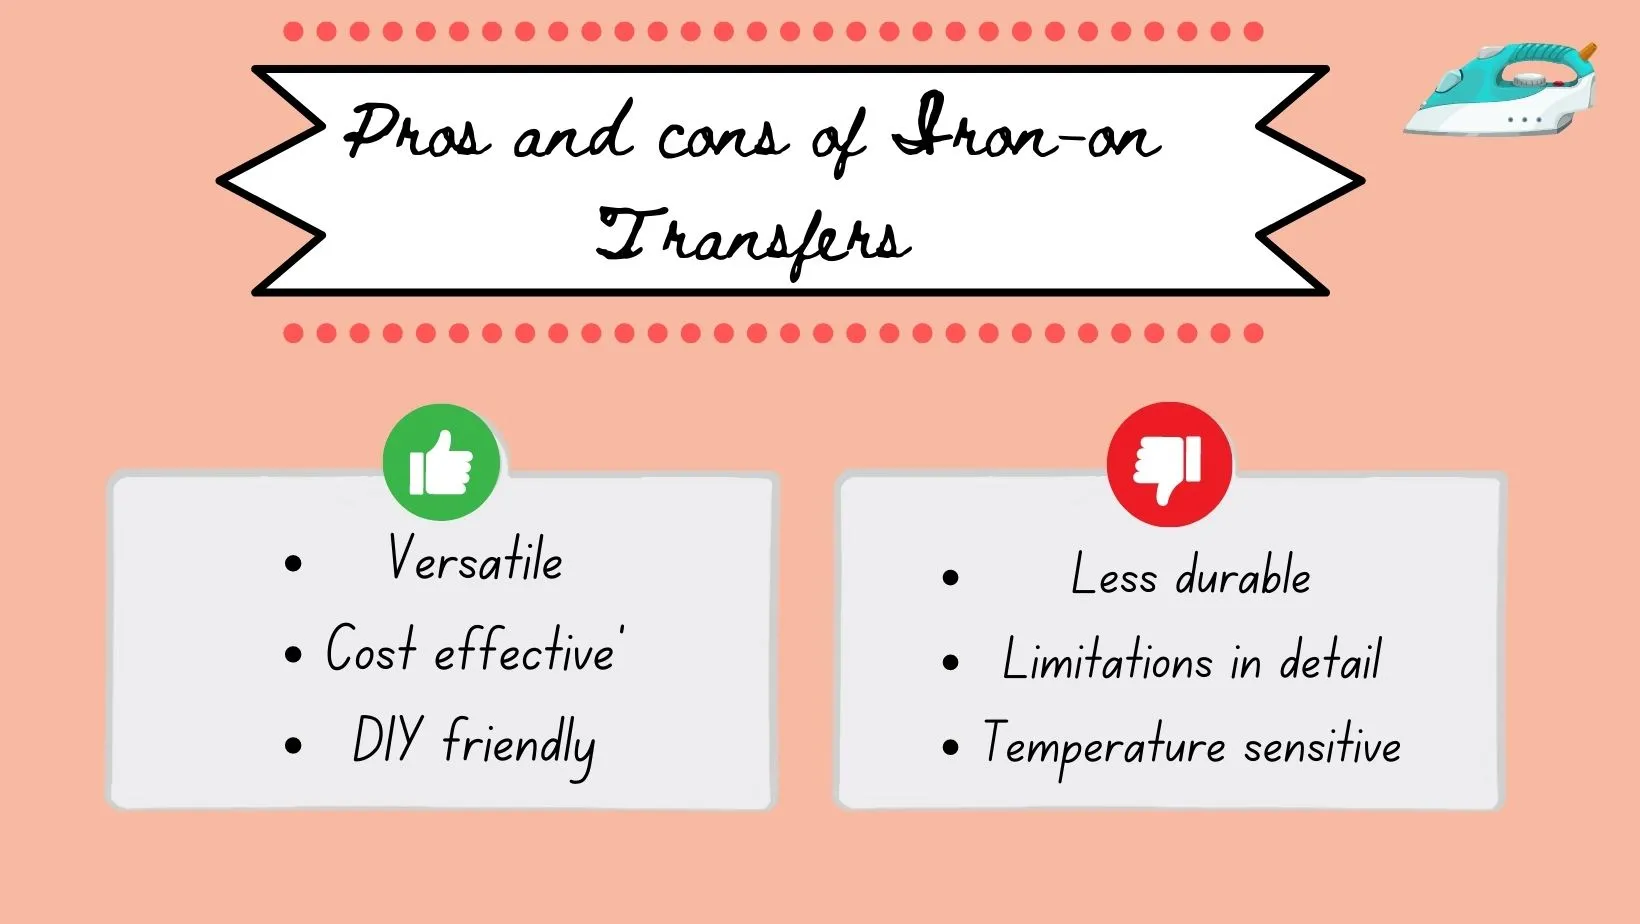
Pros and Cons of Ironing a Picture onto a Shirt
Let’s explore the advantages and drawbacks of how to iron a logo onto shirts and other clothing:
Pros of Ironing Logos
Cons of Ironing Logos
Pros and cons of ironing a picture on a shirt
- Customization: Create unique, personalized shirts with custom designs, logos, and images.
- Cost-Effective: A budget-friendly option compared to other printing methods for small quantities.
-
Easy DIY Process: Simple to apply with an iron or heat press, making it accessible to beginners.
- Quick Application: Iron-on transfers can be applied relatively quickly, allowing for fast shirt customization.
- Versatility: Works well on various clothing items like t-shirts, hoodies, and hats.
- Branding and Promotions: Businesses can use iron-on transfers for branding and marketing purposes.
- Personalized Gifts: Ideal for creating thoughtful and unique gifts for special occasions.
- Expressive Artistry: A canvas for artists and designers to showcase their creativity and artwork.
- Wide Design Selection: Access to a wide range of pre-designed iron-on transfers for easy use.
- Low Minimum Order: Suitable for producing small quantities, reducing waste and costs.
- Suitable for Small Projects: Ideal for DIY enthusiasts and hobbyists looking for custom clothing.
- Temporary Option: Offers a temporary way to personalize clothing without a long-term commitment.
- Durability: Iron-on transfers may not withstand repeated washing as well as professionally printed designs.
- Fabric Limitations: Certain delicate or heat-sensitive fabrics may not be suitable for iron-on transfers.
- Limited Reusability: Once applied, the transfer becomes permanent and challenging to remove.
- Potential Heat Damage: High heat can damage sensitive fabrics or cause color bleeding.
- Washing Sensitivity: Frequent washing and using harsh detergents may affect the transfer’s longevity.
- Texture Differences: Iron-on transfers may create a slightly raised or textured appearance on the fabric.
- Limitation in Complex Colors: Some shades or complex gradients may be challenging to achieve.
- Professional Look: Iron-on transfers may not offer the same level of professionalism as screen printing.
How to iron off a logo?
“Ironing off a logo” refers to the process of removing an existing iron-on transfer logo from a garment or fabric. There are various reasons why you might want to remove a logo, such as updating the design, reusing the garment for a different purpose, or correcting a misplaced logo. While it is possible to remove an iron-on transfer, it can be a delicate process that requires careful handling to avoid damaging the fabric.
Steps to iron off a logo on a shirt
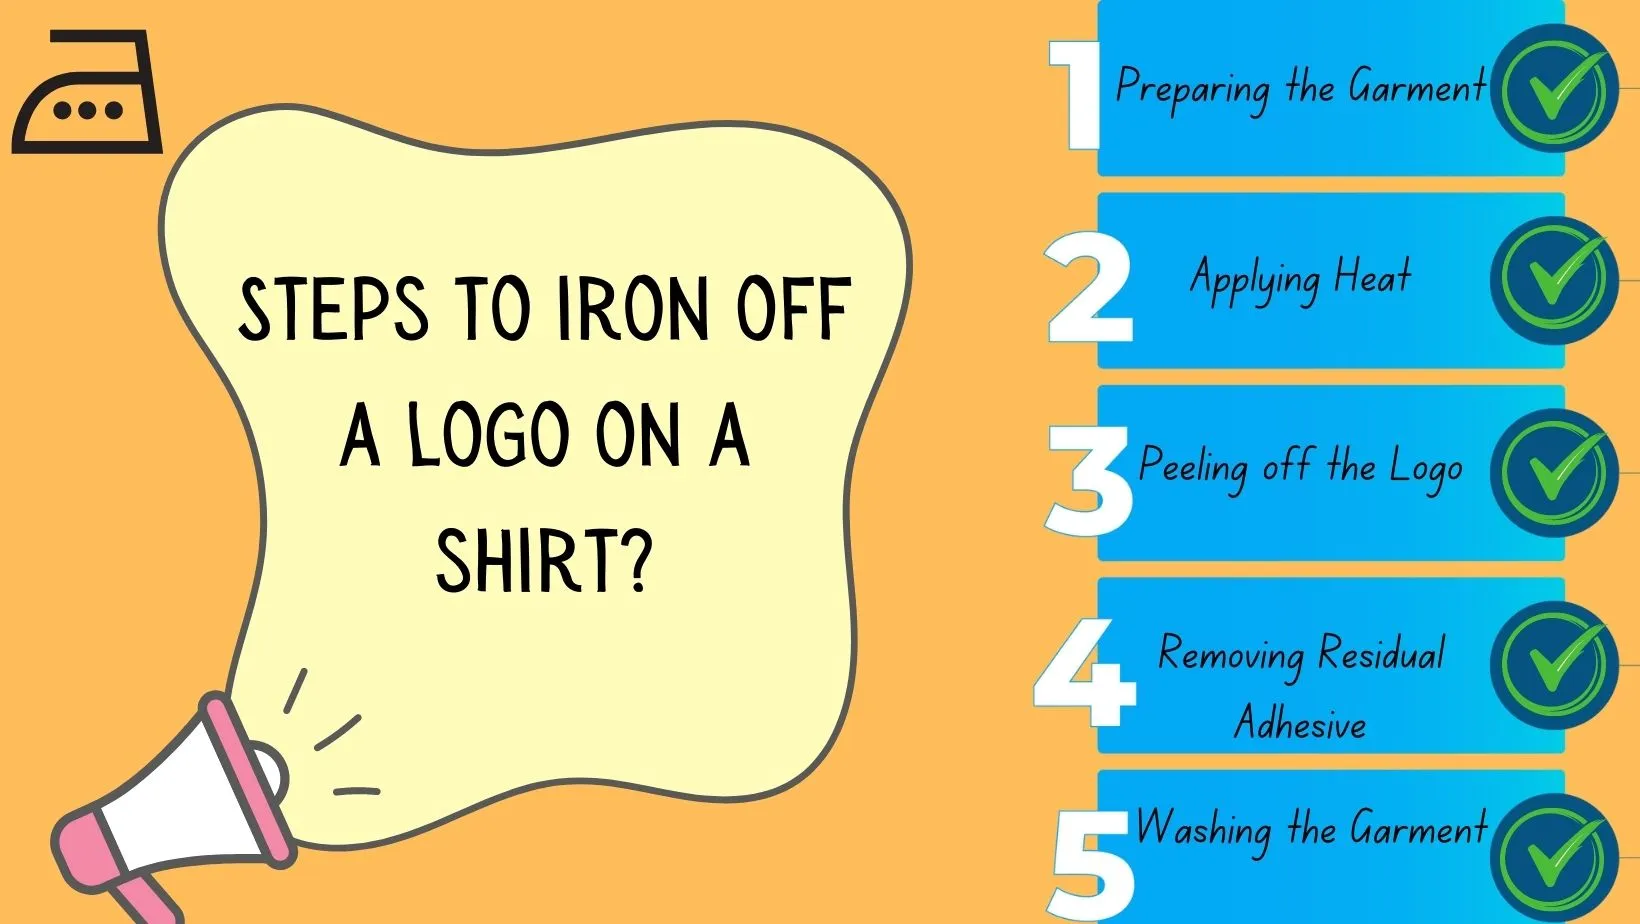
Here’s a general guide on how to iron off a logo:
Place the garment on a flat, heat-resistant surface, such as an ironing board or a wooden table covered with a clean cloth.
Set your household iron to a low to medium heat setting. Start with a lower temperature and gradually increase if needed, as using high heat can damage the fabric
Lay a clean, dry cloth or piece of parchment paper over the logo you want to remove. The cloth acts as a protective barrier between the iron and the transfer.
Gently press the iron over the cloth or parchment paper, covering the entire logo area. Avoid applying too much pressure or leaving the iron in one spot for too long, as this may cause scorching.
After applying heat for a short time, lift the iron and try to peel off a corner of the transfer. If the logo begins to peel away easily, you can continue to peel it off slowly.
If the logo does not lift easily, reapply heat with the iron and try again until it loosens.
Once the logo is removed, there may be some adhesive residue left on the fabric.
To remove any leftover adhesive, you can gently rub the area with a clean cloth dipped in rubbing alcohol or use a mild adhesive remover specifically designed for fabrics.
Be cautious not to damage or discolor the fabric while removing the residue.
After successfully removing the logo and adhesive residue, wash the garment according to the fabric’s care instructions. This will help remove any remaining traces of adhesive and refresh the fabric.
Removing an iron-on transfer can be challenging, and there is a risk of damaging the fabric or leaving visible marks if not done carefully. It is best to proceed cautiously and avoid excessive heat or force.
The success of removing a logo largely depends on the type of transfer material used and the fabric’s characteristics. Some transfers may be easier to remove than others.
Certain fabrics, such as delicate or synthetic materials, are more prone to damage from heat and may not be suitable for attempting logo removal.
Tip:
It’s important to note that not all iron-on logos can be removed without leaving any traces. In some cases, there may be a faint outline or residue even after the removal process. Therefore, consider the permanence of the iron-on transfer before applying it to your garments, and ensure that you are satisfied with the design before proceeding with the application.
10 important mind blowing tips for how to iron a picture on a shirt
NOTE:
Remember to follow the manufacturer’s instructions on the transfer paper packaging for specific ironing times and temperature settings to achieve mind-blowing results when sticking a logo on a shirt at home with an iron.
5 common mistakes to avoid when ironing a logo on clothes
Following are the mistakes to avoid when learning how to iron a logo.
By avoiding these common mistakes, you can ensure a successful and long-lasting result when ironing a logo onto a shirt, hoodie, hat, or any other clothing item.

5 wonderful DIY ideas for custom iron ons at home

After you have learnt the skill of how to iron a logo now you are able to customize your own shirt with the design you want. Following are some DIY ides for custom iron ons.
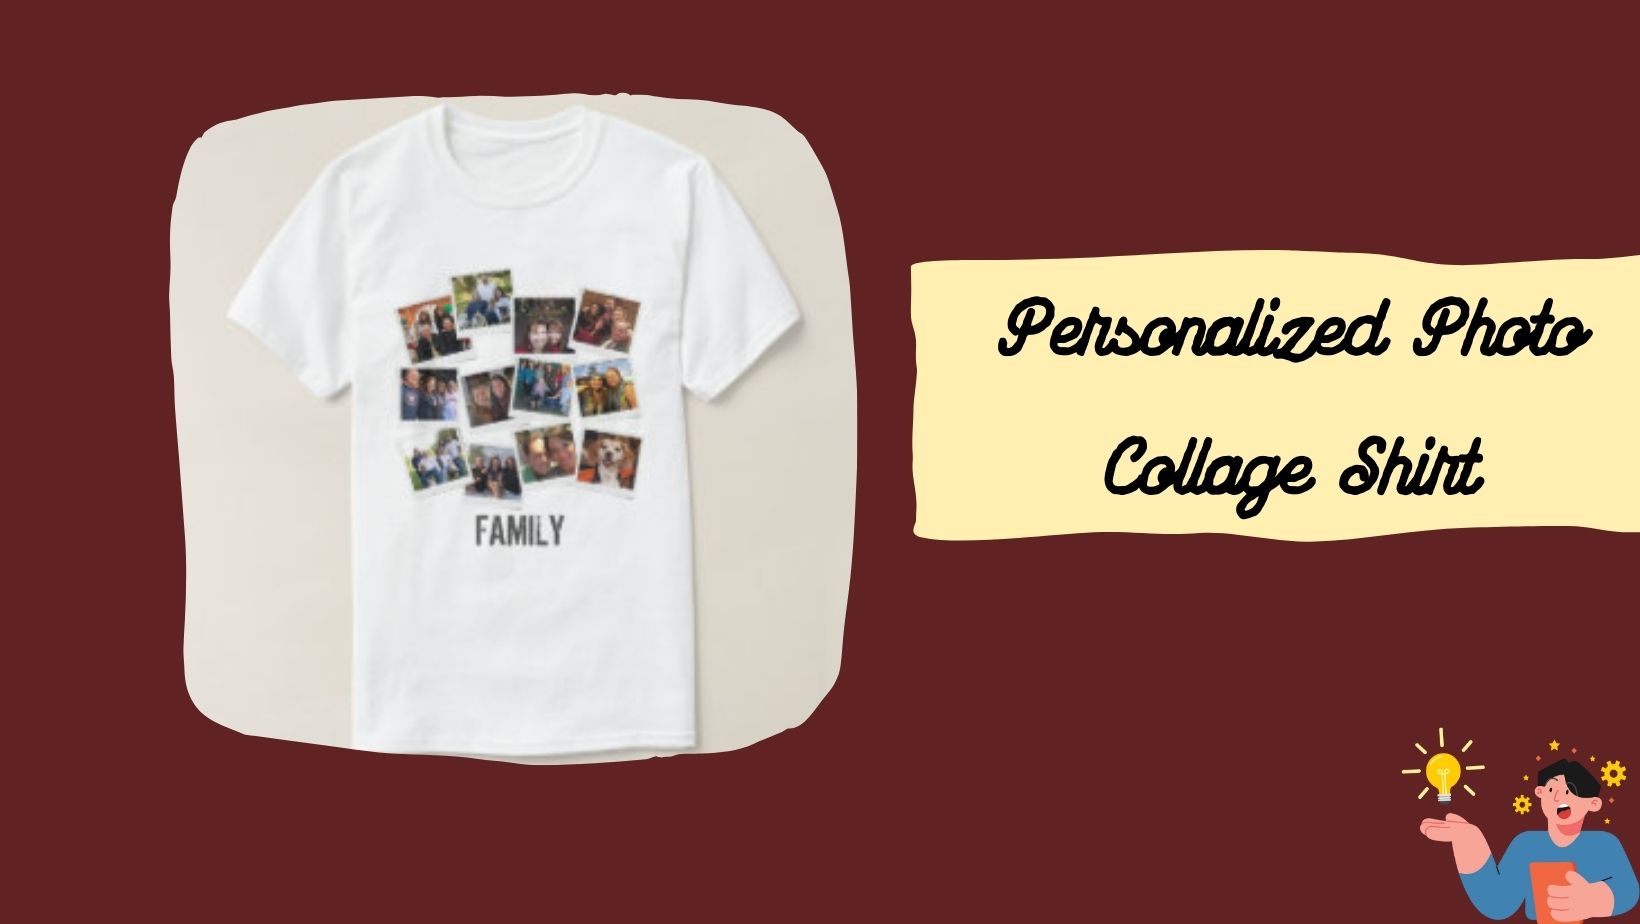
Create a beautiful custom iron-on transfer by printing a collage of your favorite pictures onto transfer paper. Arrange the photos in a unique design and iron them onto a shirt for a sentimental and eye-catching wearable memory.
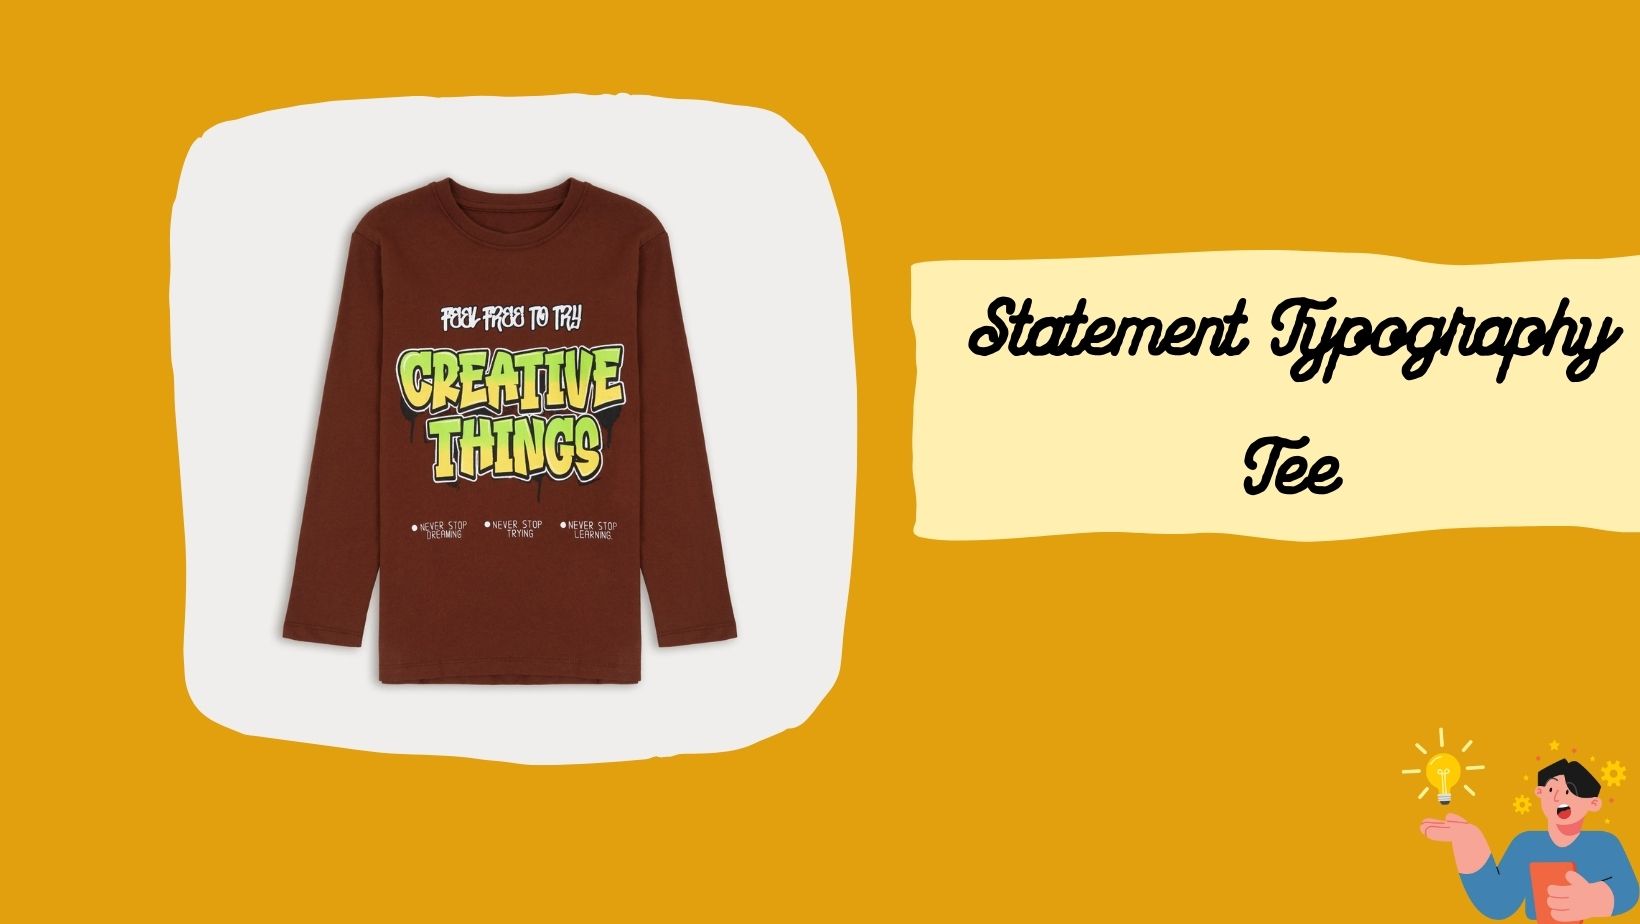
Design a trendy typography-based shirt by using iron-on letters or stencils to transfer empowering quotes, witty phrases, or inspirational words. Customize the font style and colors to match your personality and style.

Capture the beauty of nature by printing images of flowers, leaves, or plants onto transfer paper. Iron these botanical prints onto shirts to create a charming and nature-inspired wardrobe.

Showcase your love for your favorite movies, TV shows, or music bands by printing iconic images onto transfer paper. Iron them onto shirts to create unique and trendy fan apparel.

Turn your beloved pet’s photos into wearable art by printing their adorable pictures onto transfer paper. Iron these custom pet portraits onto shirts to celebrate the special bond with your furry friend.
Top Tips for Logo Care
In the pursuit of a well-groomed appearance, the devil lies in the details, especially when it comes to clothing. Neatness begins with mastering the art of an essential skill to maintain your logos and keep your attire looking sharp.
Tip:
Conclusion – How to iron a logo?
Ironing a logo onto clothing can be a rewarding experience, providing you with personalized, one-of-a-kind garments. By following the step-by-step guide in this article, you can confidently create custom apparel and accessories using iron-on logos and transfers. Remember to consider the fabric type and carefully follow the ironing instructions for the best results. Embrace your creativity and enjoy the process of adding unique designs to your clothing collection.


