HOW TO JOIN IN THE ROUND WHEN KNITTING: 5 AWESOME WAYS
We are delighted to present to you a comprehensive guide on step by step tutorial for how to join in the round when knitting. With knitting being a cherished craft that has captivated countless individuals throughout the ages, we recognize the significance of mastering this fundamental technique. In this formal and meticulously crafted document, we aim to offer our heartfelt appreciation for the time-honored tradition of knitting and provide you with the knowledge and expertise to seamlessly embark on circular knitting projects.
Whether you are a seasoned knitter seeking to refine your skills or a novice eager to delve into the enchanting world of knitting, this guide serves as a valuable resource to help you confidently navigate the intricacies of how to join in the round when knitting.
How to join knitting in the round
Mastering the art of how to join knitting in the round holds immense importance for knitters of all levels. This fundamental skill unlocks a multitude of opportunities, allowing for the creation of seamless garments, snug accessories, and intricate designs. By seamlessly connecting the work in a continuous loop, the need for unsightly seams is eliminated, resulting in a visually appealing and polished outcome. Furthermore, this technique enhances the functionality of knitted items, ensuring a comfortable fit and exceptional durability.
Additionally, a solid grasp of joining in the round expands the range of knitting projects one can undertake, encompassing cozy hats, cozy socks, delicate lace shawls, and captivating circular blankets. Embracing this vital skill empowers knitters to unleash their creativity, express their unique style, and embark on an exciting knitting journey filled with endless possibilities.
What does it mean to join in the round when knitting?
To join in the round when knitting is to seamlessly connect the beginning and end of a row, creating a continuous loop of stitches. This technique is commonly used when working on circular or tubular projects such as hats, socks, or seamless garments. By joining in the round, you eliminate the need to turn your work and instead knit in a continuous spiral, allowing for a smooth and uninterrupted knitting experience.
This method not only creates a visually seamless result but also adds strength and durability to the finished piece. Joining in the round opens up a world of possibilities for knitters, enabling them to explore intricate stitch patterns, create seamless designs, and embrace the joy of knitting in a circular motion.
Ways to join in the round when knitting
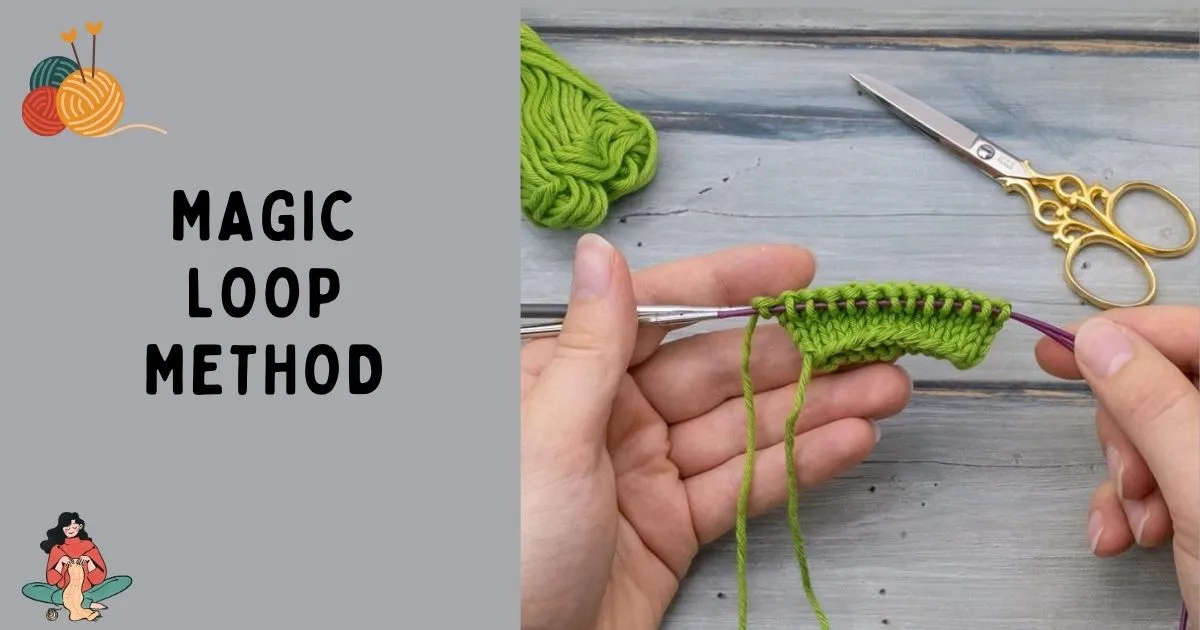
Magic Loop Method
This technique involves using a long circular needle with a flexible cable to create a loop. It is particularly useful for knitting small circumferences such as sleeves or socks, as it allows for easy manipulation of stitches and maintaining an even tension.
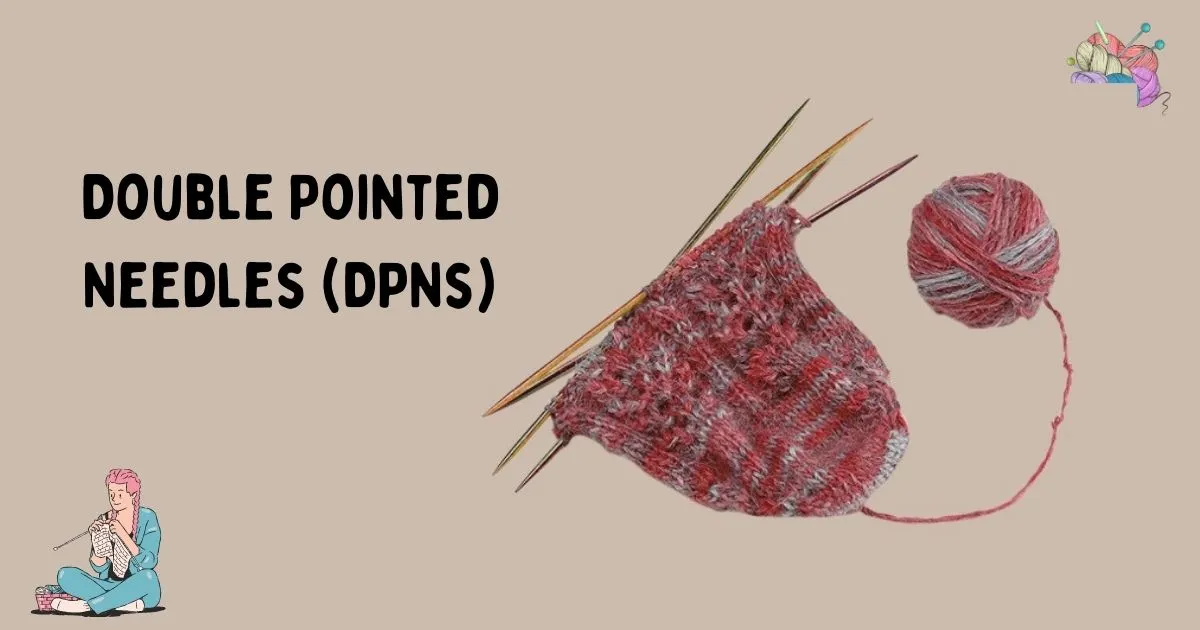
Double Pointed Needles (DPNs)
Using a set of double-pointed needles is a traditional method for joining in the round when knitting. After casting on your stitches onto three or four DPNs, you distribute the stitches evenly and knit with a spare needle. This method is often used for smaller projects like gloves or hats.
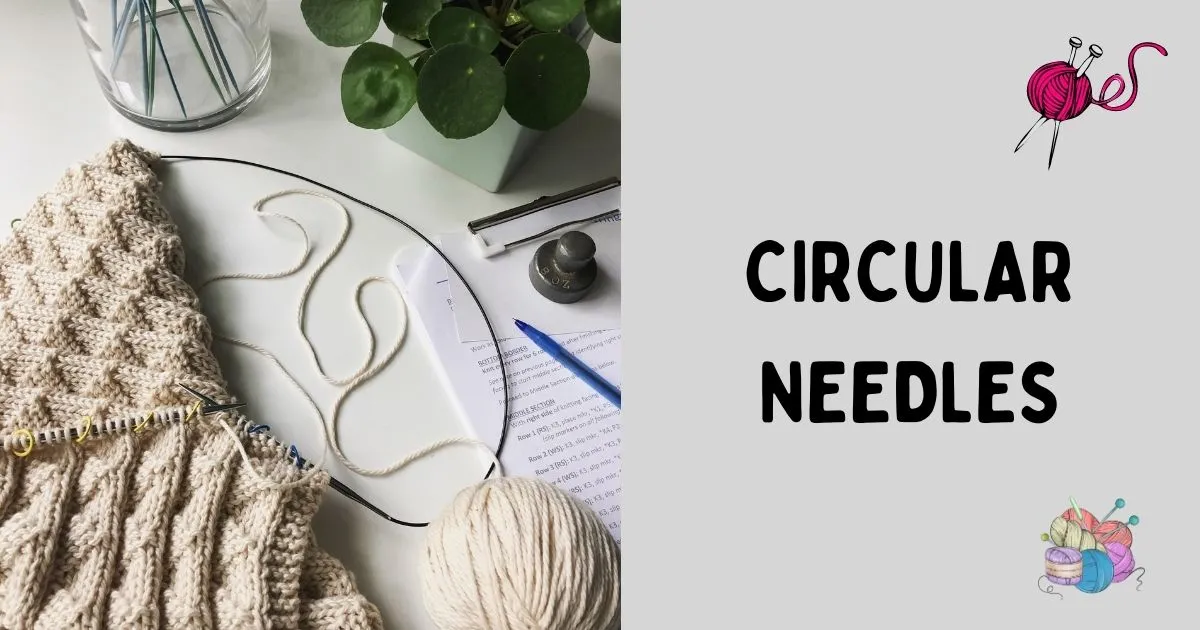
Circular Needles
Circular needles, with a cable connecting two needle tips, are a popular choice for joining in the round when knitting. They are ideal for larger projects such as sweaters or blankets. Simply cast on your stitches onto the circular needle and begin knitting, eliminating the need for seam joining.
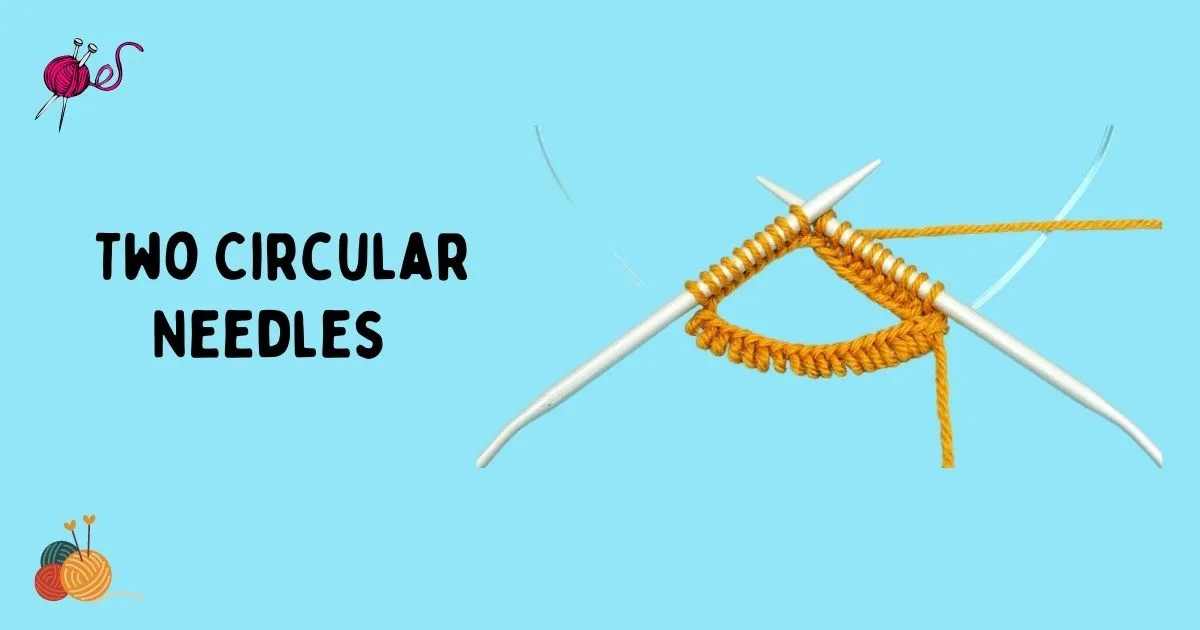
Two Circular Needles
This technique involves using two circular needles of the same size. By dividing the stitches onto the two needles, you can work with one needle at a time, effectively join in the round when knitting. This method is often preferred for small circumferences or when working with a specific stitch pattern.
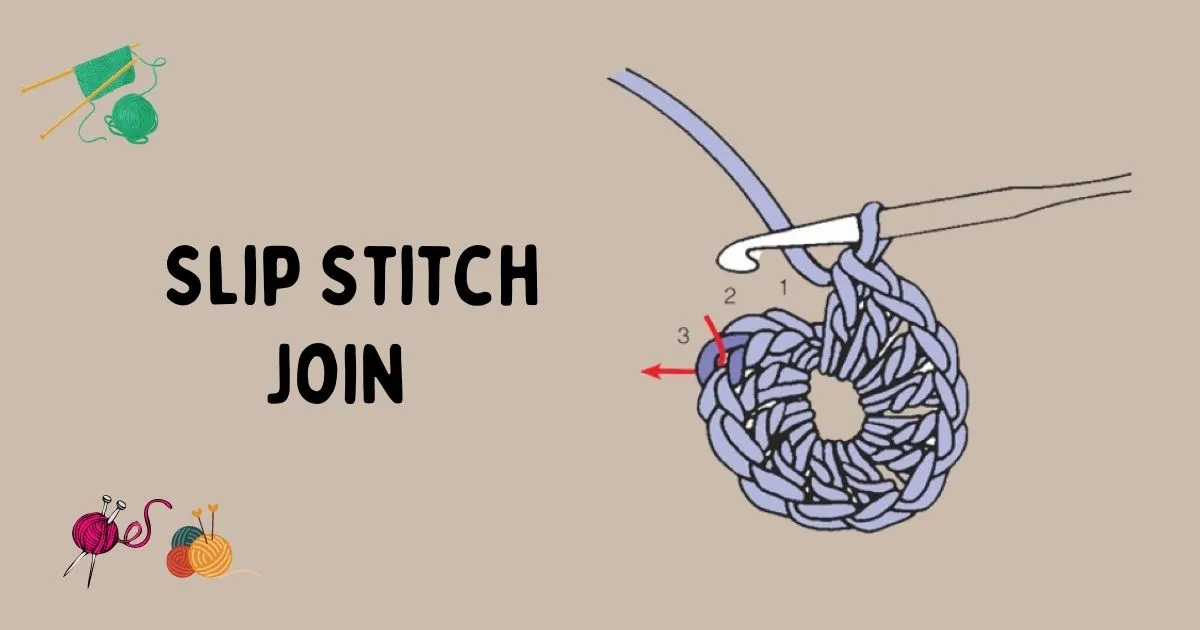
Slip Stitch Join
The slip stitch join method creates a neat and seamless join without any visible gaps or steps. It involves knitting the first stitch of the round and slipping the last stitch from the previous round purl wise.
These various methods provide with versatile options for joining in the round when knitting, allowing for greater creativity and flexibility in their projects.
Step by step tutorial – How to join in the round when knitting
Here is a step by step tutorial to know How to join in the round when knitting.
Materials and tools
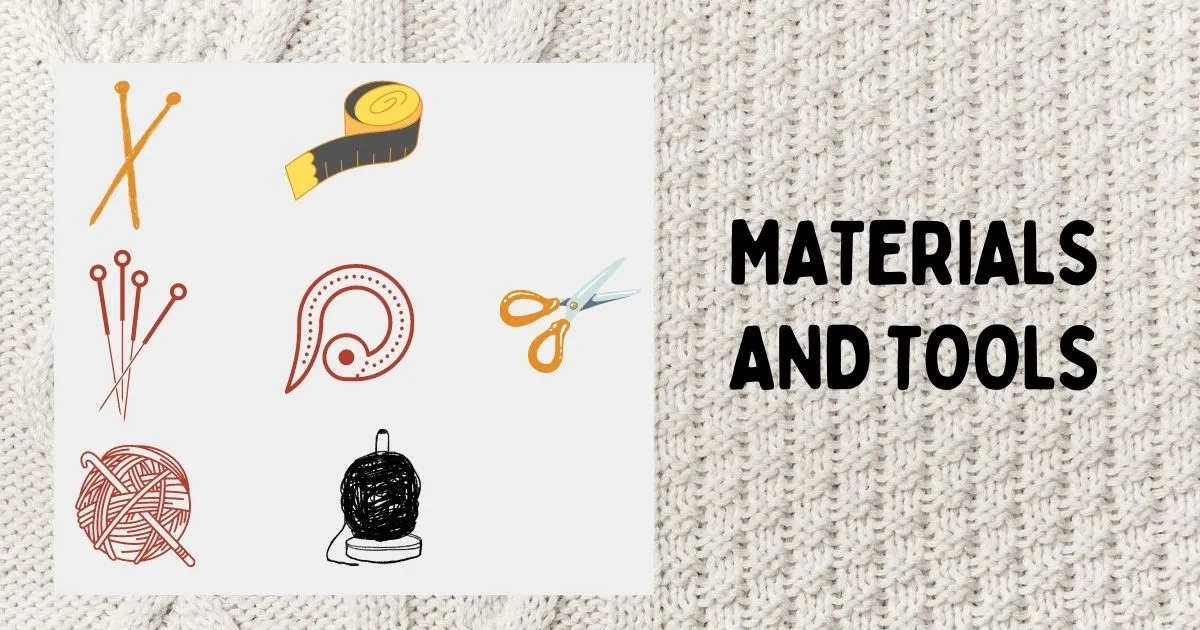
Remember, the specific tools and materials you need may vary depending on your project and personal preferences. It’s always a good idea to double-check the requirements of your pattern or project to ensure you have everything you need before starting.
Steps to join knitting in the round
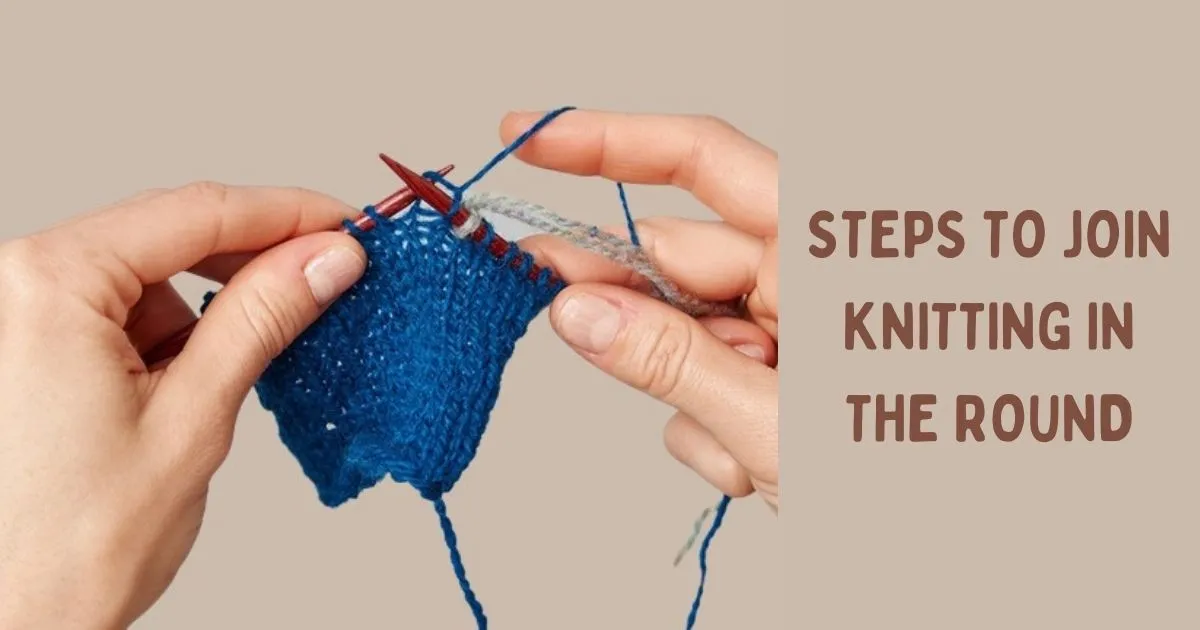
Step 1 – Prepare your materials
Gather your knitting needles, yarn, and any stitch markers or tools you may need for your project. Choose a method of joining that suits your preference and project requirements.
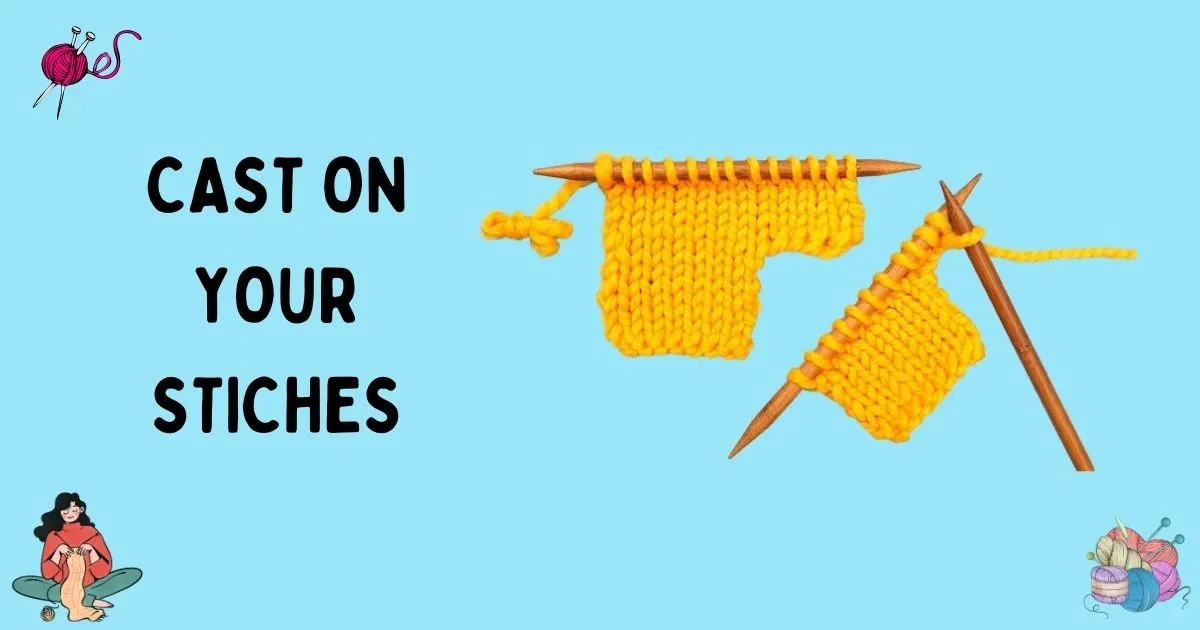
Step 2 – Cast on your stitches
Start by casting on the required number of stitches onto your needles. Ensure they are evenly distributed if using circular needles or double-pointed needles.
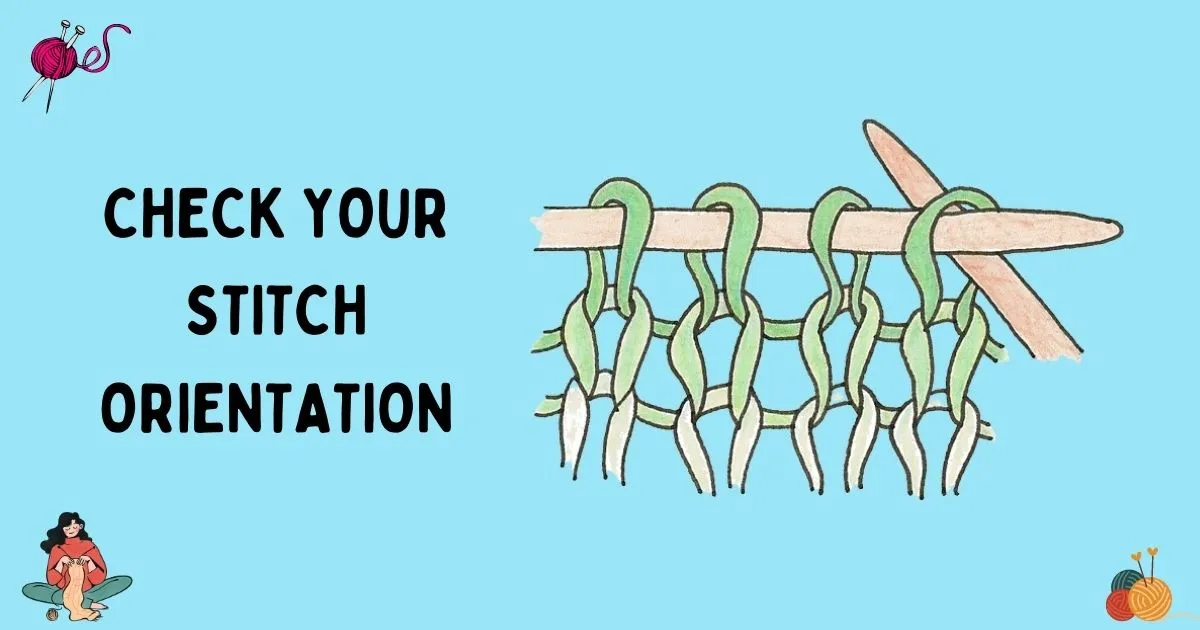
Step 3 – Check your stitch orientation
Before joining, make sure all your stitches are facing the same direction, with the right side facing you. This will prevent any twists in your work.
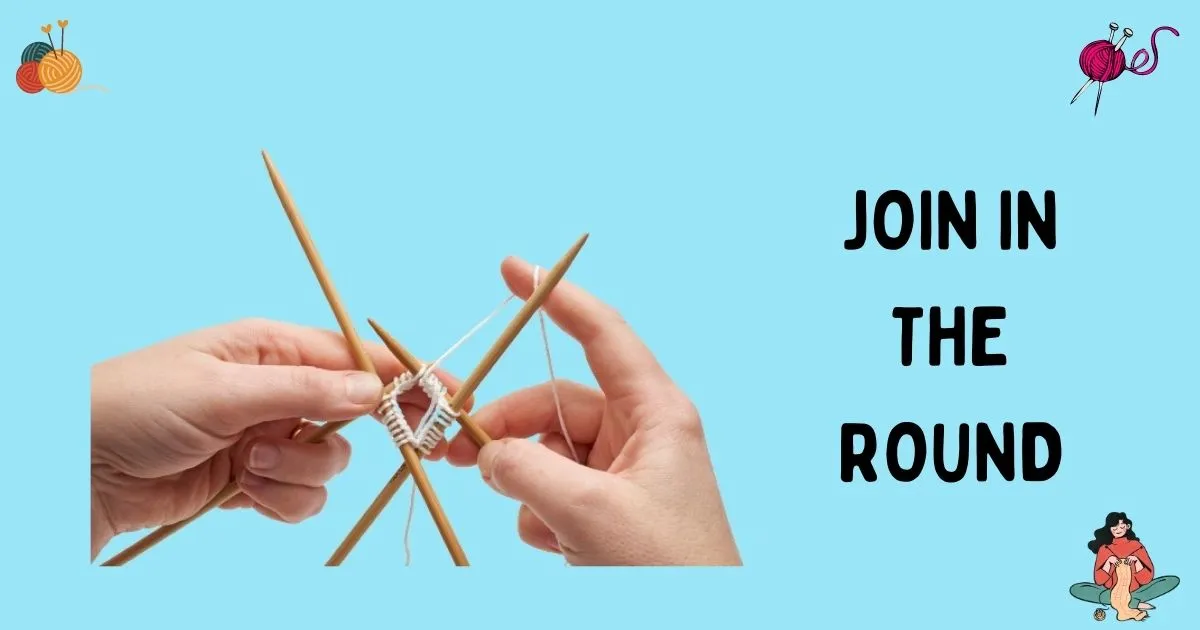
Step 4 – Join in the round
With a sense of excitement, bring the working yarn to the first stitch on your left needle. Slip this stitch from the left needle to the right needle without knitting or purling it. Congratulations! You have officially joined in the round.
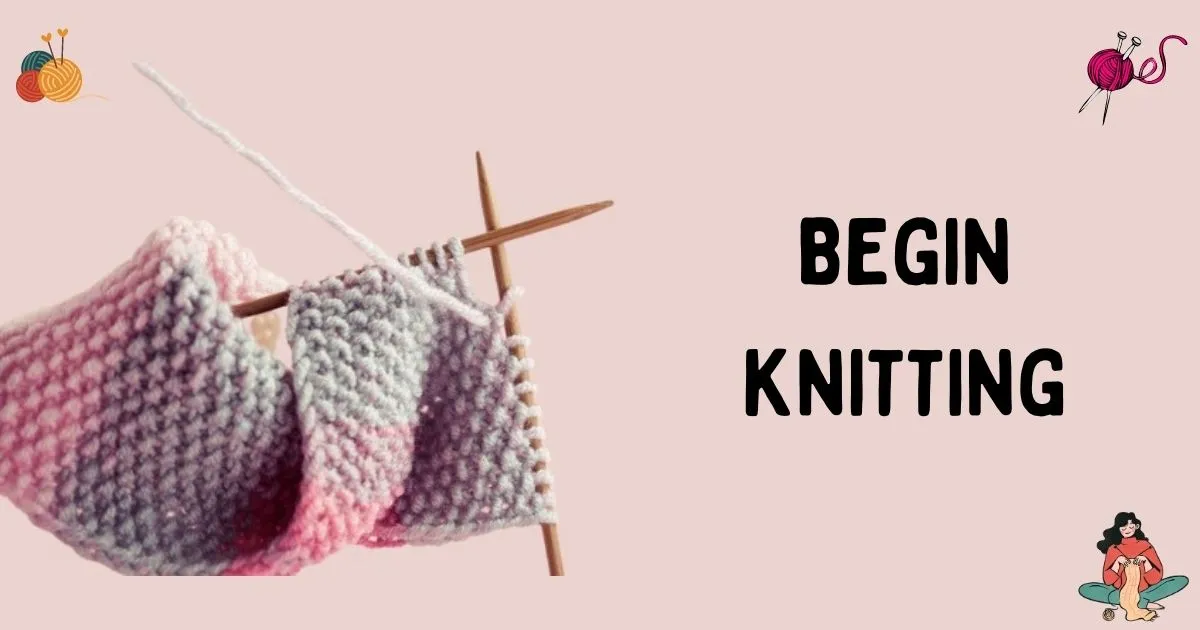
Step 5 – Begin knitting
Now that you have successfully joined in the round, commence knitting your desired pattern or stitch. Feel the rhythmic motion of the needles and the comforting flow of the yarn as your project takes shape.
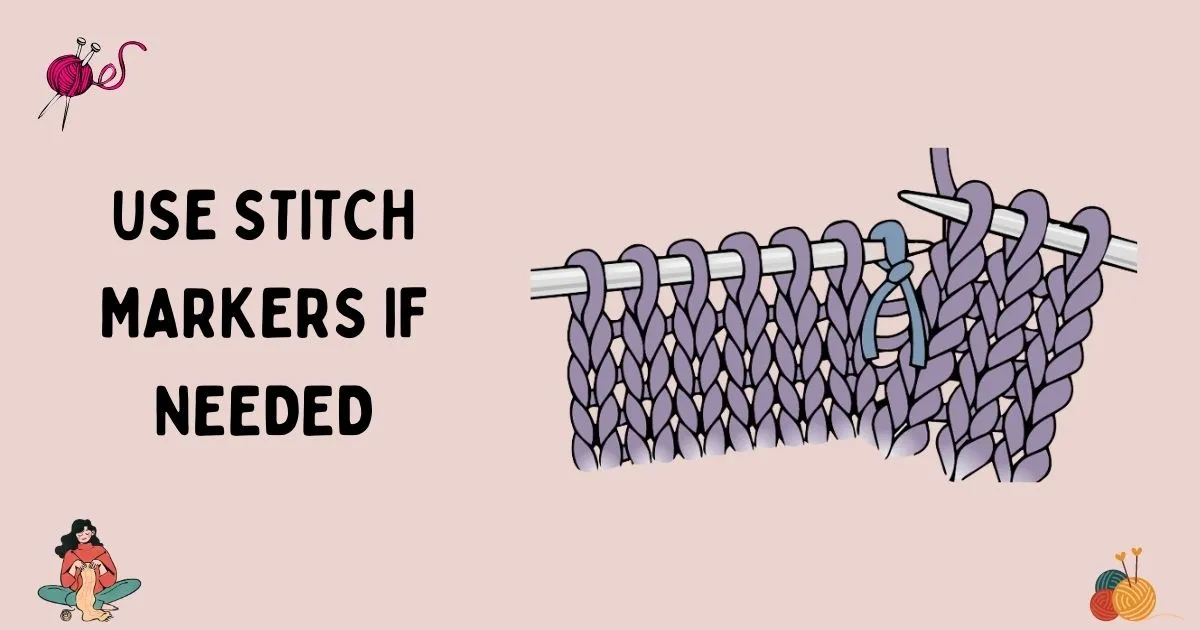
Step 6 – Use stitch markers if needed
If your pattern requires it, place stitch markers to mark key points, such as the beginning of a round or pattern repeats. These markers will help you keep track of your progress and ensure accurate stitch placement.
Step 7 – Continue knitting in the round
Maintain your positive mindset as you continue working your stitches in a circular motion. Embrace the meditative nature of knitting, finding joy in every loop and stitch.
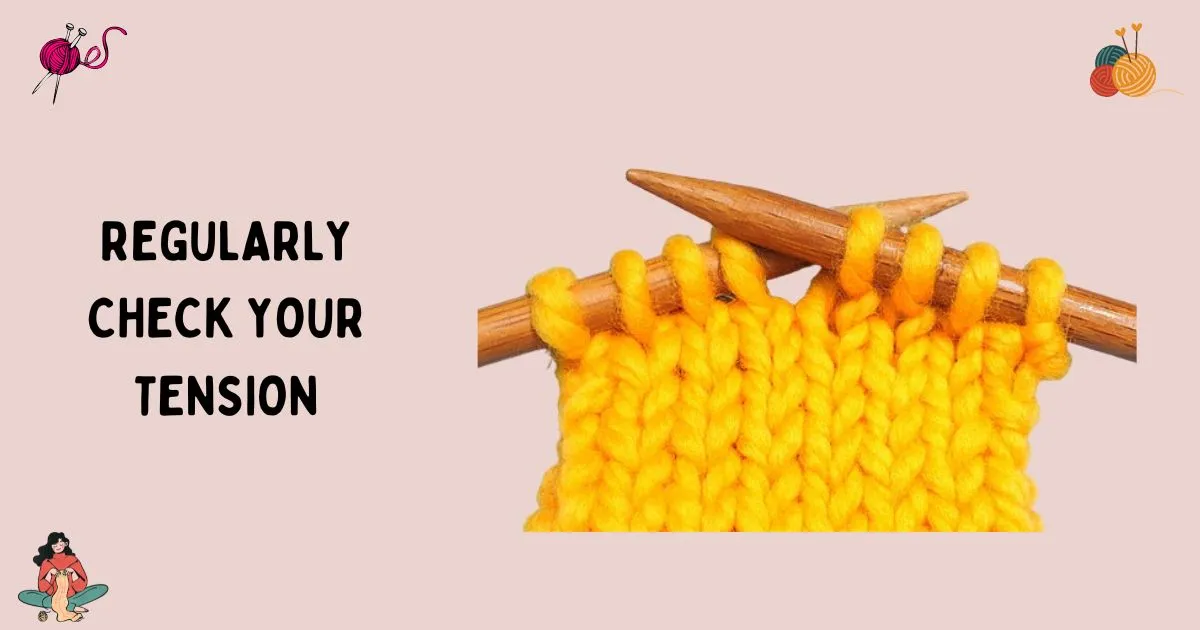
Step 8 – Regularly check your tension
Throughout your knitting journey, pay attention to your tension. Consistent tension ensures an even and polished result. Relax your grip and allow the yarn to flow effortlessly through your fingers.
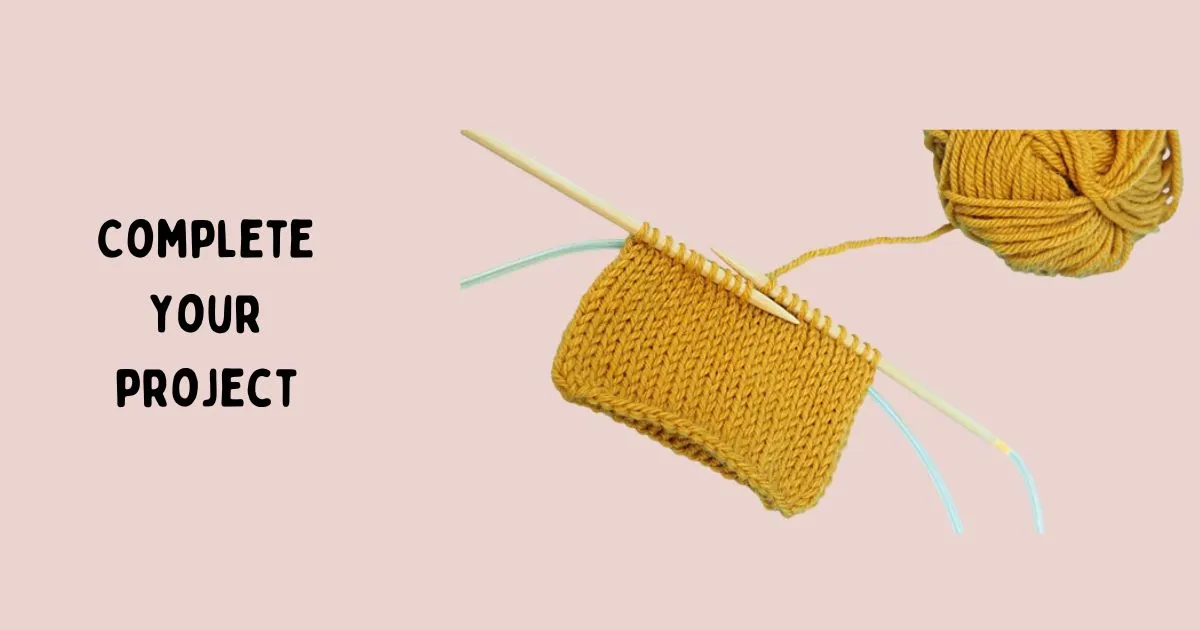
Step 9 – Complete your project
Keep knitting in the round until you have reached the desired length or completed the required number of rounds. Revel in the sense of accomplishment that comes with creating something beautiful and unique.
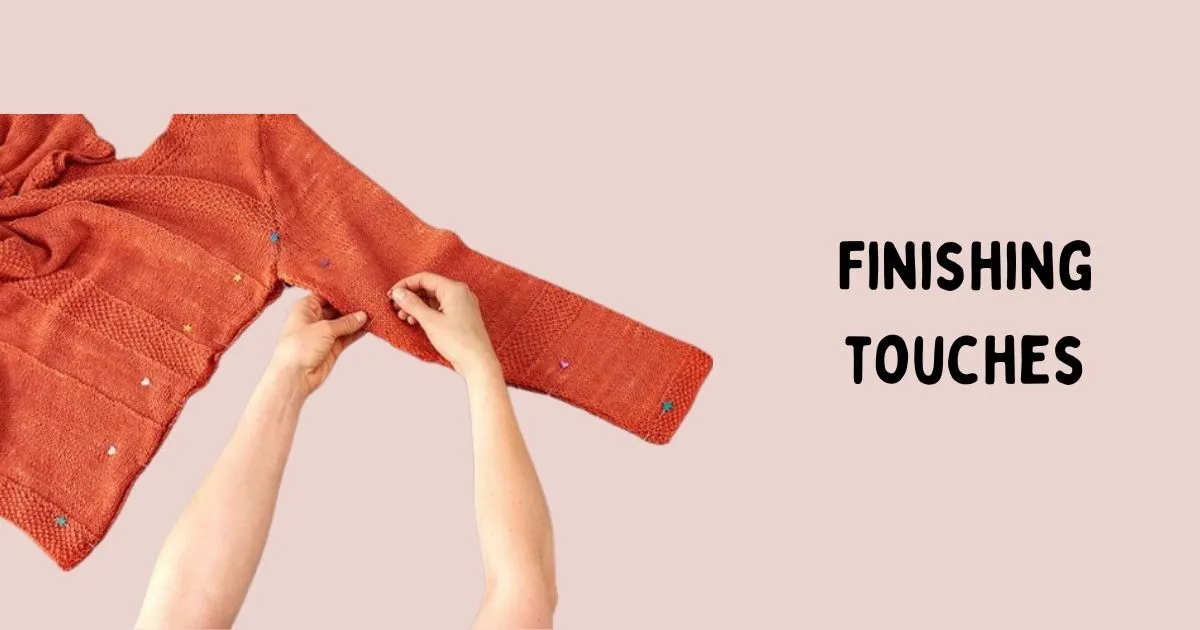
Step 10 – Finishing touches
Once your project is finished, carefully bind off your stitches using your preferred method. Weave in any loose ends, marveling at how seamlessly your work blends together.
By following these empowering steps, you will confidently join in the round when knitting, setting the stage for a delightful knitting experience and the creation of stunning handmade treasures.
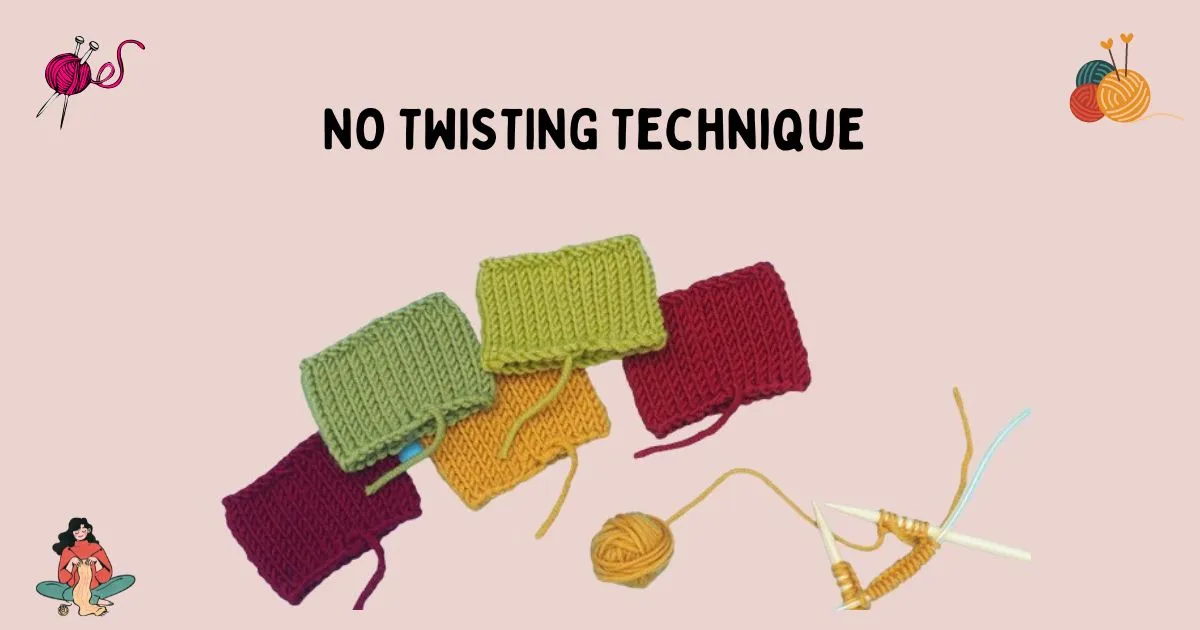
NO TWISTING Technique to join in the round when knitting
The “no twisting” method is a remarkable technique that deserves appreciation for its ability to ensure a seamless and flawless start when join in the round when knitting. With this approach, knitters take extra care to ensure that the cast-on stitches are aligned correctly and do not twist along the needle. By meticulously positioning each stitch in the desired orientation, they create a solid foundation for their knitting journey. This attention to detail showcases a knitter’s commitment to craftsmanship and elevates the overall aesthetic of the finished project. The “no twisting” method sets the stage for a delightful knitting experience, providing a smooth and harmonious canvas upon which creativity can flourish.
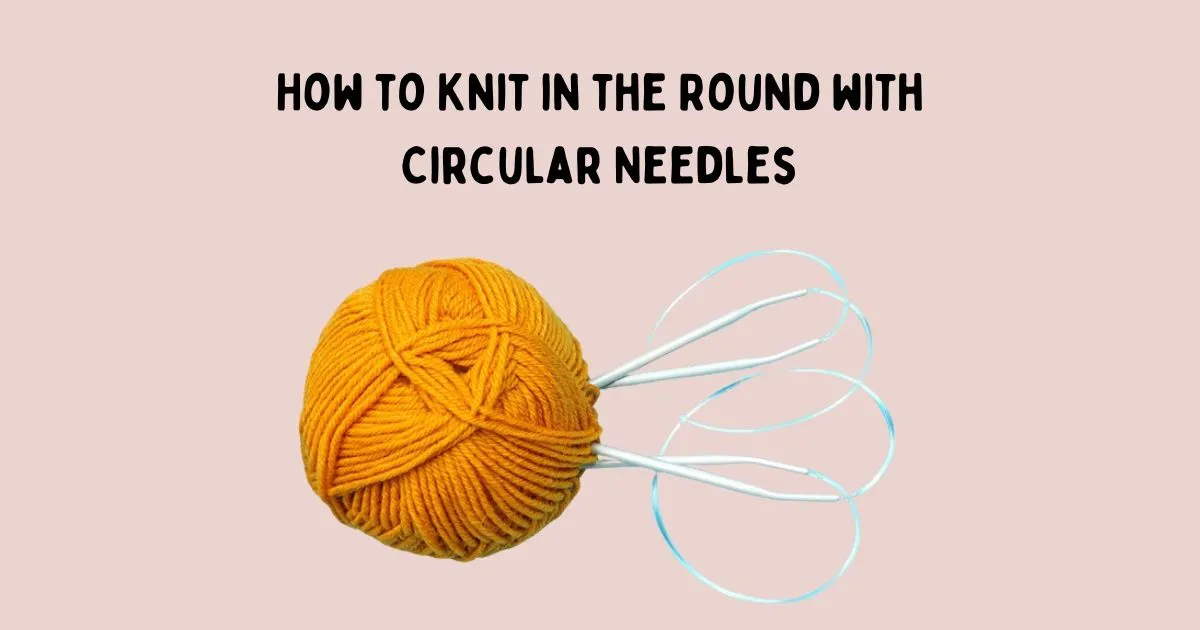
How to Knit in the Round with Circular Needles
To knit in the round with circular needles, start by casting on your desired number of stitches. Ensure that the stitches are evenly distributed on the needle cable. Join the round by carefully bringing the working yarn to the first stitch and knitting the next stitch. Continue knitting in a continuous spiral, without turning your work. Enjoy the seamless flow of your stitches as you create beautiful, seamless projects.
Marking the End when join in the round when knitting
Marking the end of your round is an important step in your knitting journey. To do so, you can use a stitch marker or a simple loop of contrasting yarn to highlight the last stitch of your round. This small but significant act helps you keep track of your progress and ensures accuracy when working on intricate stitch patterns or shaping details. By marking the end, you can knit with confidence and focus, knowing exactly where each round begins and ends. Let this thoughtful practice guide you as you embark on your knitting adventure, bringing precision and joy to your projects.
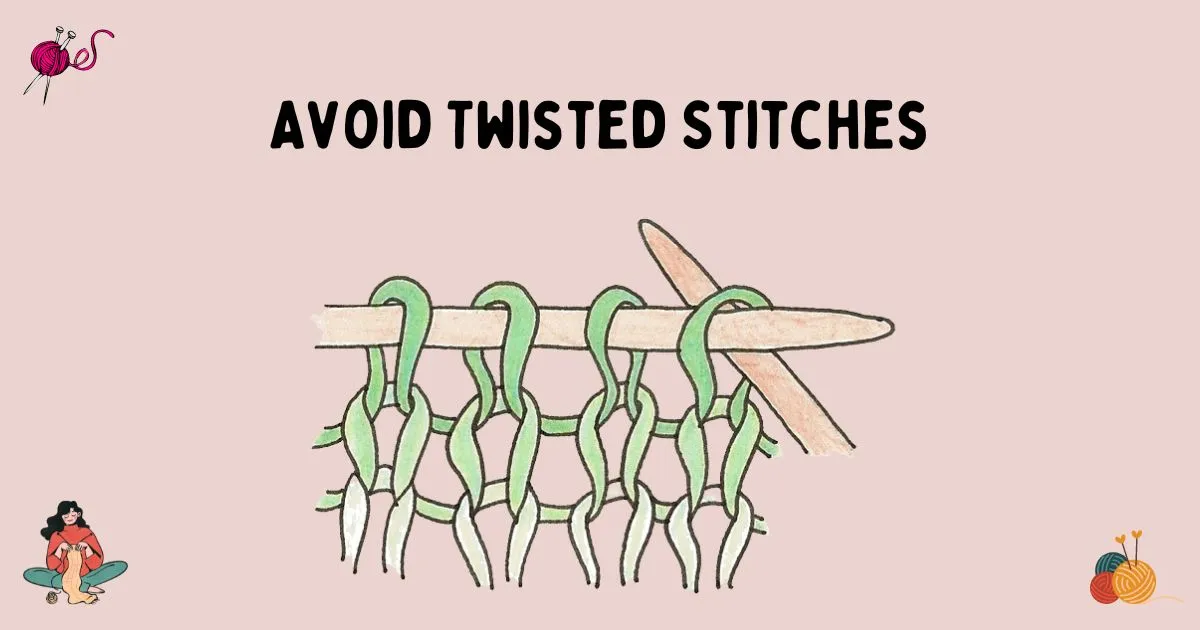
Avoid Twisted Stitches
Avoiding twisted stitches is crucial for maintaining the integrity and proper alignment of your knitting project. When casting on in the round, it is essential to ensure that the stitches lie flat and are not twisted around the needle. Twisted stitches can result in an uneven fabric and disrupt the overall pattern or design. To prevent twisted stitches, take care to arrange the cast-on stitches so that they all face the same direction, with the working yarn at the back. This simple yet vital step sets the foundation for a flawless and professional-looking piece, allowing your stitches to flow effortlessly and showcase the true beauty of your knitting.
Read more: How to weave in ends knitting
Tips to know How to join in round when knitting
How do you knit in the round for beginners?
For beginners, knitting in the round can be simplified by using circular needles. Cast on your stitches, ensuring they are not twisted, then join in the round by knitting the first stitch. Continue knitting all stitches in a continuous spiral, avoiding the need to turn your work. With practice, knitting in the round becomes an enjoyable and versatile technique for creating seamless projects.
Is it easier to knit in the round or flat?
Knitting in the round is generally considered easier than knitting flat because it eliminates the need to turn the work and purl stitches. It can be faster and more efficient for projects like hats or socks. However, the choice depends on personal preference and project requirements.
Knitting Help – 3 Ways to Join In-the-Round
Conclusion
In conclusion, learning how to join in the round when knitting opens up a world of possibilities for seamless and beautiful projects. By mastering various techniques such as using circular needles, double-pointed needles, or the magic loop method, knitters can create garments, accessories, and other items without the need for seams. With practice and patience, joining in the round becomes second nature, allowing for a smooth and uninterrupted knitting experience. So embrace the joy of knitting in a continuous spiral, and let your creativity soar as you embark on your knitting adventures in the round.
