HOW TO WEAVE IN ENDS KNITTING – 14 BEST KNITTING METHODS
In the world of knitting, there exists a crucial yet often overlooked technique known as “weave in ends.” This skilful process known as how to weave ends in knitting involves carefully blending and securing loose yarn tails within a knitted fabric, creating a seamless and polished finish. As a testament to the dedication and attention to detail that knitters possess, weaving in ends ensures that every stitch and loop of a project is respected and completed to perfection. From cosy sweaters to intricate lace shawls, the artistry of “weave in ends” is an essential step that elevates knitted creations, leaving them flawless and ready to be cherished.
In this article we will discuss about 14 different methods of How to weave in ends knitting.
Weave in ends knitting – 14 methods
Below, we will explore and discuss 14 different methods of weaving in ends in knitting. These techniques showcase the creativity and resourcefulness of knitters when it comes to seamlessly integrating loose yarn tails into their projects. By utilizing these methods, knitters demonstrate their commitment to achieving a flawless finish and ensuring that every aspect of their work, even the smallest details, is meticulously attended to.
Whether it’s through duplicate stitching, Russian joining, or braided and twisted joins, each technique offers a unique way to secure and conceal loose ends, elevating the overall craftsmanship and aesthetic appeal of the knitted piece. So, let’s delve into these methods and appreciate the artistry and skill behind the art of weaving in ends in knitting.
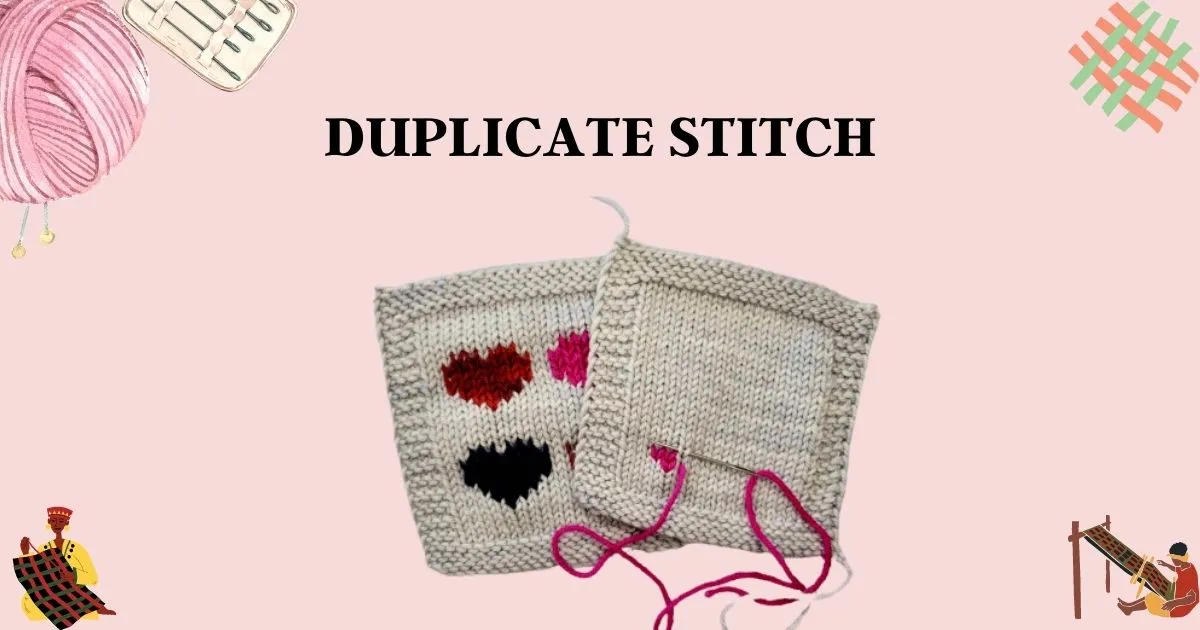
Duplicate Stitch
A technique where knitters replicate surrounding stitches over loose ends. By carefully recreating the fabric’s texture, duplicate stitch seamlessly blends the yarn tails into the background, ensuring both security and aesthetic integrity. This method allows knitters to mend imperfections while maintaining the original design, showcasing their attention to detail and ability to achieve a seamless finish.
Russian Join
The Russian Join method involves joining yarn ends by intertwining them with the working yarn. This technique creates an almost invisible join, resulting in a smooth transition that appears uninterrupted. Knitters utilize this approach to achieve a professional and polished look, highlighting their resourcefulness and commitment to flawless craftsmanship.

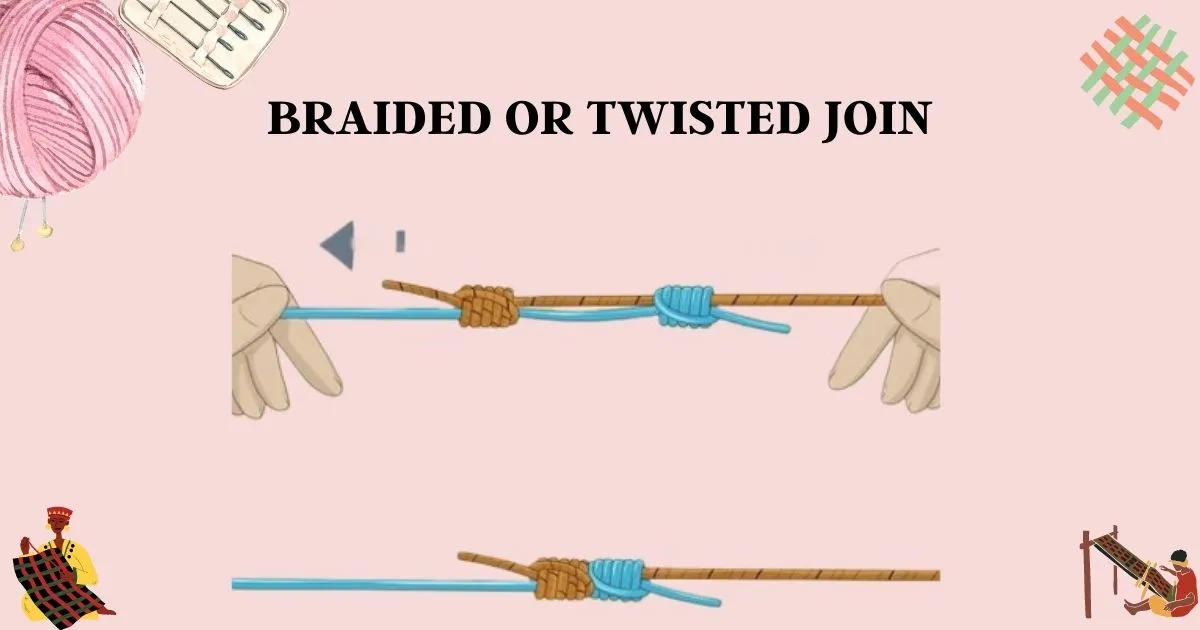
Braided or Twisted Join
Knitters employ the braided or twisted join technique to creatively blend loose ends. By intertwining and braiding the strands, or twisting them together, the ends are concealed in a visually appealing manner. This method not only secures the yarn but also adds an element of decorative interest to the finished project, showcasing the knitter’s innovative approach and attention to detail.
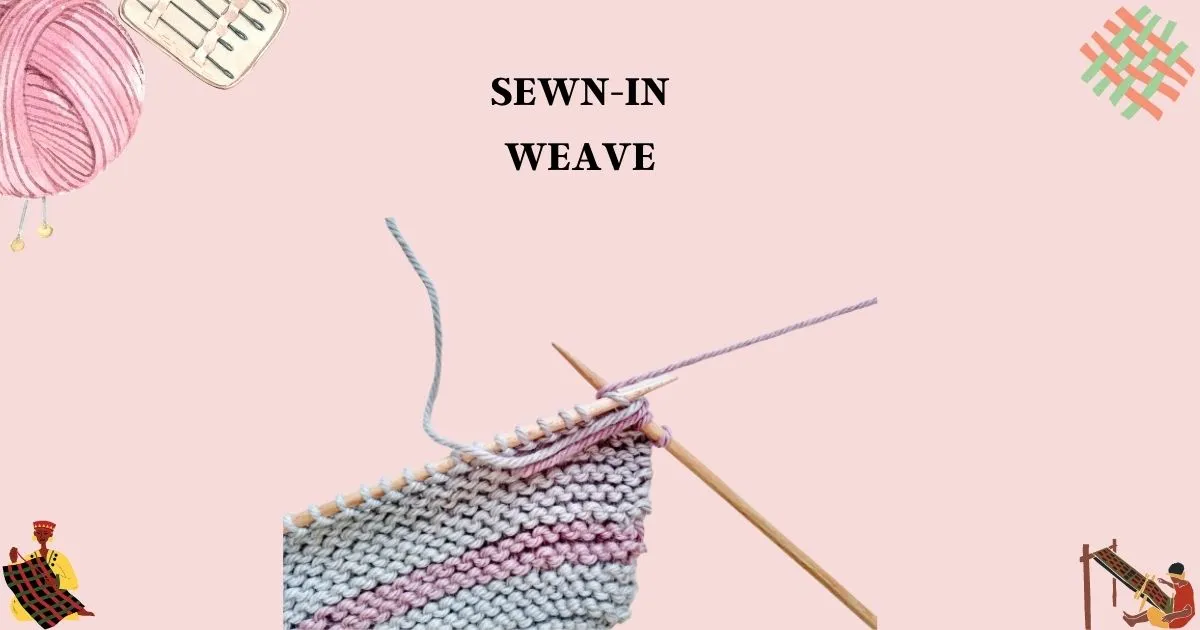
Sewn-in Weave
With the sewn-in weave technique, knitters use a yarn needle to carefully thread the loose ends through adjacent stitches. This method ensures a strong and durable bond, effectively securing the ends in place. The meticulous stitching involved demonstrates the knitter’s commitment to excellence, resulting in a seamless and professional finish that contributes to the overall integrity of the project.
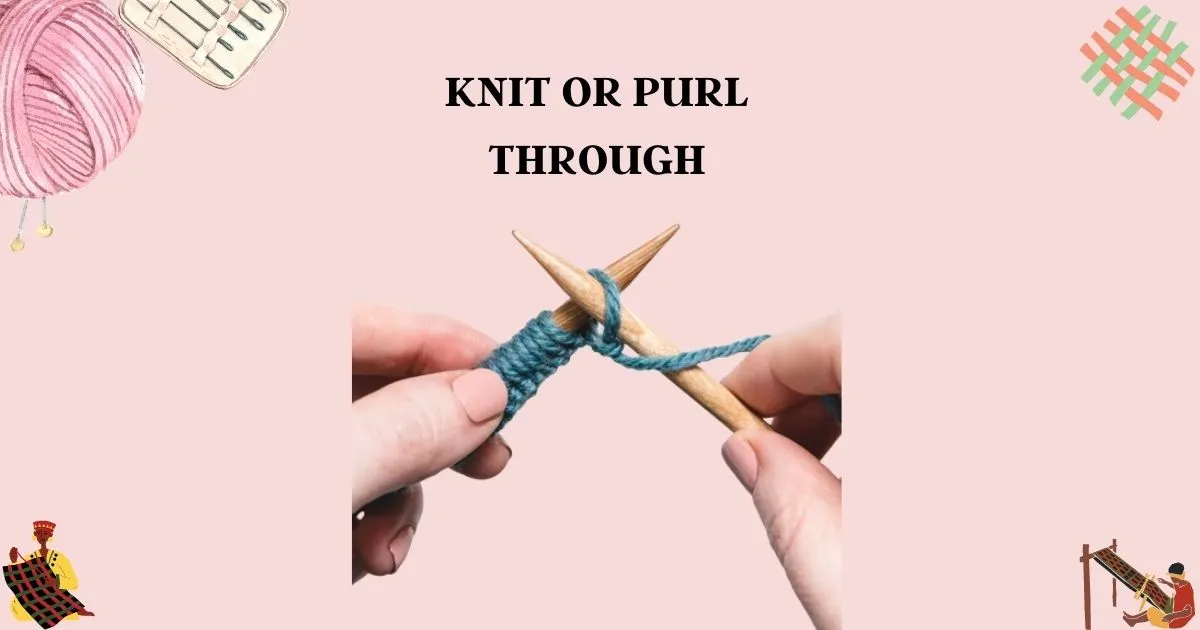
Knit or Purl Through
Knitters can seamlessly weave in ends by incorporating them into their knitting or purling process. By either knitting or purling the loose ends along with the live stitches, the yarn is effectively secured within the fabric. This method not only provides a secure finish but also eliminates the need for additional steps, making it a convenient and efficient technique.
Slip Stitch Join
The slip stitch join method involves slipping the loose end through nearby stitches without actually knitting or purling them. By slipping the yarn through the fabric’s backside, the ends are neatly integrated into the knitted piece. This technique creates a discreet and secure finish, showcasing the knitter’s ability to maintain the overall integrity of the project.
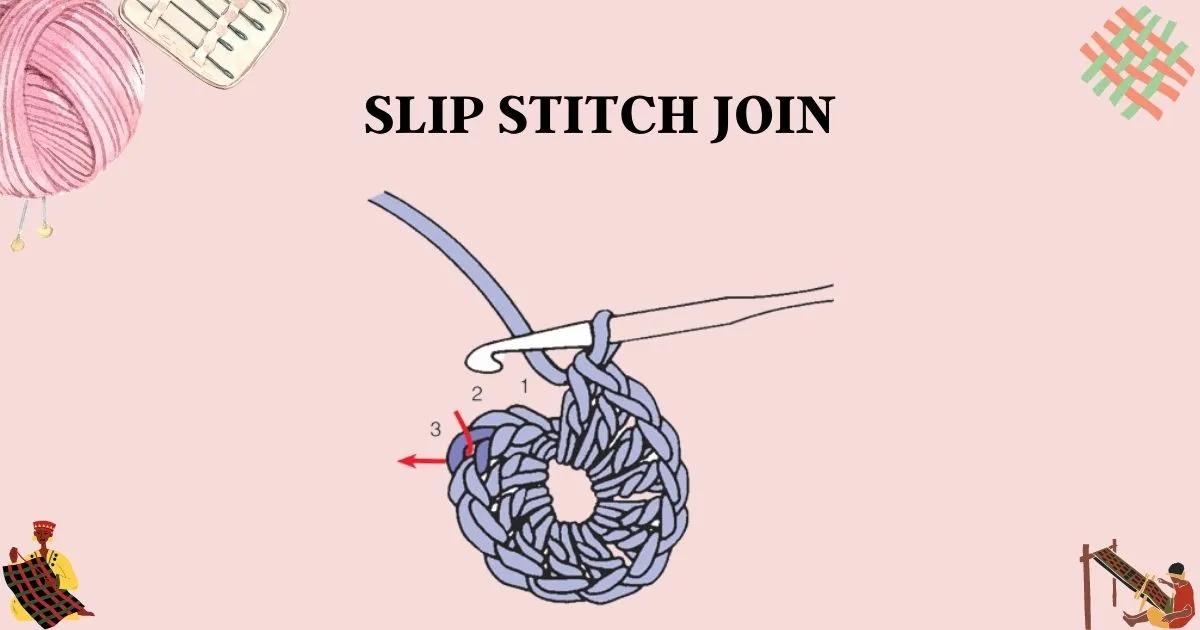
Crochet Slip Stitch
Knitters who have basic crochet skills can utilize the crochet slip stitch method to weave in ends. By using a crochet hook, they can slip the yarn through stitches, creating a secure and seamless join. This approach is particularly useful for projects with larger stitches or looser tension, as it provides a reliable way to secure the ends without altering the fabric’s appearance.

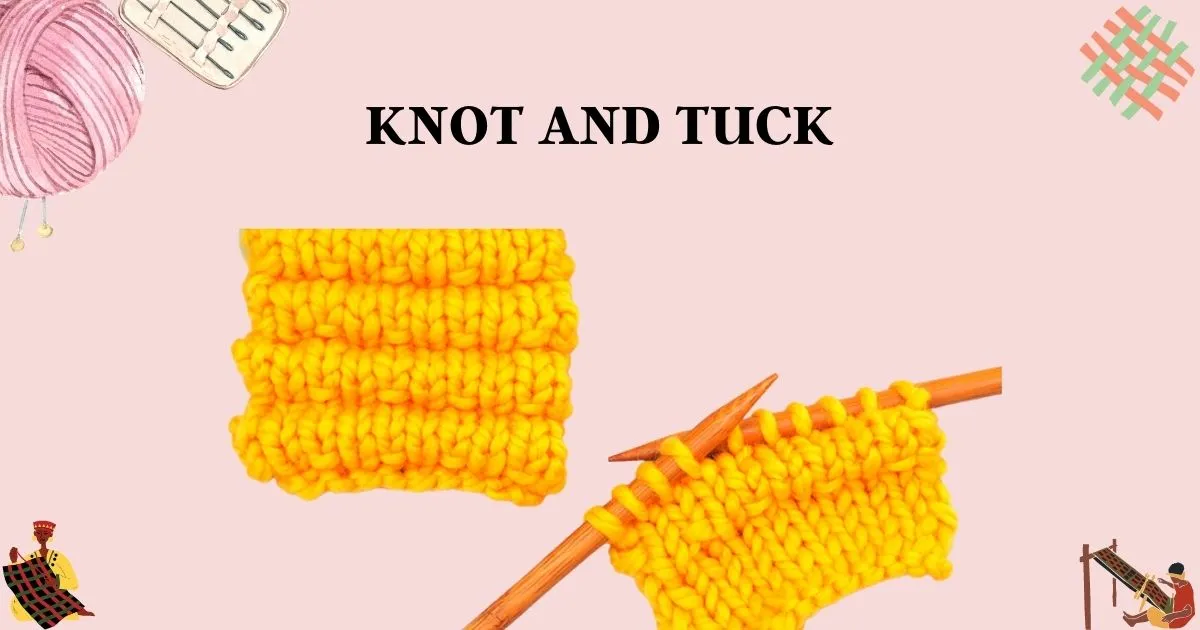
Knot and Tuck
For projects that allow a bit of visible texture or embellishment, the knot and tuck method can be employed. Knitters can tie a small knot with the loose ends, leaving a small loop or tail visible. They can then carefully tuck the knot and excess yarn into the fabric, hiding it within the stitches. This technique adds a touch of whimsy and texture while still securing the ends effectively.
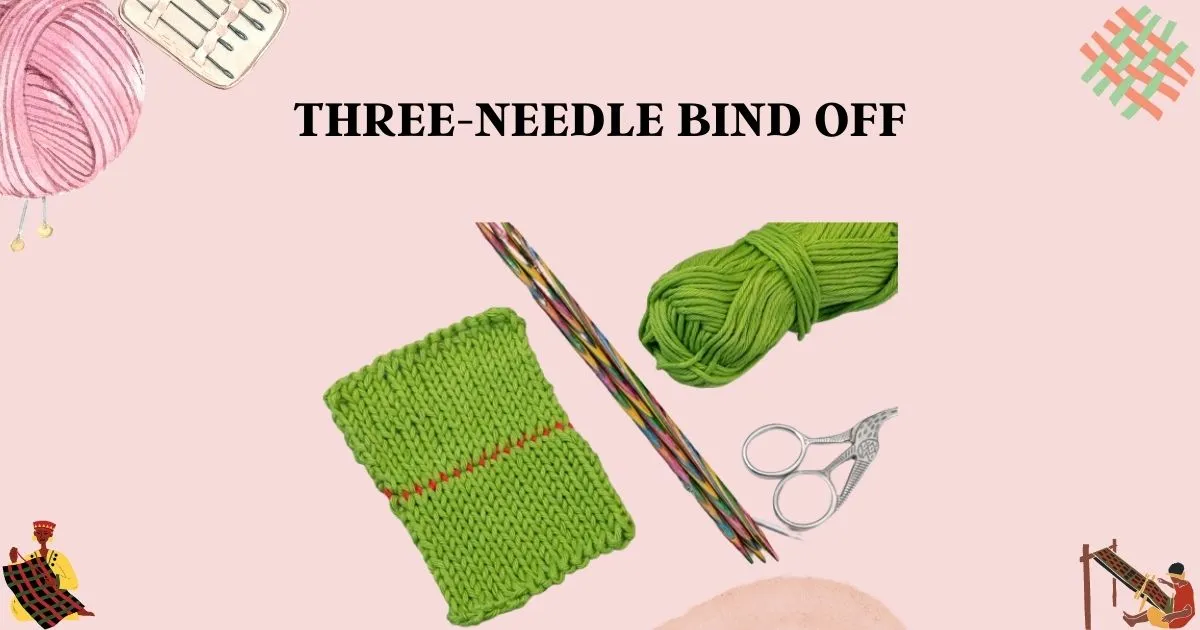
Three-Needle Bind Off
In certain instances, such as when joining seams or finishing edges, the three-needle bind off method can be used to weave in ends. By using a third knitting needle or a spare double-pointed needle, the live stitches from two separate pieces are knit together. This technique simultaneously closes the stitches and secures the ends, providing a tidy and durable finish.
Bobble or Popcorn Stitch
For projects that incorporate textured stitches like bobbles or popcorn stitches, knitters can cleverly hide loose ends within these special stitches. By weaving the ends through the center or the backside of the bobbles or popcorns, the yarn is securely tucked away while also adding an additional element of interest and texture to the design.

Intarsia or Color work Techniques
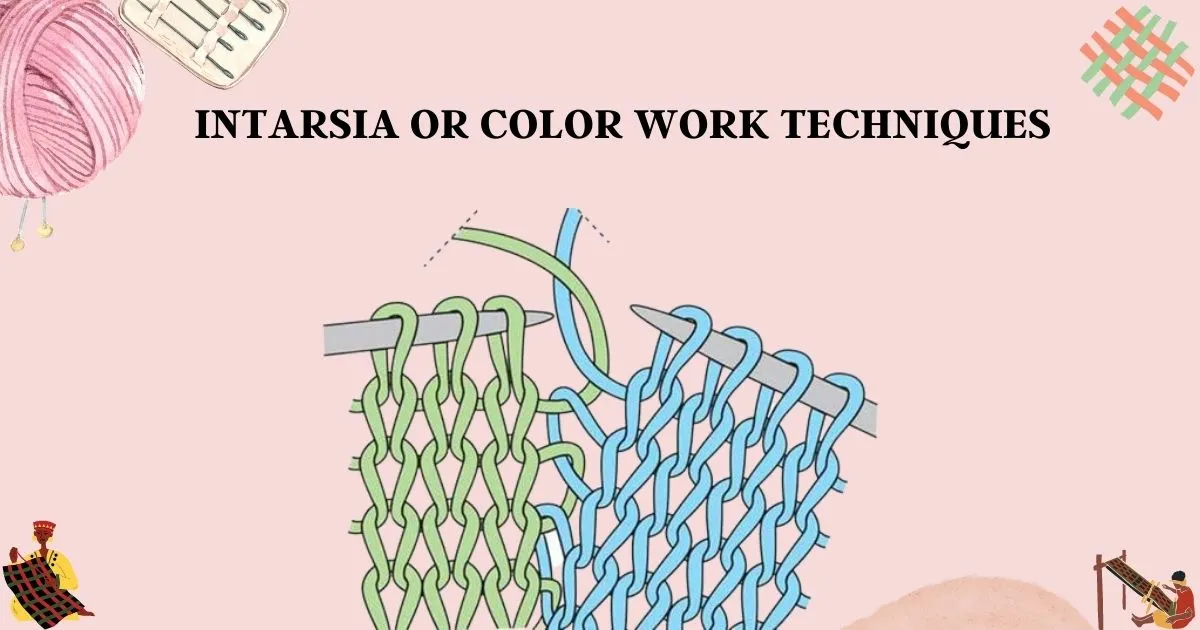
When working on color work projects or using the intarsia technique, knitters can weave in ends by carrying the yarn along the back of the work. By trapping the loose ends within the floats or between color changes, they ensure that the ends are hidden and secure. This method is particularly useful for projects with multiple colors or intricate color work patterns.
Invisible or Swiss Darning
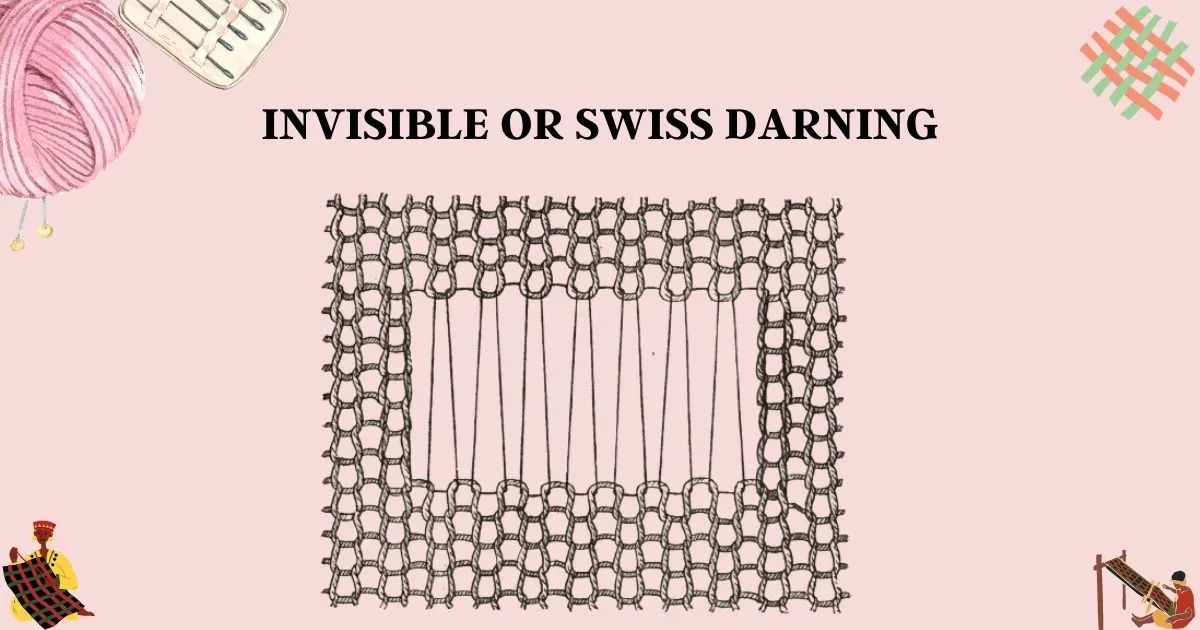
Knitters can employ the invisible or Swiss darning method to seamlessly blend the loose ends within the fabric. This technique involves using a tapestry needle to mimic the neigh boring stitches by weaving the yarn in a way that mimics the fabric’s texture. By closely matching the tension and stitch pattern, the loose ends become nearly undetectable, resulting in a professional and invisible finish.
Selvage or Edging Incorporation
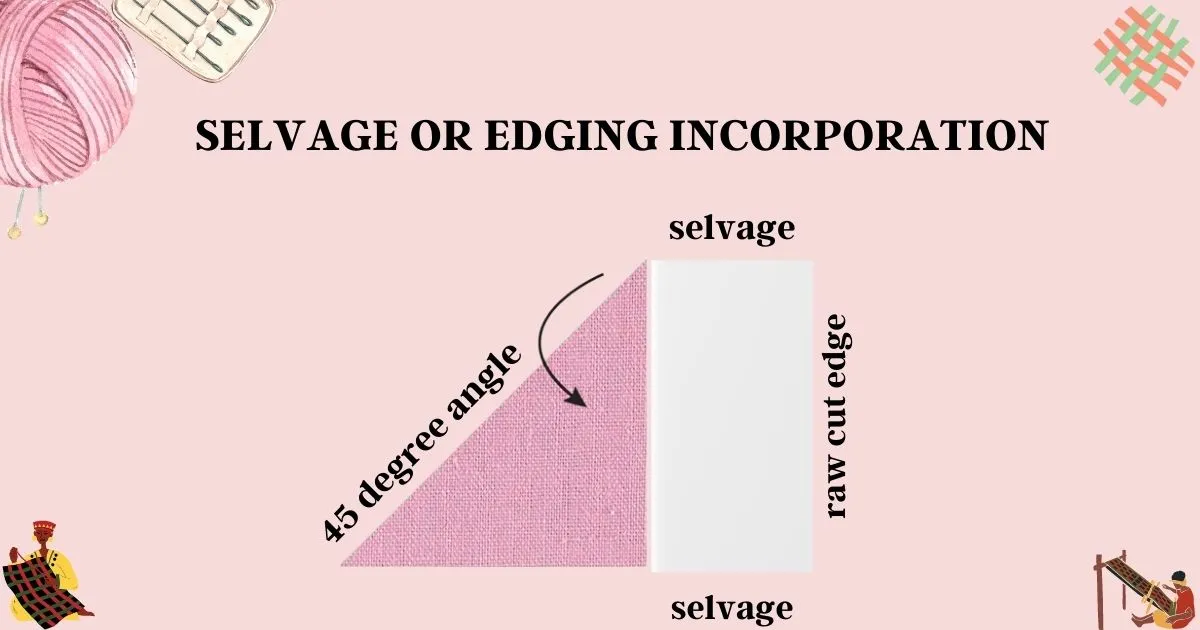
Knitters can incorporate loose ends within the selvage or edging of a project. By working the loose ends into the edges while knitting the borders or edgings, the ends are secured within the fabric’s structure. This method not only provides a neat and clean finish but also eliminates the need for additional weaving or sewing.
Blocking or Wet Finishing
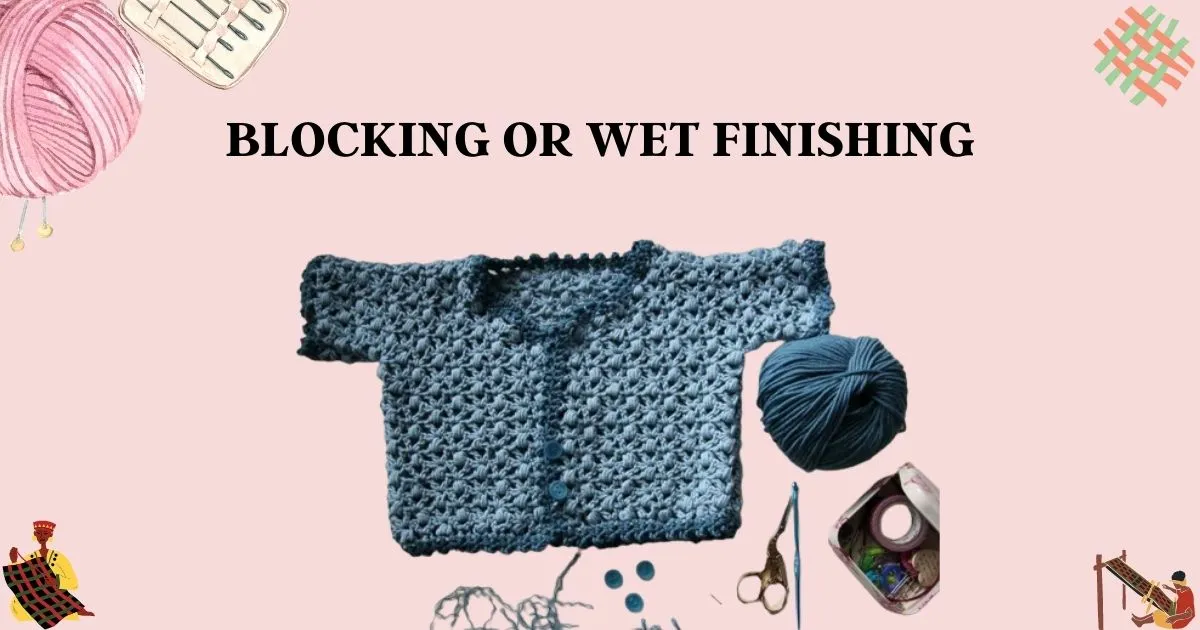
In some cases, blocking or wet finishing can help weave in ends. By washing or blocking the finished project, the fibers relax and settle, allowing the loose ends to meld into the fabric more seamlessly. This technique is particularly effective for projects with natural fibers such as wool or cotton, as they tend to respond well to blocking, resulting in a smooth and integrated finish.
| Method of weave in ends | Utility |
| Duplicate Stitch | Seamlessly replicates surrounding stitches, maintaining design integrity. |
| Russian Join | Creates an invisible join, ensuring a smooth transition between yarn ends. |
| Braided or Twisted Join | Decoratively blends loose ends, adding visual interest to the finished project. |
| Sewn-in Weave | Provides a strong and durable bond, securing loose ends within the fabric. |
| Knit or Purl Through | Conveniently incorporates loose ends into the knitting or purling process. |
| Slip Stitch Join | Neatly integrates loose ends through slipping stitches without knitting or purling them. |
| Crochet Slip Stitch | Uses crochet hook to slip yarn through stitches, providing a secure and seamless join. |
| Knot and Tuck | Adds texture and whimsy by knotting loose ends and tucking them discreetly into the fabric. |
| Three-Needle Bind Off | Secures ends while simultaneously closing stitches in seam or edge joining. |
| Bobble or Popcorn Stitch | Hides loose ends within textured stitches, adding interest and dimension to the design. |
| Intarsia or Colour work | Traps loose ends within floats or between color changes in colour work projects. |
| Invisible or Swiss Darning | Seamlessly blends loose ends within the fabric, achieving an invisible finish. |
| Selvage or Edging Incorporation | Works loose ends into the edges or borders of the project, providing a neat finish. |
| Blocking or Wet Finishing | Allows loose ends to meld into the fabric during the blocking or wet finishing process. |
How to weave ends in knitting – Step by step
Before You Start to Weave in Ends Knitting
Before you embark on the journey of weave in ends in your knitting project, it’s essential to consider a few key factors. Taking the time to prepare and plan ahead will ensure that your finishing touches are executed with precision and yield a professional result. Here are some important points to keep in mind before you start weaving in ends:
By considering these factors before you start to weave in ends knitting you’ll be well-prepared to tackle this important task. Taking the time to complete your knitting, gather the necessary tools, and consider the characteristics of your yarn will set you up for success in achieving a polished and professional finish for your knitted masterpiece.
How to weave in ends knitting – Step by step
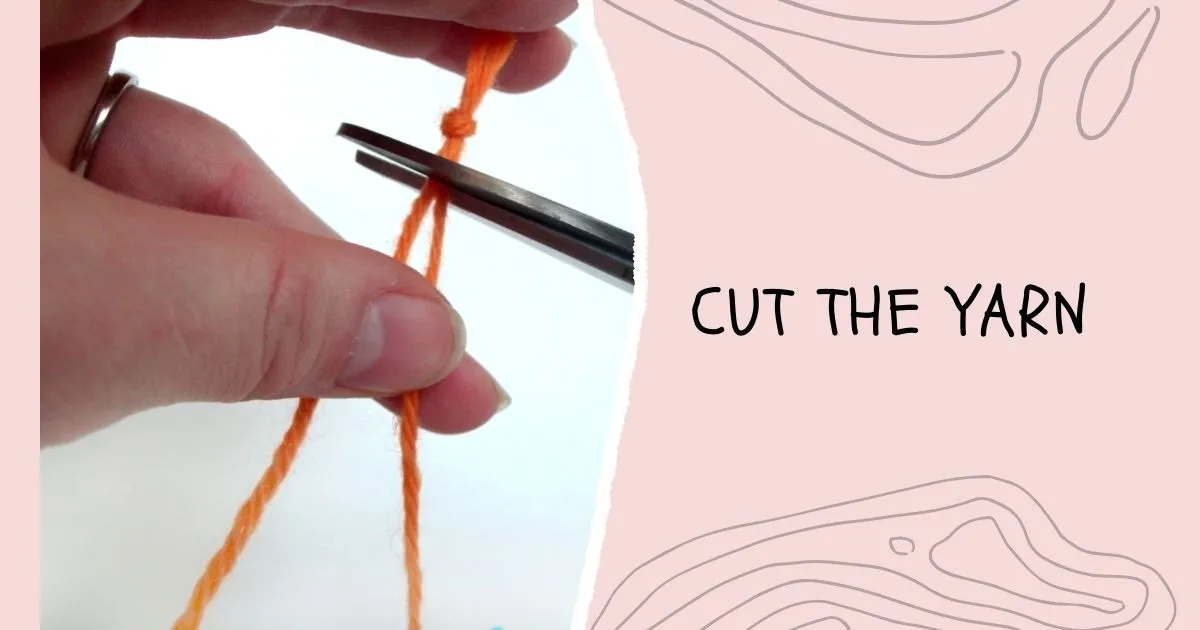
Step 1 – Cut the yarn
Leave a tail of about 6 inches (15 cm) or longer when you finish knitting. This tail will be used to weave in ends in knitting.
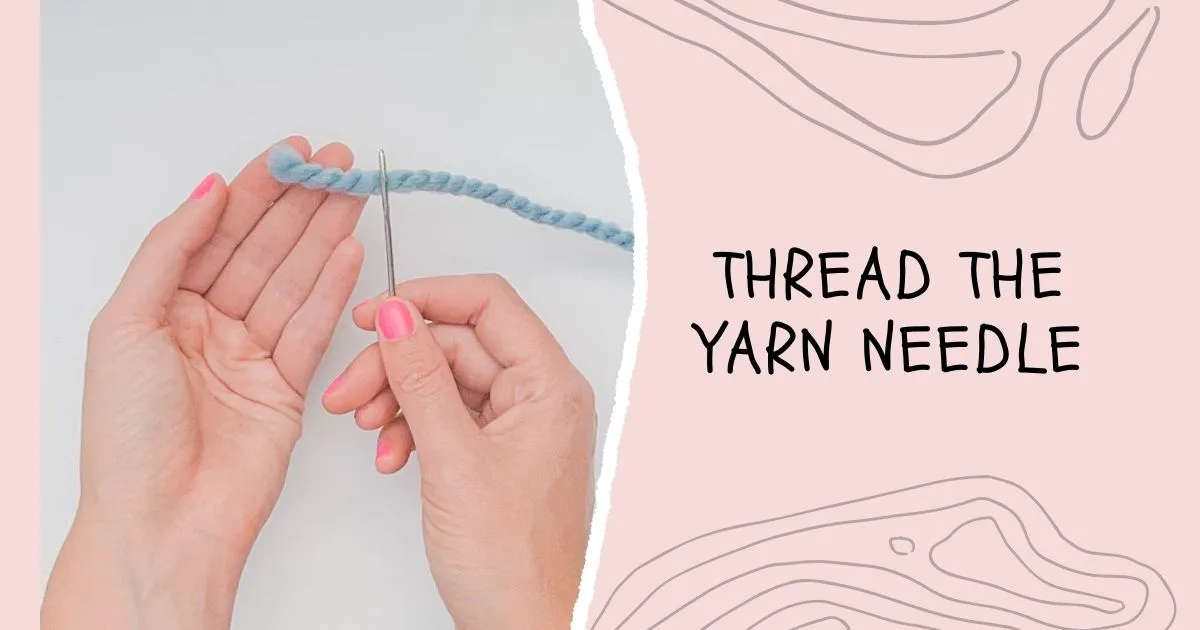
Step 2 – Thread the yarn needle
Thread the loose end of the yarn through a tapestry needle or a yarn needle with a large eye. Make sure the needle is suitable for the weight and fiber of your yarn.
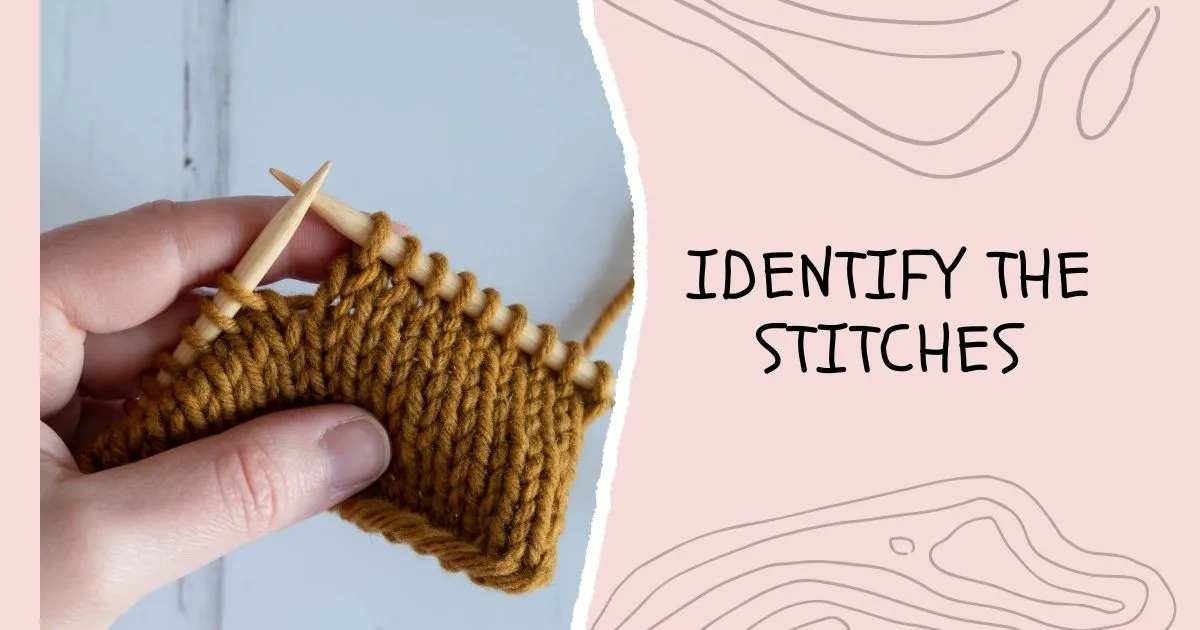
Step 3 – Identify the stitches
Identify the stitches on the wrong side (inside) of your knitting where you want to weave in the ends. You can count the rows or follow the path of the yarn tail to guide you.
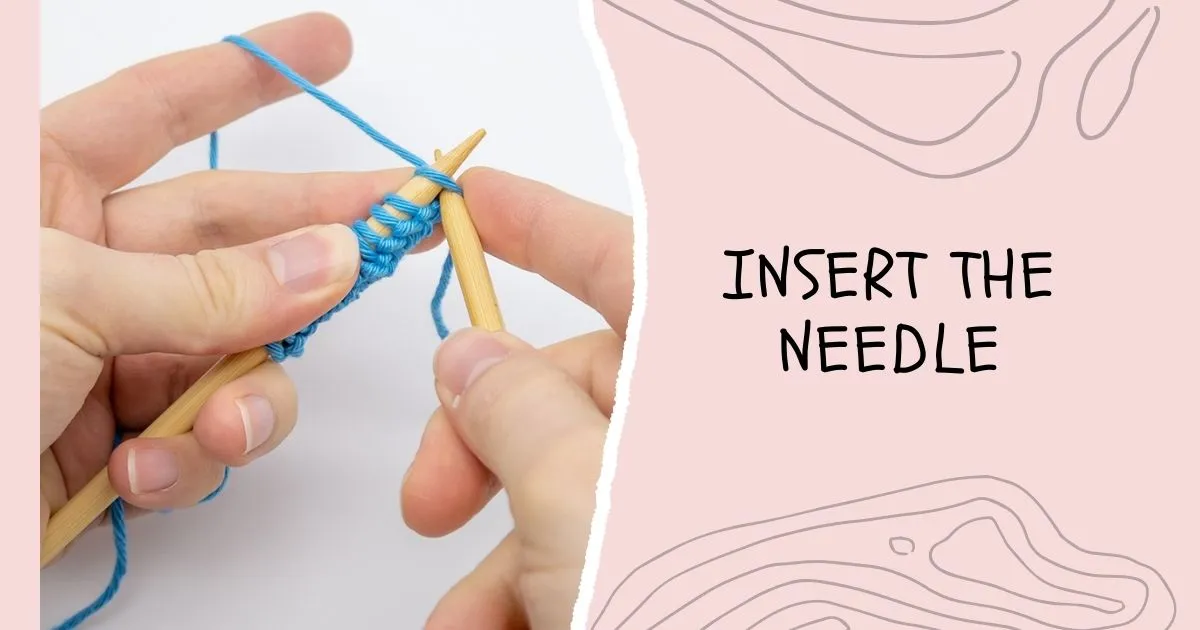
Step 4 – Insert the needle
Insert the needle under the horizontal strand of the stitch just above where the yarn tail emerges. This secures the end without creating a visible knot on the right side of the fabric.
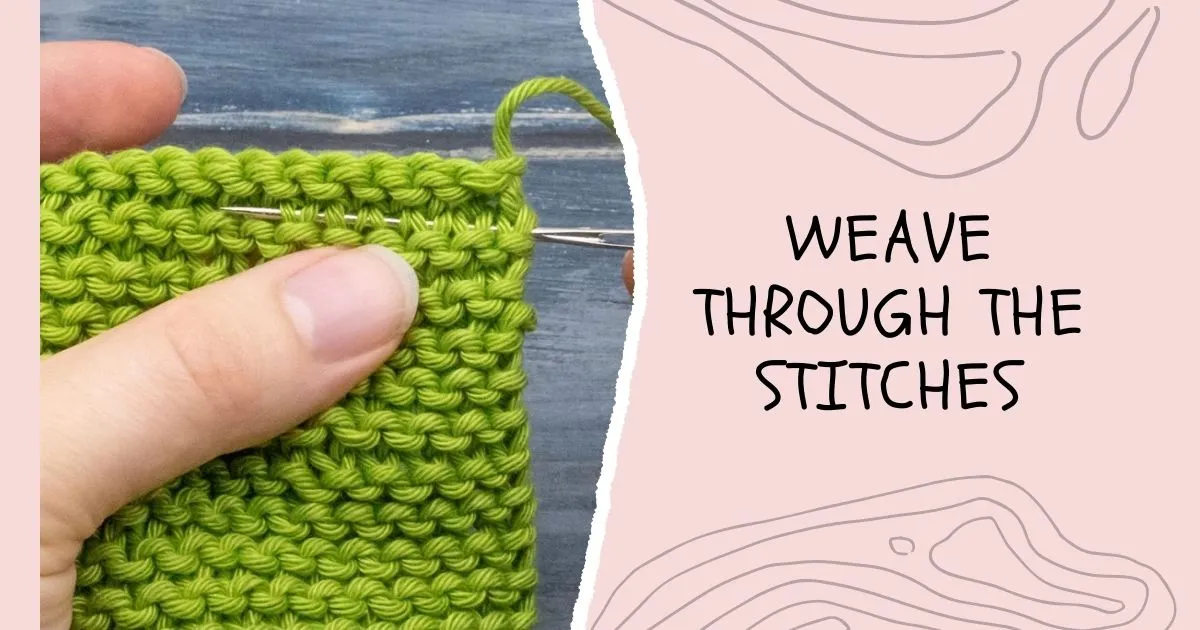
Step 5 – Weave through the stitches
Starting from the initial stitch, weave the needle in and out of the stitches along the path of the yarn tail. Maintain a straight line or follow the direction of the neighbouring stitches to blend the end seamlessly.
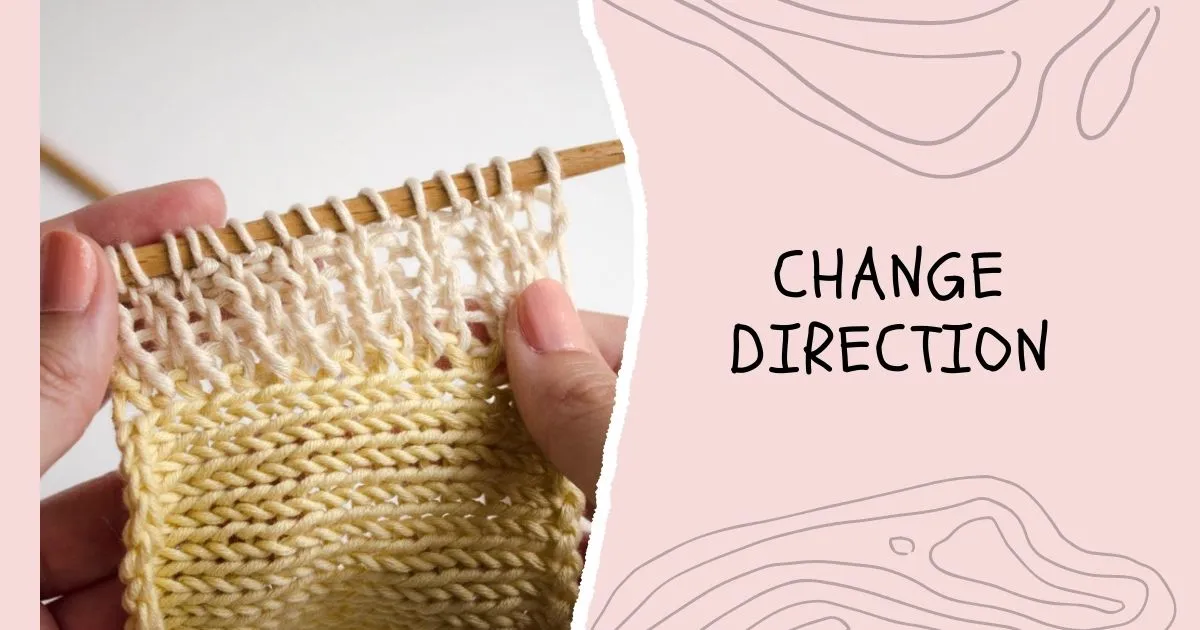
Step 6 – Change direction
After weaving for a few inches, change the direction and weave the needle back through the stitches in the opposite direction. This adds extra security to prevent the end from coming loose.
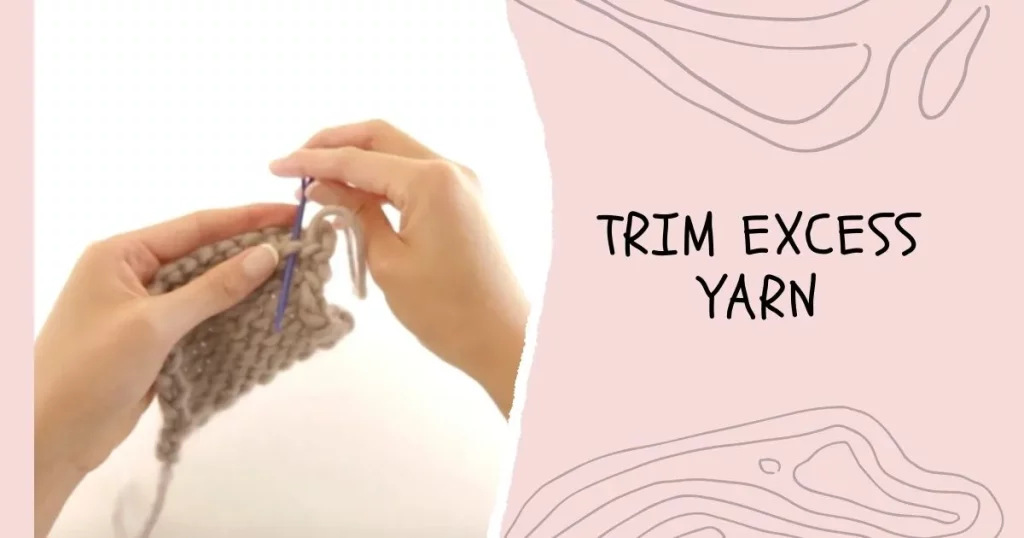
Step 7 – Trim excess yarn
Once you have woven in the end for a sufficient distance, trim any excess yarn close to the fabric, leaving a short tail that is hidden within the woven stitches.
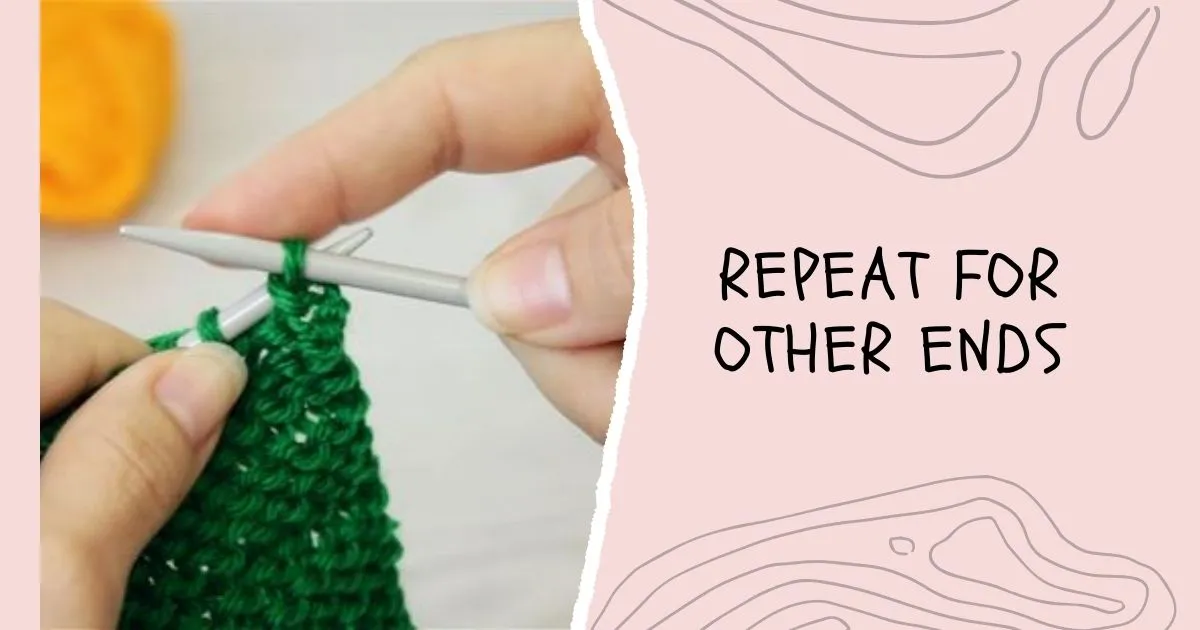
Step 8 – Repeat for other ends
Repeat the weaving-in process for any additional loose ends, following the same steps.
By following these steps, you can effectively weave in the ends of your knitting project, ensuring that they are securely fastened and seamlessly integrated into the fabric. Remember to take your time and weave in the ends neatly to achieve a professional and polished finish.
What are the objectives for weave ends in knitting?
The goals of weaving in ends in knitting are primarily twofold: securing the loose yarn tails to prevent unraveling and achieving a neat and professional finish. Here are the key goals of weaving in ends:
By achieving these goals through weaving in ends, knitters can ensure that their finished projects are not only visually appealing but also durable and comfortable for the wearer. Properly woven ends contribute to the overall quality and longevity of the knitted piece, allowing it to be enjoyed and cherished for years to come.
Read more: How to join in round when knitting
Tips for Weaving in Ends
Follow these simple tips when weaving in ends in knitting
Conclusion
In conclusion, weaving in ends in knitting is a crucial step that ensures the durability, aesthetics, and professional finish of a knitted project. By carefully securing and integrating loose yarn tails into the fabric, knitters prevent unraveling and create a neat appearance. Whether utilizing techniques like duplicate stitching, Russian joining, or braided and twisted joins, or opting for traditional methods such as sewn-in weaving or slip stitch joins, the ultimate goal is to achieve a seamless and long-lasting result. Weaving in ends showcases the knitter’s attention to detail and dedication to producing high-quality work. So, embrace the art of weaving in ends and elevate your knitting projects with a polished and refined finish that truly stands out.
How to weave in ends in knitting – 10 different techniques

