How to Square Up A Quilt – Basic Guide
You’ve come to the right place if you’re wondering how to square up a quilt and get neat, polished edges. A critical stage in the quilting process is square up, which entails trimming the top and back of the quilt to guarantee straight lines and right angles. With the help of this step-by-step manual, you’ll acquire the skills and self-assurance needed to turn your quilt into a precisely squared work of art.
These fundamental techniques will enable you to produce accurate results and take your quilting projects to new levels of excellence, regardless of your level of experience. Let’s explore the world of quilting and learn the tricks of making stunning square quilts.
Steps for how to square up a quilt
The act of trimming a quilt top and backing such that all of the edges are straight and all of the corners form right angles is known as “squaring up” the quilt. Detailed instruction on how to square up a quilt is given below:
Gather the necessary tools- Squaring a quilt
Starting the process of how to square up a quilt is a fascinating trip, and assembling the required tools is crucial for success. Equip yourself with the resources that will make the process easy and fun. Grab a sizable cutting mat, which will give your quilt a roomy and sturdy surface.
Equip yourself with a rotary cutter, the enchanted implement that glides through fabric with ease and allows you to make exact cuts. Don’t forget to bring your go-to tool for measuring and marking straight lines—a long quilting ruler with a 90-degree angle. You are prepared to tackle the work of squaring up your quilt with confidence and excitement now that you have these tools in your possession.

Prepare your workspace
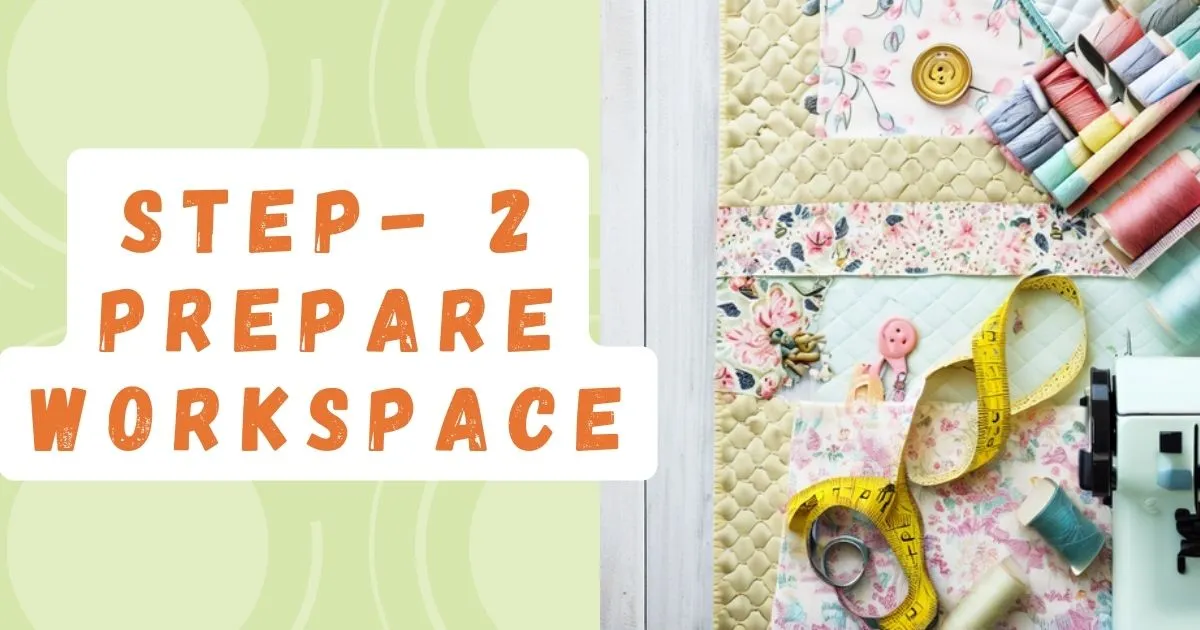
When it comes to how to square up a quilt, setting up a warm and organized workspace prepares the ground for a pleasurable quilting adventure. Create a happy and productive environment in your office by thoughtfully and enthusiastically setting it up.
Find a flat, unobstructed surface that is clean and roomy, such as a cutting table or a well-kept floor. Remove any clutter to make room for your creativity. Place your tools in a convenient location to promote productivity and comfort. You’ll experience a burst of inspiration when your workstation is organized, and you’ll be motivated to start squaring up your quilt and realizing your creative idea.
Lay out the quilt
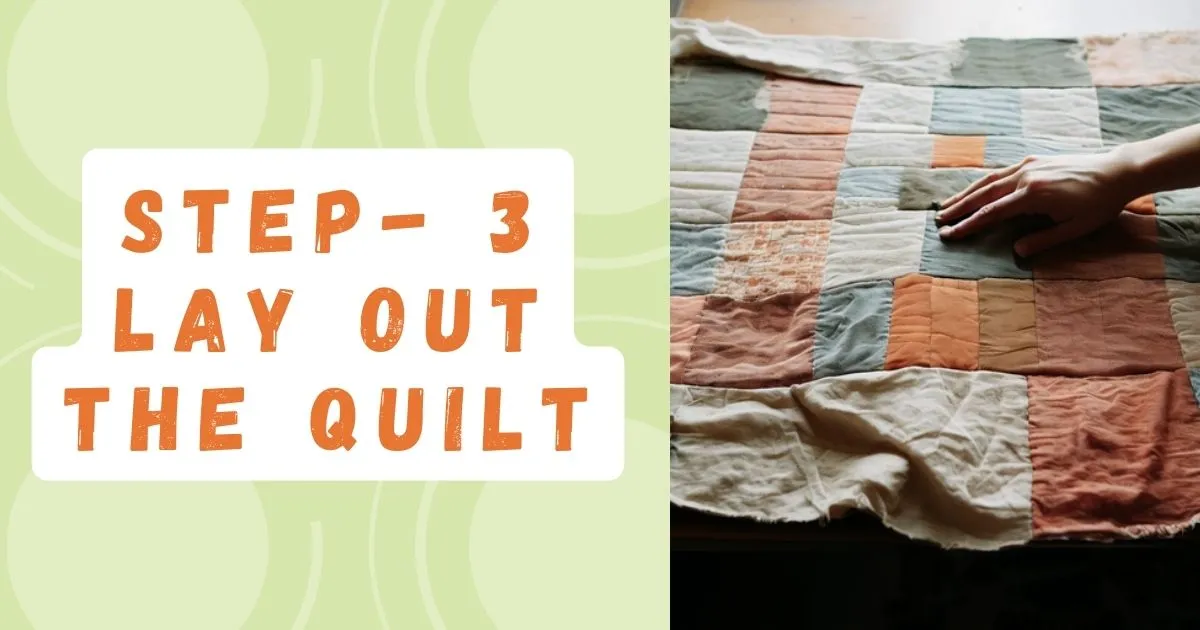
The first stage in the process of how to square up quilt is to arrange it with positivity and accuracy. Enjoy the thrill of having your design laid out in front of you, ready to be reshaped into a stunningly squared masterpiece. Remove any creases or puckers so that the quilt’s real beauty can be seen.
Consider how distinctive your quilt is by taking a moment to admire the minute details and brilliant colors. You may create a precise and gratifying quilting experience where creativity and craftsmanship come together in perfect harmony by carefully and enthusiastically aligning the edges of your quilt.
Measure and mark
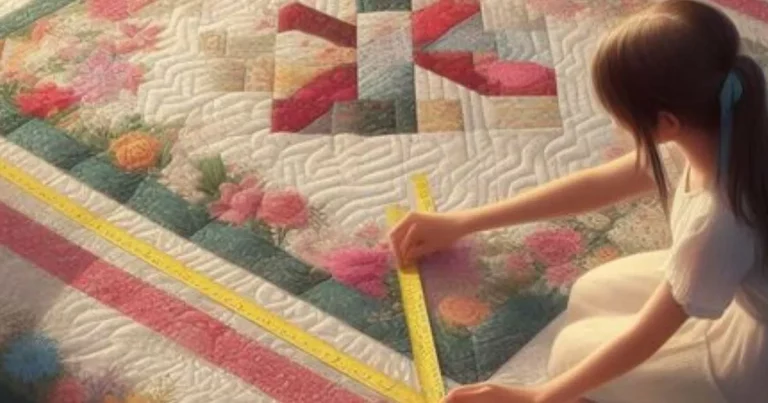
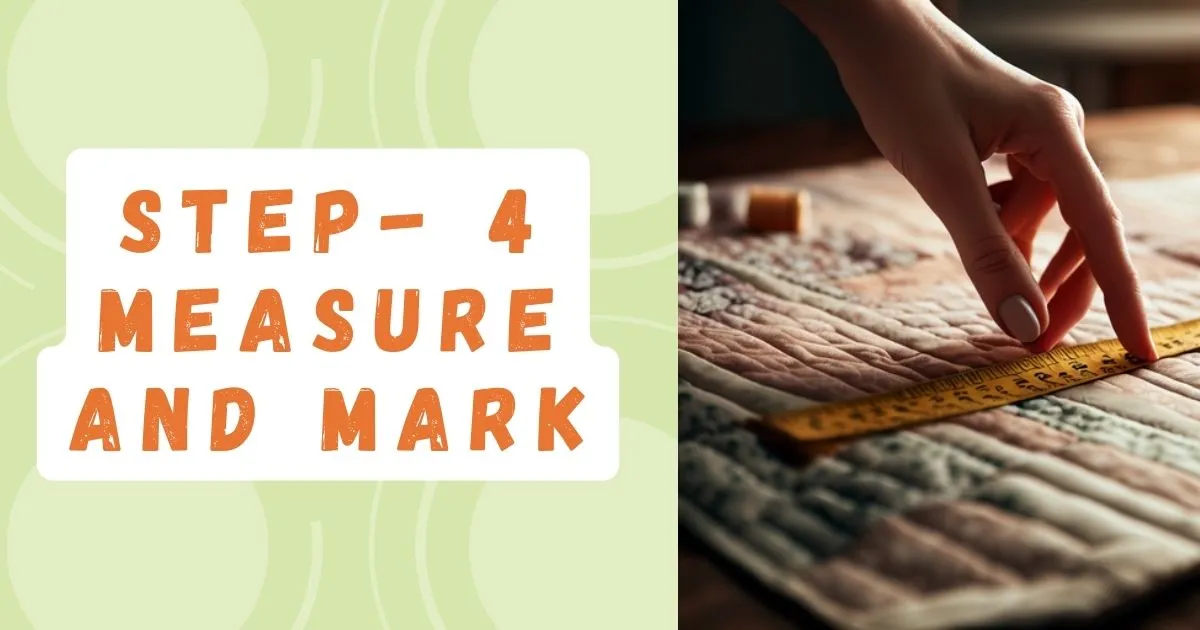
As you begin the essential process of measuring and marking while it come to how to square up a quilt, embrace the art of precision. You may precisely and elegantly realize your vision using this enjoyable method. Enjoy the satisfaction of positioning a quilting ruler over the edges to ensure straight lines and precise angles.
Each measurement and mark acts as a point of reference, sparking your imagination and laying the groundwork for an exquisitely squared quilt. Take delight in your attention to detail as you confirm measurements and have faith in your ability to provide impeccable results. Each mark sets you out on a journey where dexterity and emotion entwine, bringing harmony and complexity to the quilt you create.
Continue trimming
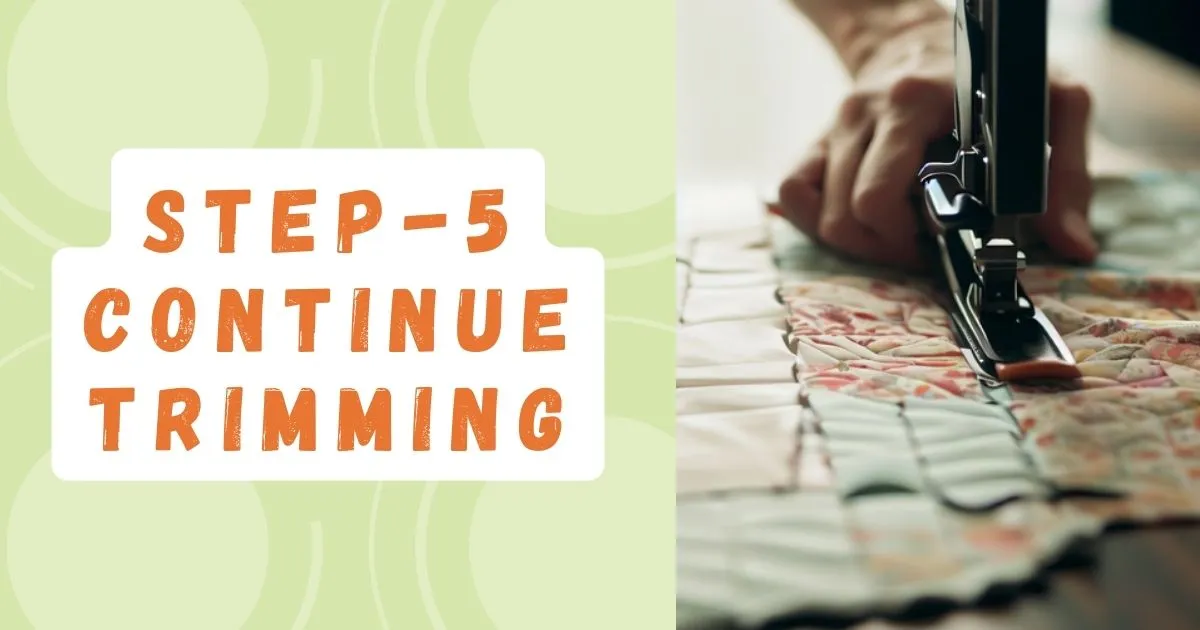
You keep trimming your quilt with each exact cut, and a sensation of satisfaction overtakes you. Enjoy the rotary cutter’s steady pace as it moves fluidly over the drawn lines. With each cut, you get a little bit closer to your goal: a quilt with perfectly squared edges. Watching the extra fabric slip away to show your creation’s genuine beauty will make you happy.
Your confidence increases as you work your way around the quilt, trimming each side individually. Knowing that your diligence and attention to detail will produce a quilt that is a monument to your ability and love, you appreciate the tedious nature of the process.
Check for squareness
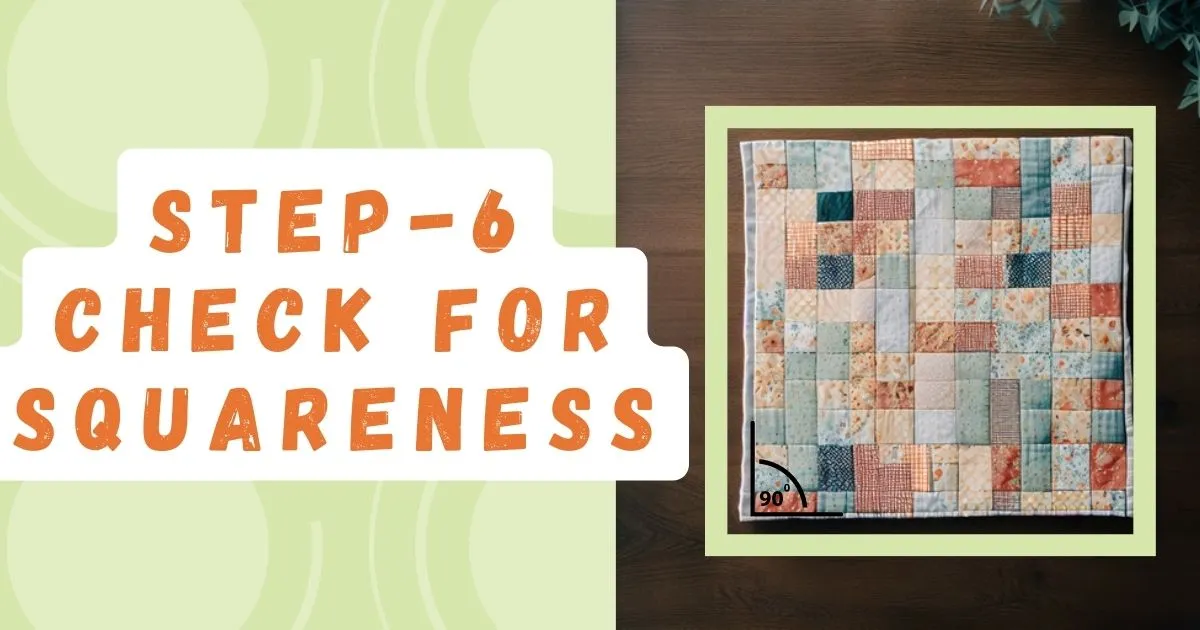
It’s time to examine your quilt for squareness as you get closer to finishing the square-up process. This is an exciting and satisfying time. Watch the corners with a keen eye and a sense of accomplishment as they create flawless right angles. Be in awe of the symmetry and accuracy your careful work has produced. If any changes are required, seize the chance to amend and improve.
Even the smallest modifications can be made with ease thanks to your talent and knowledge. You are reminded of your commitment and the skill required to make a quilt that oozes balance and harmony with each square corner. Trim a small bit of cloth from the corners if necessary to reach the appropriate angle.
Square up the backing
It’s time to focus on the backing fabric as you complete the last few steps of how to square up a quilt. Lay the backing fabric on your cutting mat, aligning it exactly with the quilt top, with hope and optimism. Accept the chance to make sure that each layer of your quilt radiates accuracy and professionalism.
Trim any extra fabric with care, making sure to fit the defined measures. As the backing fabric perfectly complements the quilt top, you will feel proud of your dedication to perfection. You become one step closer to a quilt that exhibits symmetry, beauty, and a true labor of love with each clean cut.
Press the quilt top and backing
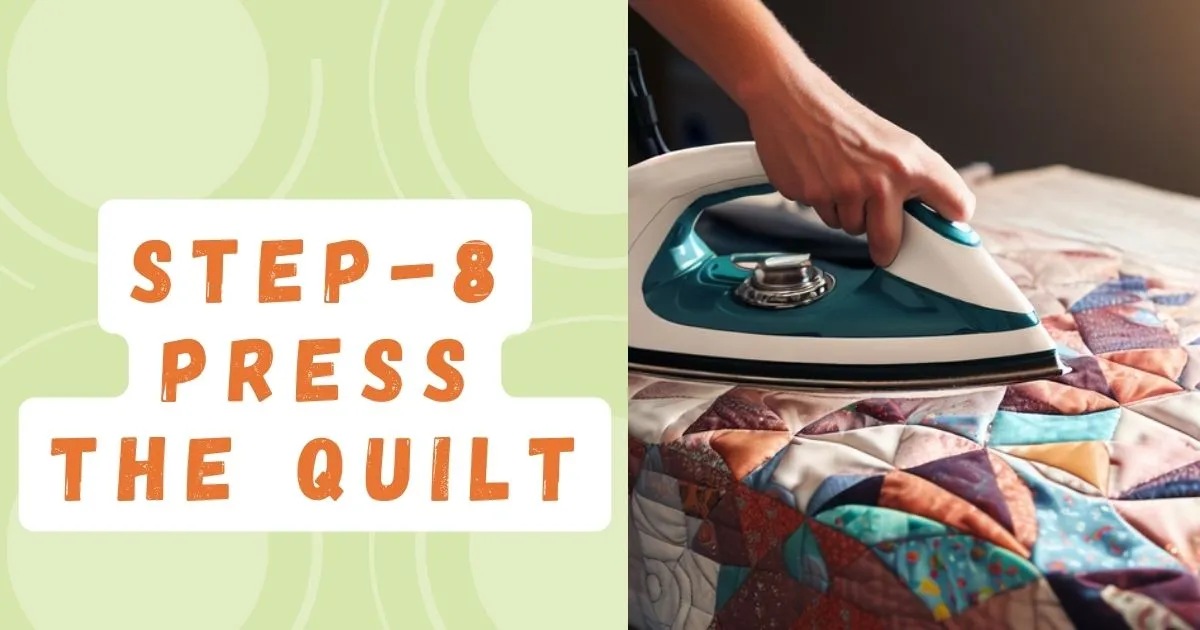
It’s time to focus on pressing the quilt while squaring up the quilts. When squaring up quilts, it is essential to press both the quilt top and back to achieve a polished and professional finish. Pressing refers to the act of ironing fabric, which helps to remove wrinkles and create smooth, crisp edges. Pressing the quilt top is crucial as it ensures that the seams lay flat and the blocks align properly.
By pressing the seams in the desired direction, you can create a more cohesive and visually appealing quilt top. It also helps in achieving accurate measurements and improves the overall piecing quality.Similarly, pressing the quilt back is equally important. This step helps to eliminate any wrinkles or creases that may have formed during the piecing or quilting process.
Tips for how to square up quilt
Give yourself enough time to complete the task without feeling rushed because squaring up a quilt needs accuracy and close attention to detail.
A large cutting mat gives you the space you need to lay out your quilt and make exact cuts, guaranteeing proper squaring.
Trimming the quilt’s edges will be considerably simpler and more effective if you use a trustworthy and sharp rotary cutter.
Cut once, measure twice! Before making any cuts, double-check your measurements to prevent mistakes
To obtain squared edges, make sure the quilt top and backing are perfectly aligned and free of creases or puckers.
Do not be afraid to make modest adjustments by clipping a small quantity of fabric to square up any places that are not exactly square.
To remove any wrinkles and give the quilt a polished appearance, press the top and back of the quilt with a hot iron and steam.
To work effectively and properly, keep your cutting area neat and organised, free from distractions and clutter.
Keep calm and concentrated while you square up the quilt, knowing that the effort will be worthwhile in the end.
Take advantage of the chance to improve your quilting abilities and produce a lovely squares quilt. Enjoy the creative process and celebrate each stage!
These pointers will help you square up your quilt precisely and produce a finished product that looks polished.
Table of uses for how to square up a quilt
The uses of steps to square up a quilt are summarized in the following table
| Step | Use |
| 1. Gather the necessary tools | Ensures you have the appropriate tools ready for the squaring up process. |
| 2. Prepare your workspace | Sets up a clean and organized area where you can work comfortably and efficiently. |
| 3. Lay out the quilt | Allows you to visually assess the quilt’s design and prepare it for trimming. |
| 4. Measure and mark | Provides guidelines for precise trimming, ensuring straight lines and right angles. |
| 5. Continue trimming | Removes excess fabric and achieves squared edges, improving the quilt’s overall appearance. |
| 6. Check for squareness | Verifies that all corners form perfect right angles, ensuring a square quilt. |
| 7. Square up the backing | Aligns the backing fabric with the quilt top, creating a cohesive and well-finished look. |
| 8. Press the quilt top and backing | Smooths out wrinkles and creates a polished finish on both layers of the quilt. |
How to square a quilt top
Squaring a quilt top is an important step in the quilting process that ensures your finished quilt has straight edges and a well-aligned design. By taking the time to square your quilt top, you’ll achieve a polished and professional look. Here are the basic steps for how to square up a quilt top:
Understanding how to square up quilt top is an essential skill for quilters seeking a professional and polished finish. By following the basic steps outlined above, you can ensure your quilt top has straight edges, accurately aligned blocks, and a well-proportioned design.
How to square up a quilt before binding
Squaring up a quilt before binding is an important step that ensures your quilt has straight edges and a neat finish. To square up your quilt, lay it flat on a clean surface and smooth out any wrinkles or folds. Measure and mark the desired size of your quilt, making sure the corners are at right angles. Using a rotary cutter and ruler, trim the excess fabric along the edges, following your marked lines. Double-check the corners and edges for accuracy. By taking the time to square up your quilt before binding, you’ll achieve a professional and polished look, resulting in a beautifully finished quilt that is ready for binding.
How to square a quilt top before adding borders
Achieving a perfectly squared quilt top before adding borders is essential for a professional and visually pleasing finish. To start, lay your quilt top on a flat surface, ensuring it is wrinkle-free. Take extra care to double-check the corners and edges, ensuring they are square and aligned. By squaring your quilt top before adding borders, you establish a solid foundation for a well-balanced and visually appealing final quilt. The squared edges will help your borders lie flat and create a harmonious overall design.
Conclusion
Finally, squaring up quilt is a task that demands close attention to every little detail and a concentration on getting accurate edges and right angles. You can turn your quilt into a stunningly squared work of art by following the instructions, which include gathering the appropriate tools and pressing the quilt top and backing. To make sure that your quilt is exactly aligned, take your time, take correct measurements, and make any necessary minor adjustments.
Always remember to take in the scenery and admire the skill that goes into making a quilt that oozes balance, and symmetry, and was made with love. With these abilities in hand, you can square up your quilts with confidence and produce gorgeous pieces of art that will be cherished for years to come.

