HOW TO KNIT WRAP AND TURN – SHORT ROW KNITTING IN EASY WAY
One knitting technique that adds depth and shaping to fabric is how to knit wrap and turn knitting method. Knitting is a versatile and rewarding craft that allows individuals to create beautiful and intricate designs using a variety of techniques. In this article, we will explore how to execute the knit wrap and turn technique with finesse, ensuring your knitting projects are elevated to new heights.
By following our guide and adopting a positive and appreciated approach, you’ll soon be embracing this wrap knit stitch technique with confw&t knitshidence and joy.
Understanding Wrap and Turn knitting
Before delving into the specifics of executing a knit wrap and turn, it is crucial to understand the purpose behind this technique. The wrap and turn method is commonly employed in knitting to create short rows, adding curves, angles, and shaping to a piece of work. It involves wrapping the working yarn around a stitch and turning in knitting the work around to continue knitting in the opposite direction.
The knit wrap and turn technique in knitting is a valuable tool that opens up a world of creative possibilities. By grasping the purpose behind this technique, you’ll appreciate how it can bring fluidity and elegance to your knitting projects.
The primary objective of wrap and knit turn is to do short row knitting. Short rows knitting allow you to work a portion of your project without knitting the full width or length of the fabric. This technique is particularly useful when shaping garments or adding intricate designs that require curves, angles, or asymmetrical elements.
Selecting the Right Yarn and Needles in W&T in knitting
To ensure a positive W&T knitting experience, it is important to choose the appropriate yarn and needles for your project. Opt for a yarn with good stitch definition, preferably a smooth and pliable one that won’t obscure the wraps when executing the wrap and turn. Selecting needles with a length and material that you find comfortable to work with will also contribute to your overall enjoyment in knit W&T.
Choosing the right yarn and needles is essential for a successful wrap and turn knitting project. Consider the following tips:
By selecting the right yarn and needles, you’ll enhance your wrap and turn knitting experience and achieve beautiful results.
How to Knit Wrap and Turn – Step-by-Step Knitting a wrapped stitch
Now let’s dive into the process of executing a knit wrap and turn short rows in knitting:
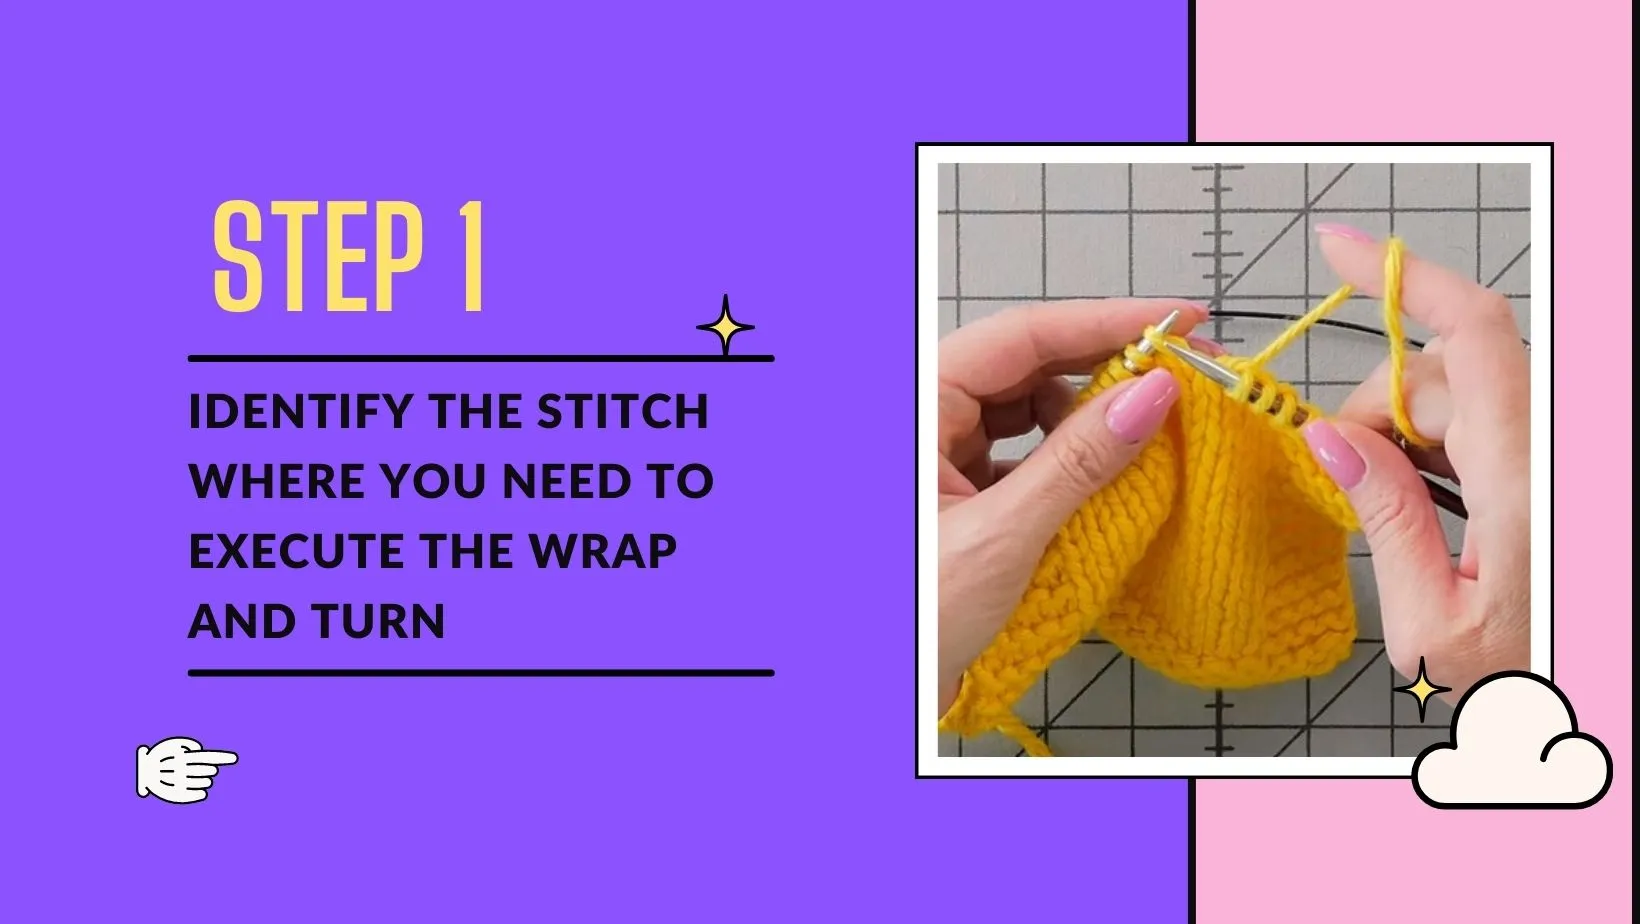
1. Identify the stitch where you need to execute the wrap and turn in knitting
Examine your pattern or instructions to determine the stitch that requires during knitting wrap and turn. This stitch is usually specified within the pattern, often indicated by a marker or a specific instruction.
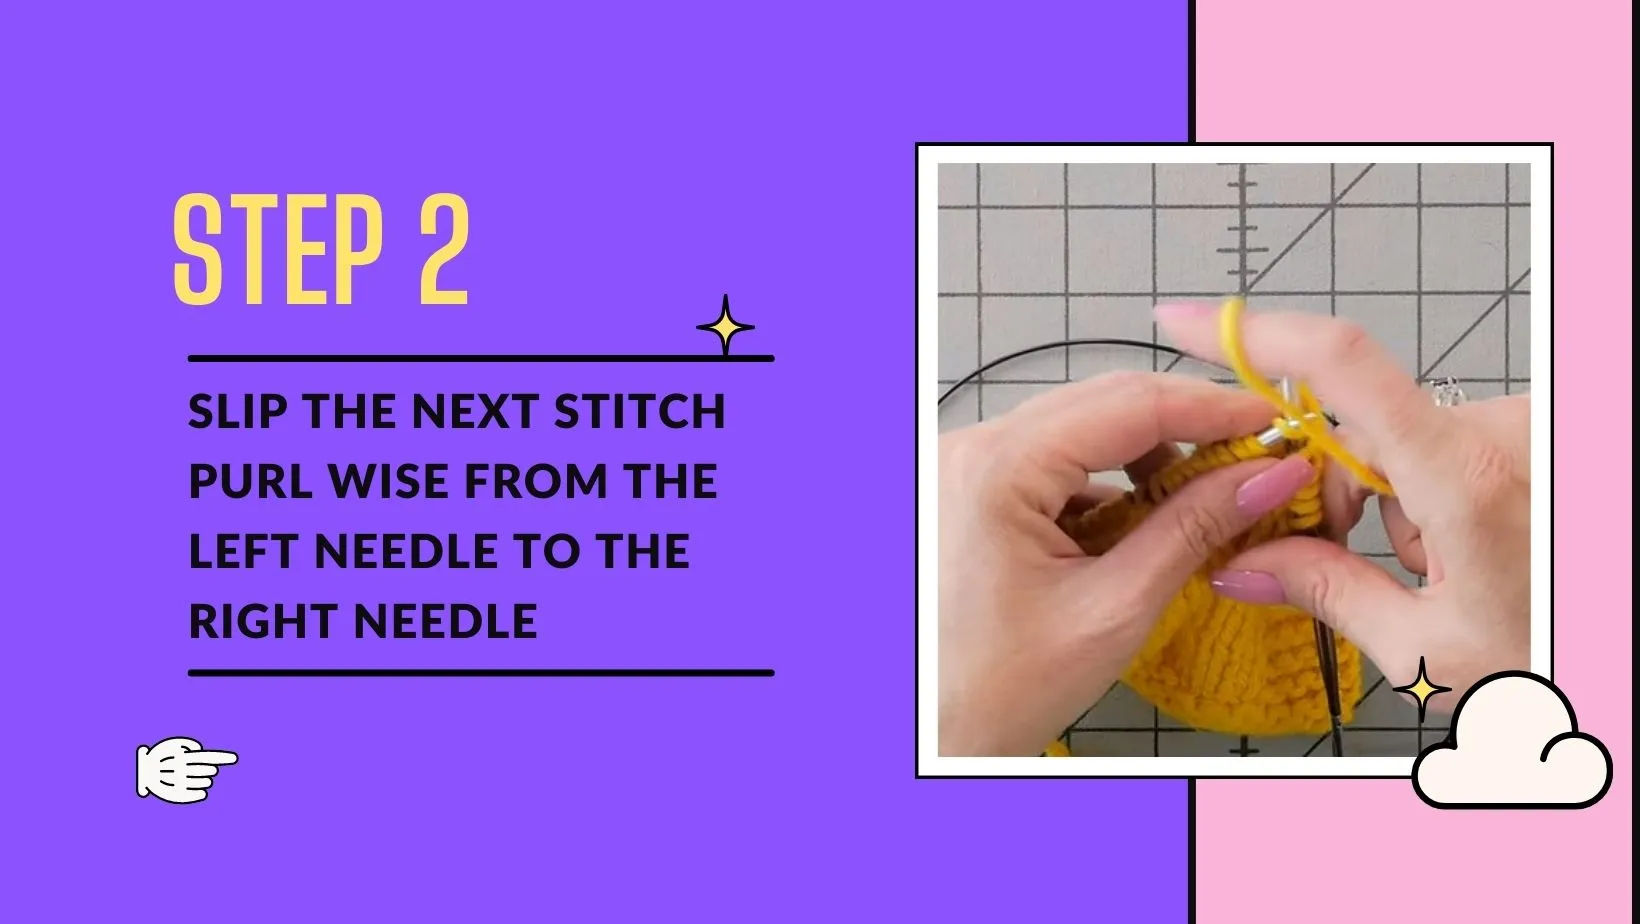
2. Slip the next stitch purl wise from the left needle to the right needle
To begin the knit wrap and turn short rows, insert the right needle purl wise into the next stitch on the left needle. Slide the stitch from the left needle to the right needle without working it.
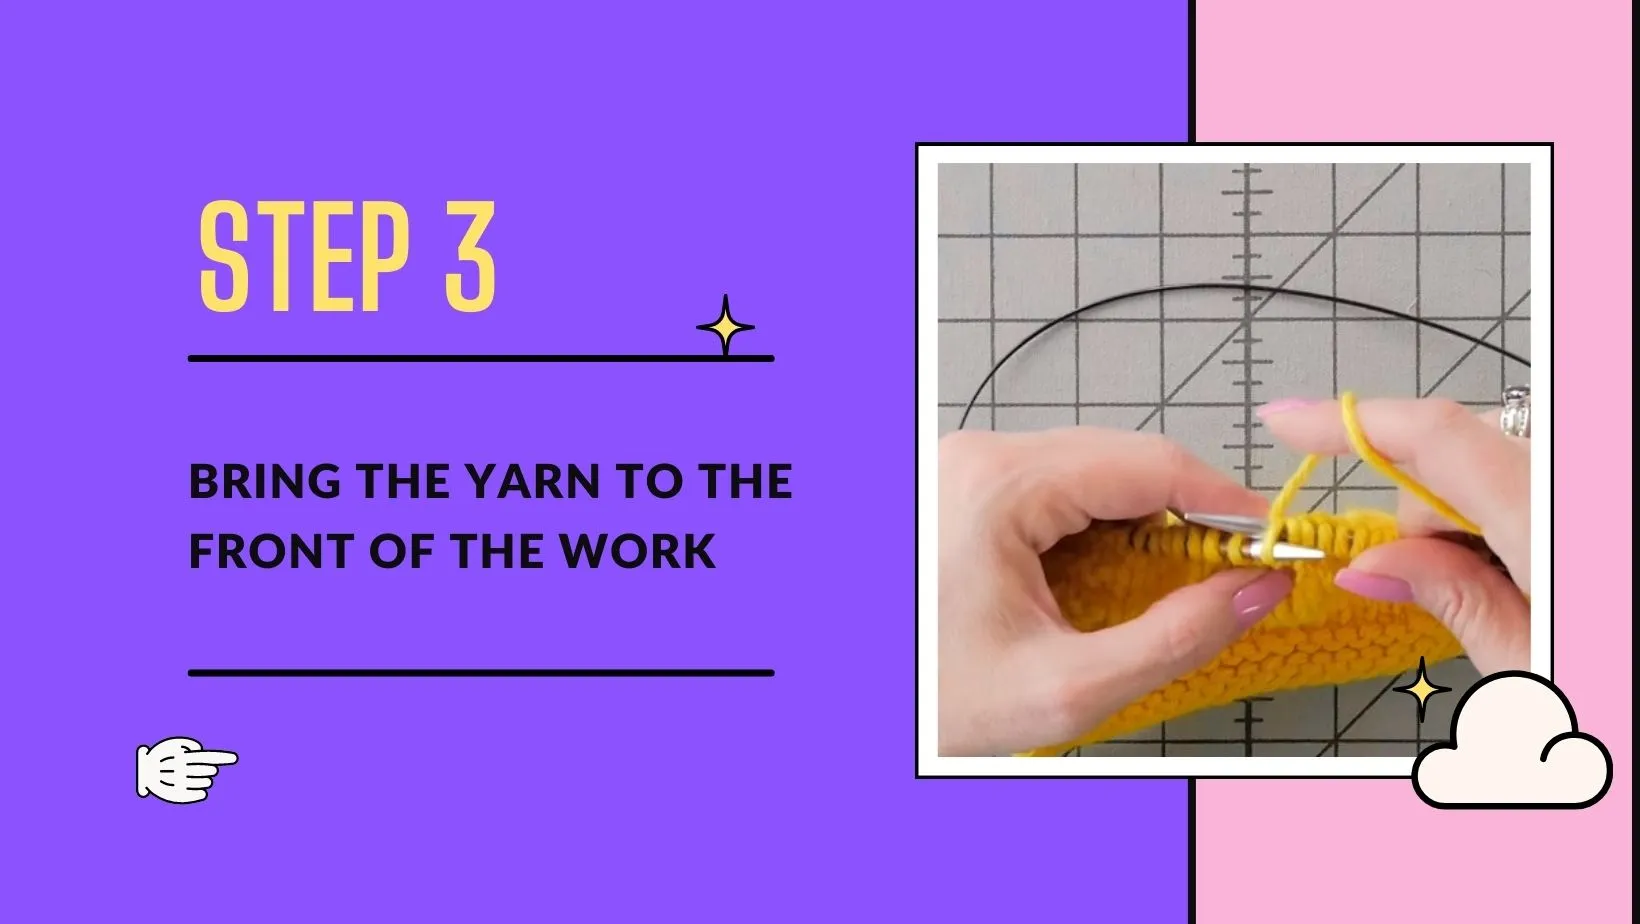
3. Bring the yarn to the front of the work
Take the yarn and bring it to the front of your work, positioning it between the two needles. This step creates a wrap in knitting around the slipped stitch, securing it in place.
4. Slip the same stitch back to the left needle
Move the slipped stitch back to the left needle by inserting the right needle into the stitch from left to right. Slip the stitch without working it again. The wrap created in the previous step should now be visible around the stitch.

5. Bring the yarn to the back of the work
Now, take the yarn and bring it to the back of your work, positioning it between the two needles once again. This step prepares you to continue knitting in the opposite direction.

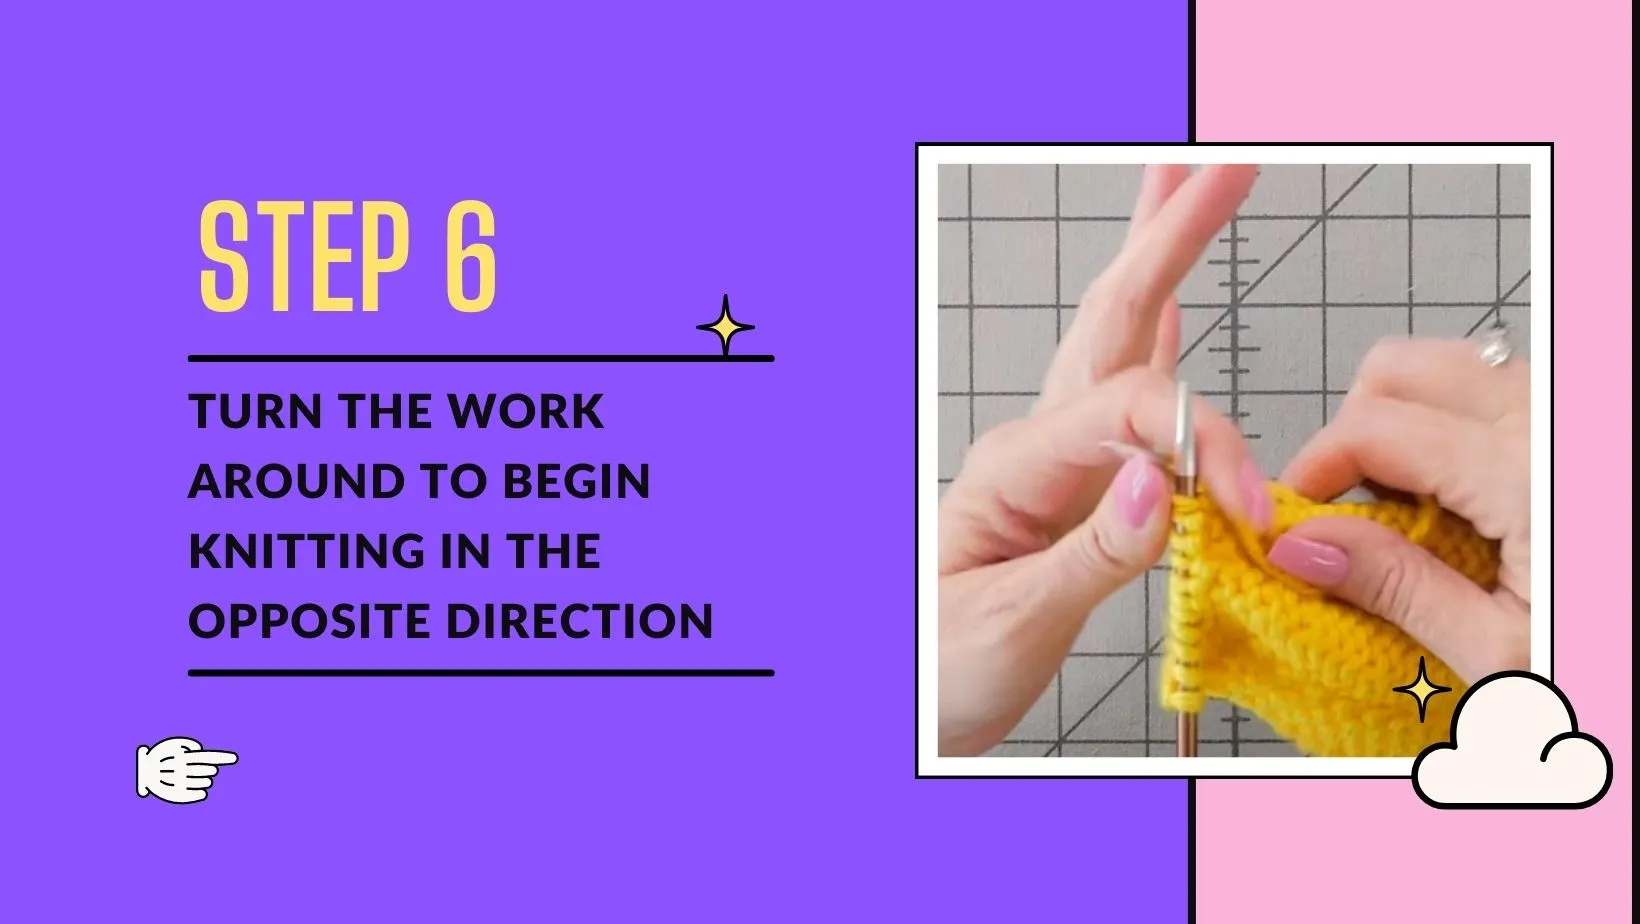
6. Turn the work around to begin knitting in the opposite direction
Rotate your work to switch the direction of your knitting. This means that if you were previously knitting from right to left, you will now knit from left to right. The wrap and turn create a partial row, allowing you to work in the opposite direction without knitting across the entire row.
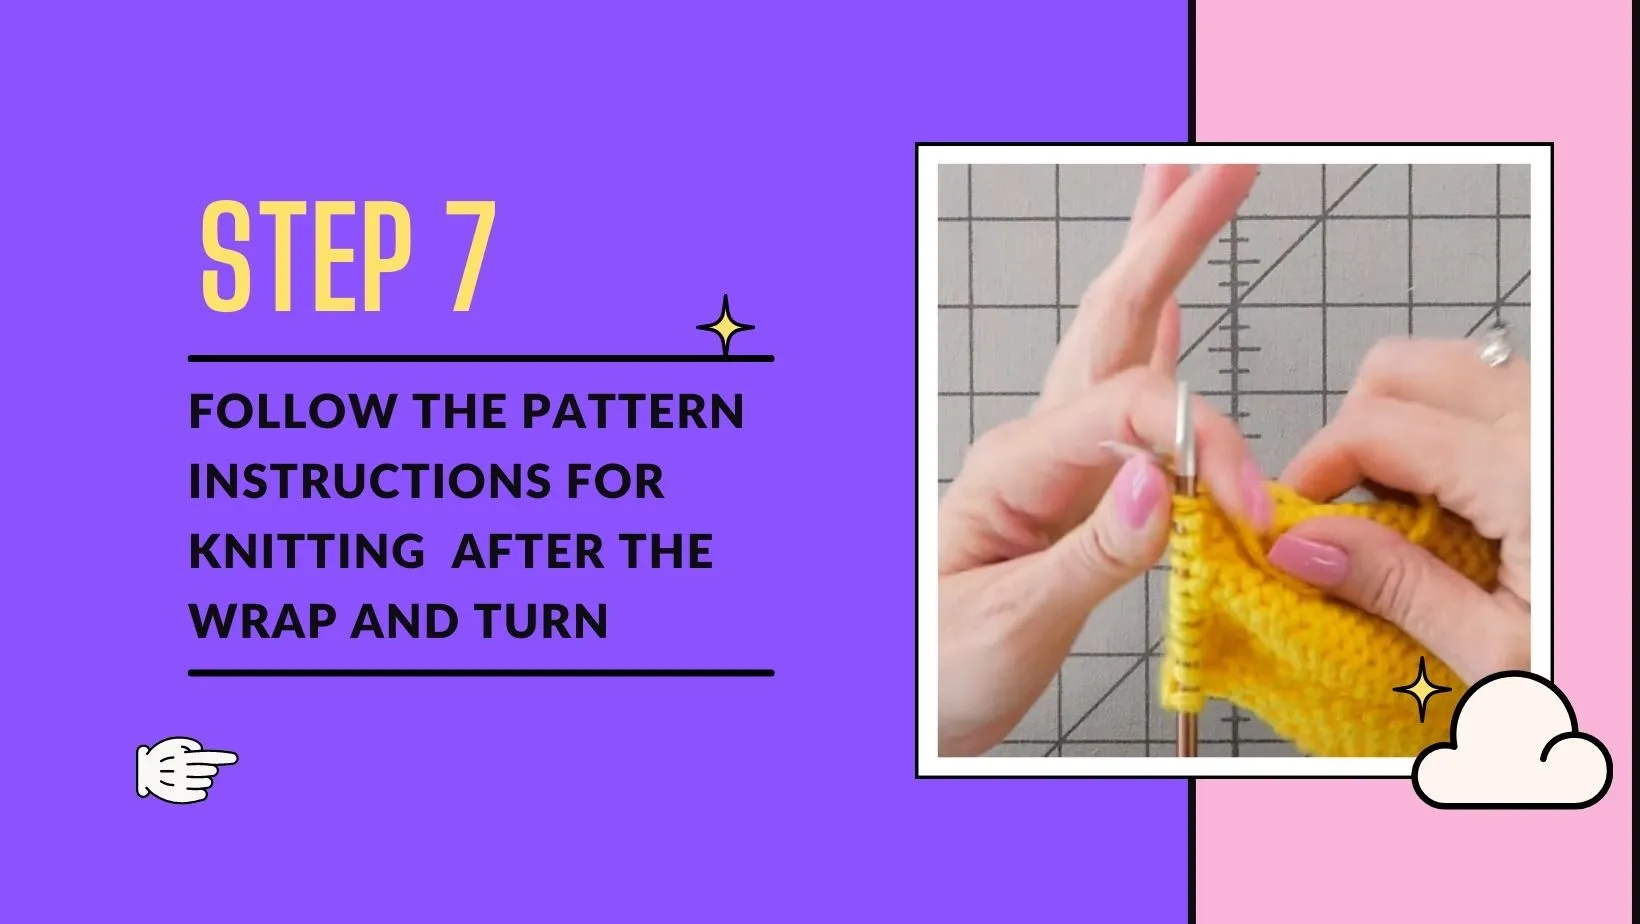
7. Follow the pattern instructions for knitting or purling the subsequent rows after the wrap and turn
Once you have completed the wrap and turn, refer to your pattern instructions for guidance on what to do next. It may involve knitting or purling across the subsequent rows, following the pattern’s established stitch pattern or shaping instructions.
Keeping Track of Wraps
To maintain clarity and avoid confusion while working with how to wrap a knit stitch, it is essential to keep track of your wraps. Using stitch markers or a simple tally system will help you stay organized and enable you to easily identify the wraps when you encounter them in subsequent rows when learning “how to knit wrapped stitches”.
Picking up wrapped stitches
Picking up wrapped stitches is an important step in wrap and turn knitting, as it allows you to incorporate the wraps created during the shaping process seamlessly into your work. Here’s a simple explanation of how to pick up wrapped stitches:
1. Identify the wrapped stitch
Look for the wrap that was created around the previously wrapped stitch. It will appear as a small loop or strand of yarn around the base of the stitch.
2. Insert the needle
Insert your working needle from front to back into the wrapped stitch, ensuring that both the wrap and the stitch are on the needle.
3. Work the wrapped stitch
Depending on your pattern instructions, either knit or purl the wrapped stitch together with its wrap. This action effectively conceals the wrap and integrates it into the fabric, creating a smooth transition.
4. Continue knitting
Once you have picked up and worked the wrapped stitch, proceed with knitting or purling the remaining stitches as directed by the pattern.
Picking up wrapped stitches may require some practice to ensure a neat and tidy result. Take your time, pay attention to the placement of the needle, and maintain a consistent tension in wrap and turn pick up stitch. By mastering this technique, you’ll be able to flawlessly incorporate your wraps and achieve beautifully shaped and finished knitted pieces.
Troubleshooting Wrap and Turn knitting
Although wrap and turn is a widely used technique, it can sometimes present challenges. Here are a few troubleshooting tips:
By incorporating knit wrap and turn into your knitting repertoire, you gain the ability to create beautiful drape, interesting architectural elements, and subtle contours within your designs. Whether you’re fashioning a graceful shawl, a sculpted neckline, or a dynamic pattern, the wrap and turn technique empowers you to add depth, dimension, and sophistication to your knitted creations.
Embracing this technique in a positive manner opens doors to endless possibilities. Consider the excitement of seeing your project take shape as you create unique curves, elegant angles, and captivating shapes. The knit wrap and turn method provides a sense of artistic freedom, allowing you to experiment with different stitch patterns and explore your creativity to the fullest.
Remember, mastering wrap and turn takes practice and patience. Approach each project with a positive mindset, embracing the learning process. With each stitch and turn, you’ll gain confidence in your abilities and unlock new avenues for artistic expression.
As you become more familiar with the wrap and turn technique, you’ll appreciate the versatility it brings to your knitting projects. Celebrate the beauty of short rows, as they enhance your creations with a touch of artistry and charm. So, pick up your yarn and needles, let your imagination run wild, and dive into the world of wrap and turn knitting. The journey ahead is full of delightful surprises and cherished accomplishments. Happy knitting!
Are you interested in knitting read this useful article: What is Seed stitch knitting
Basic tips for knit wrap and turn
Here are some basic tips to keep in mind when executing a wrap and turn in knitting:
Remember, like any knitting technique, wrap and turn improves with practice. Embrace the learning process, stay patient, and enjoy the satisfaction of mastering this versatile method that adds shape and dimension to your knitted creations.
Applications and Uses of Wrap and Turn Knitting
| Use | Description |
| Shaping garments | Wrap and turn is commonly used to create shaping in garments, such as adding curves to necklines, waistlines, or sleeves. It allows for precise control over the fabric’s drape and fit. |
| Creating short rows | Wrap and turn enables the creation of short rows, which are used to add depth, texture, or interesting design elements to knitted pieces. Short rows are often employed in shawls, scarves, and blankets to create unique shapes and patterns. |
| Sculptural effects | Wrap and turn can be used to create three-dimensional effects, such as pleats, ruffles, or origami-like folds. These techniques add visual interest and a touch of whimsy to knitted projects. |
| Angles and corners | By incorporating wrap and turn, you can achieve sharp angles and clean corners in your knitting. This is particularly useful when working on geometric designs, modular knitting, or projects with intricate stitch patterns. |
| Contouring and fit | Wrap and turn allows for tailored contouring in knitted garments. It can be used to shape the fabric around the body, ensuring a better fit and enhancing the overall silhouette of the finished piece. |
| Lace and eyelet work | Wrap and turn can be used to create openings and eyelets in lace knitting. It adds structure and defines the pattern, allowing the lace to bloom and showcase its delicate beauty. |
Conclusion – Wrap and turn knitting
Mastering the art of wrap and turn knitting opens up a world of design possibilities and enables you to create stunning garments and accessories. With practice, patience, and a joyful approach, you’ll soon become a confident and celebrated wrap and turn knitter, adding dimension and beauty to your projects like never before.
Knitting Help – Wrap and Turn


