CLASSIC LOG CABIN QUILT PATTERNS AND DESIGNS YOU NEED TO KNOW
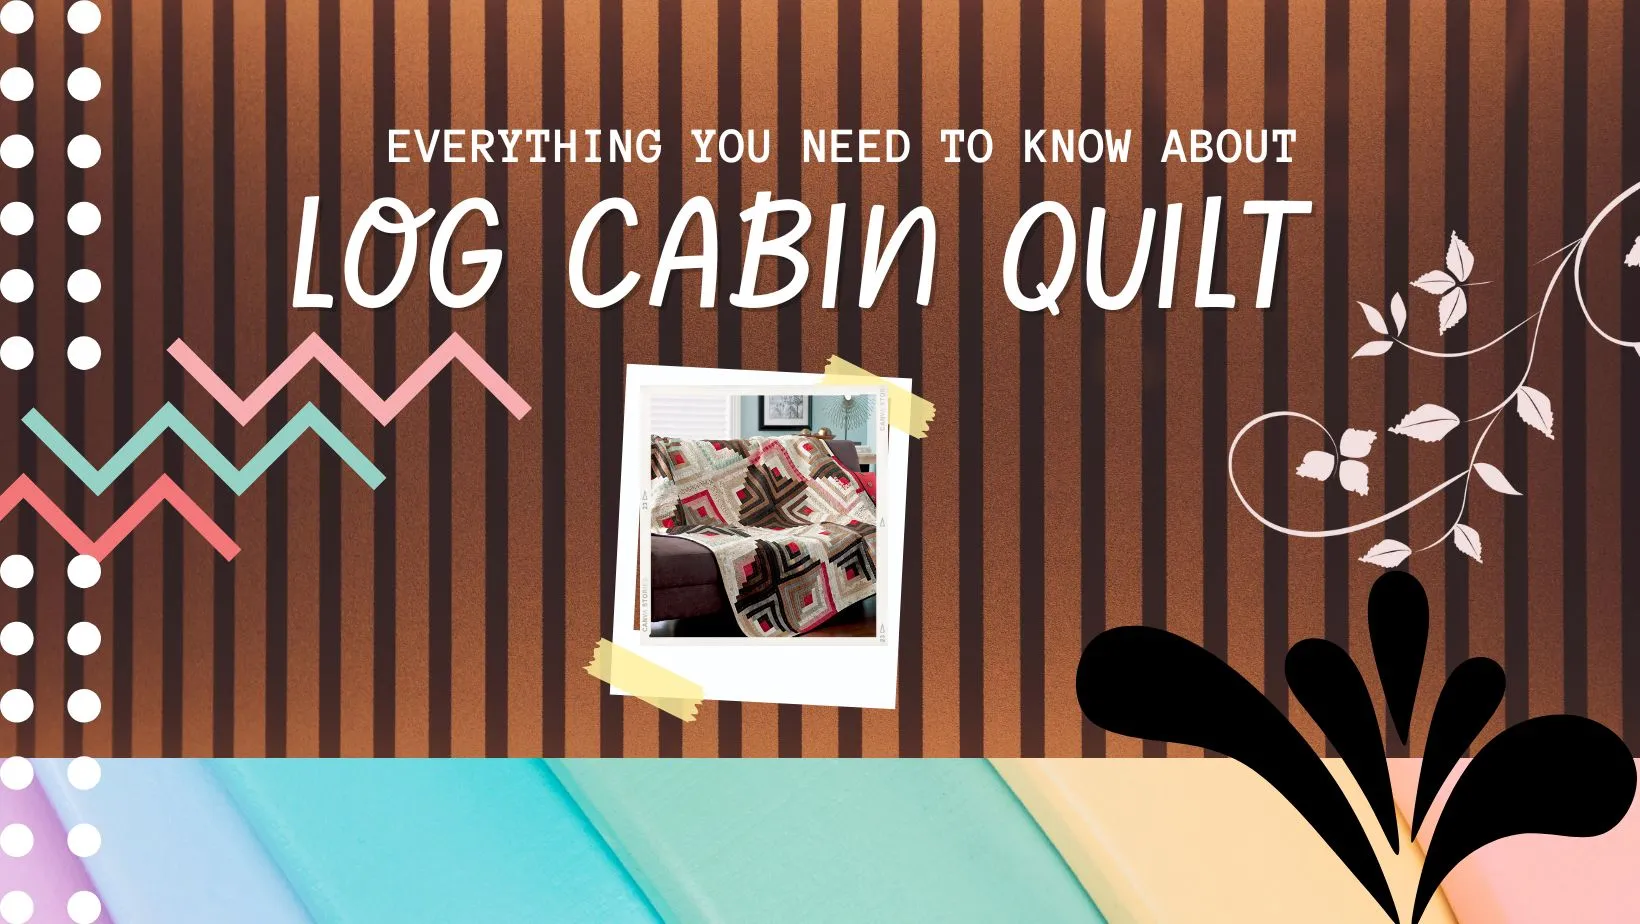
The log cabin quilt, a venerable and cherished tradition within the realm of textile arts, stands as an enduring testament to the skillful hands and creative spirits of generations past.
A remarkable embodiment of both historical significance and artistic prowess, the log cabin quilt has woven itself into the rich tapestry of American culture, its intricate patterns and rich symbolism offering a captivating glimpse into the heritage of quilt-making and the narratives it preserves.
In this discourse, we shall embark upon a journey to unravel the intricate threads of history, technique, and cultural resonance that converge in the splendid creation known as the log cabin quilt.
What is a log cabin quilt?
A log cabin quilt is a magnificent textile creation that combines artistic ingenuity with meticulous craftsmanship. It is characterized by a distinct design of interlocking rectangles, symbolizing the log cabins of early American settlers. These quilts are a splendid manifestation of tradition and creativity, where each piece of fabric added represents a unique story or sentiment, resulting in a harmonious and visually captivating work of art.
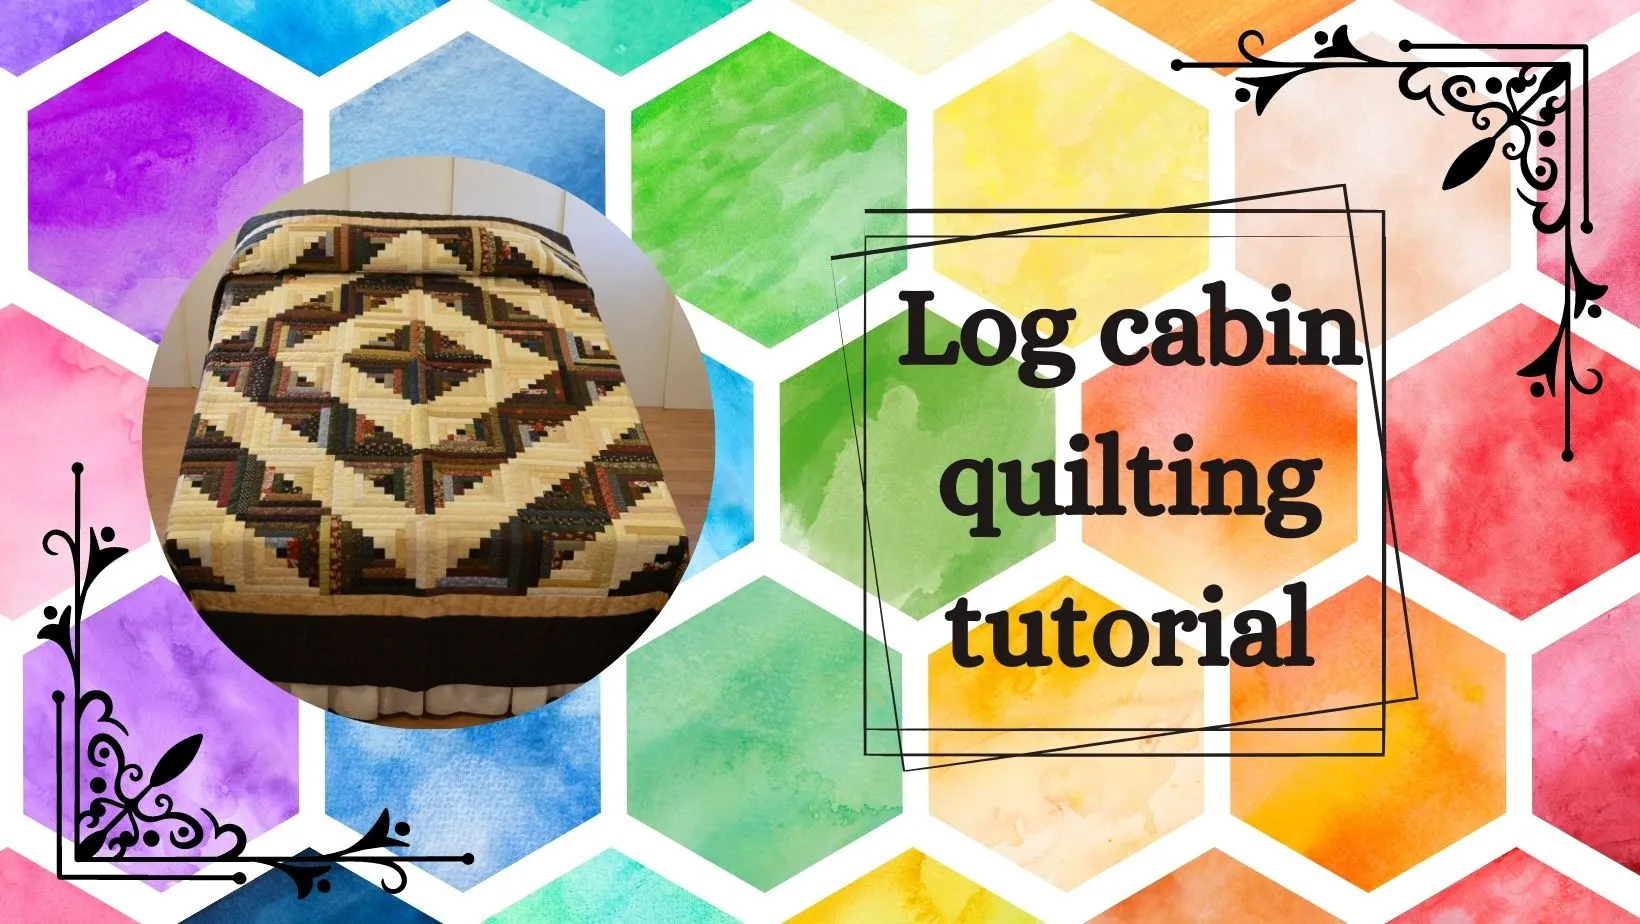
Log cabin quilting tutorial
Here’s a step-by-step tutorial on how to create a log cabin quilt, a delightful and rewarding quilting project:
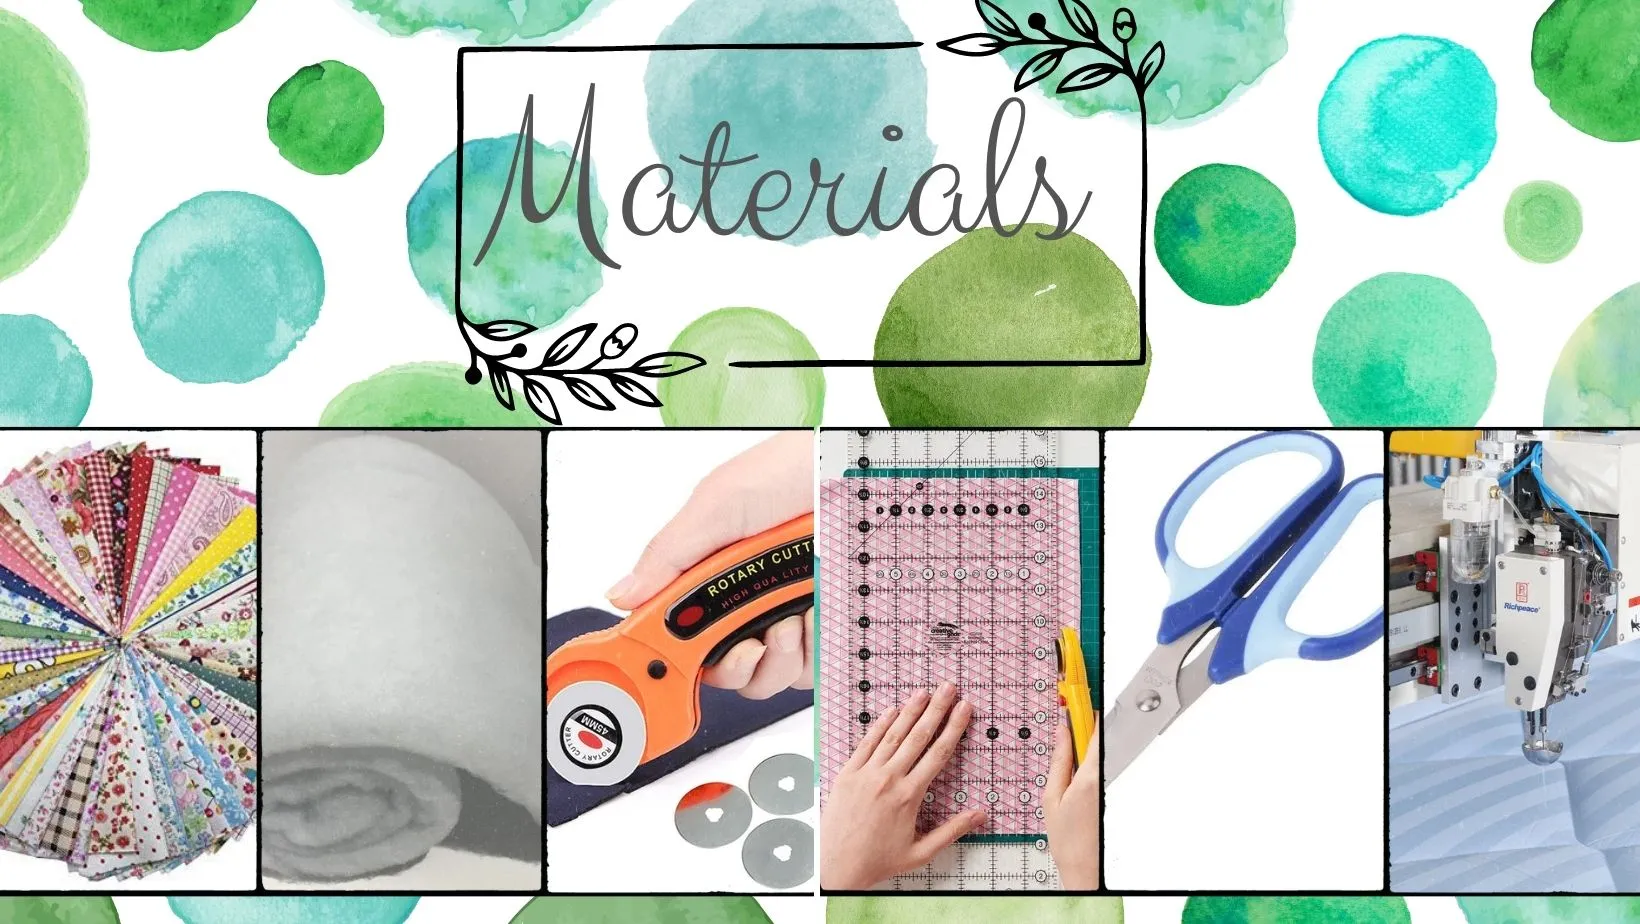
Materials You’ll Need:
Step by step guide to log cabin quilts
Step 1: Prepare Your Fabrics
Begin by selecting a variety of fabric strips in different colors and patterns. Traditionally, log cabin quilts use a light and dark color scheme, with a central square in a contrasting color. Cut your strips into the desired width; common sizes are 1.5 or 2 inches.

Step 2: Start with the Center Square
Take your central square fabric, which is often 2.5 or 3 inches square, and place it in the center of your work area. This square will be the heart of your log cabin design.
Step 3: Sew the First Strip
Choose a fabric strip for the first “log.” Align one edge of the strip with one side of the central square, right sides together. Sew them together using a 1/4-inch seam allowance.

Step 4: Press and Trim
Press the seam open with an iron. Trim any excess fabric strip, making it flush with the square’s edge.

Step 5: Add the Second Strip
Now, select a contrasting fabric strip for the second log. Align it with the adjacent side of the central square, right sides together. Sew with a 1/4-inch seam allowance, press, and trim as before.

Step 6: Continue Adding Logs
Repeat the process of adding fabric strips, alternating between light and dark or your chosen color scheme. Work your way around the central square, adding strips in a clockwise or counterclockwise fashion.

Step 7: Build Out the Blocks
As you add more strips, you’ll notice that your quilt block grows. Each “round” of strips adds another layer or “log” to your block. Continue until your block reaches your desired size.

Step 8: Assemble Quilt Blocks
Create multiple log cabin blocks following Steps 1-7. You can vary the size and color schemes to add visual interest to your quilt.
Step 9: Arrange and Sew Blocks Together
Lay out your log cabin blocks in the desired pattern. Sew them together, row by row, with a 1/4-inch seam allowance. Press the seams open as you go.
Step 10: Add Borders
To finish your quilt top, consider adding one or more borders. Measure and cut strips of fabric to fit the sides of your quilt and attach them, mitering the corners for a polished look.

Step 11: Quilt and Bind
Layer your quilt top, batting, and backing together. Quilt the layers as desired, either by hand or with a machine. Finally, trim any excess batting and fabric, and bind the edges to secure your quilt.

Step 12: Enjoy Your Log Cabin Quilt!
Once your quilt is bound and finished, give it a final press, and it’s ready to be enjoyed. Curl up with your masterpiece, or share it as a cherished gift. The log cabin quilt is not only a testament to your sewing skills but also a beautiful work of art to be treasured.
Log Cabin Quilt Blocks: A Window into Tradition and Creativity
Log cabin quilt blocks are an iconic and versatile component of quilting, offering a captivating glimpse into the heritage and artistry of this time-honored craft. These blocks, characterized by their unique construction of interlocking rectangles, have been a mainstay in quilting traditions for generations. Here, we delve into the captivating world of log cabin quilt blocks to explore their history, symbolism, and creative potential.
Historical Significance
The log cabin quilt block design is deeply rooted in American history. Its name and concept draw inspiration from the log cabins built by early American settlers during the 19th century. These humble dwellings, constructed from logs, often had a central hearth where families gathered for warmth and sustenance.
In quilting, the central square of the log cabin block symbolizes this hearth, with subsequent strips representing the logs that were added to expand the cabin as families grew.
Symbolism and Meaning
Log cabin quilt blocks carry a wealth of symbolism. The contrasting colors in each block, typically arranged in light and dark sequences, are said to represent the balance between the sunny and shaded sides of a log cabin. Additionally, the center square is often red, symbolizing the heart of the home or hearth.
These symbols, along with the geometric precision of the design, give log cabin blocks a rich and meaningful narrative.
Endless Variations
One of the remarkable aspects of log cabin quilt blocks is their adaptability. Quilters can experiment endlessly with color schemes, strip widths, and block sizes to create a wide array of visual effects. Variations include the Courthouse Steps, Pineapple, and Barn Raising patterns, each offering a unique twist on the classic design.
Artistic Expression
Quilters often use log cabin blocks as a canvas for artistic expression. By carefully selecting fabrics, colors, and patterns, they can convey personal stories, moods, or themes within their quilts. This creative freedom makes log cabin blocks not only a reflection of tradition but also a platform for individuality and innovation.
Modern Applications of log cabin quilt blocks
While log cabin quilt blocks have deep historical roots, they continue to evolve and remain relevant in contemporary quilting. Modern quilters incorporate them into a wide range of projects, from traditional bed quilts to wall hangings, table runners, and even clothing. Log cabin blocks seamlessly bridge the gap between tradition and contemporary creativity.
In the world of quilting, log cabin quilt blocks stand as a timeless and cherished motif. Their historical significance, rich symbolism, versatility, and scope for artistic expression make them a beloved choice for quilters worldwide. These blocks are not merely geometric arrangements of fabric; they are the embodiment of tradition, creativity, and the enduring artistry of quilting.
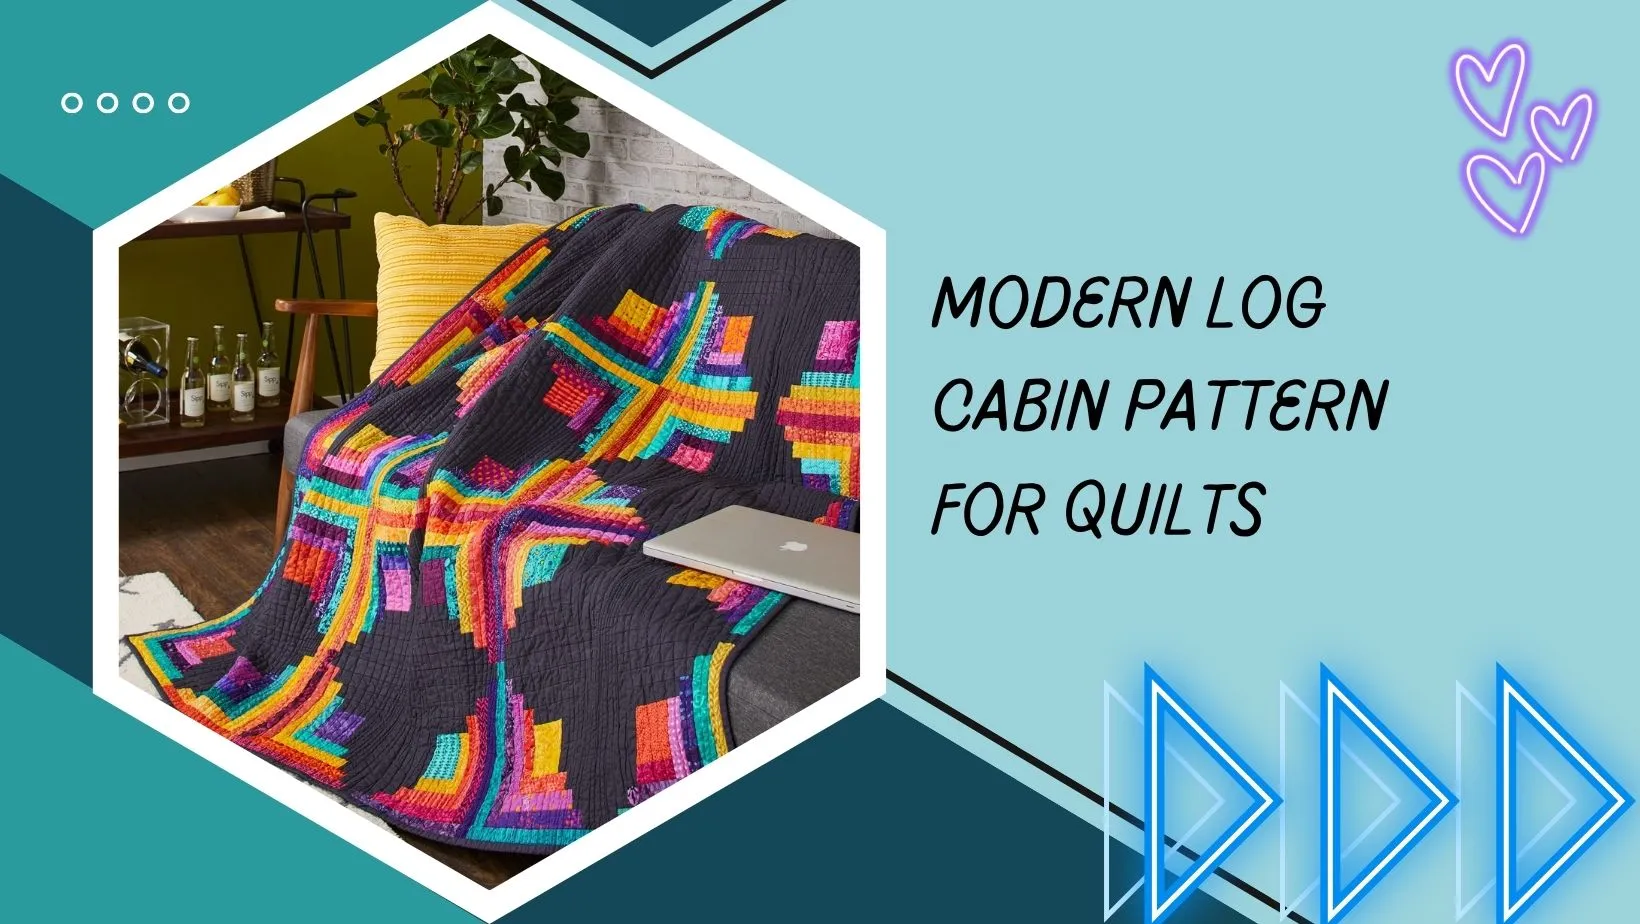
Log cabin quilt patterns
Log cabin quilt patterns are a classic and timeless design in the world of quilting. They are known for their simplicity, versatility, and the ability to create stunning visual effects through color and layout variations. Here, I’ll discuss some log cabin quilt patterns that have been trending so far.
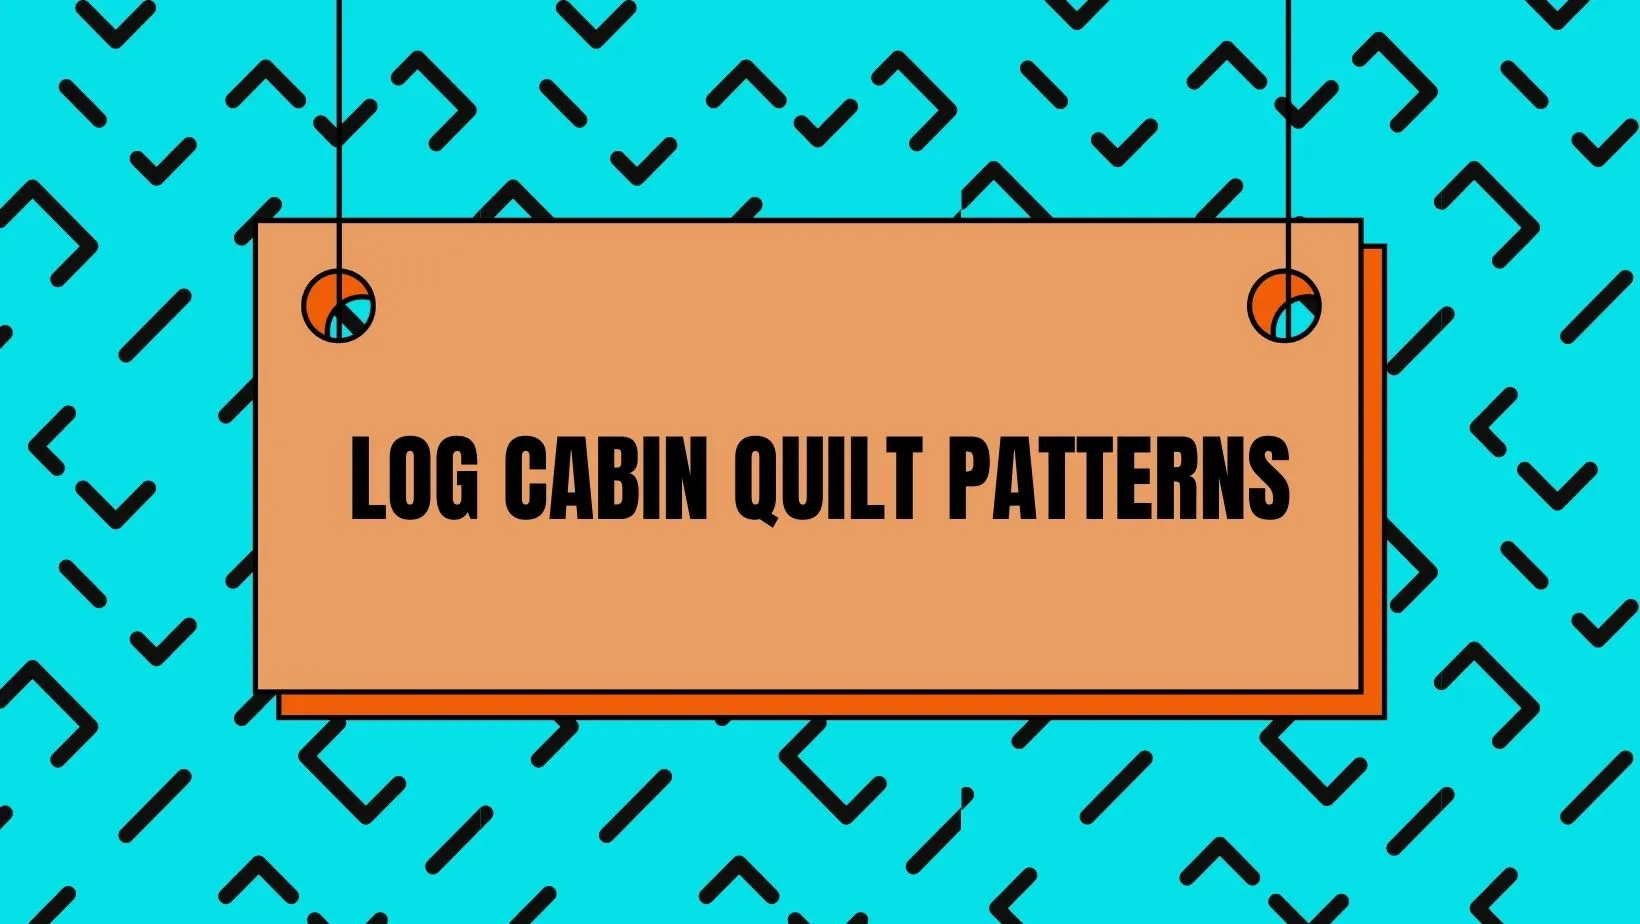
1. Traditional Log Cabin quilt pattern
The traditional log cabin quilt block consists of a central square (often red or yellow) surrounded by strips of fabric. Half of the strips are light in color, and the other half are dark. The arrangement of these strips creates a sense of light and shadow, making it a classic choice for log cabin quilts.
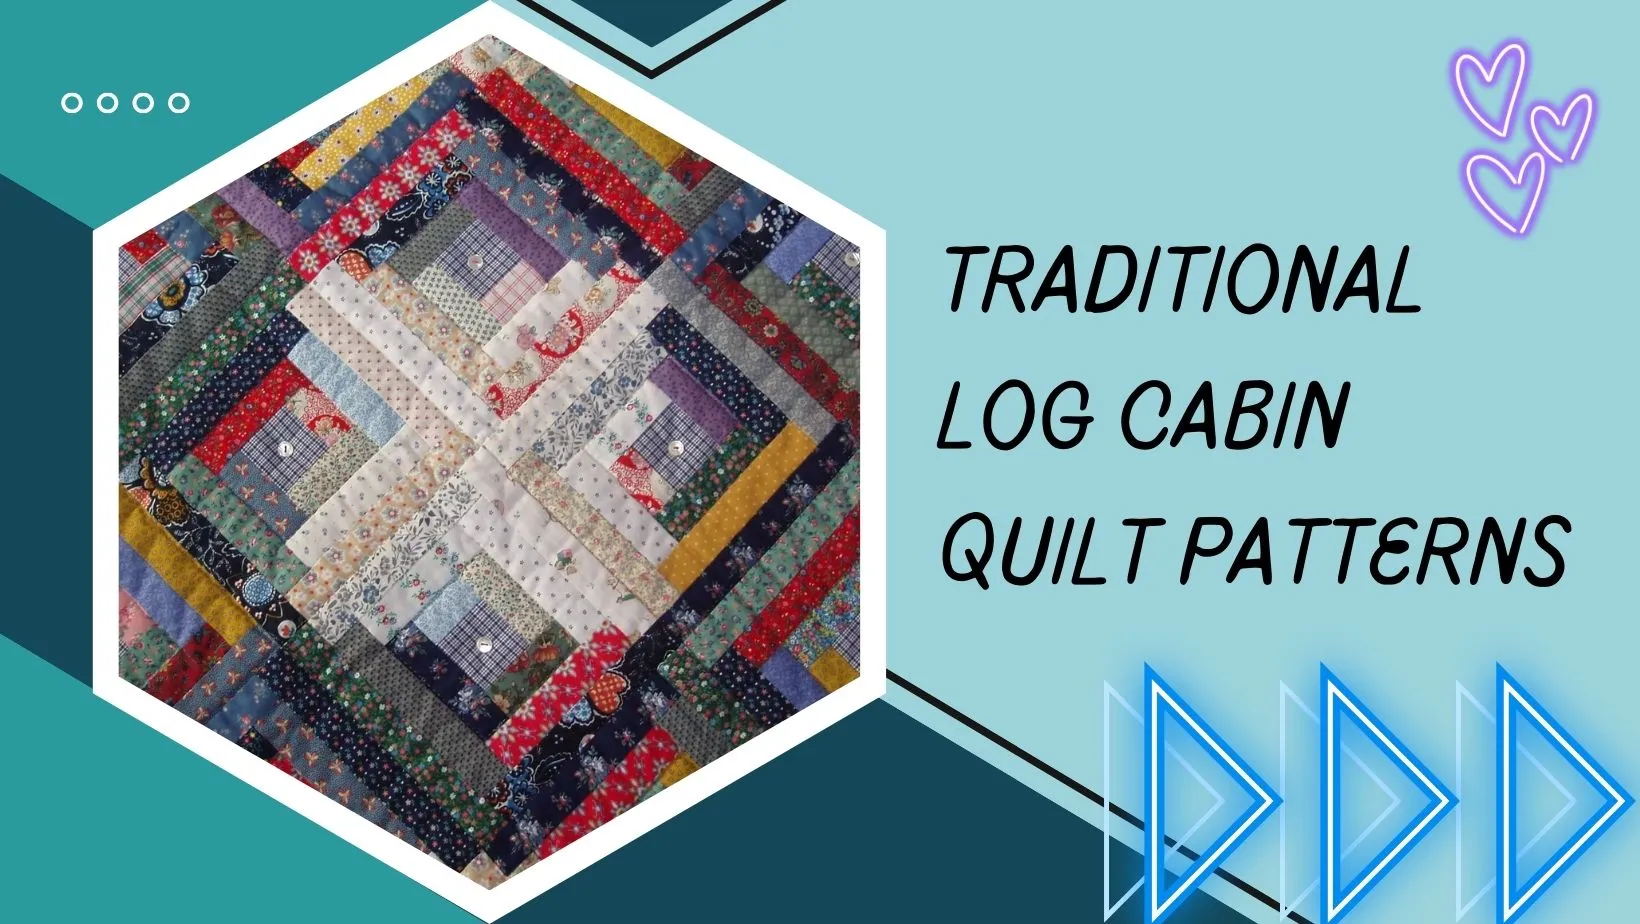
2. Barn Raising Log Cabin quilt pattern
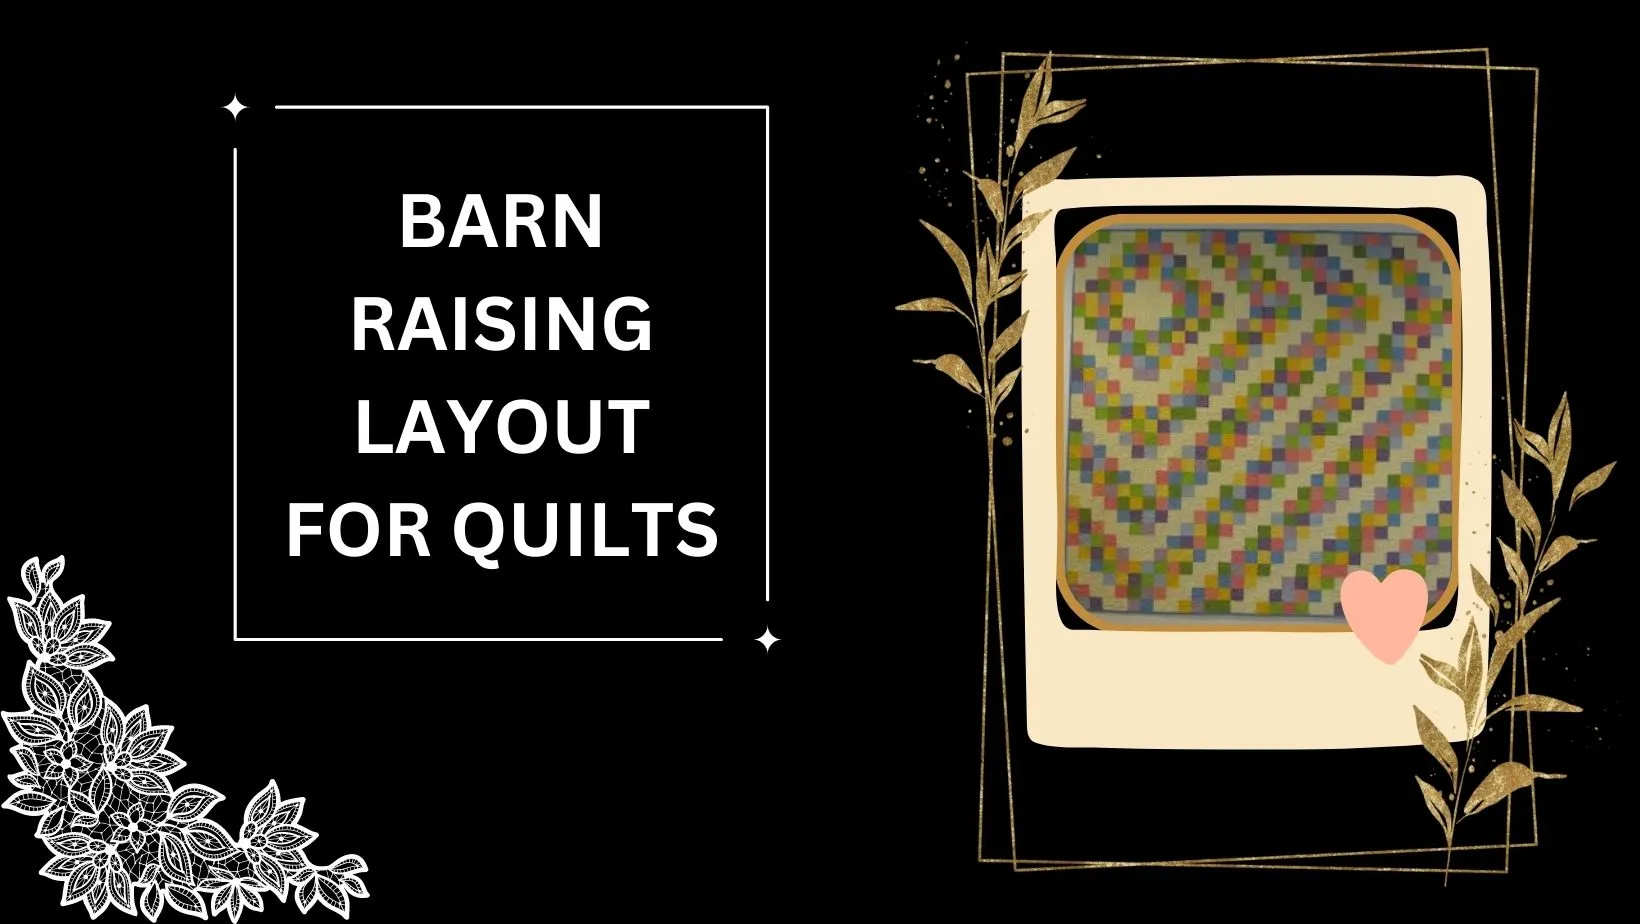
In this pattern, multiple log cabin blocks are combined to create the appearance of a barn-raising structure. The blocks radiate from a central square, mimicking the construction of a log cabin. This design can be quite intricate when multiple blocks are used.
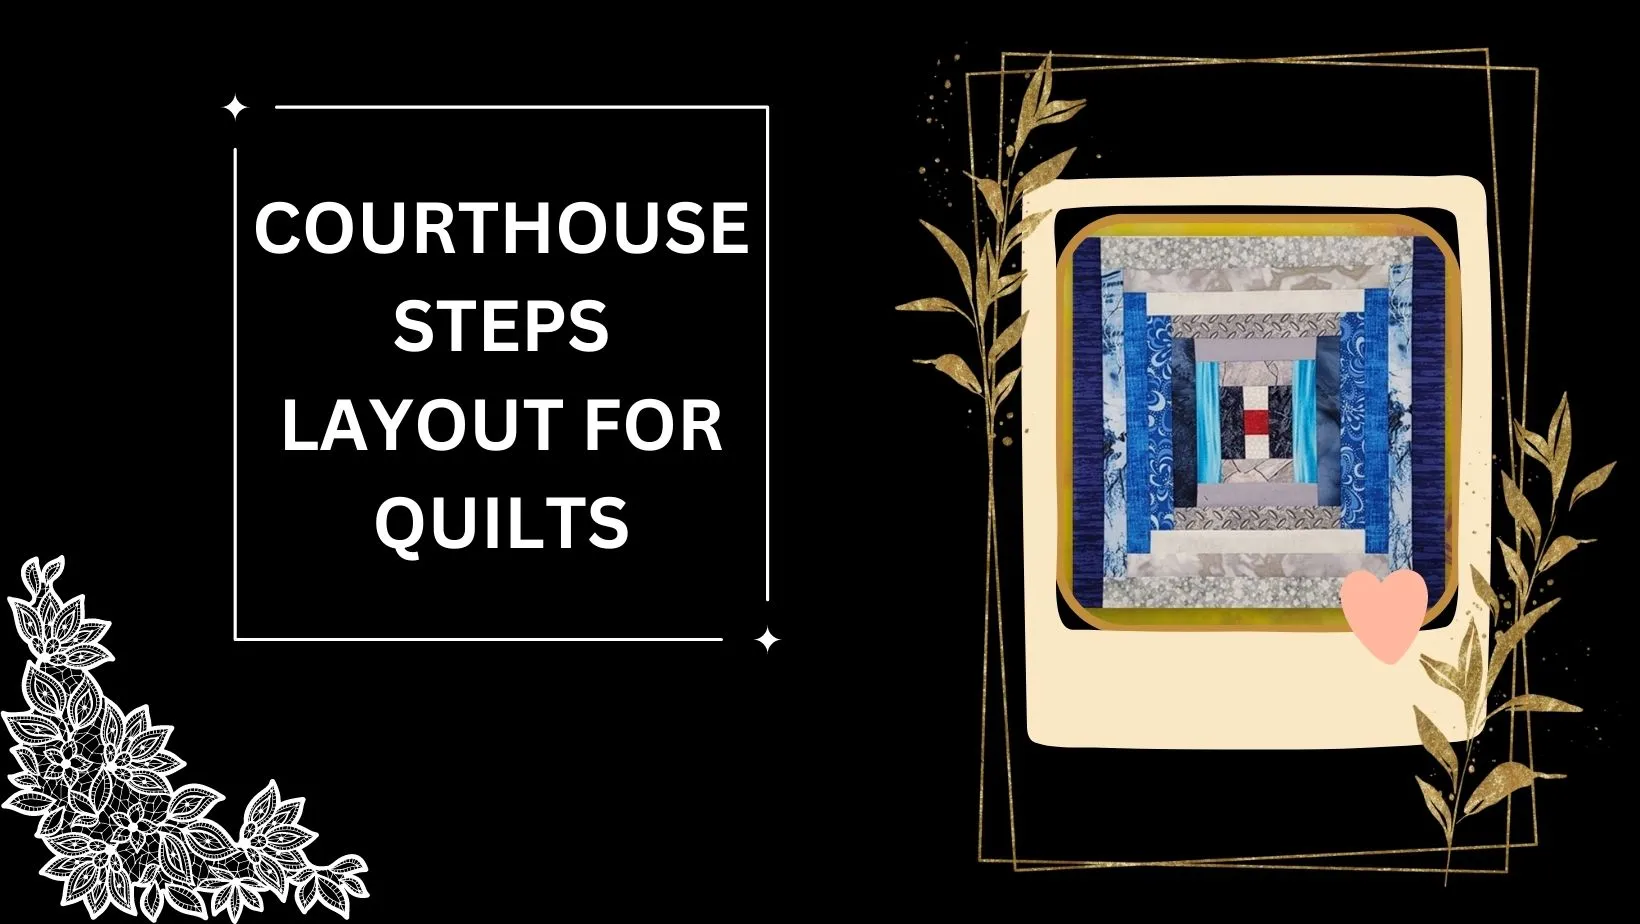
3. Courthouse Steps Log cabin pattern for quilts
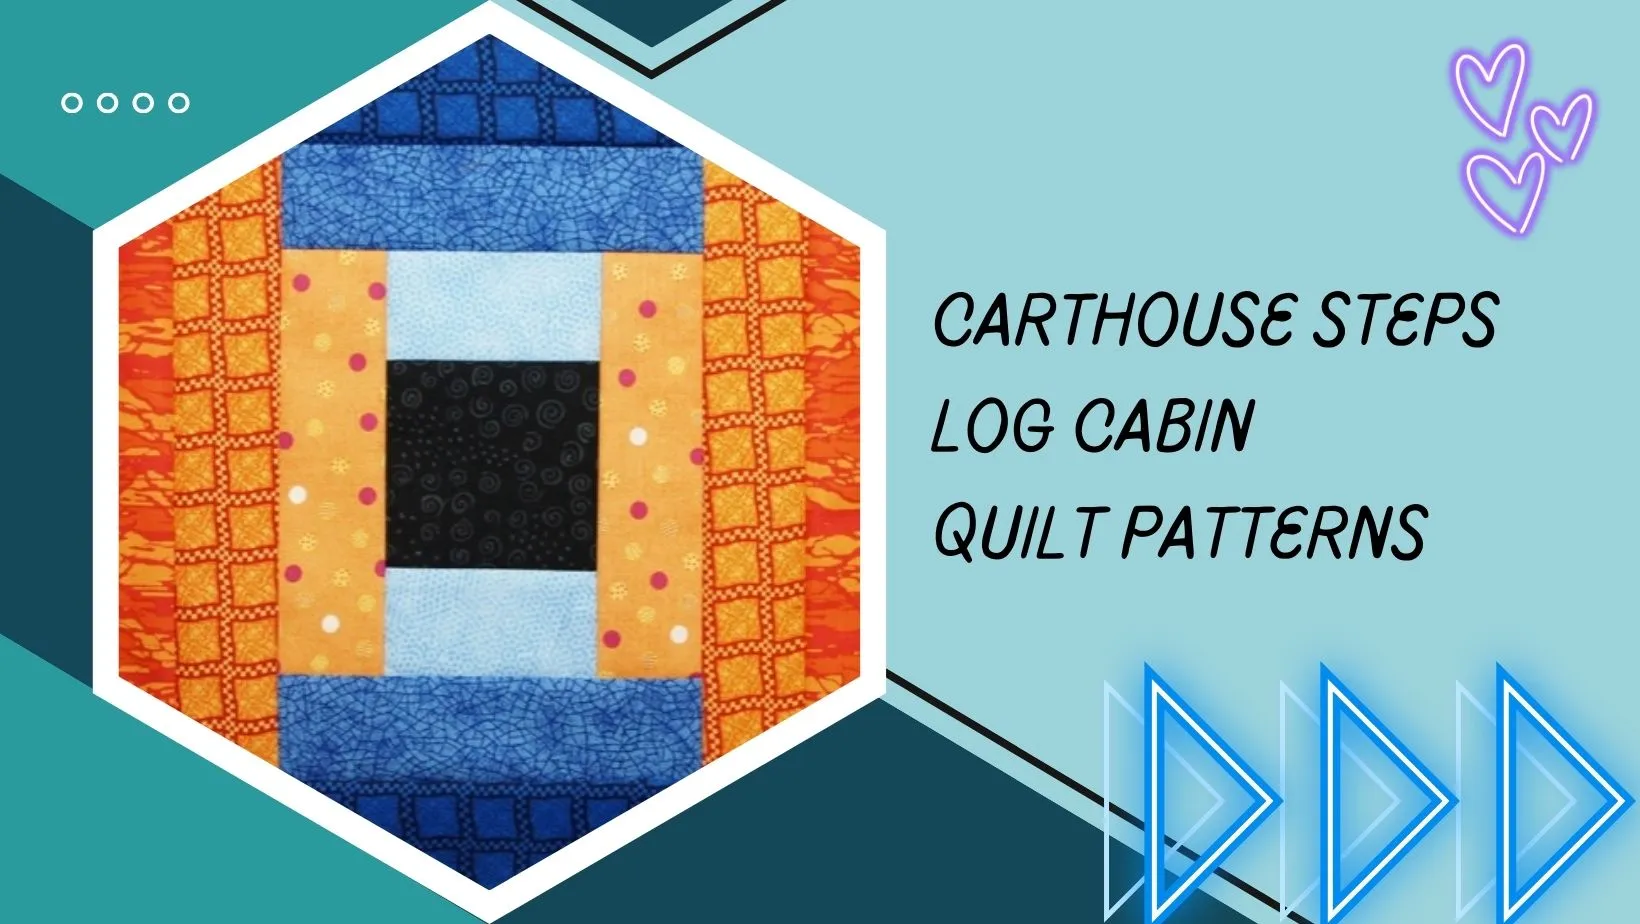
Courthouse steps is a variation of the log cabin pattern where strips are added to two opposite sides of the center square before the other two sides. This creates a stepped effect, giving the illusion of a staircase around the center square. It’s a great way to play with color placement and create dynamic visual effects.
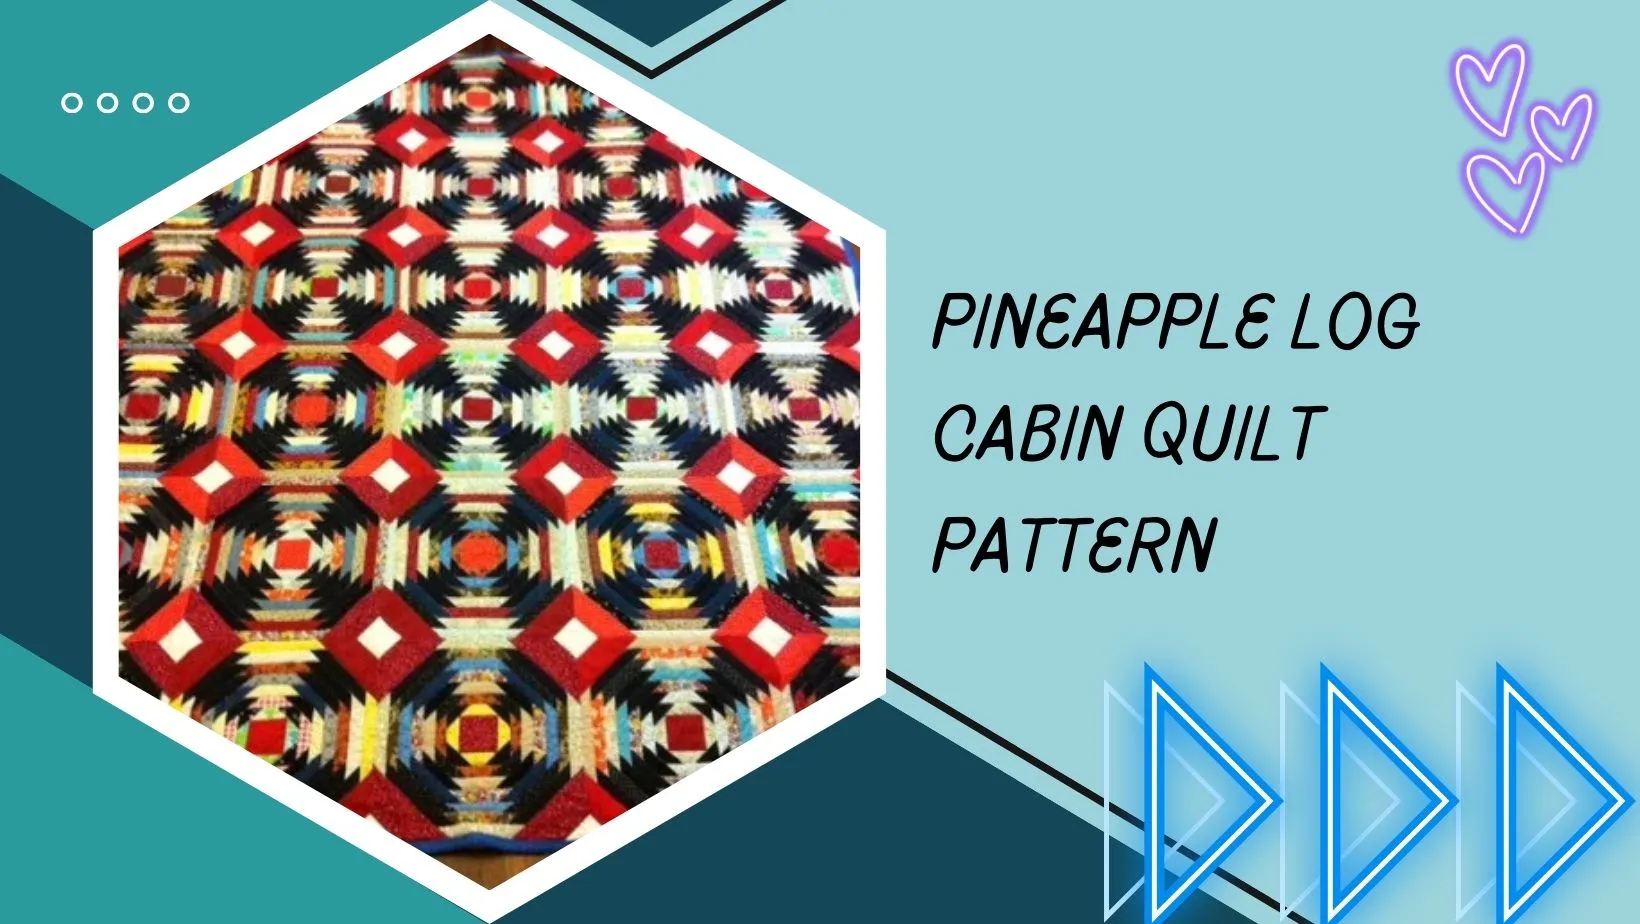
4. Pineapple Log Cabin pattern for quilts
This log cabin variation adds triangles to the standard log cabin design. As the strips of fabric radiate from the center square, triangles are added in each corner, giving the appearance of a pineapple. This pattern allows for a lot of creative color play.
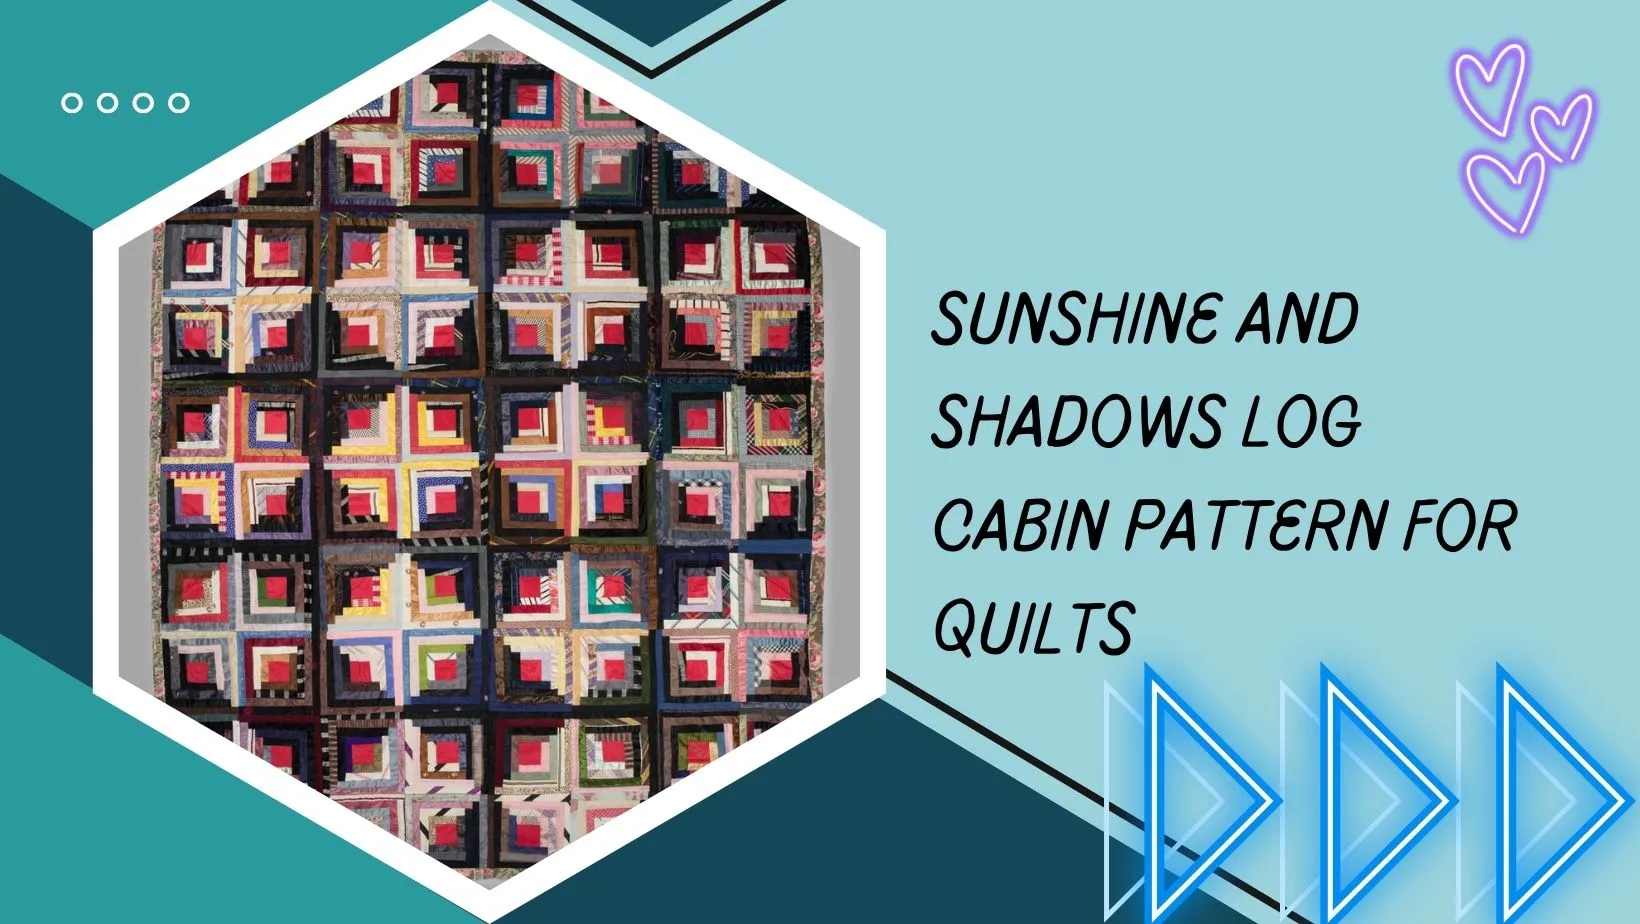
5. Sunshine and Shadows log cabin pattern for quilts
In this variation, the light and dark strips are organized in a way that creates a sense of radiating light and shadows. This design plays with the contrast between the center square and the surrounding strips to achieve a dynamic effect.
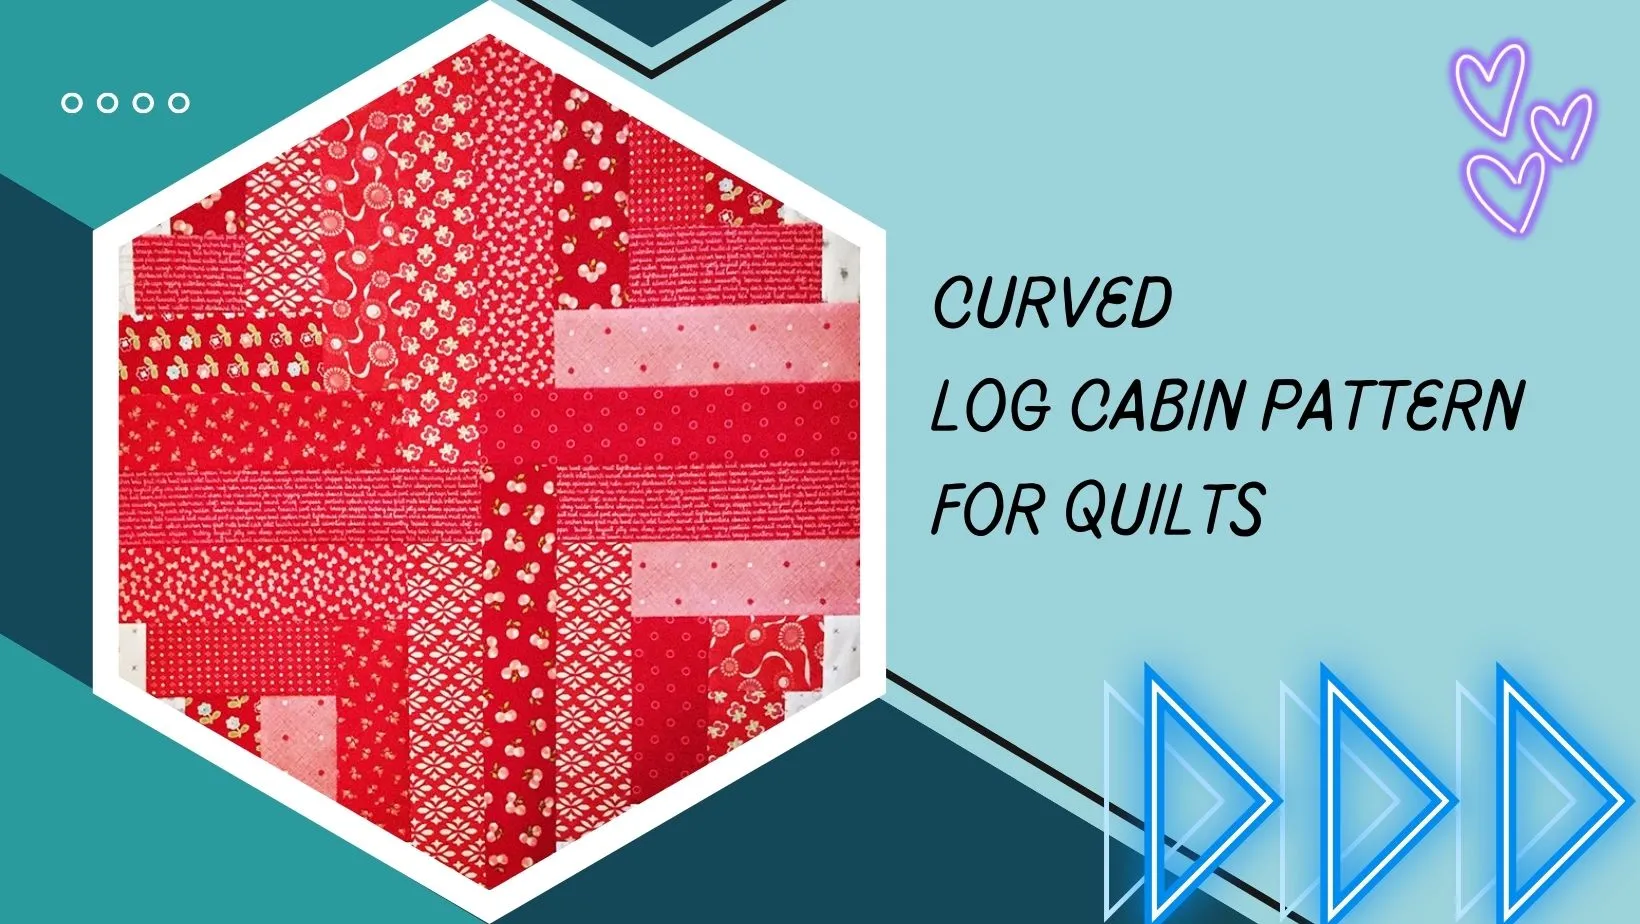
6. Curved Log Cabin pattern for quilts
Unlike the traditional log cabin, which is constructed with straight strips, curved log cabin blocks incorporate curved strips. This adds an entirely different dimension to the design, creating a more fluid and organic look.
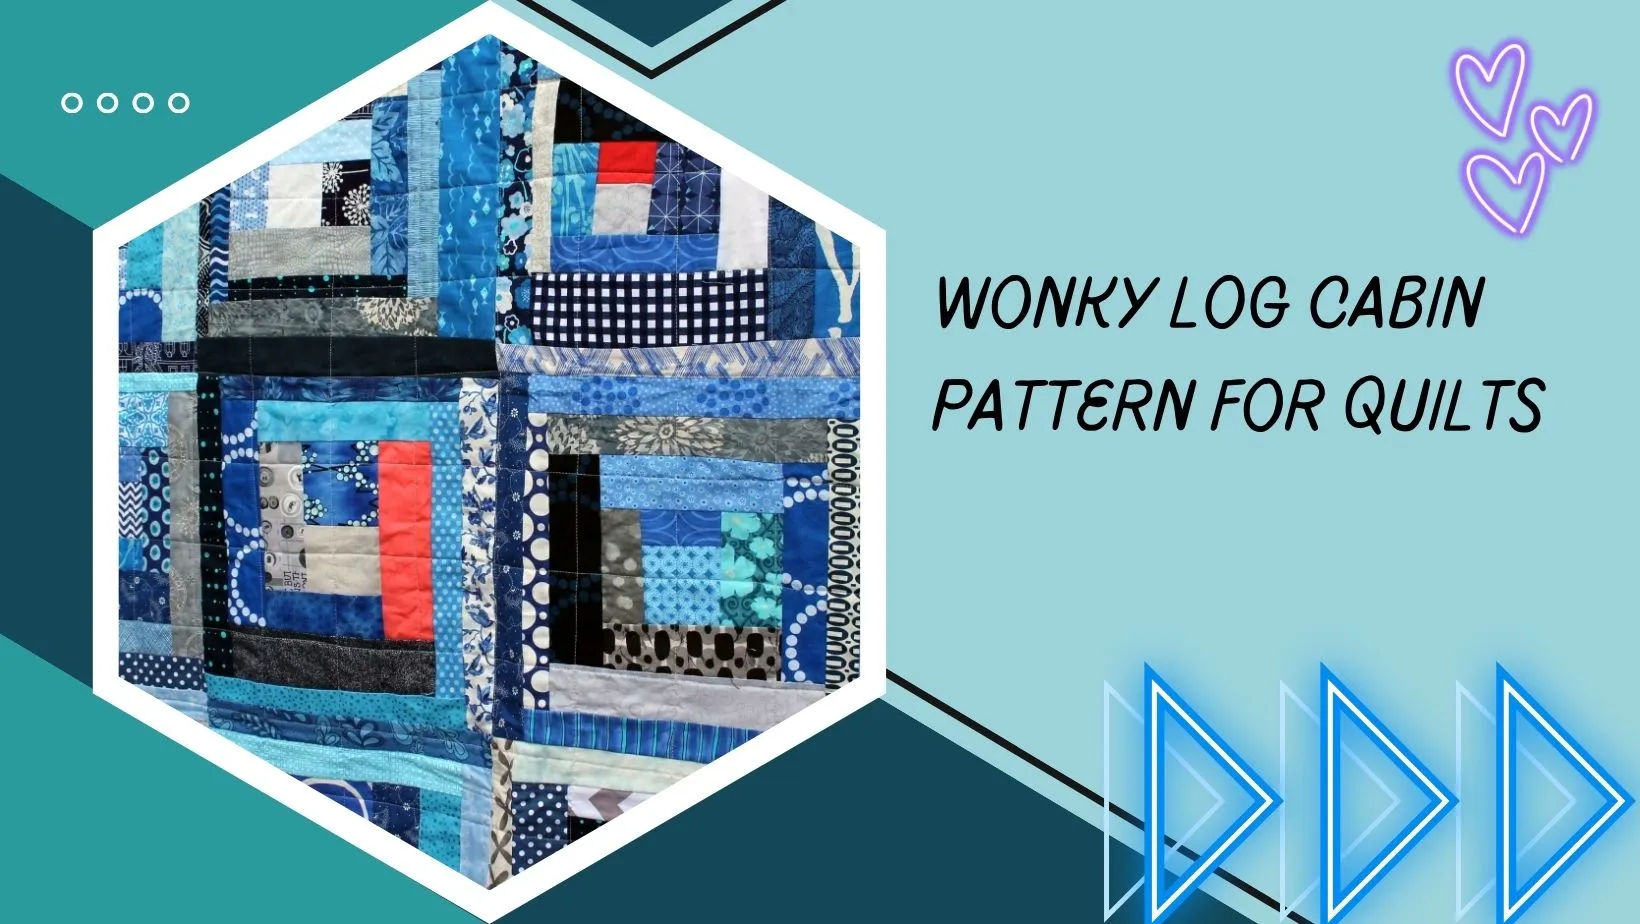
7. Wonky Log Cabin pattern for quilts
Wonky log cabin blocks intentionally have uneven or “wonky” strips, creating a playful and improvisational look. It’s a great choice for quilters who want a more relaxed and unique approach to log cabin quilting.
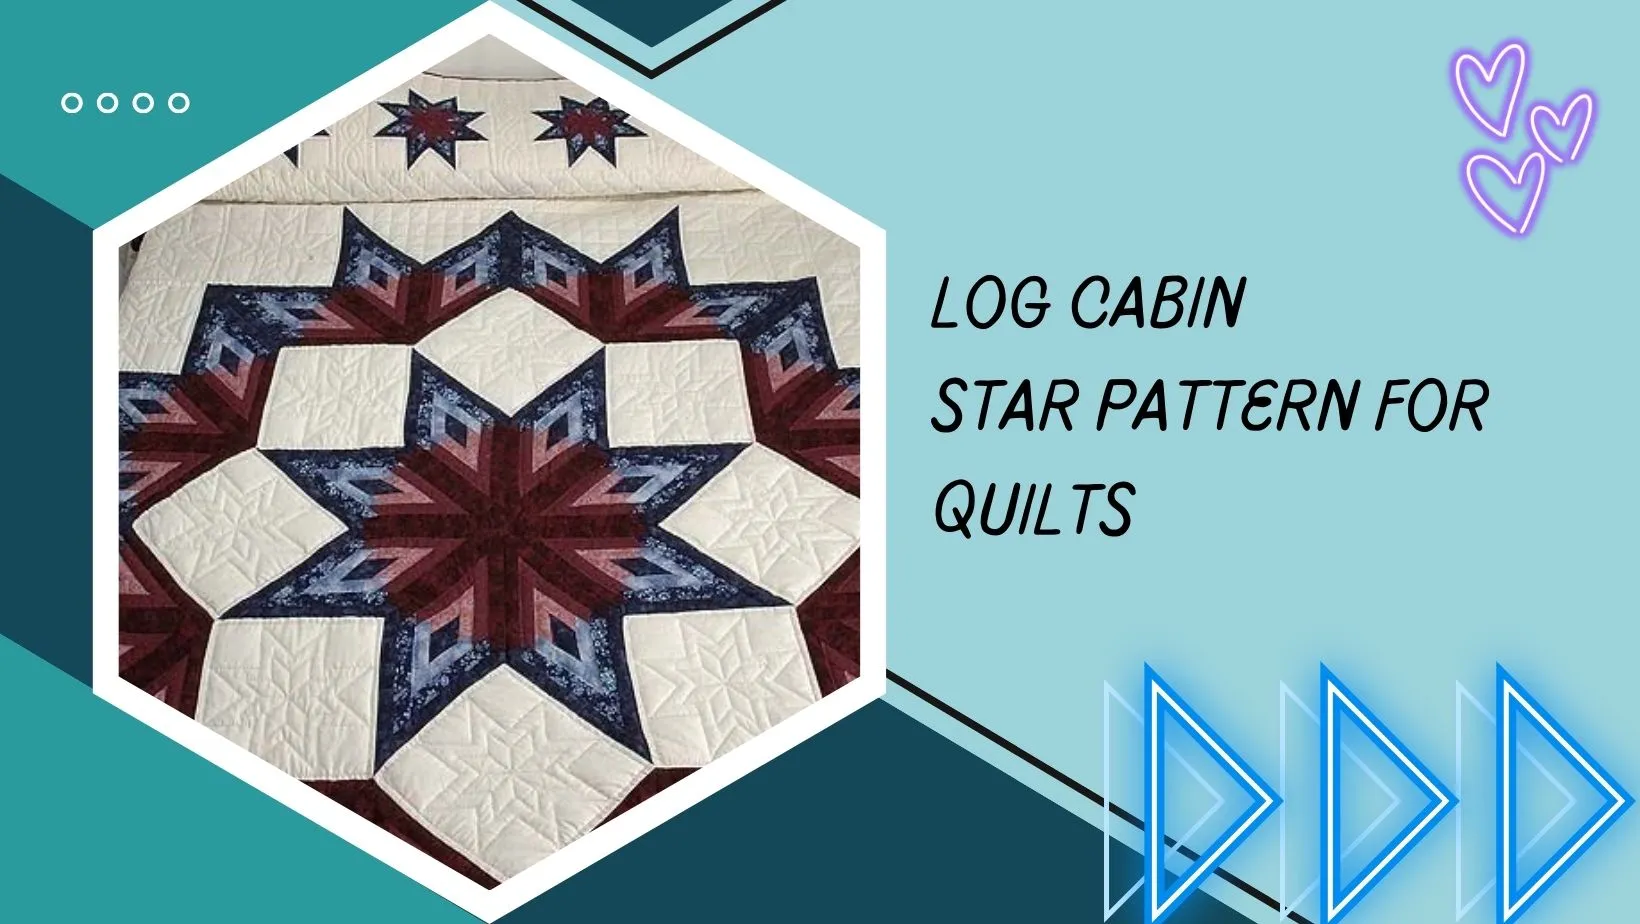
8. Log Cabin Star pattern for quilts
This variation combines the log cabin design with a central star shape. By arranging the strips in a way that creates a starburst effect around the center square, you can achieve a stunning star pattern in the quilt.
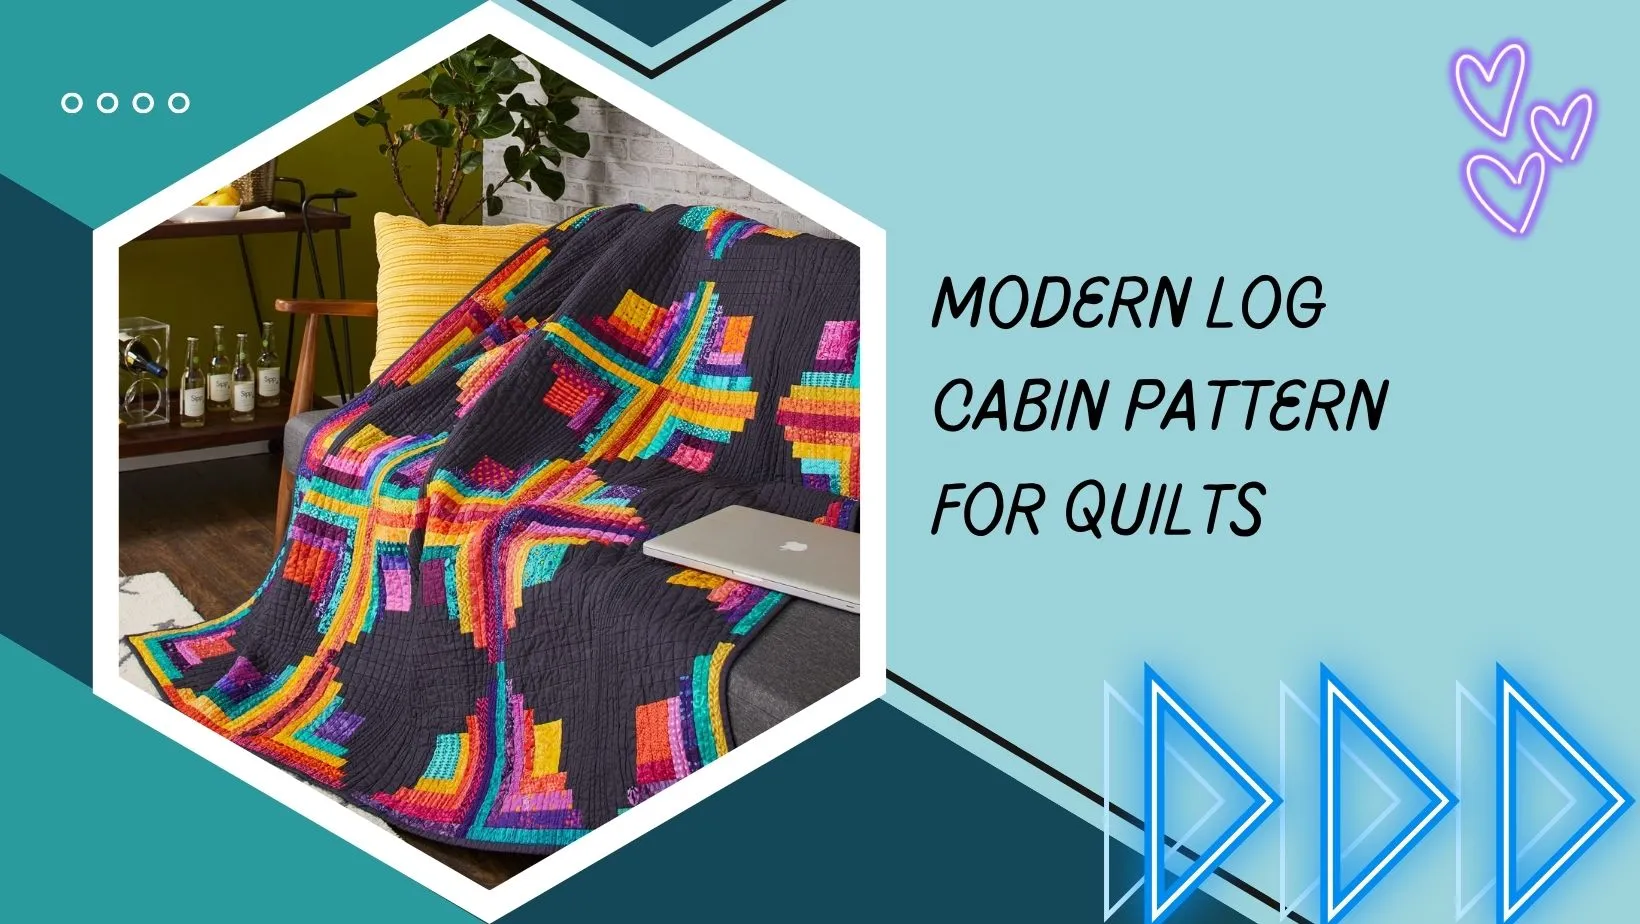
9. Modern Log Cabin pattern for quilts
Modern log cabin quilts often incorporate bold colors, asymmetry, and unusual fabric choices. They embrace contemporary design principles while still paying homage to the traditional log cabin structure.
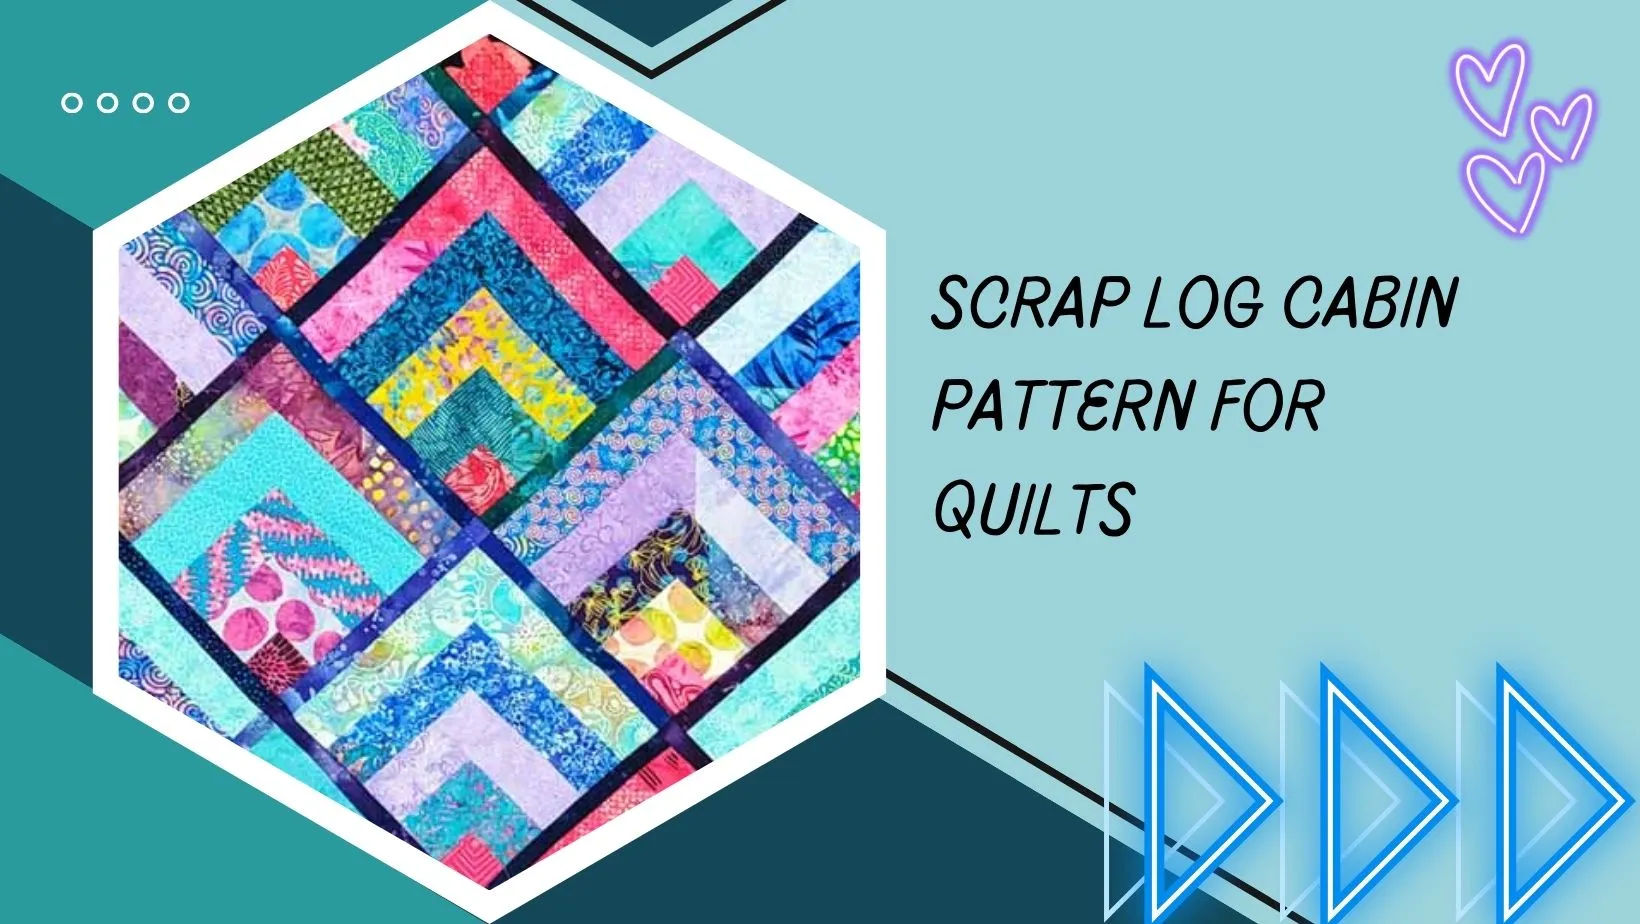
10. Scrap Log Cabin pattern for quilts
A scrap log cabin quilt is made entirely from fabric scraps. It’s a great way to use up leftover fabric and create a visually interesting, eclectic quilt.
Remember that the beauty of log cabin quilts lies in their versatility. Quilters can experiment with color, size, layout, and variations to create unique and personalized designs. Whether you prefer the traditional look or want to push the boundaries of creativity, log cabin quilting offers endless possibilities.
Log cabin quilt layouts
Log cabin quilt layouts are an essential aspect of quilting design, as they determine how the log cabin blocks are arranged within the quilt top. The arrangement can drastically affect the overall look and feel of the finished quilt. Here I will explain many log cabin quilt layouts.
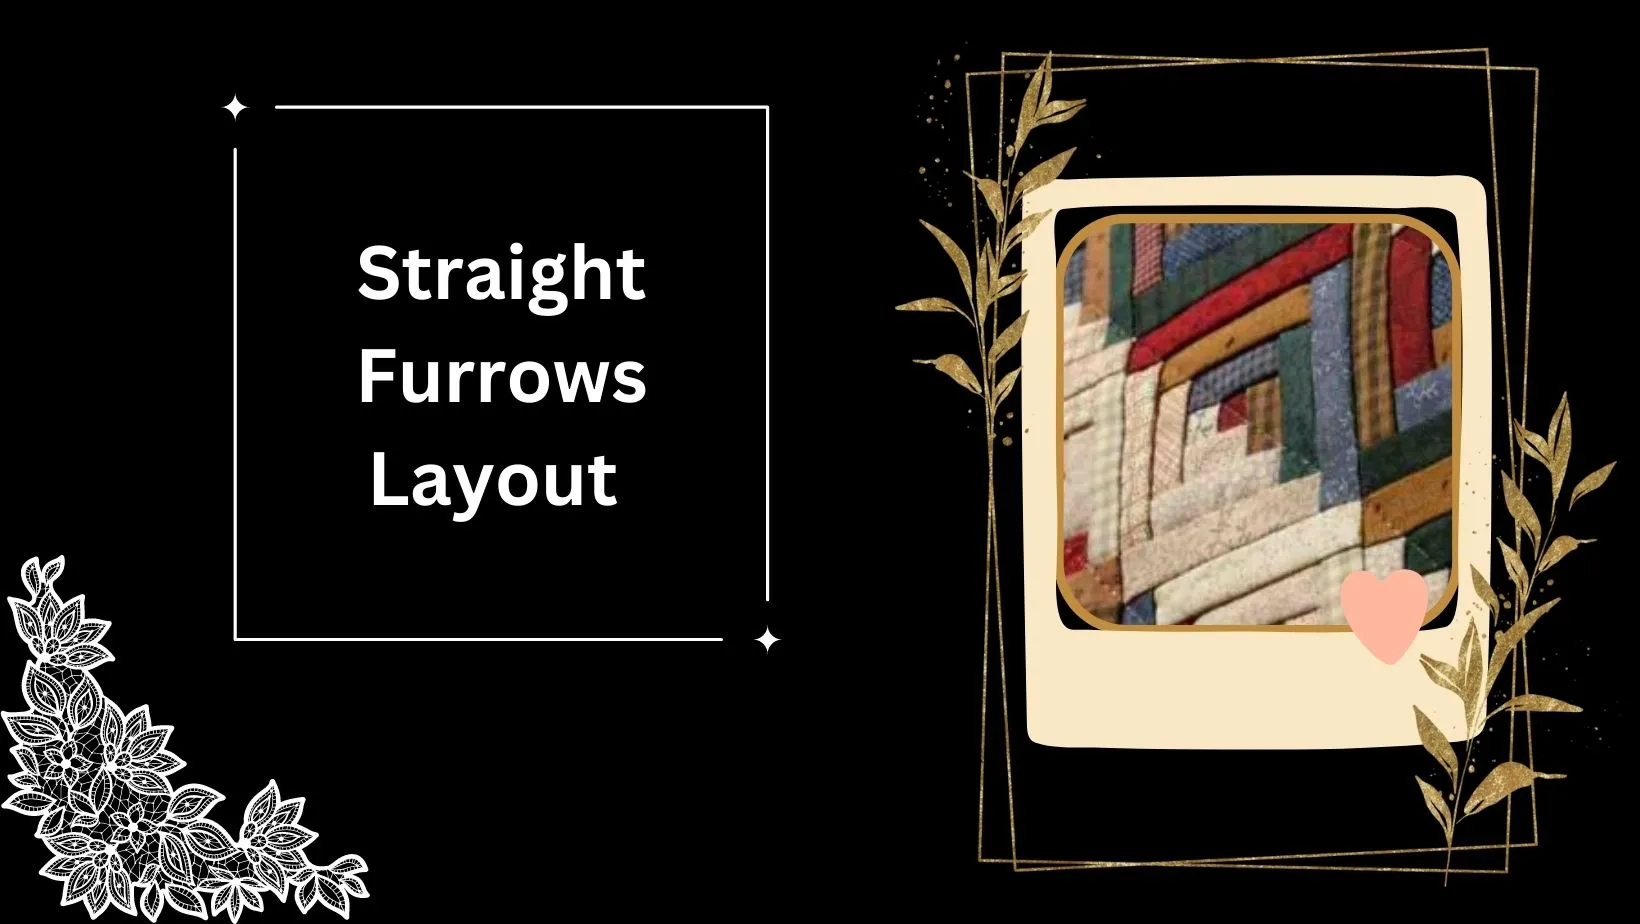
Straight Furrows Layout for quilt cabin
Barn Raising Layout for log cabin quilts
Courthouse Steps Layout for cabin quilting
Diagonal Layout for log cabin quilting
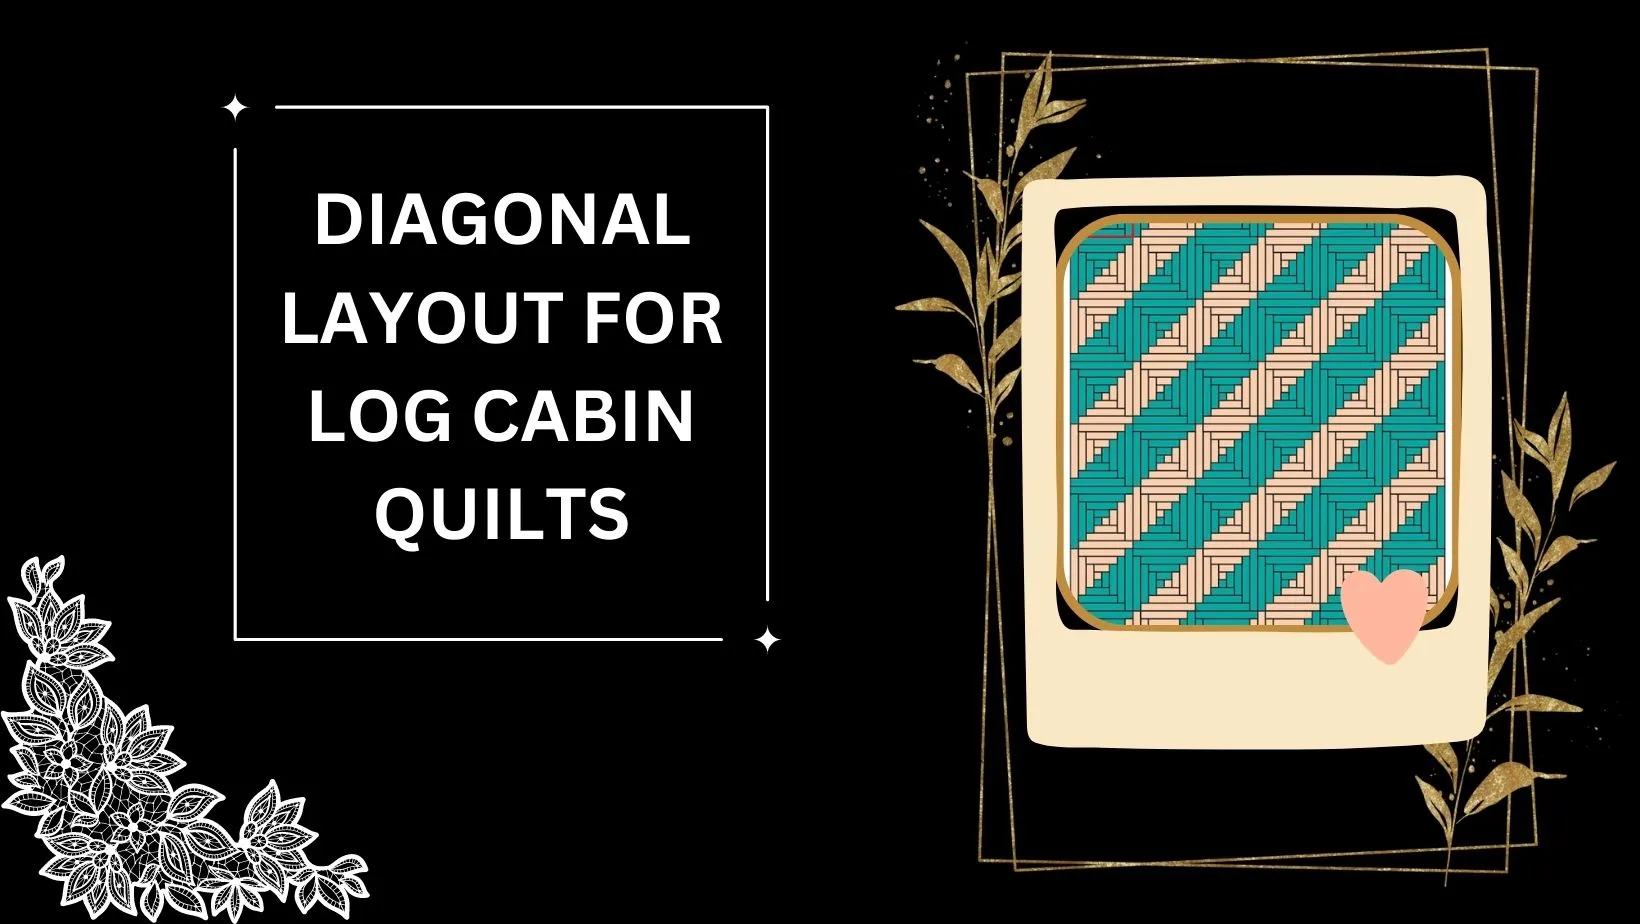
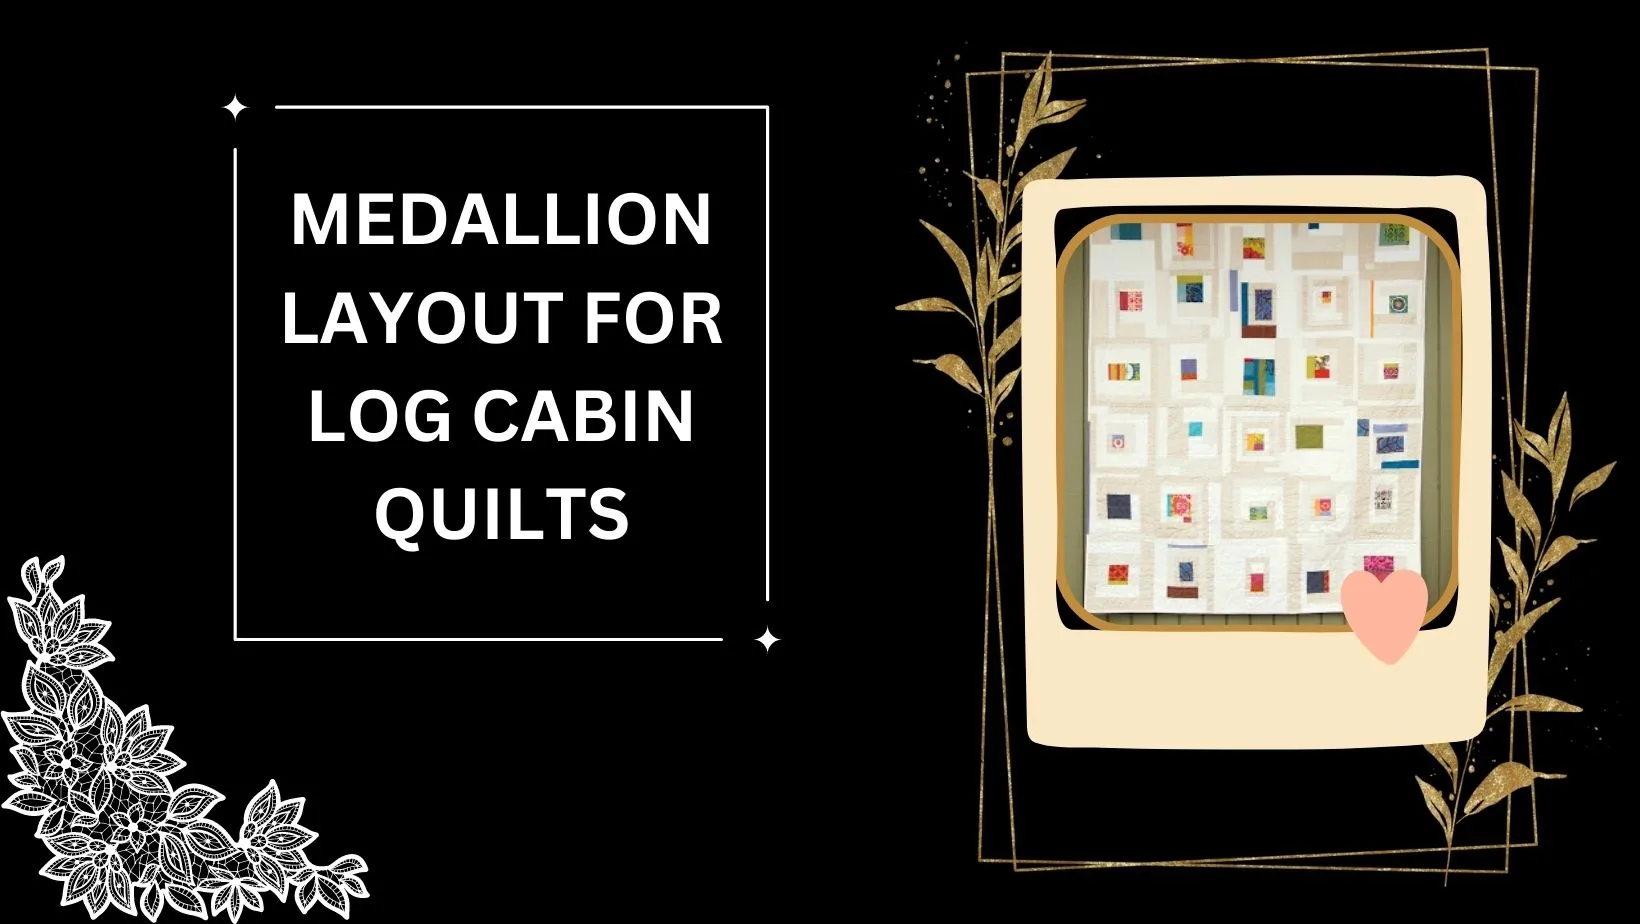
Medallion log cabin quilt Layout
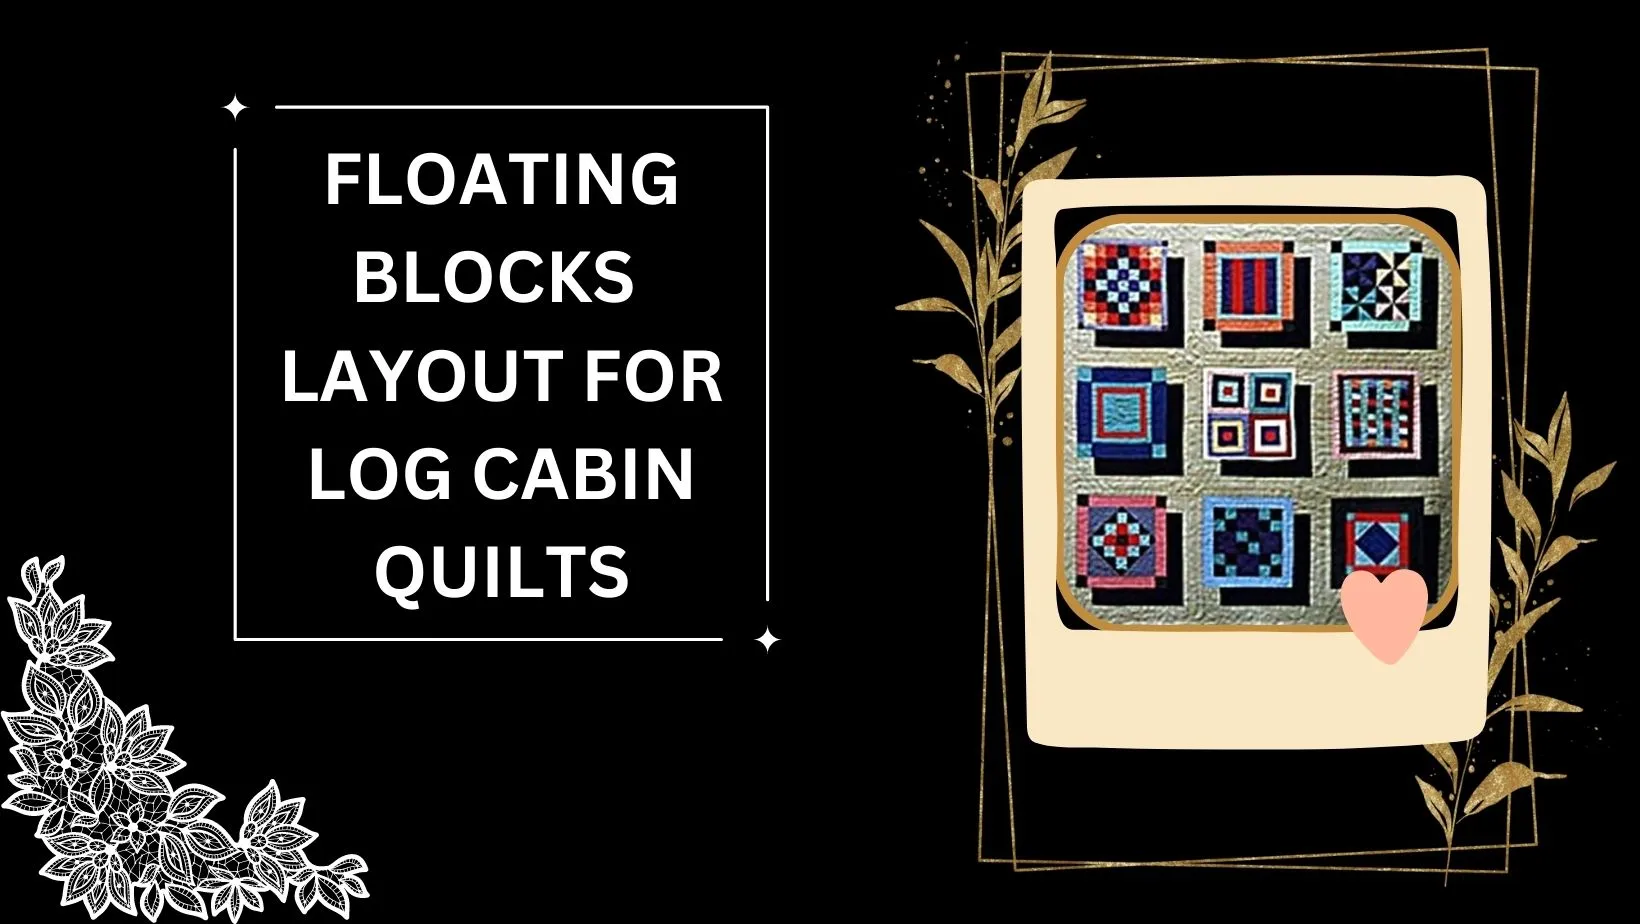
Floating Blocks log cabin quilts Layout
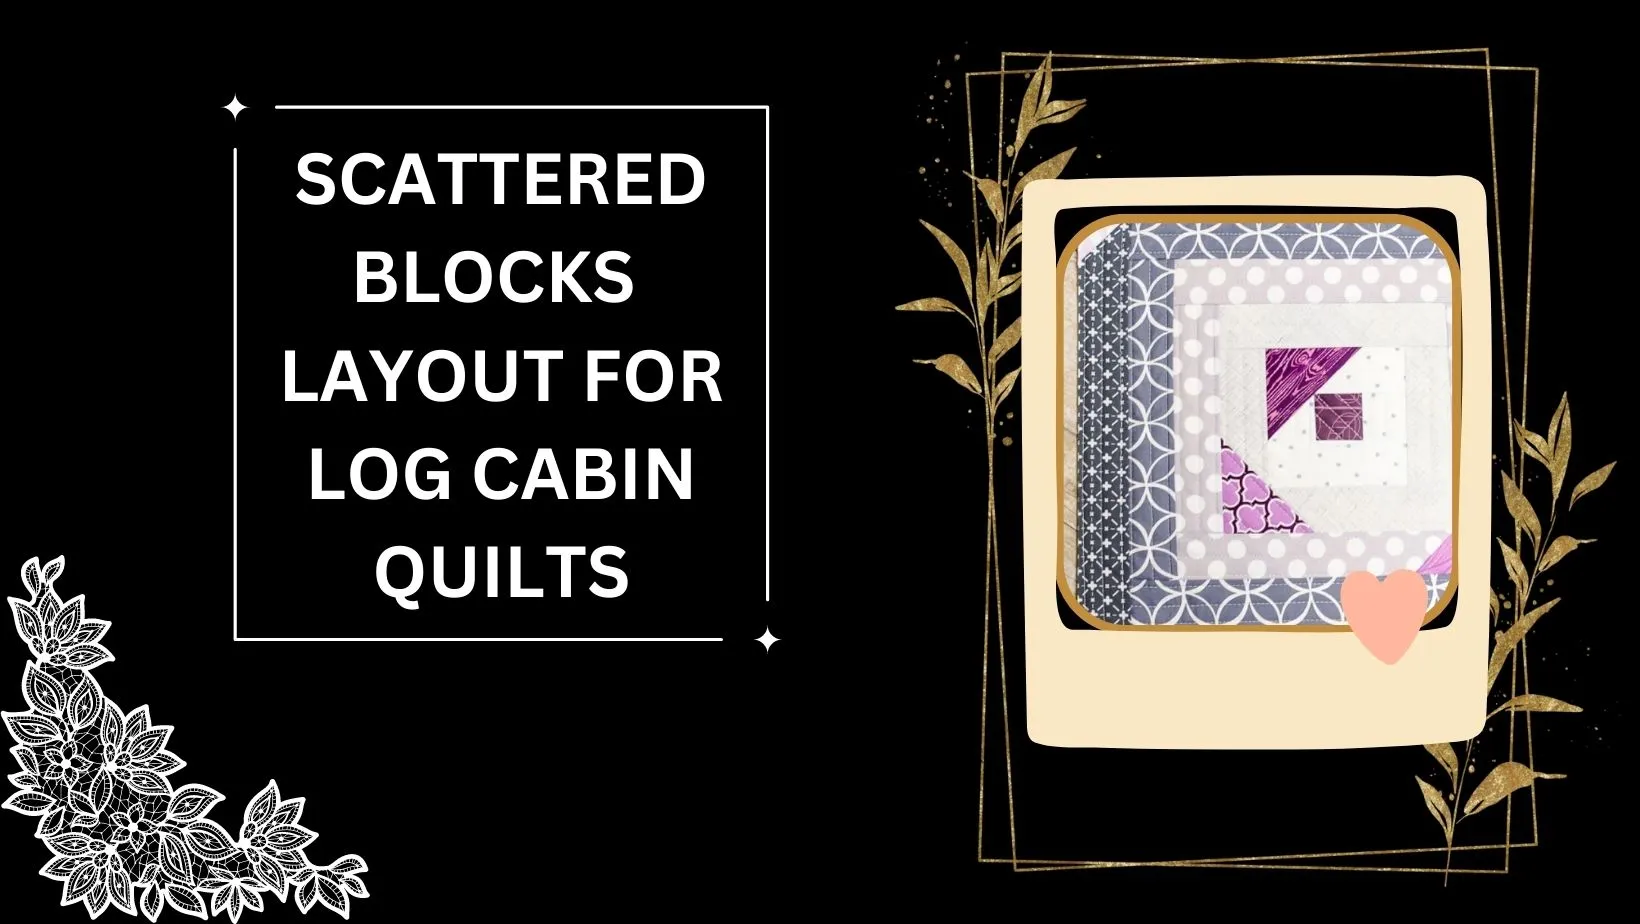
Scattered Blocks log cabin quilts Layout
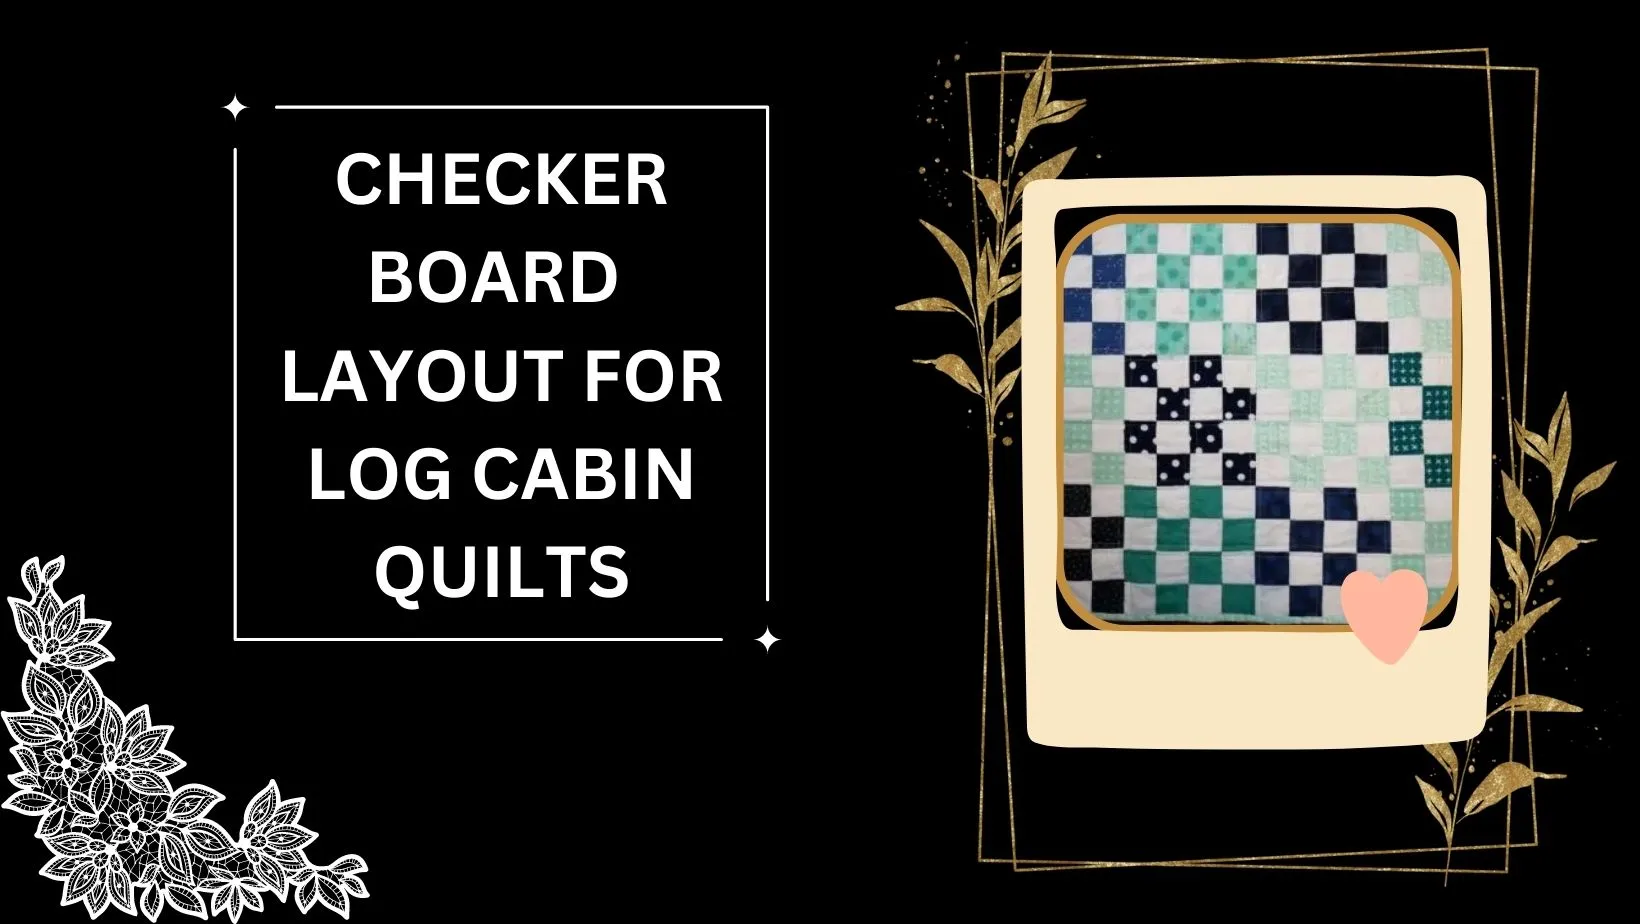
Checkerboard Layout for log cabin quilting
Log cabin quilt layouts offer endless possibilities for creativity. Quilters can choose layouts that suit their design preferences, from traditional and structured to modern and abstract. The layout you select can transform a collection of log cabin blocks into a unique and visually captivating quilt.
DIY log cabin quilting ideas
Here are some DIY log cabin quilting ideas with unique designs and variations that you might find inspiring:
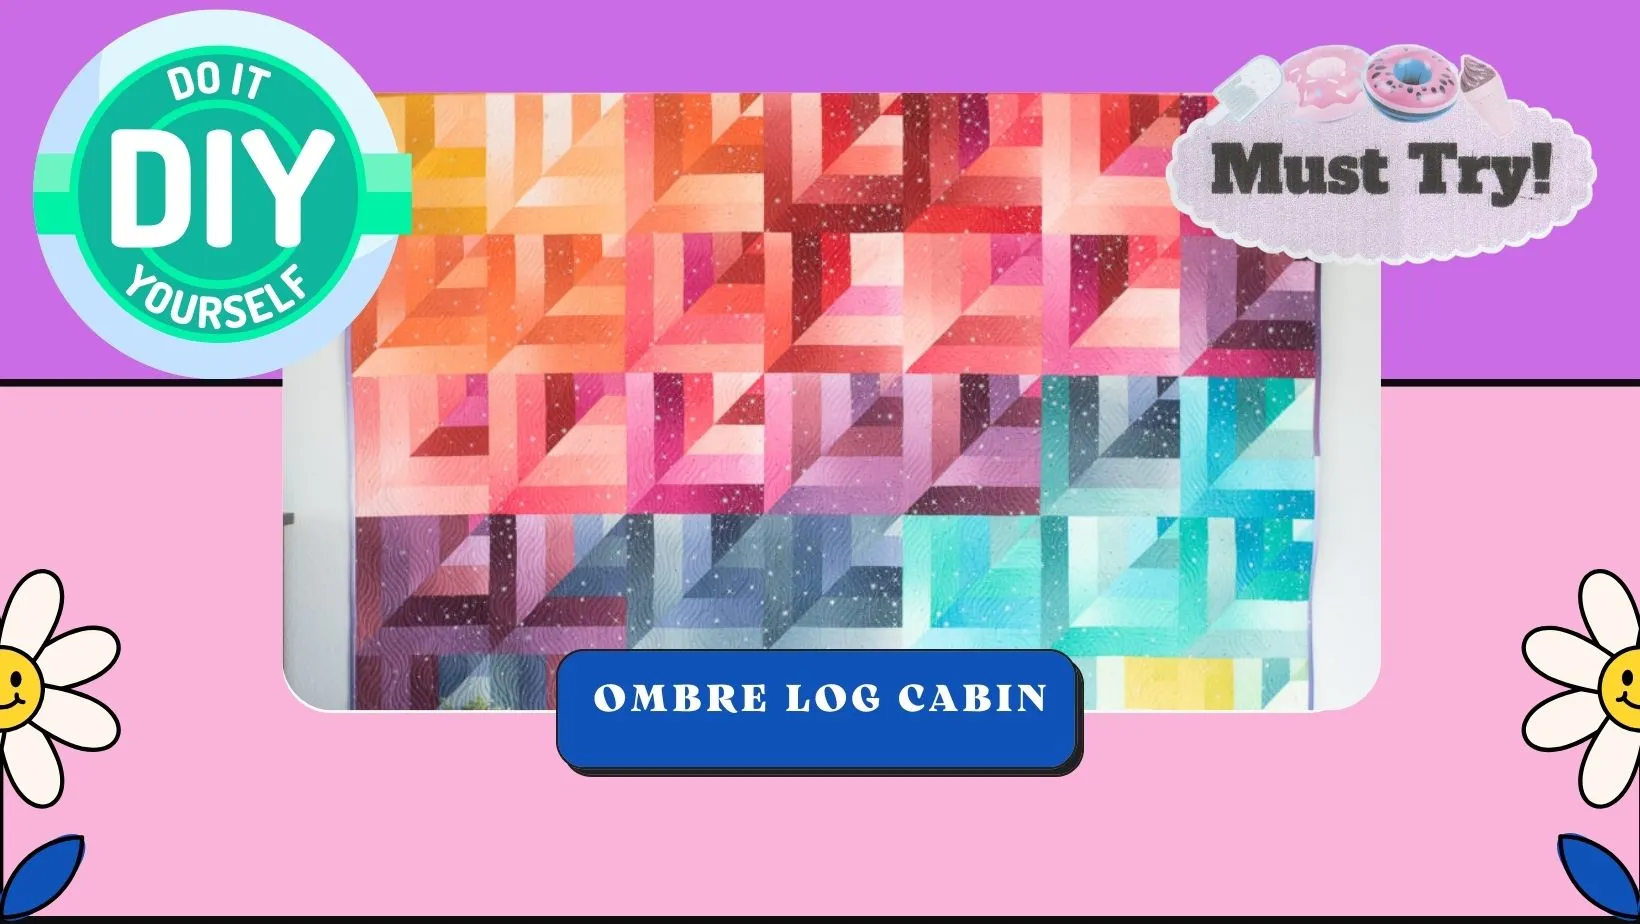
Ombre Log Cabin
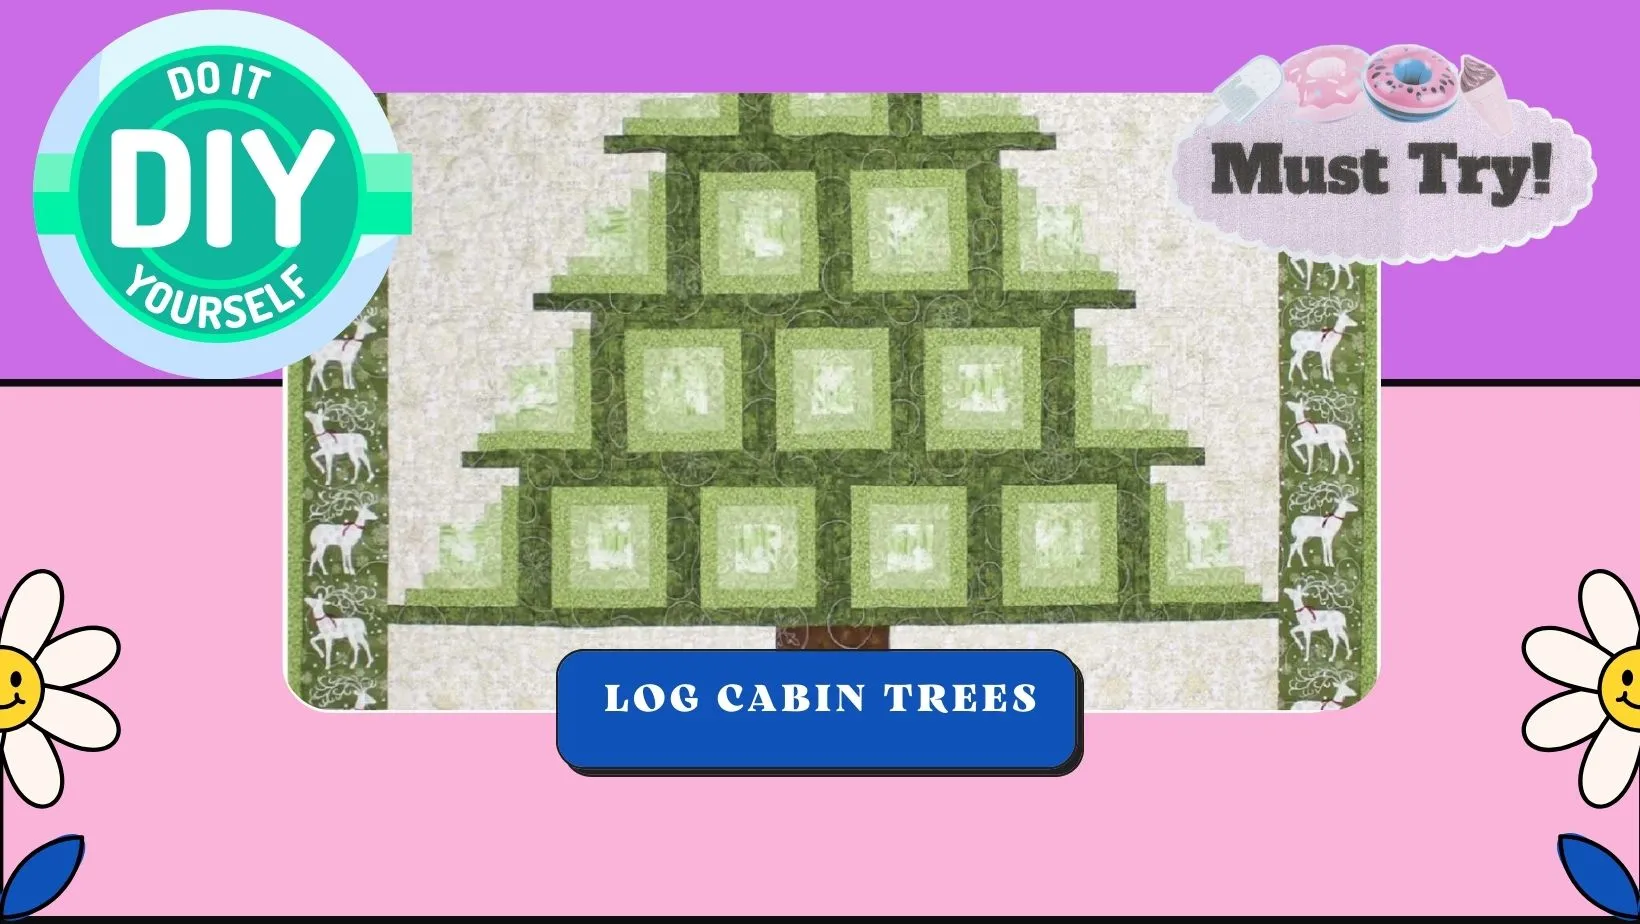
Log Cabin Trees quilting
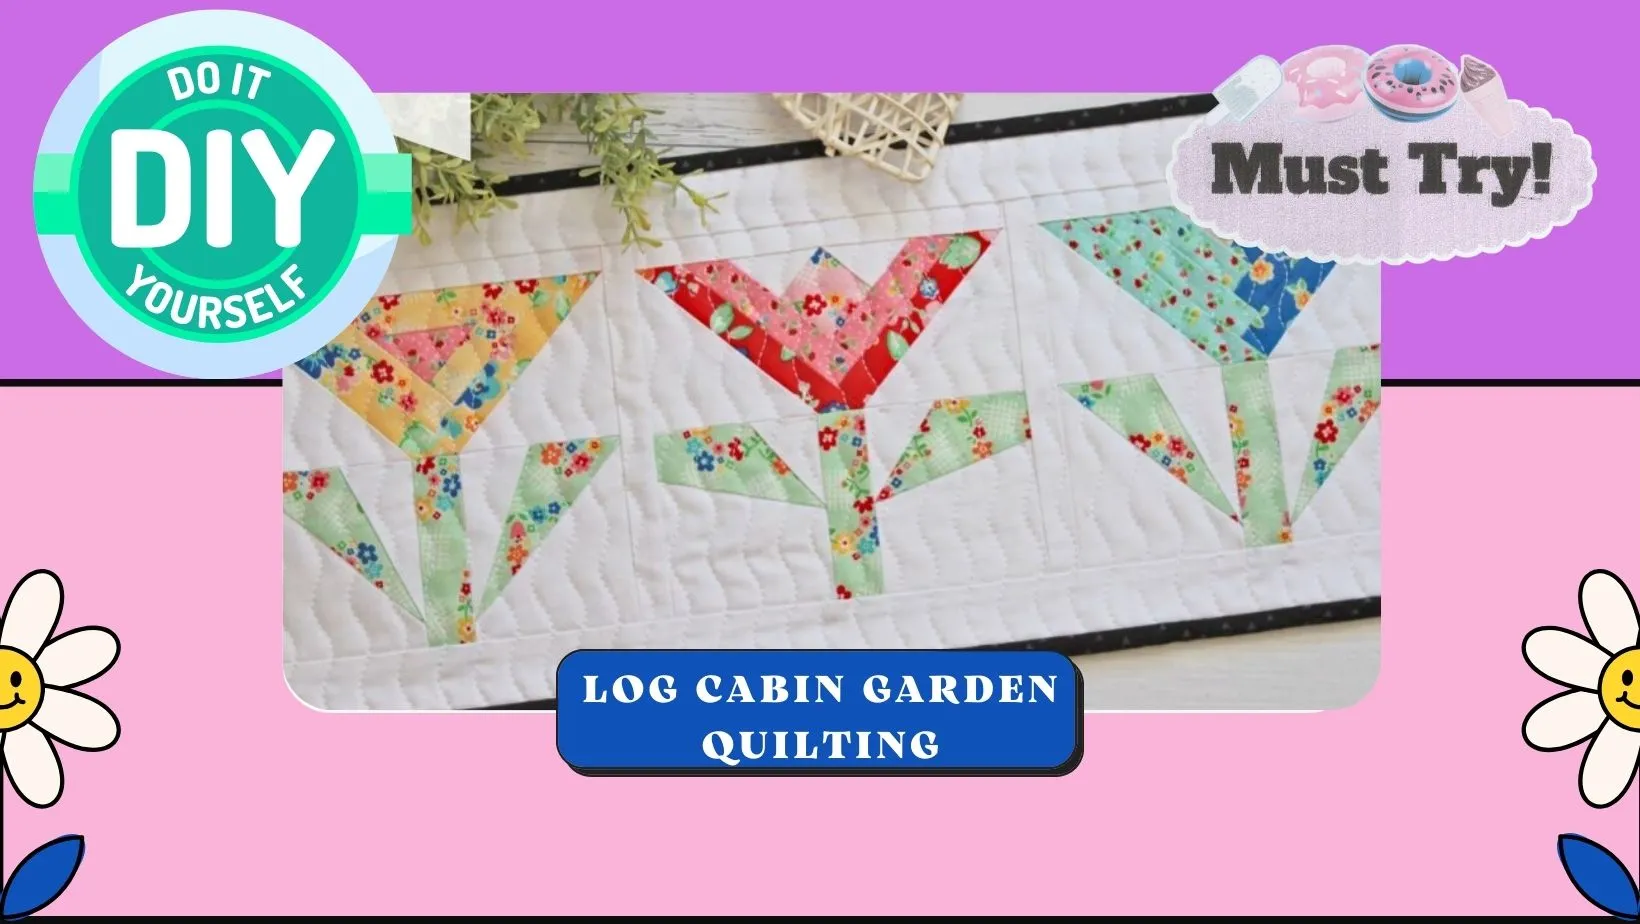
Log Cabin Garden quilting
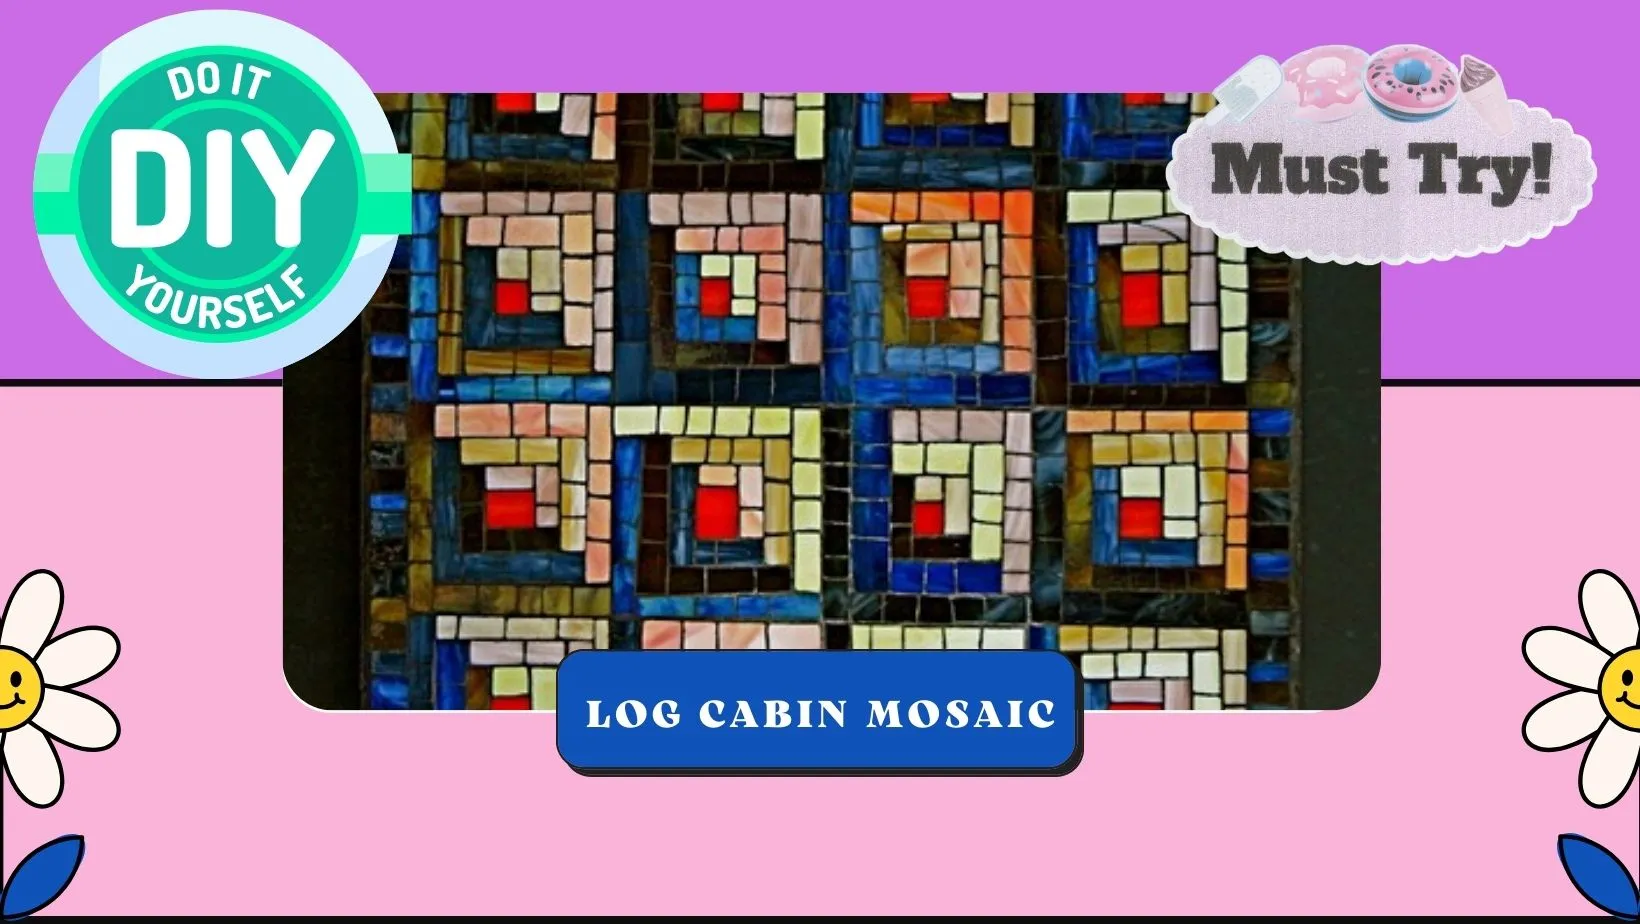
Log Cabin Mosaic Quilts
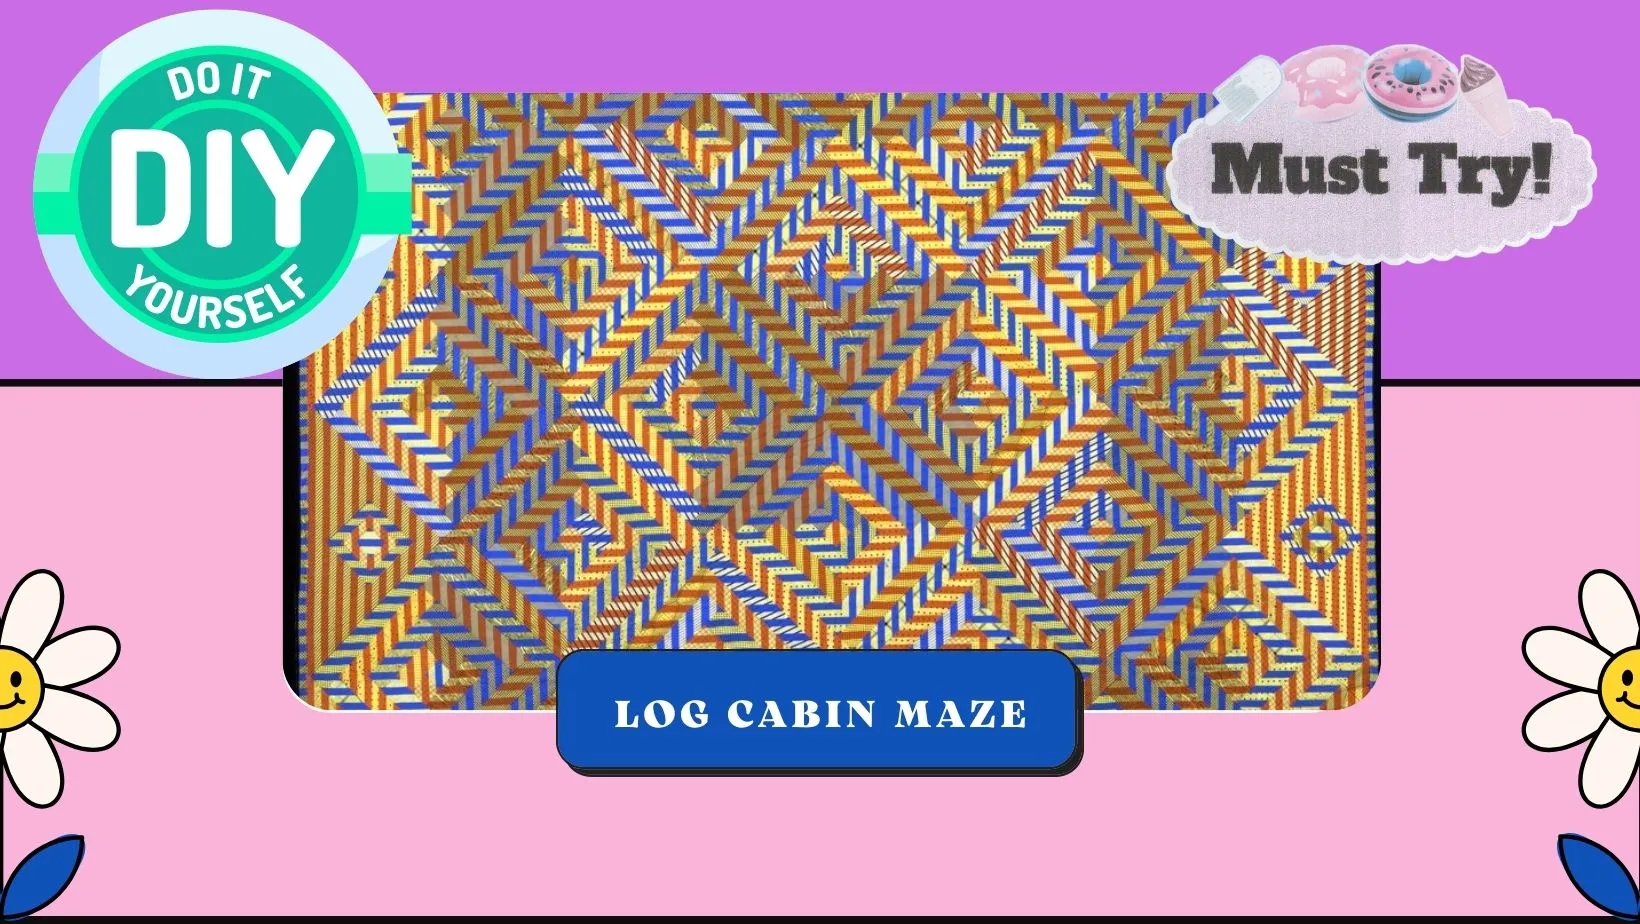
Log Cabin Maze Quilts
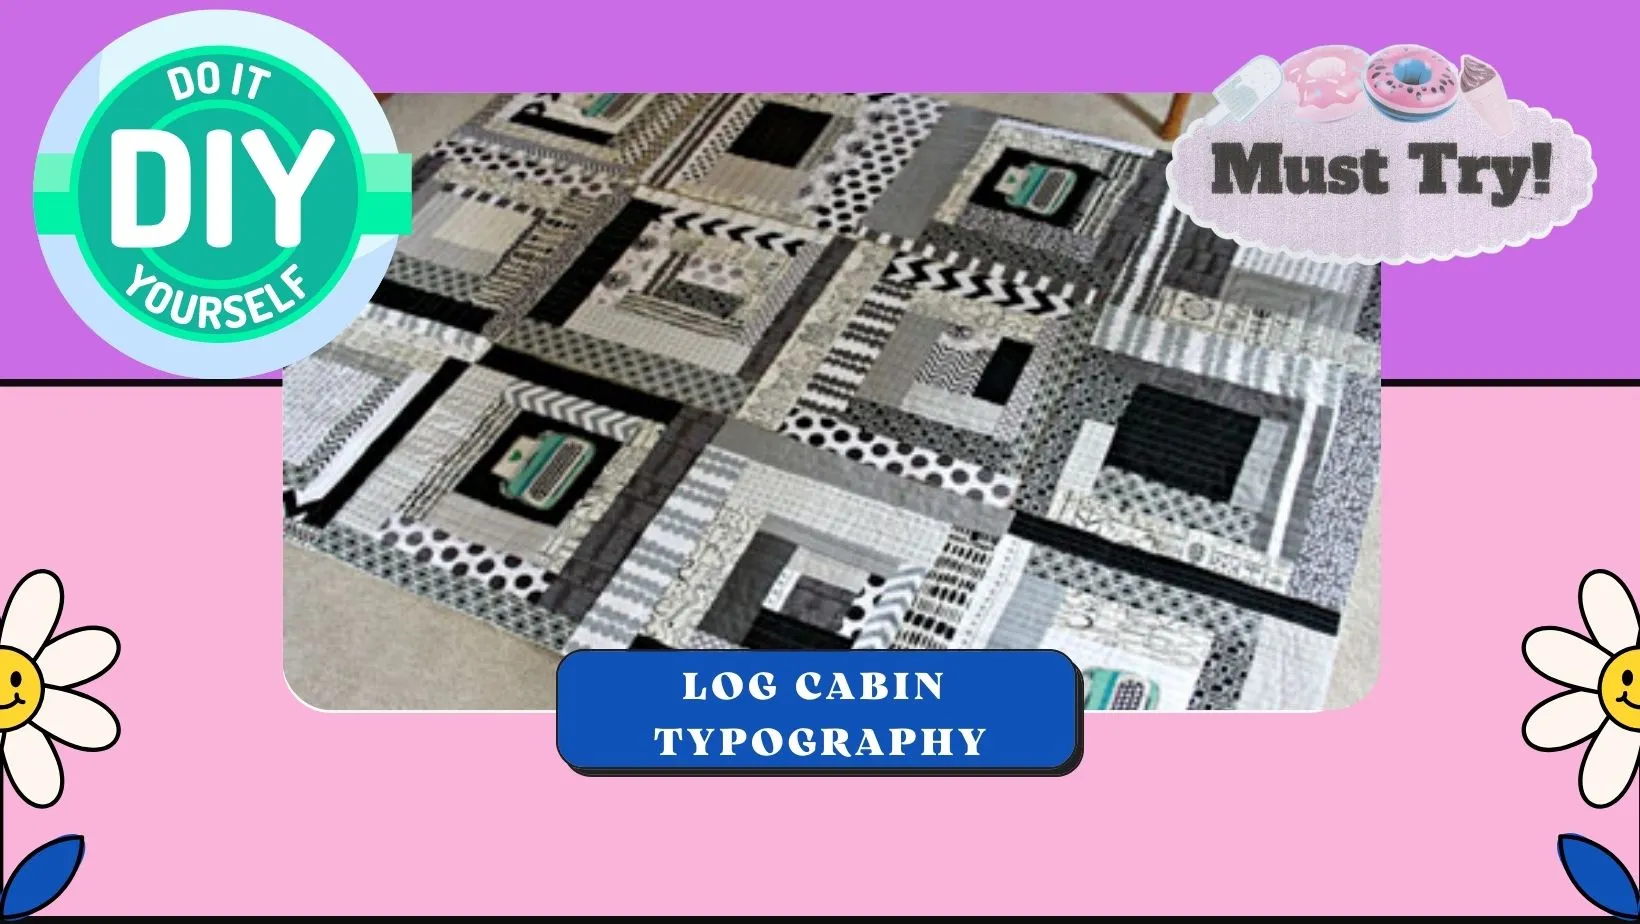
Log Cabin Typography Quilts
Log Cabin Starburst Quilts

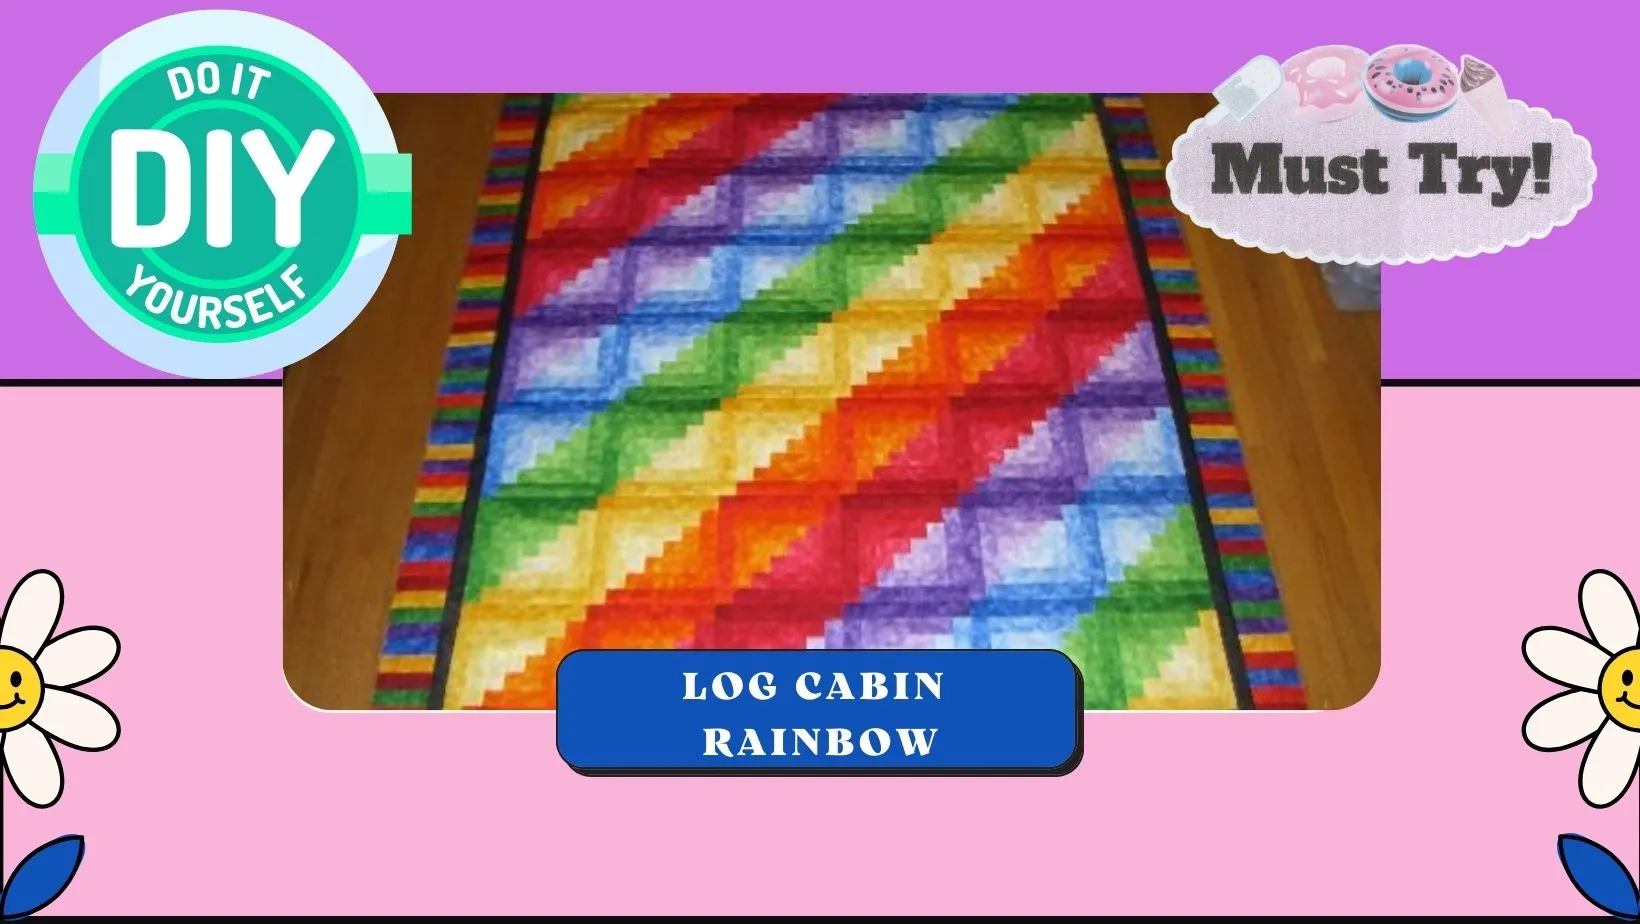
Log Cabin Rainbow Quilts
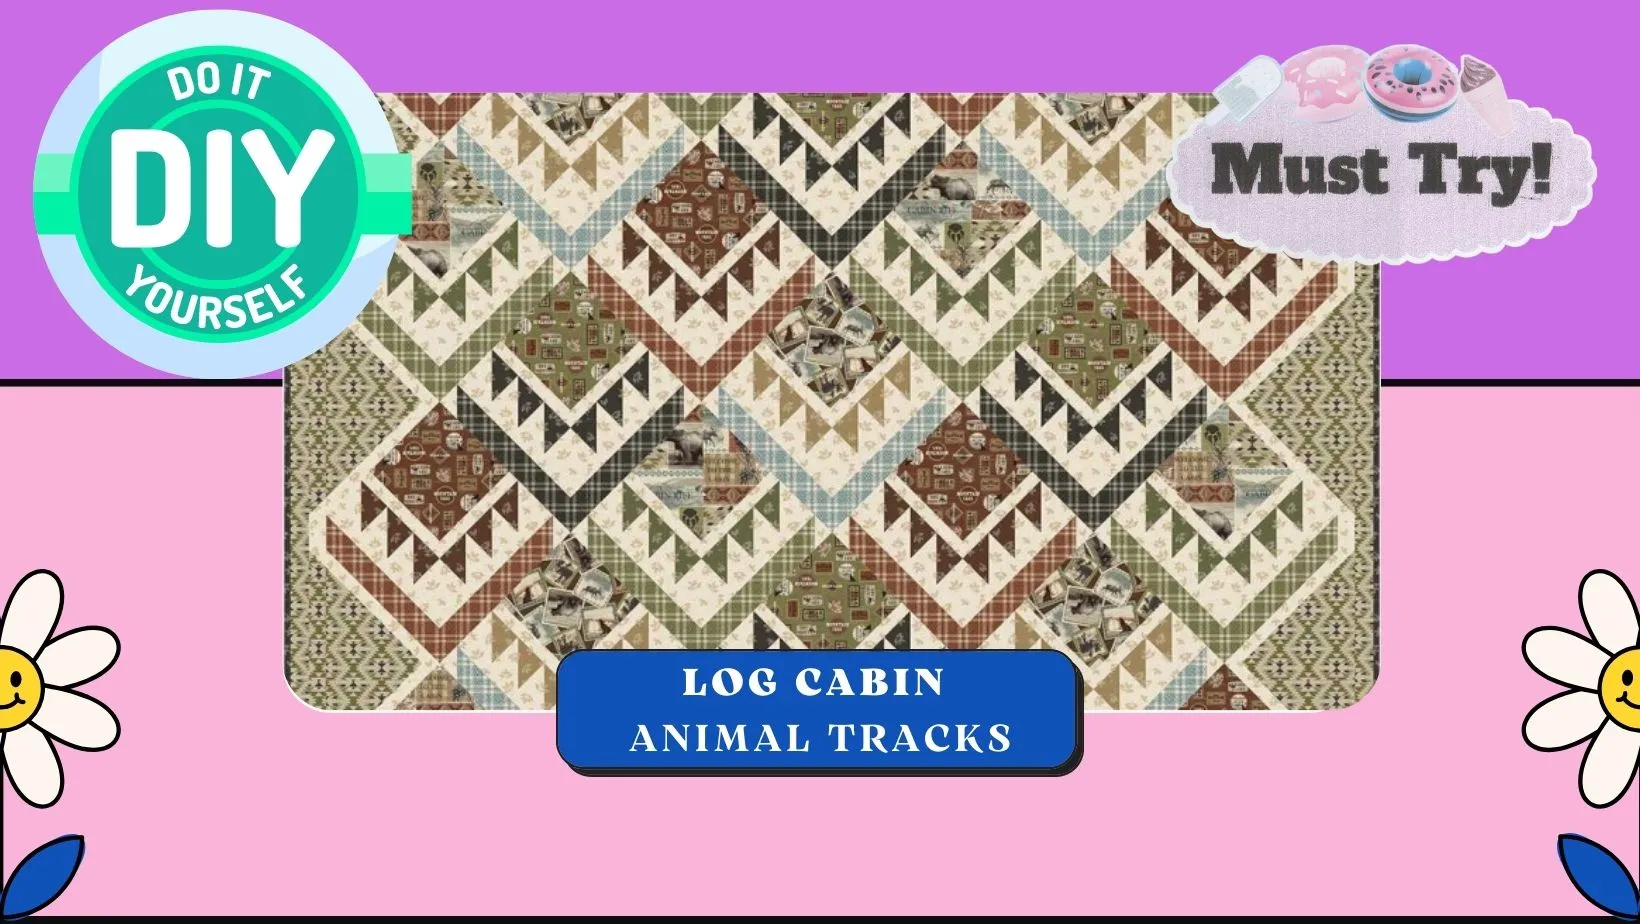
Log Cabin Animal Tracks Quilts
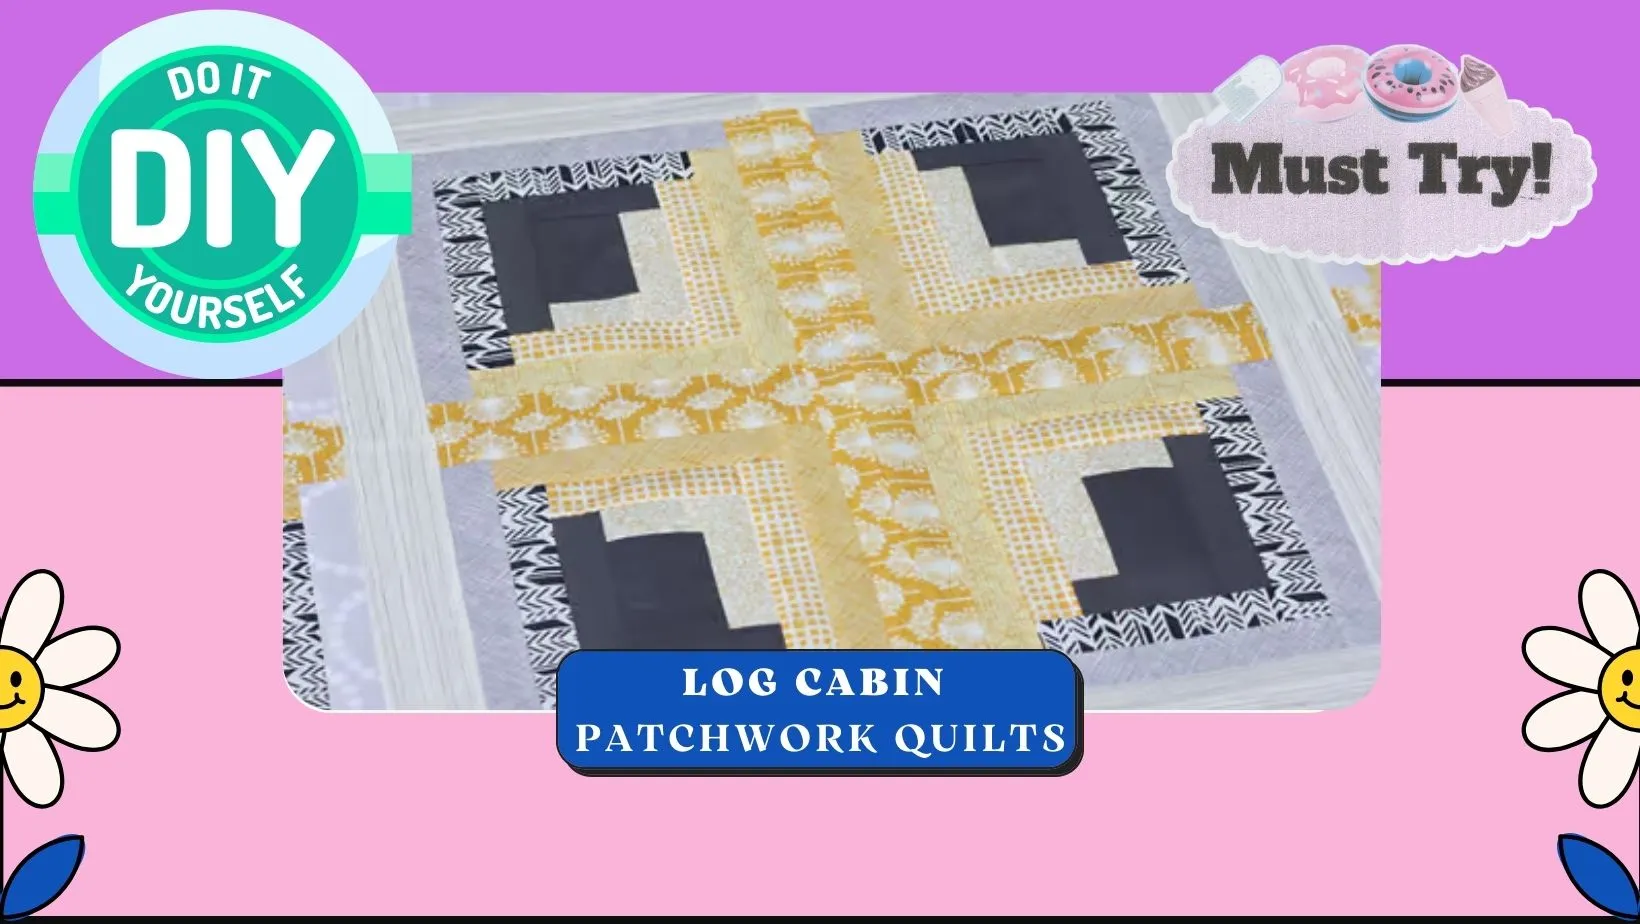
Log Cabin Patchwork Quilts
Remember, the beauty of DIY quilting is that you can let your creativity run wild. Don’t hesitate to experiment with colors, fabrics, and design elements to create a log cabin quilt that reflects your unique style and personality.
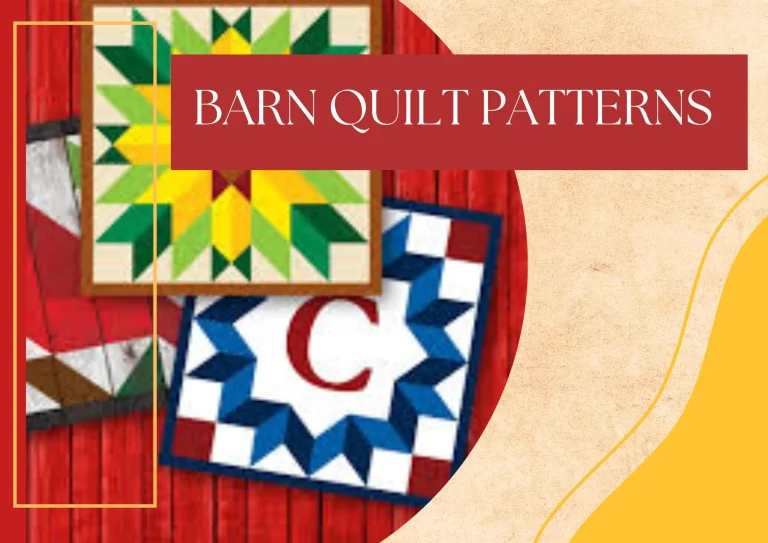
Read More: Barn quilt pattern designs
5 mind blowing tips for log cabin quilting for beginners
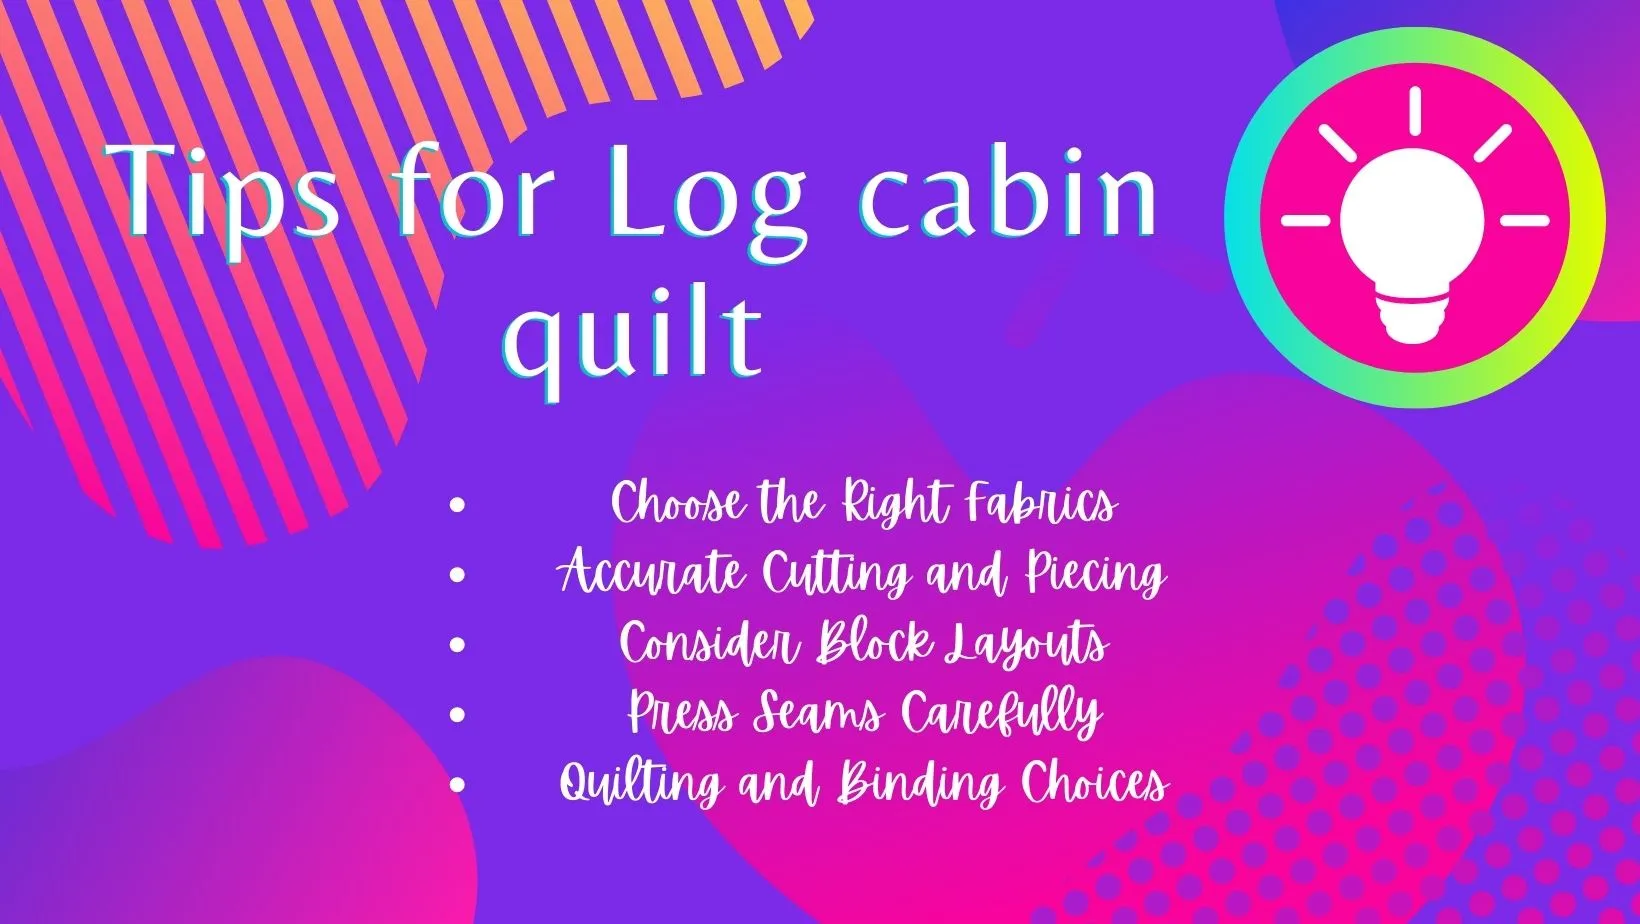
Creating a log cabin quilt can be a rewarding and visually stunning project for beginners. Here are five mind-blowing tips to help you get started and achieve beautiful results:
Choose the Right Fabrics:
Accurate Cutting and Piecing:
Consider Block Layouts:
Press Seams Carefully:
Quilting and Binding Choices:
Bonus Tip: Practice and Patience
Log cabin quilting may take time to perfect, so be patient with yourself. Practice your cutting, piecing, and quilting skills on scrap fabric before working on your final quilt. As you gain experience, your log cabin quilts will become more intricate and visually stunning.
Remember, quilting is both an art and a craft, and the most important thing is to enjoy the process. Embrace your creativity, and don’t be afraid to experiment with different fabrics and layouts to create a log cabin quilt that’s truly mind-blowing.
Conclusion
In short, Log Cabin quilts are a treasured part of quilting history, and I have found out that they continue to captivate with their timeless charm, offering both beginners and seasoned quilters a canvas to create beautiful and meaningful works of art.

