WHAT IS SEED STITCH KNITTING? – LEARN SEED STITCH KNIT (6 EASY STEPS)
Seed stitch knitting is a classic and versatile pattern that creates a beautiful textured fabric. It is popular among both beginner and experienced knitters, as it adds visual interest to a variety of projects, from scarves and hats to sweaters and blankets. In this article, we will explore the technique of seed stitch knitting, discussing its characteristics, construction, and some useful tips for mastering this delightful pattern.
What is seed stitch in knitting?
Seed stitch, also known as British seed stitch, is a basic knitting pattern that creates a textured fabric composed of small, alternating seed-like bumps. It is achieved by working alternating knit and purl stitches in a specific sequence.
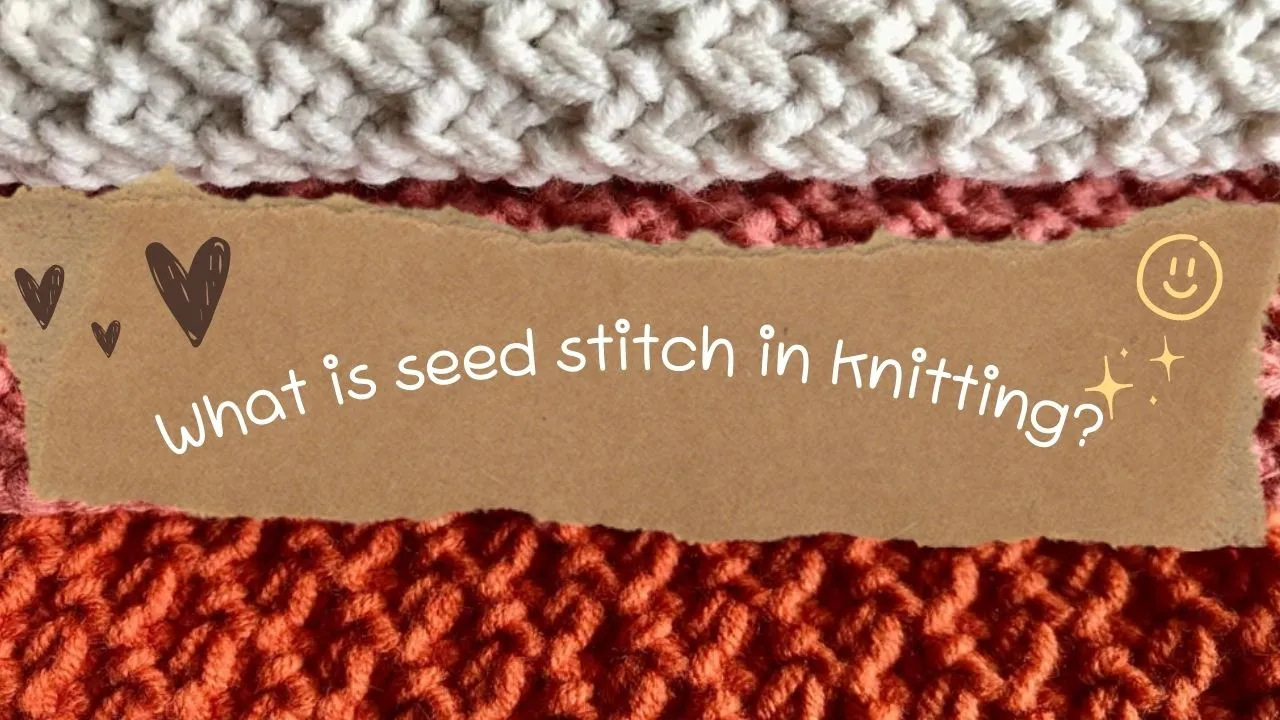
Characteristics of seed stitch
Basic Knitting technique – Seed stitching
In seed stitch knitting, two basic knitting techniques are used:
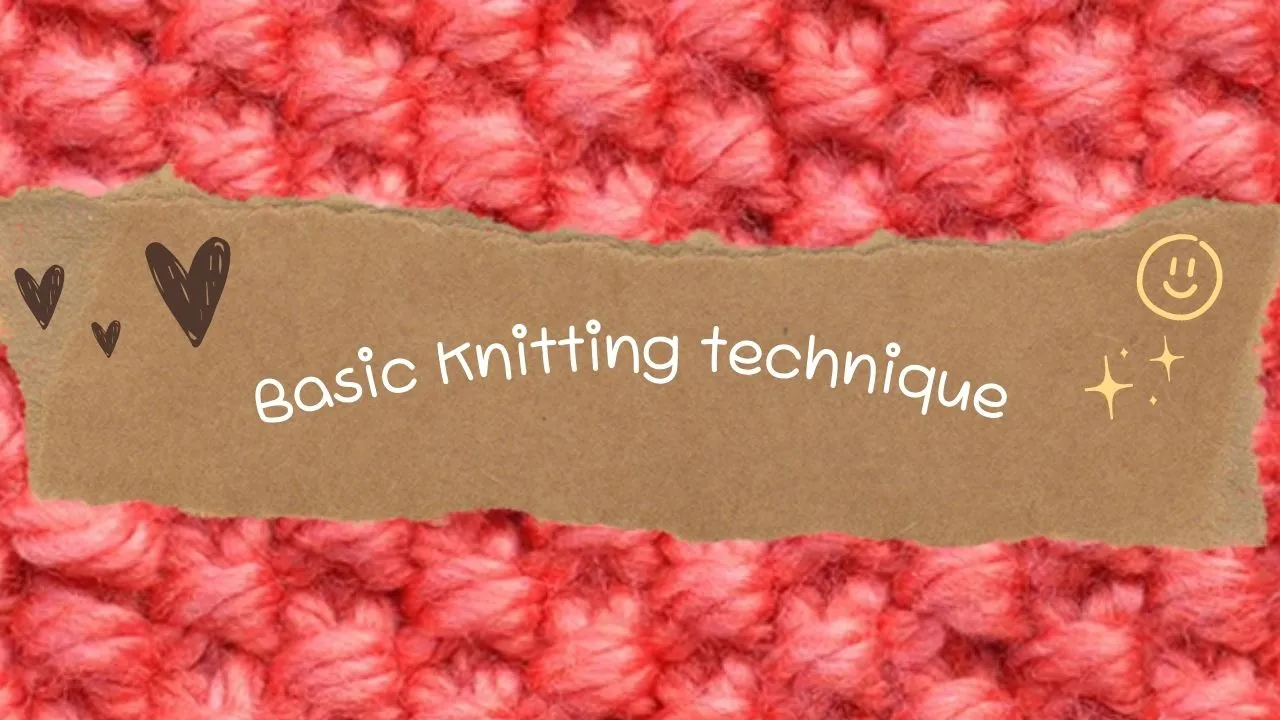
These two fundamental stitches are alternated to create the knitted seed stitch pattern. The specific sequence of knitting and purling stitches creates the textured, bumpy surface characteristic of seed stitch.
Step-by-Step Instructions for How to Seed Stitch Knitting
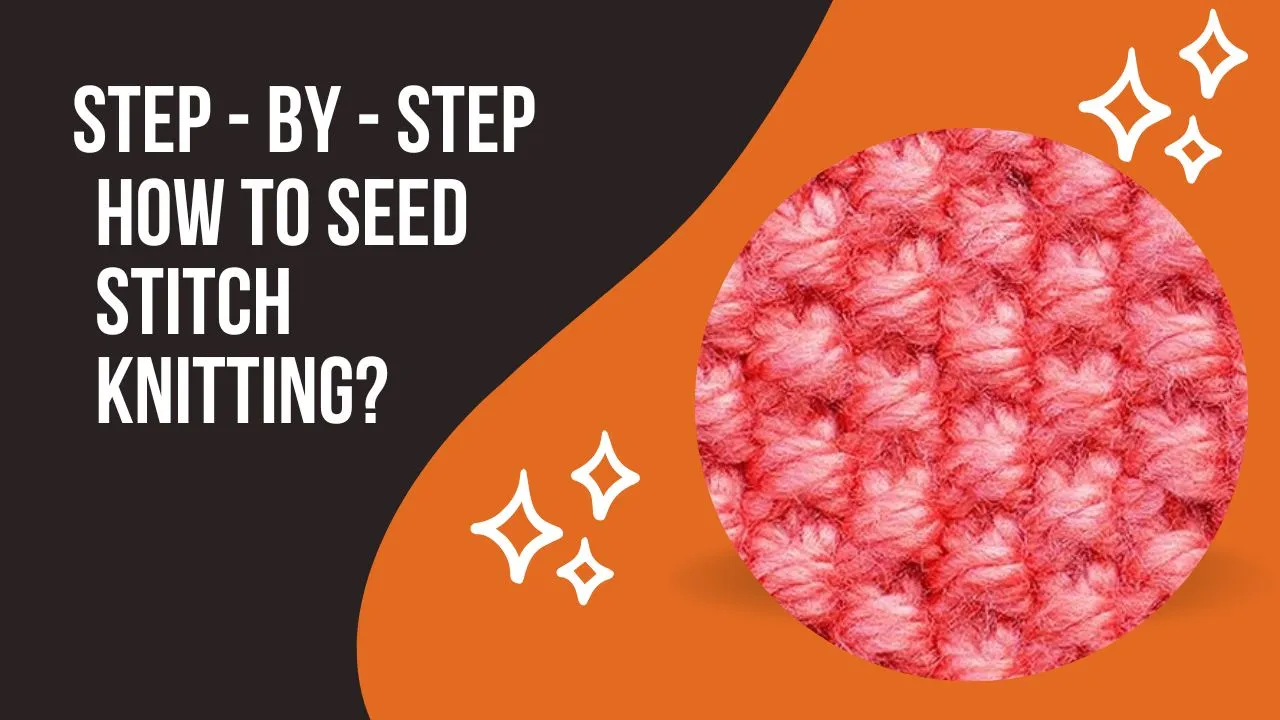
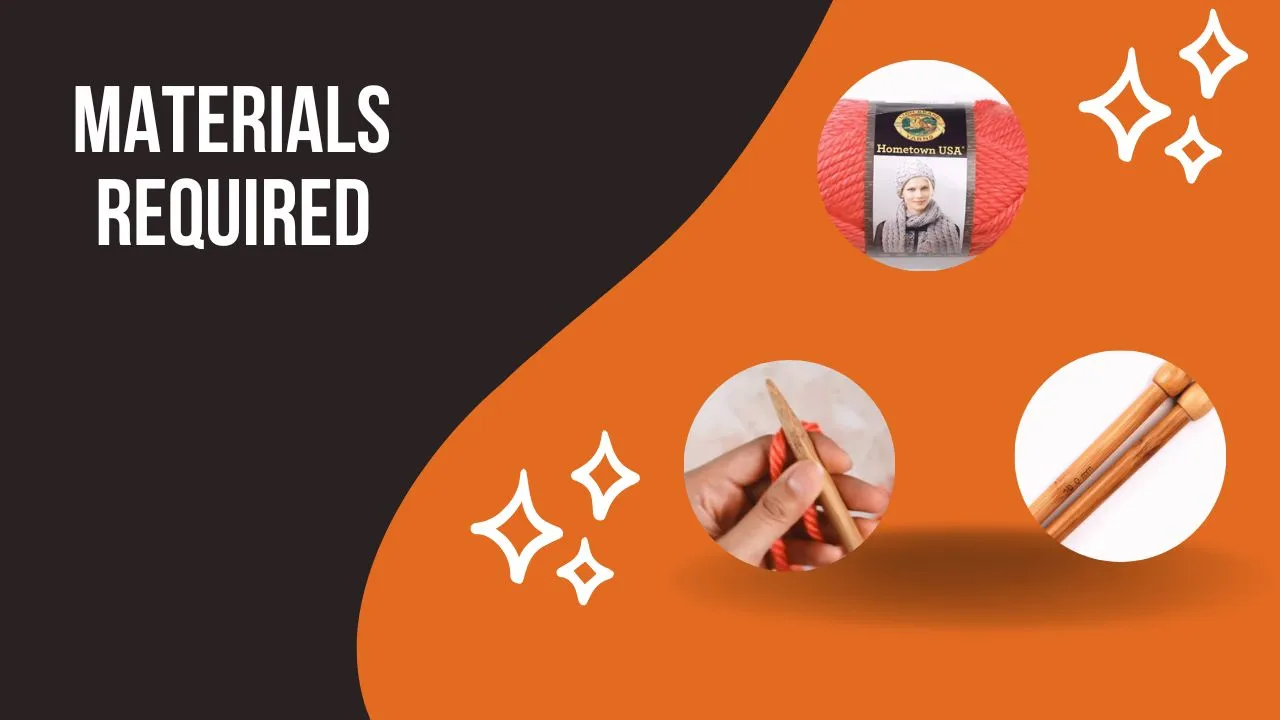
Materials and Tools
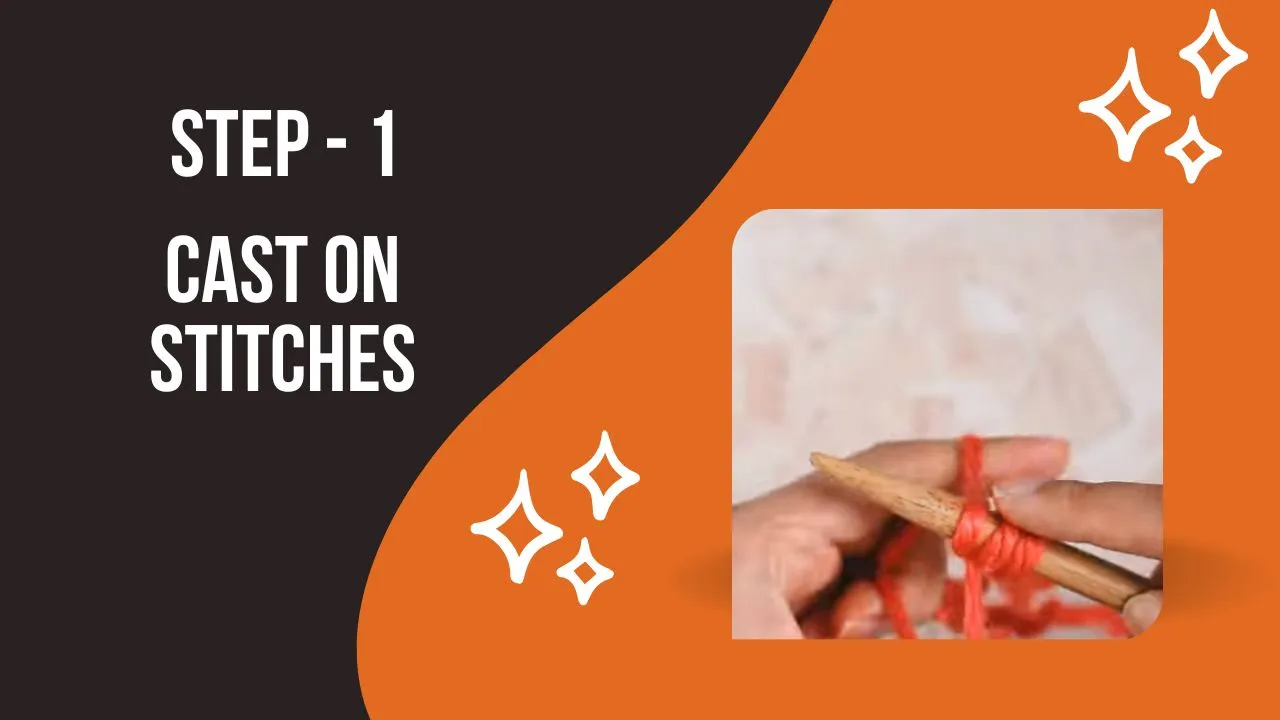
Step 1: Cast On Stitches
Start by casting on an odd number of stitches using your preferred method. You can use the long-tail cast-on or any other method you are comfortable with.
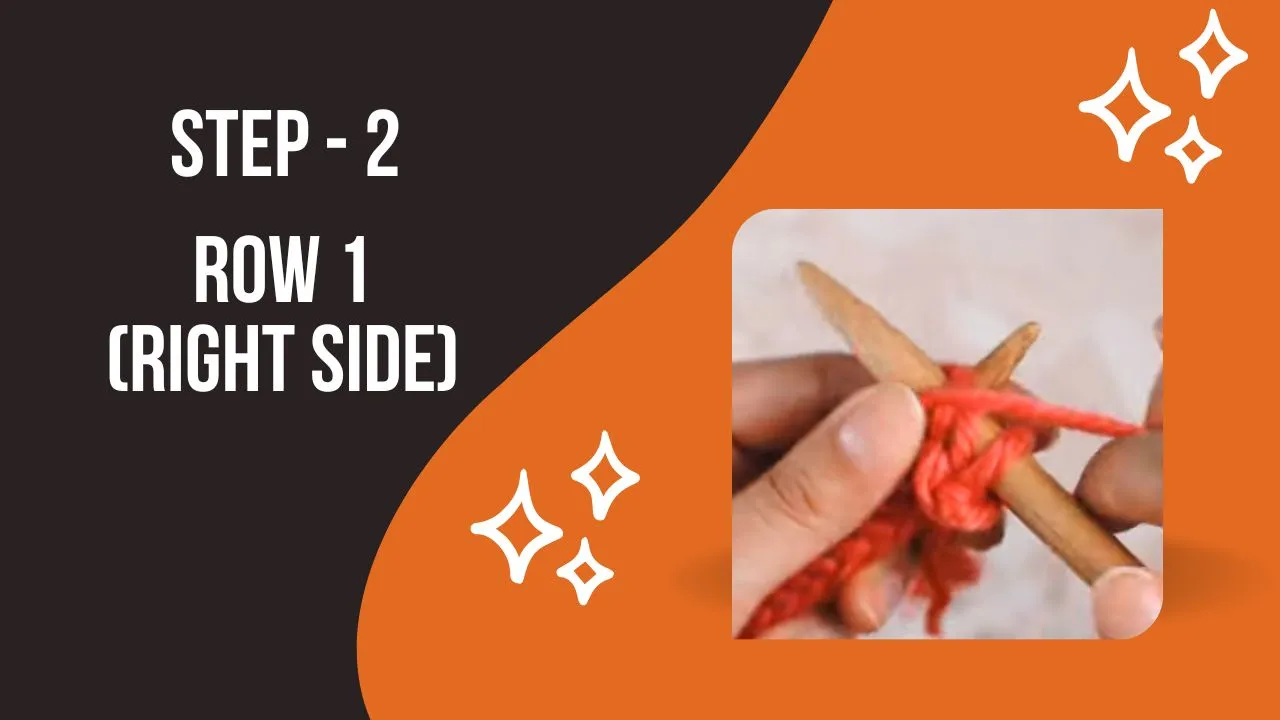
Step 2: Row 1 (Right Side)
Begin with the right side facing you.
Knit the first stitch by inserting the right-hand needle into the front of the stitch on the left-hand needle. Wrap the yarn around the right-hand needle from back to front, and pull the new loop through the stitch, sliding the old stitch off the left-hand needle.
Purl the next stitch by bringing the yarn to the front of the work, inserting the right-hand needle into the front of the stitch on the left-hand needle from right to left, wrapping the yarn around the right-hand needle from back to front, and pulling the new loop through the stitch, sliding the old stitch off the left-hand needle.
Repeat the knit 1, purl 1 pattern across the row until you reach the last stitch.
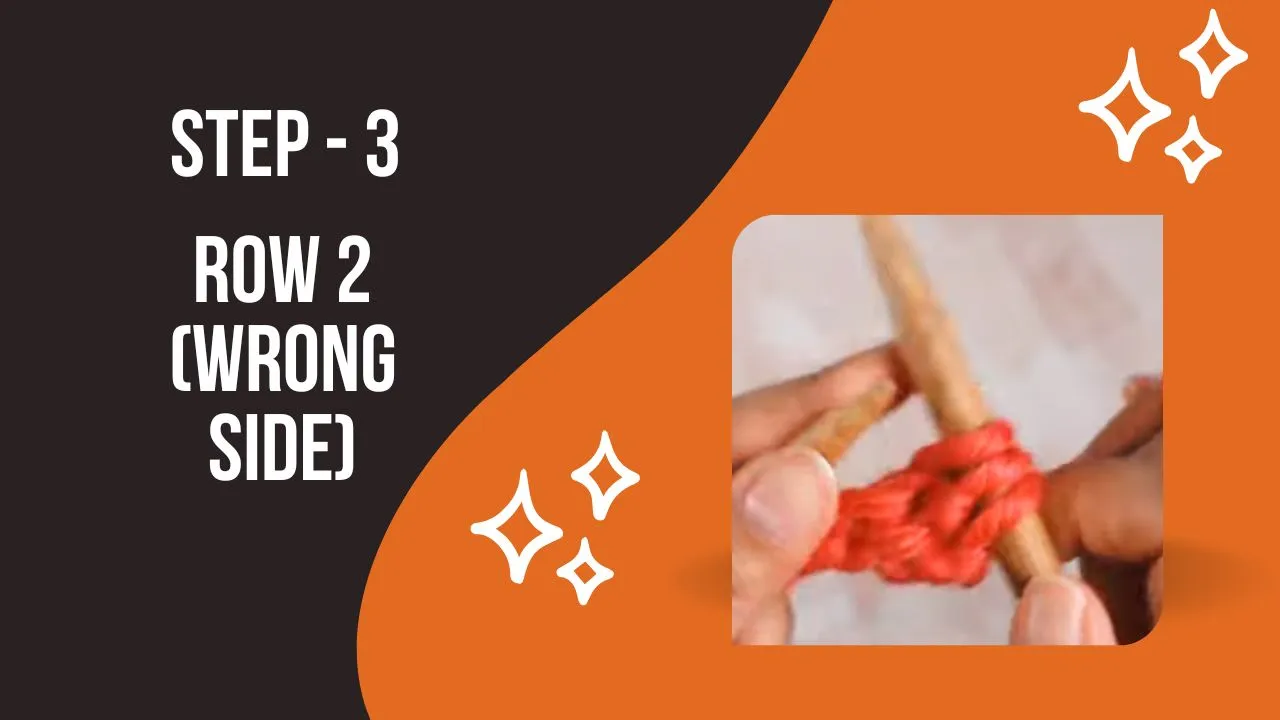
Step 3: Row 2 (Wrong Side)
Turn your work, so the wrong side is facing you.
Purl the first stitch by bringing the yarn to the front of the work, inserting the right-hand needle into the front of the stitch on the left-hand needle from right to left, wrapping the yarn around the right-hand needle from back to front, and pulling the new loop through the stitch, sliding the old stitch off the left-hand needle.
Knit the next stitch by inserting the right-hand needle into the front of the stitch on the left-hand needle. Wrap the yarn around the right-hand needle from back to front, and pull the new loop through the stitch, sliding the old stitch off the left-hand needle.
Repeat the purl 1, knit 1 pattern across the row until you reach the last stitch.
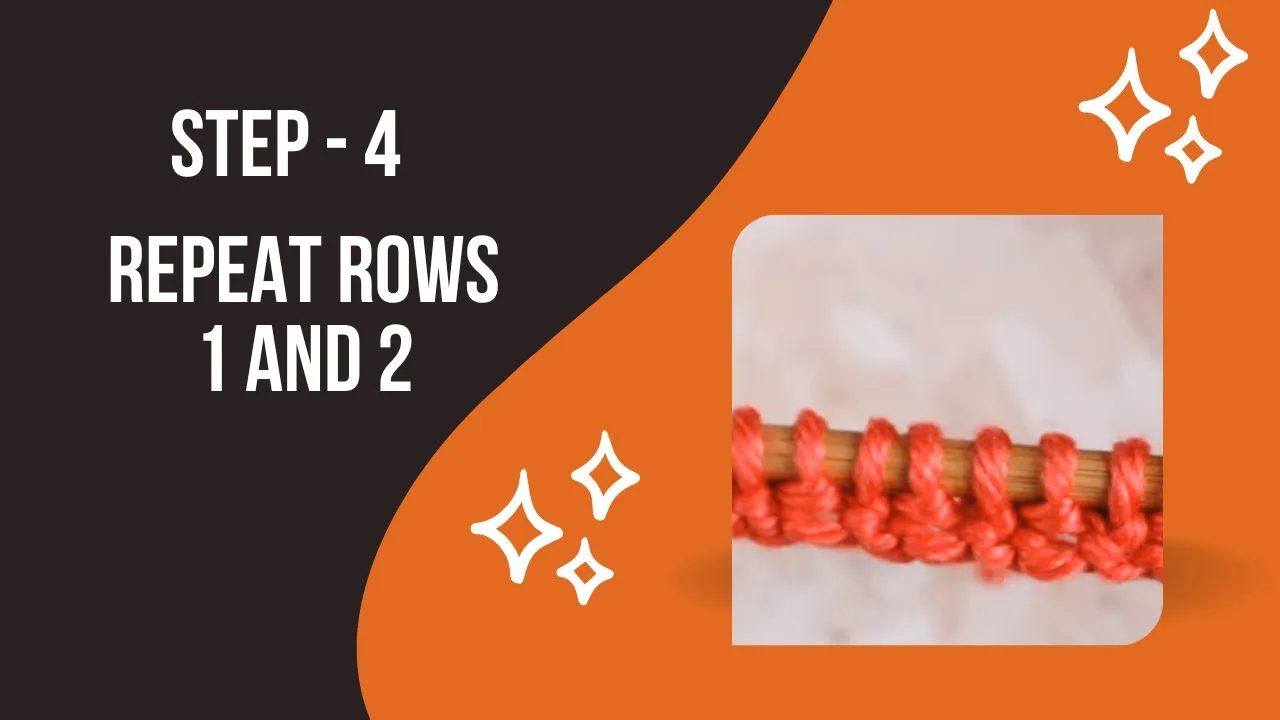
Step 4: Repeat Rows 1 and 2
Continue repeating Rows 1 and 2 to create the seed stitch pattern.
On subsequent right-side rows, knit the knit stitches and purl the purl stitches as they appear.
On subsequent wrong-side rows, purl the purl stitches and knit the knit stitches as they appear.
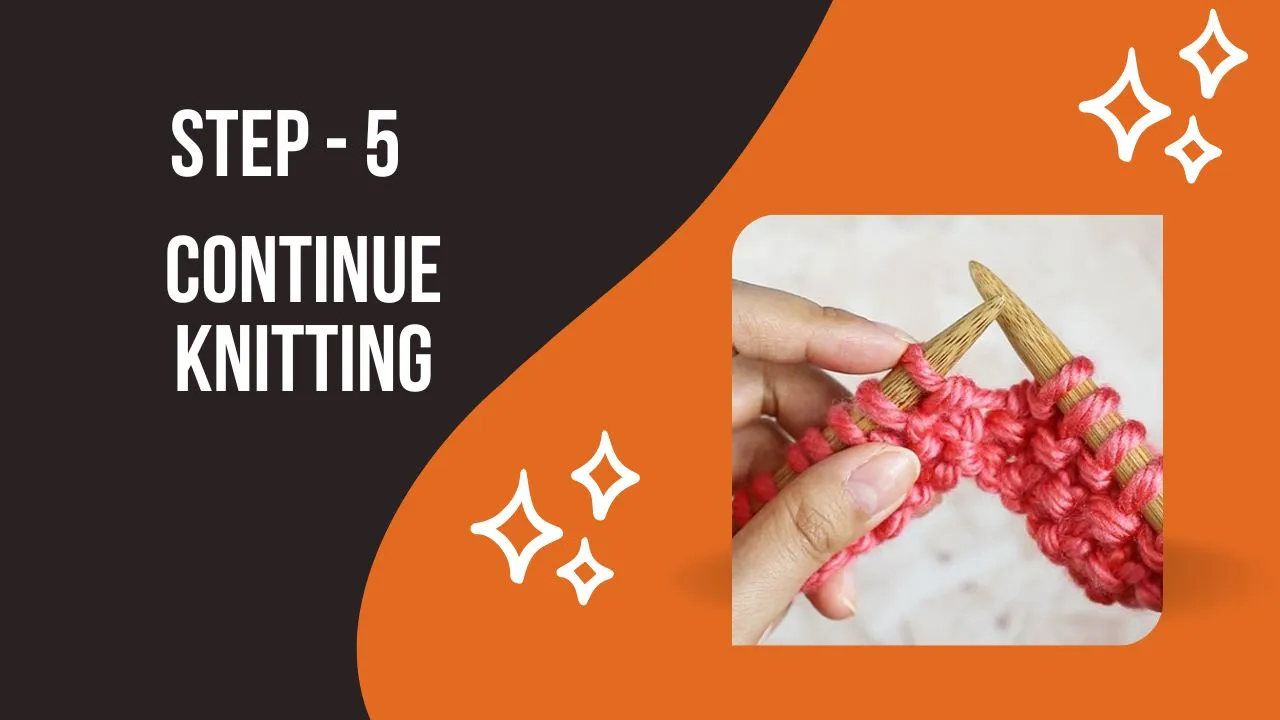
Step 5: Continue seed stitch Knitting
Repeat Rows 1 and 2 until you reach the desired length of your project, or as specified in your knitting pattern.
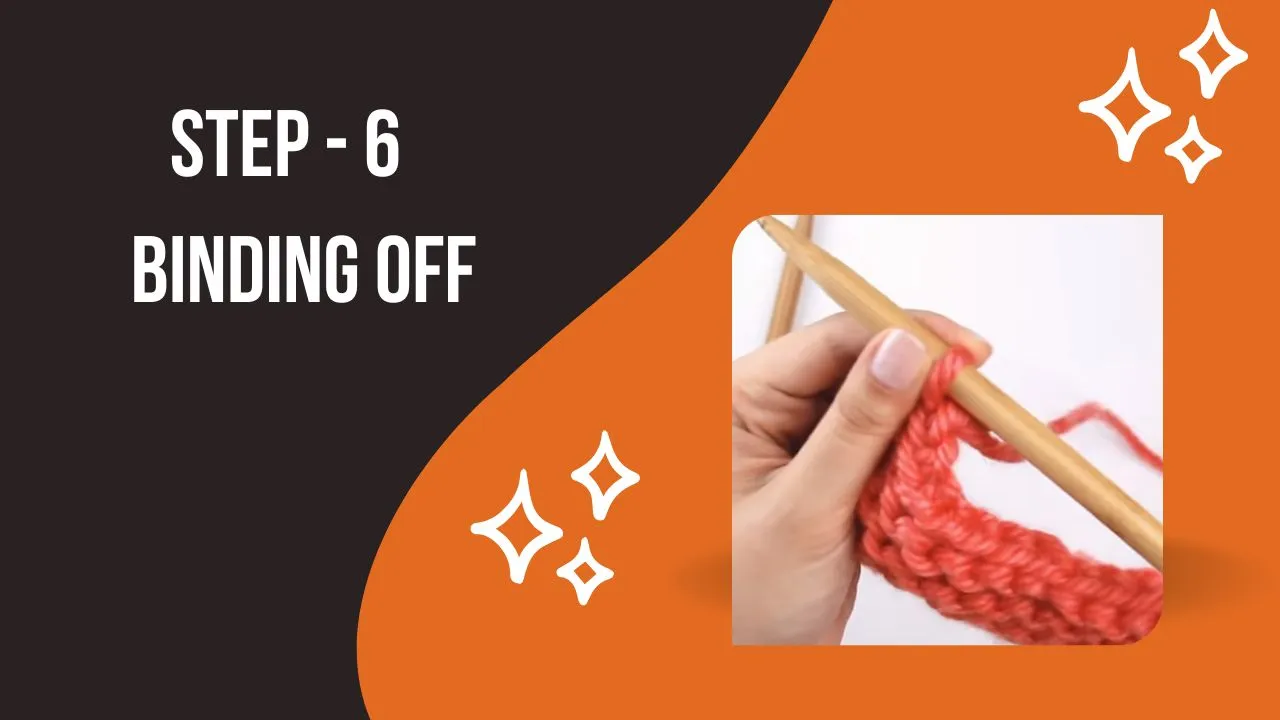
Step 6: Binding Off
Once you have reached the desired length, bind off your stitches to finish your seed stitch project.
Follow your preferred bind-off method to secure the stitches and create a clean edge.
Variations and Applications of seeding stitch in knitting
Incorporate different colored yarns to create stripes within the knitting seed stitch pattern. Alternate colors every two rows or according to your desired effect.
Combine seed stitch with other stitch patterns, such as garter stitch or ribbing, to add additional texture and visual interest to your projects.
Seed stitch can be used to create a variety of projects, including scarves, hats, cowls, sweaters, cardigans, and blankets. Experiment with different yarn weights and fibers to achieve different results.
Difference between moss stitch and seed stitch knitting
In moss stitch, the stitch sequence typically involves working one knit stitch followed by one purl stitch across the row and then repeating this pattern on subsequent rows. This results in a fabric with a more pronounced texture, as the knit and purl stitches are stacked vertically.
While in seed stitch, the stitch sequence involves alternating one knit stitch and one purl stitch within the same row, and then repeating this pattern on subsequent rows. This creates a fabric with a texture composed of small, seed-like bumps. The alternating knit and purl stitches are worked horizontally rather than vertically.
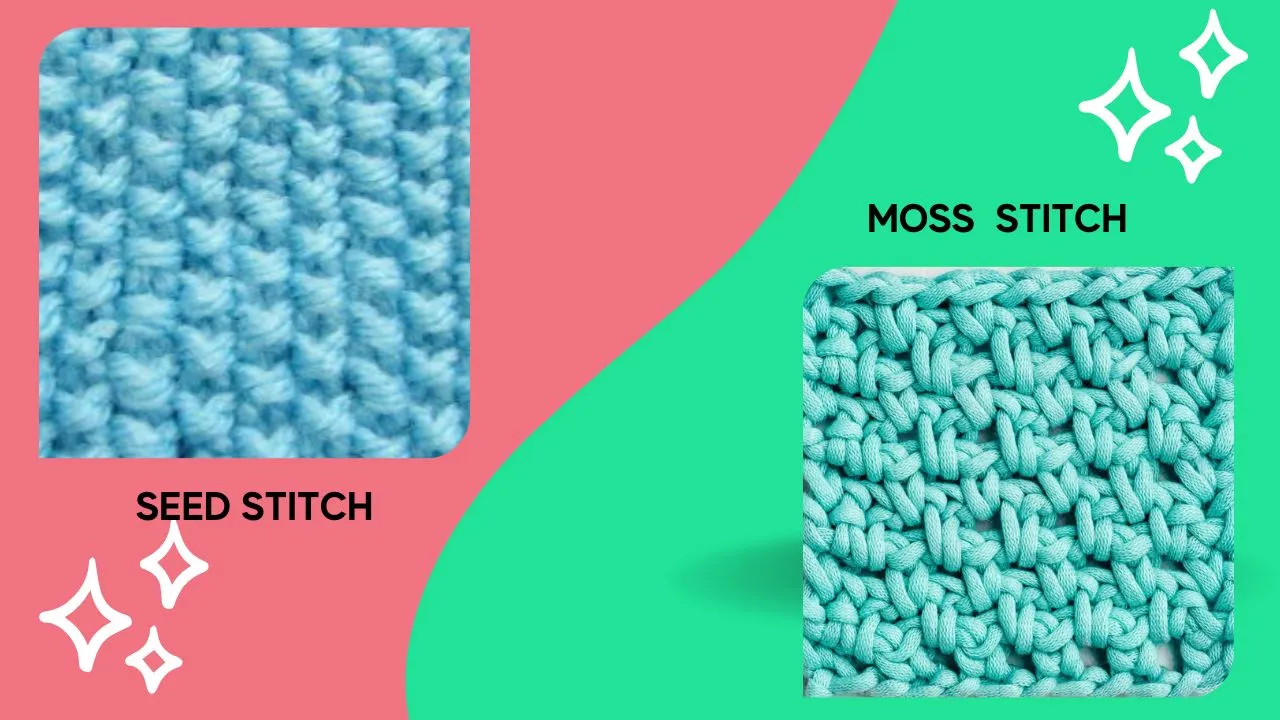
Seed Stitch vs. Moss Stitch
| Seed stitch Knitting | Moss Stitch Knitting | |
| Stitch Sequence | Alternating one knit stitch and one purl stitch within the same row, repeating across subsequent rows | Working one knit stitch followed by one purl stitch across the row, repeating across subsequent rows |
| Texture | Small, seed-like bumps created by alternating knit and purl stitches | More pronounced texture with vertical stacking of knit and purl stitches |
| Reversibility | Fully reversible; the same texture appears on both sides of the fabric | Not fully reversible; the right side has a more defined texture, while the wrong side has a flatter appearance |
| Terminology | Widely referred to as seed stitch, but regional variations exist | Can refer to different stitch patterns depending on the region or knitting tradition |
It’s important to note that the terms “seed stitch” and “moss stitch” can have varying meanings depending on the region or knitting tradition. When following a specific pattern, it’s always best to refer to the instructions provided to ensure the intended stitch pattern is achieved.
Why does seed stitch knitting look like ribbing?
If your seed stitch looks like ribbing, it’s likely due to tension issues or a misunderstanding of the stitch pattern. Here are a few possible reasons why your seed stitch may resemble ribbing:
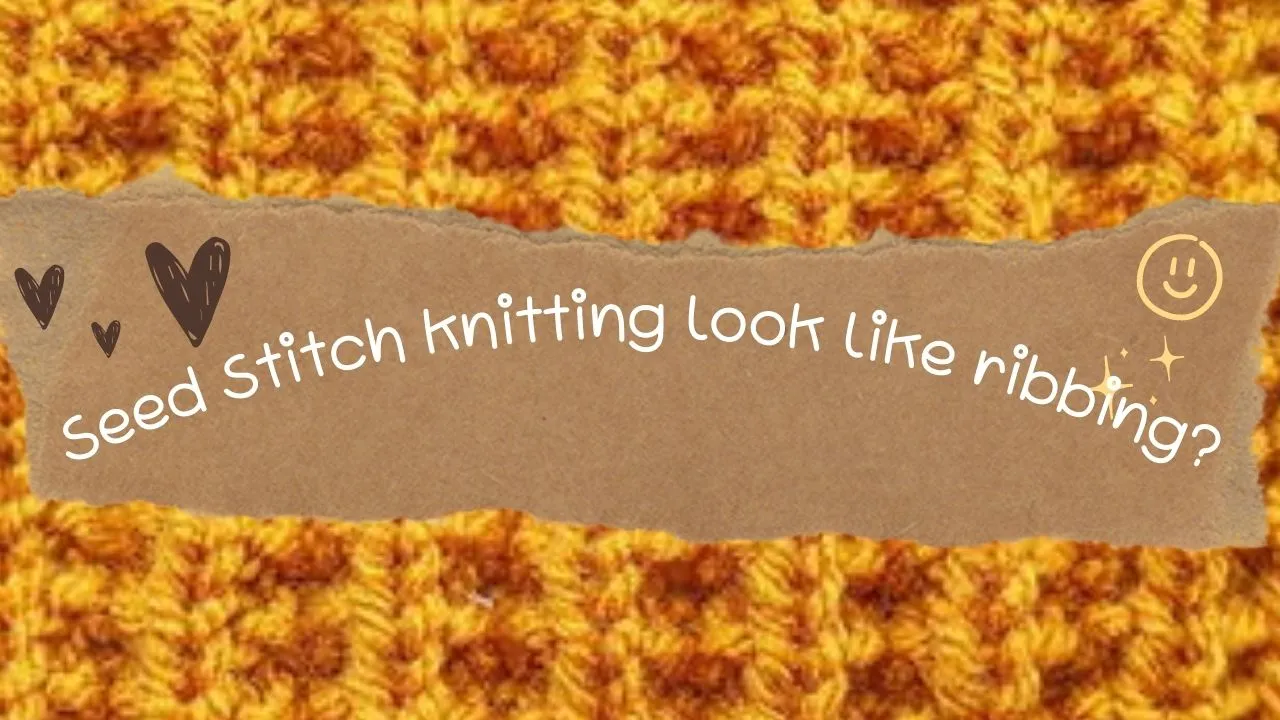
To troubleshoot the issue and achieve the desired seed stitch texture, carefully review your stitch placement, tension, stitch count, and yarn choice. By making adjustments and practicing the correct technique, you should be able to achieve the distinct seed stitch pattern.
Knitting seed stitch in the round
To learn the seed stitch knitting in the round, follow these steps:
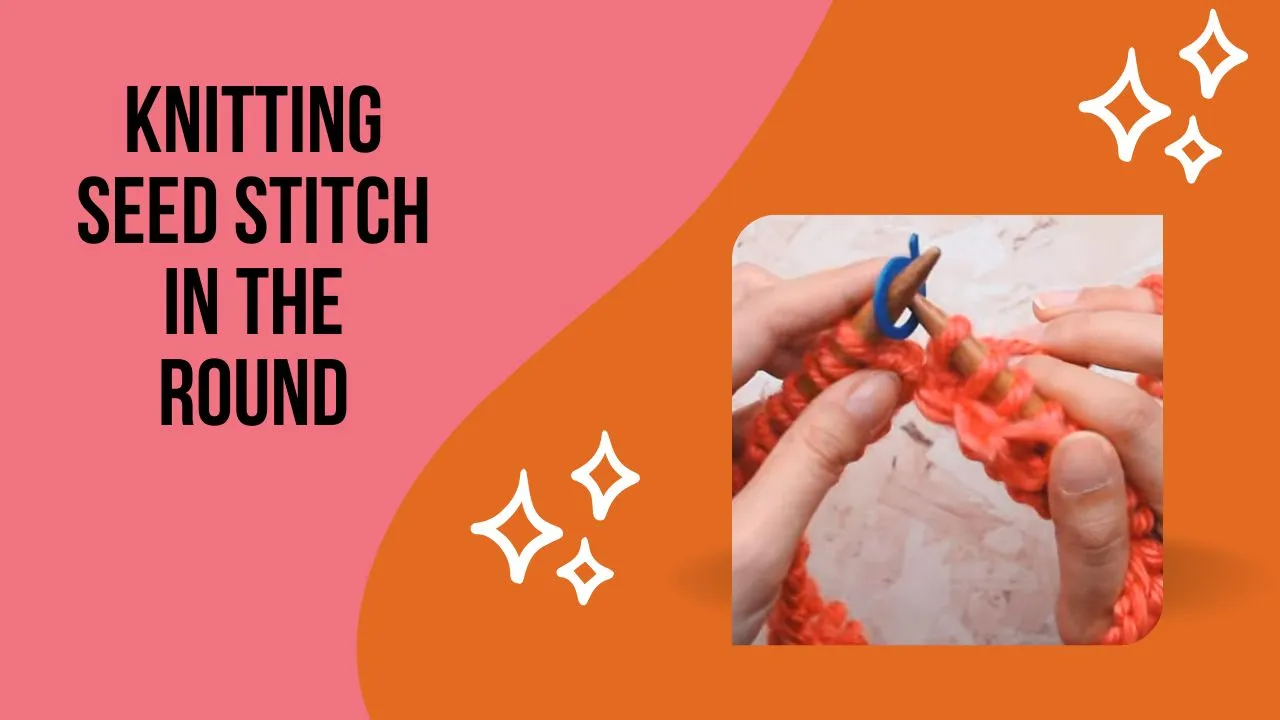
Note: When knitting seed stitch in the round, you don’t need to turn your work as you do in flat knitting. Simply continue working the stitch pattern in a continuous spiral. Remember to pay attention to your tension and maintain consistency in your knit and purl stitches to achieve the characteristic seed stitch texture when doing the seed stitch knit in the round.
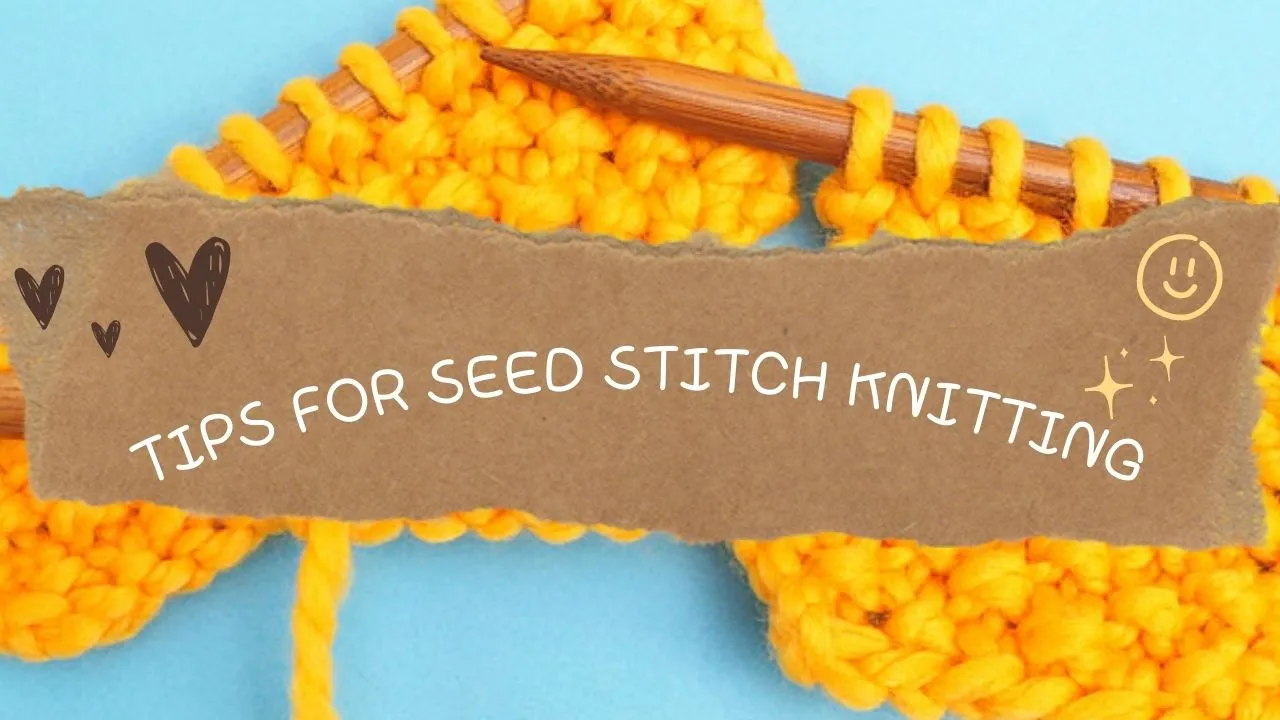
10 tips on knitting seed stitch pattern for beginners
Remember, practice is key to improving your seed stitch knitting skills. Enjoy the process and have fun exploring the beautiful texture that seed stitch offers.
Read more: How to knit wrap and turn knitting
Additional Tips for Successful Seed Stitch Knitting
Pay attention to your gauge to ensure consistency and avoid an overly loose or tight fabric. Adjust your needle size accordingly.
Adding edge stitches (selvedges) can help maintain a neat and professional finish. Consider adding a few stitches at the beginning and end of each row, working them in a specific manner, such as slipping the first stitch purl wise or knitting the last stitch.
Seed stitch requires an odd number of stitches to maintain the pattern. Ensure you have the correct number of stitches on your needles to avoid disrupting the alternating knit and purl sequence.
Be mindful of maintaining the same knit-purl sequence throughout the project, even when changing rows. This consistency ensures the seed stitch pattern remains uniform.
Even seed stitch and odd seed stitch
Even seed stitch and odd seed stitch are two variations of the seed stitch pattern commonly used in knitting and crocheting. In even seed stitch, each row is worked by knitting the purl stitches and purling the knit stitches, creating a textured fabric with a subtle, uniform appearance.
On the other hand, odd seed stitch is the reverse, where the knit stitches are knitted and the purl stitches are purled in each row. Both stitch patterns offer versatility and can be used to create beautiful and intricate designs in garments, accessories, and home decor items, adding visual interest to any project.
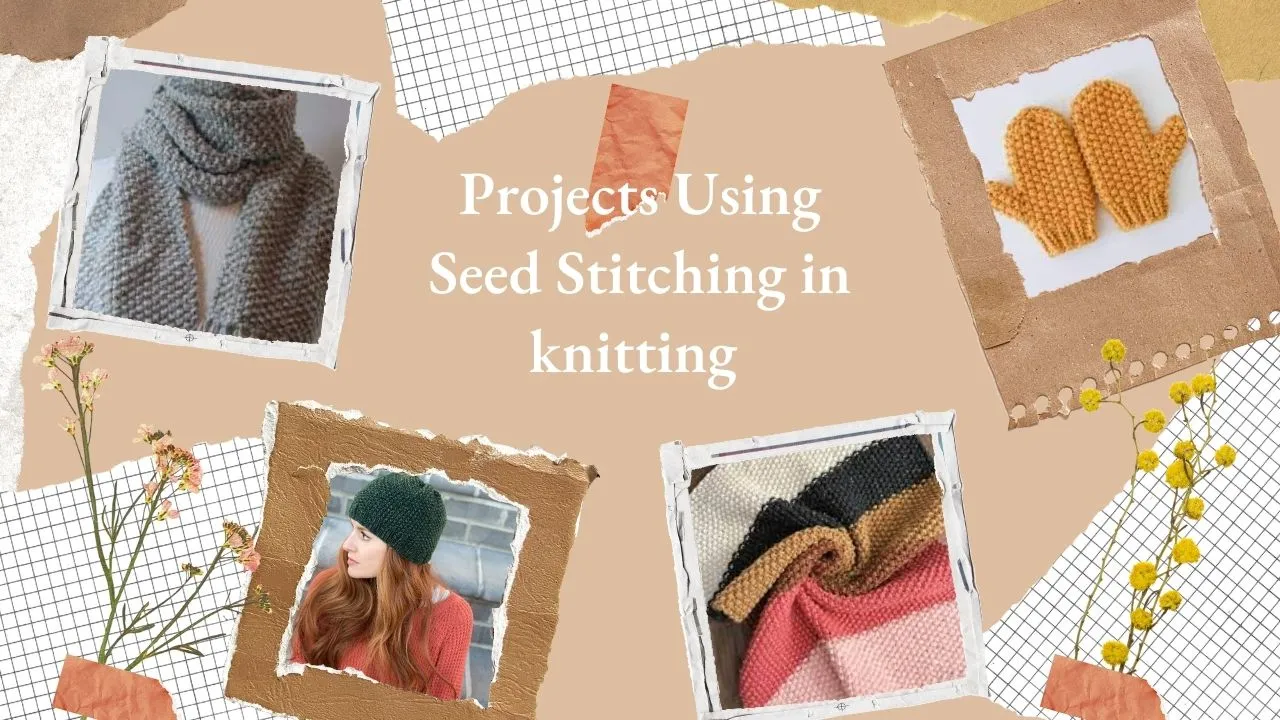
Projects Using Seed Stitching in knitting
Remember, seed stitch can be applied to various knitting projects, allowing you to explore your creativity while showcasing the lovely texture it offers
Is there any Seed stitch knitting hack method?
Yes, there is a popular hack method called “cheating seed stitch” that can make the process easier and faster. Instead of working each stitch individually, you can achieve the seed stitch pattern by alternating rows of knitting and purling.
Here’s how it works:
On the right side (RS) of your work, knit all the stitches. Then, on the wrong side (WS), purl all the stitches. Repeat these two rows for the desired number of rows. This method eliminates the need to alternate between knit and purl stitches within each row, simplifying the process while still achieving the classic seed stitch texture. It’s a handy technique for those who want to save time and effort while still enjoying the look of seed stitch.
Conclusion
Seed stitch knitting offers a classic and versatile pattern that adds texture and depth to your knitted creations. By following the step-by-step instructions and incorporating the tips provided, you can master this technique and use it to bring an extra touch of elegance to your knitting projects. So grab your needles and yarn, and start exploring the wonderful world of seed stitch knitting!
Seed Stitch Knitting Tutorial for Beginners

