How to Iron a Dress Shirt: Step-by-Step Guide
How to Iron a Dress Shirt: To properly iron a dress shirt, start by ensuring the fabric is slightly damp, either by washing and not fully drying it or by using a spray bottle. Begin with the collar, followed by the cuffs, shoulders, sleeves, back, and finally the front. Make sure you’re using the right heat setting for the fabric, and avoid ironing directly over buttons. By following these steps, you’ll get a crisp, wrinkle-free result every time. Now, let’s dive into the step-by-step process to ensure you get the best results.
Preparation – Getting Your Dress Shirt Ready for Perfect Ironing
Before you start ironing your dress shirt, a little preparation goes a long way. By following these simple steps, you’ll ensure that your shirt is primed for a smooth and efficient ironing process, resulting in a crisp, wrinkle-free finish.
Dampening the Shirt
The key to a successful ironing session is starting with a slightly damp shirt. Ironing a dry shirt can be much harder as the wrinkles may set in, and you’ll need more heat and pressure to get rid of them.
To get the perfect dampness, you can:
- Wash the shirt and leave it slightly damp in the washer.
- Use a spray bottle filled with water and lightly mist the shirt before ironing.
A damp shirt allows the iron to glide smoothly over the fabric, making it easier to smooth out wrinkles and achieve a cleaner finish. Whether you opt for a natural dampness or a little spritz, this step ensures you don’t have to deal with the frustration of stubborn wrinkles.
Gathering Supplies
Having the right tools is essential for a seamless ironing experience. Before you begin, make sure you have everything you need at hand:
- Iron: Ensure your iron is clean and in good working condition. A clean iron helps avoid any unwanted marks or rust stains on your shirt.
- Ironing Board: A sturdy, well-padded ironing board provides the right surface for ironing your shirt. It makes it easier to maneuver the fabric and get into the nooks and crannies of the shirt.
- Spray Bottle: If you’re not using a damp shirt, a spray bottle filled with water will help in dampening the fabric as you go.
- Fabric Softener: Using a fabric softener or a steam iron with added fabric softener can help make the shirt smell fresh while also reducing wrinkles more efficiently.
Having these supplies ready ensures that you’re not scrambling to find the right tool mid-ironing. The more organized you are, the easier it is to tackle each step with confidence.

Reading Fabric Care Labels
One of the most important steps in preparing your shirt for ironing is checking the fabric care label. Different fabrics require different heat settings to avoid damage.
- Cotton and Cotton Blends: These fabrics can handle high heat, so you can iron them on a medium to high setting.
- Polyester Blends: These require lower heat settings, as high heat can cause them to melt or burn.
- Delicate Fabrics: Fabrics like silk or wool require a low heat setting and sometimes need to be ironed inside out or with a pressing cloth to protect the fabric.
The care label on your shirt will guide you to the appropriate heat settings and prevent you from damaging your favorite dress shirt. Always take a moment to check the label before turning on your iron to avoid any costly mistakes.

By preparing your shirt properly, you set yourself up for a smooth ironing experience that yields professional results. These small steps make a big difference in achieving a crisp, wrinkle-free finish and help extend the lifespan of your garments.
Step-by-Step Guide – Perfecting the Ironing Process
Now that your shirt is prepped and ready, it’s time to start ironing! Follow these simple, step-by-step instructions to achieve that crisp, wrinkle-free look every time. Whether you’re ironing a shirt for work or a special occasion, these techniques will ensure you get professional results without the hassle.
Ironing the Collar
The collar is the focal point of any shirt, and ironing it perfectly can make all the difference in your final result. Here’s the easiest way to get it just right:
- Start with the Underside: Lay the collar flat on the ironing board, with the underside facing up. Begin at the collar points and work your way toward the center, pressing out any wrinkles.
- Flip and Iron the Top: Flip the collar over to iron the top side, working from the points toward the center. This will give you a sharp, well-defined collar.
Tips:
- Use a medium heat setting for cotton collars and adjust based on fabric.
- Avoid ironing over collar stays if your shirt has them; remove them first to avoid damage.
Ironing the Cuffs
The cuffs can be tricky, especially around the buttons. Here’s how to get them smooth and crisp without damaging them:
- Unbutton the Cuffs: Open the cuffs fully and lay them flat on the ironing board.
- Iron the Inside First: Start by ironing the inside of the cuff, moving from the edge towards the center. This ensures you get rid of any wrinkles that may form in the fold.
- Iron the Outside: Flip the cuff and iron the outside. Be cautious around the buttons—don’t press directly over them to avoid damage.
Tips:
- Use a low to medium heat setting for delicate fabrics like polyester blends to avoid damage.
- If you have cufflinks, remove them before ironing to avoid any marks or scratches.
Ironing the Yoke (Shoulders)
The yoke is the area where the collar meets the shoulders. Ironing this part correctly ensures the shirt looks polished all around.
- Position the Yoke: Place the yoke (shoulder area) on the narrow end of the ironing board. This allows you to get into the curves of the shoulders.
- Iron from Edges to Center: Start at the edge of the yoke and iron towards the center of the back. Repeat this process on the other shoulder.
Tips:
- Be gentle around pleats or any other fabric detailing in the yoke.
- If your shirt has shoulder seams or stitching details, make sure to smooth them out carefully.
Ironing the Sleeves
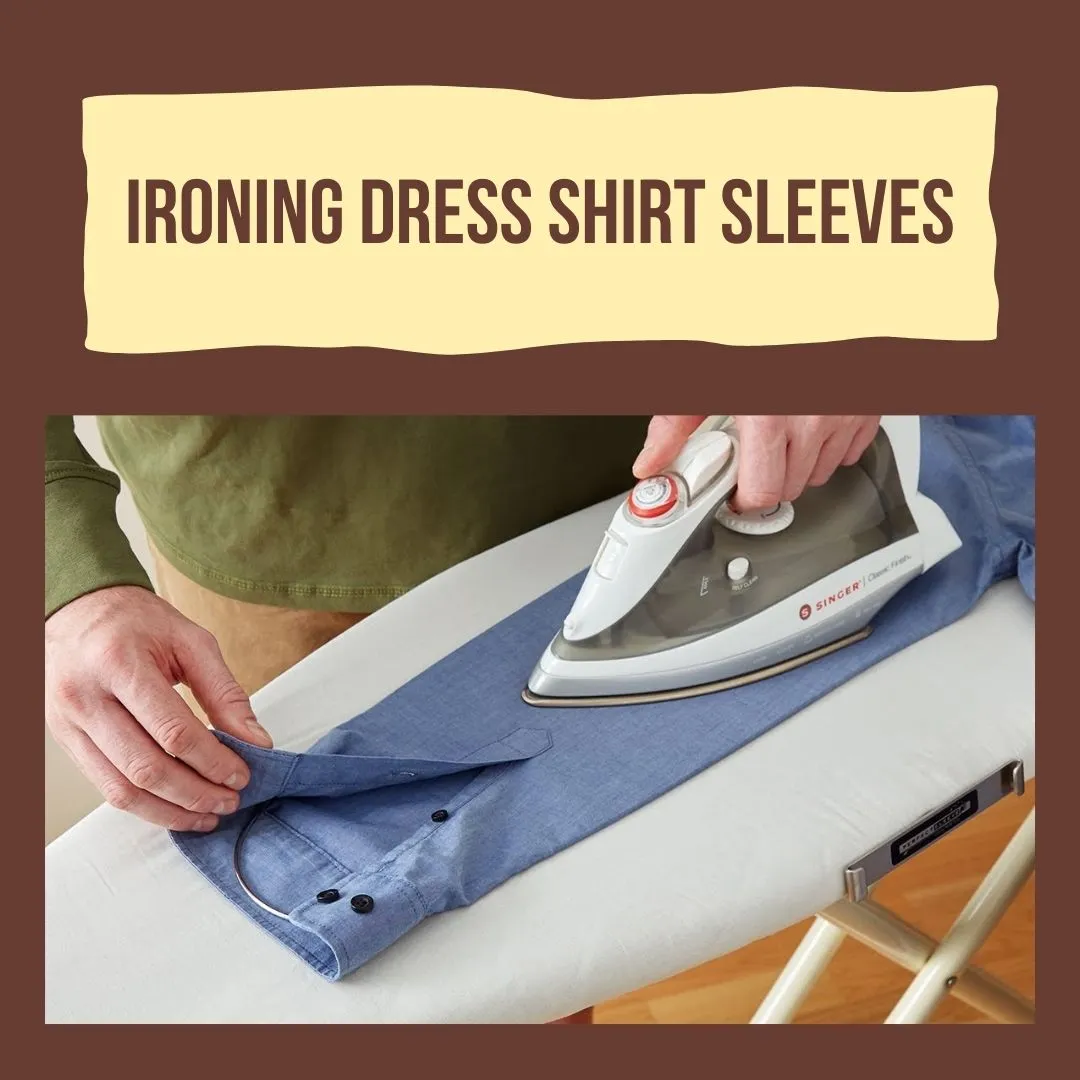
Ironing sleeves can be a challenge, especially when you want to avoid creases or pleats. Here’s how to get them smooth and crisp:
- Lay the Sleeve Flat: Ensure the sleeve is laid flat on the ironing board without any wrinkles or creases.
- Iron from the Armpit to the Cuff: Start ironing from the armpit area, working your way towards the cuff. Use long, smooth strokes to ensure an even finish.
- Flip and Repeat: Flip the sleeve and repeat the process on the other side to ensure both sides are smooth and wrinkle-free.
Tips:
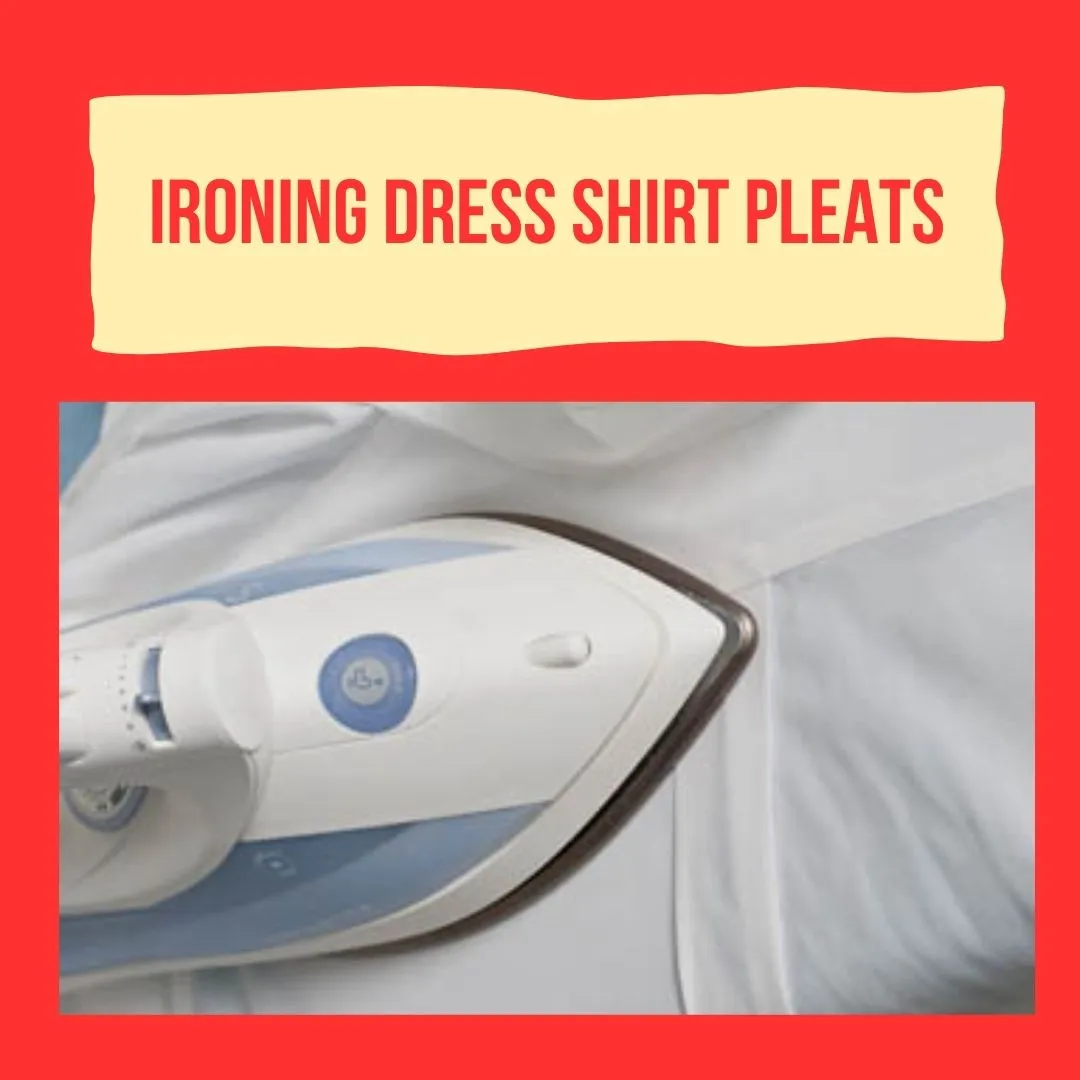
- If your shirt has pleats in the sleeves, use the tip of the iron to carefully press them out.
- Use steam to help smooth out stubborn wrinkles.
Ironing the Back & Front Panels
The front and back panels of the shirt are the final pieces to iron, and getting them right ensures your shirt looks sharp from every angle.
- Iron the Back First: Lay the back of the shirt flat on the ironing board, working from the yoke down towards the hem. Use long, smooth strokes to remove wrinkles.
- Iron the Front: Move to the front panel. Be extra careful around the buttons and button placket—avoid pressing directly over them to prevent marks. Gently iron around the buttons for a clean finish.
Tips:
- Avoid ironing directly over buttons—use the tip of the iron to glide around them.
- For extra sharpness, iron both the back and front while the fabric is still slightly damp to prevent re-wrinkling.
By following these detailed steps, you’ll be able to iron every part of your dress shirt with precision and ease, ensuring a professional finish every time. Whether you’re ironing for an important event or simply for everyday wear, these techniques will leave your shirt looking polished, crisp, and ready to wear.
Top Tips for Perfect Results – Achieving a Crisp, Wrinkle-Free Shirt
Now that you’ve mastered the ironing steps, let’s dive into some pro tips to take your skills to the next level. These simple, yet effective strategies will ensure you get the most out of your ironing routine, leaving you with a perfectly pressed, wrinkle-free dress shirt every time.
Use Steam for Smooth, Wrinkle-Free Results
Steam is your best friend when it comes to removing stubborn wrinkles and achieving a smooth finish. Here’s how it can work wonders:
- Why Steam Works: The heat and moisture from the steam penetrate the fabric, relaxing the fibers and making it easier to smooth out wrinkles. This method is particularly helpful for heavier fabrics like cotton and linen.
- How to Use It: Use your iron’s steam function (or a separate steam iron) to mist the fabric lightly as you iron. The steam will help eliminate deep wrinkles without the need for excessive pressure.
Tip:
- Make sure to keep the iron at a proper distance from the fabric when using steam to avoid water spots or fabric burns.
Iron in Sections to Avoid Re-Wrinkling
Ironing in small sections not only gives you more control but also prevents re-wrinkling areas that have already been ironed.
- Why It Helps: When you iron large sections all at once, you risk recreating wrinkles in the parts you’ve already smoothed out. By focusing on smaller areas, you’ll ensure each part of the shirt gets the attention it needs.
- How to Do It: Break the shirt into sections—collar, cuffs, sleeves, front, and back. Iron one section thoroughly before moving on to the next. This method ensures that every part of the shirt is crisp without being disturbed by other areas.
Tip:
- Focus on the collar and cuffs first as they are the areas that require the most precision. Then, move on to the rest of the shirt in sections.
Proper Storage – Keep Your Shirt Wrinkle-Free
Once you’ve ironed your shirt to perfection, it’s important to store it properly to maintain that crisp, wrinkle-free look.
- Hang Immediately After Ironing: The best way to prevent wrinkles from reforming is to hang your shirt immediately after ironing. Use a well-padded hanger to help the shirt retain its shape and avoid creases from forming.
- Button Up the Shirt: Fasten the top button to help the collar maintain its crispness and keep the shirt from losing its structure.
- Avoid Overcrowding in the Closet: Ensure your shirt has enough space to hang freely. Crowded closets can lead to wrinkles from fabric compression.

Tip:
- For extra freshness, consider using a fabric spray or steam your shirt once more before wearing it to remove any minor wrinkles that may form in storage.
By incorporating these top tips into your ironing routine, you’ll elevate your skills and ensure your shirts stay looking sharp, fresh, and wrinkle-free. Steam, sectioning, and proper storage are the key elements that will guarantee a perfect, long-lasting finish. Keep these tricks in mind, and ironing will become an effortless task!
Common Mistakes to Avoid – Ironing Errors You Shouldn’t Make
While ironing can seem straightforward, there are several common mistakes that can lead to poor results or even damage to your shirt. By being aware of these errors, you can avoid frustration and ensure that your shirt stays in perfect condition. Let’s look at the most common mistakes people make when ironing, and how to avoid them.
Ironing on High Heat – Know Your Fabrics
One of the most common mistakes is using too high a heat setting, especially for delicate fabrics. Not all fabrics can tolerate the same temperature, and using high heat can lead to burns, damage, or irreversible marks on the fabric.
- Why It’s a Mistake: Cotton and linen fabrics can generally withstand higher heat, but synthetic fabrics like polyester and nylon can melt or become damaged at high temperatures. Ignoring the fabric’s heat tolerance can ruin your shirt in an instant.
- How to Avoid It: Always check the fabric care label to determine the proper temperature setting for the fabric. For delicate fabrics, use a low to medium heat setting to avoid causing permanent damage.
Tip: If you’re unsure about the fabric, it’s always safer to start with a low heat setting and gradually increase the temperature until wrinkles begin to smooth out.
Ironing Over Buttons – Don’t Damage the Details
Ironing directly over buttons can result in serious damage—from burn marks to buttons popping off. This is a mistake that can easily be avoided with the right technique.
- Why It’s a Mistake: Buttons, especially plastic ones, can melt or become discolored when exposed to high heat. Even pressing over metal buttons can leave unsightly marks or create indentations on the fabric.
- How to Avoid It: When ironing the front of the shirt, avoid pressing directly over the buttons. Instead, use the tip of the iron to glide gently around the buttons, or even lift the fabric slightly to iron underneath.
Tip: Use a pressing cloth or steam iron to help you glide smoothly over buttons without applying direct heat.
Ignoring Fabric Care Labels – The Key to Proper Ironing
One of the biggest errors people make is not reading the fabric care label before ironing. These labels provide crucial information about the fabric’s heat tolerance and ironing method.
- Why It’s a Mistake: Fabric care labels give you the exact temperature range and specific instructions to avoid damage. Ignoring these labels can lead to using the wrong heat setting, which can cause fabric distortion, color fading, or even shrinkage.
- How to Avoid It: Before you start ironing, always take a moment to check the care label on your shirt. Follow the manufacturer’s heat settings for best results, especially for delicate fabrics like silk or wool.
Tip: If you’ve lost the care label, always err on the side of caution by using a medium heat setting and testing it on a small, inconspicuous area first.
By avoiding these common mistakes, you can ensure that your shirt stays in excellent condition for longer, looking crisp and wrinkle-free every time. Being mindful of heat settings, button placement, and fabric care labels will help you achieve the best possible results, ensuring your shirts maintain their quality and appearance.
Conclusion – Wrinkle-Free Perfection Every Time
By following these steps, you can easily iron your dress shirt and achieve a crisp, fresh look, ready to impress at any occasion. Whether you’re ironing for work or a special event, the key is to pay attention to the fabric, use the right tools, and follow the proper techniques. Remember, practice makes perfect, so the more you iron, the better you’ll get at it.
Now, let’s tackle some of the most frequently asked questions about ironing dress shirts, ensuring that you have all the information you need to achieve a flawless finish every time.

