How To Oil A Sewing Machine | Step By Step Guide
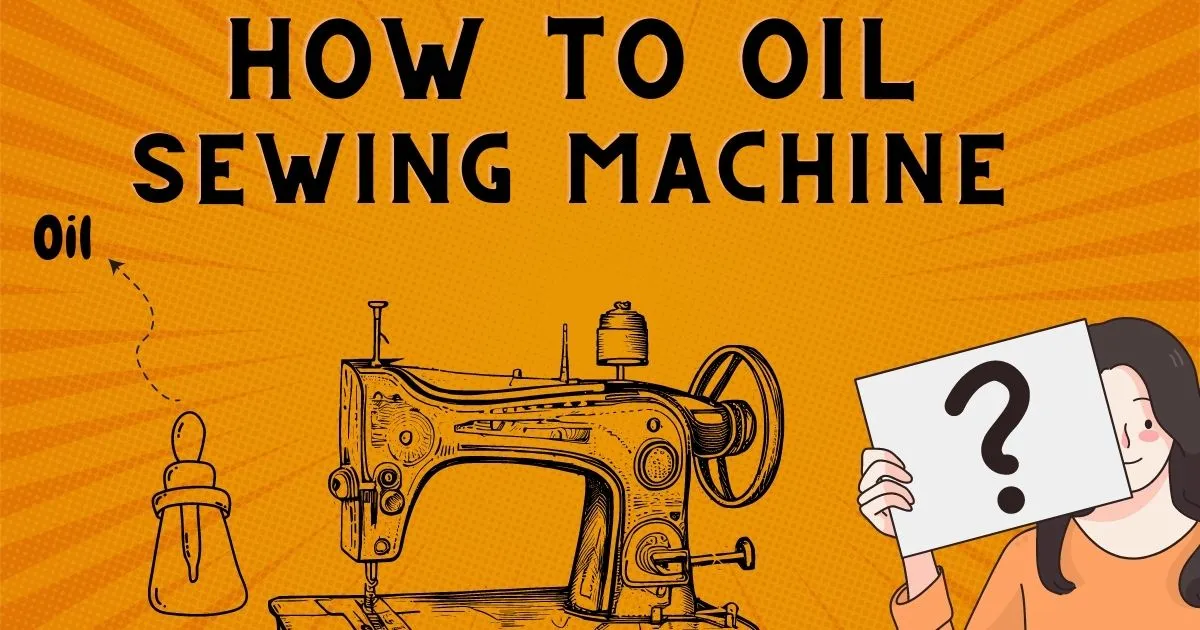
Introduction: How To Oil A Sewing Machine?
When it comes to maintaining your sewing machine, oiling is one of the most important tasks you can do. Regular oiling ensures that your machine runs smoothly, lasts longer, and performs at its best. Without oil, parts can wear down, causing friction and potentially leading to costly repairs.
Why Oil a Sewing Machine?
Oiling your sewing machine isn’t just about keeping it clean – it’s about keeping it efficient. Here’s why it matters:
- Prevents Rust: Over time, moisture can cause metal parts to rust. A small amount of oil prevents that.
- Smooth Movement: Proper lubrication ensures that moving parts glide effortlessly, making stitching easier and faster.
- Prolongs Machine Life: Regular oiling reduces wear and tear, extending the life of your machine.
Let me share something personal. In my first year of sewing, I didn’t think much about oiling my machine. It started making odd noises, and at first, I ignored it. But when the machine started to jam, I realized I had to act fast. After oiling it regularly, it ran like new again – quiet, smooth, and reliable.
So, if you’re new to oiling your sewing machine, or if you’ve been skipping it, this guide will walk you through why it’s so important and how to do it properly.
Challenges Faced While Oiling a Sewing Machine
Oiling your sewing machine sounds simple, but it comes with its own set of challenges. If you’re new to this, or even if you’ve done it a few times, it’s easy to make mistakes. Let’s talk about some common challenges and how to avoid them.
Identifying the Right Type of Oil
Not all oils are created equal. Using the wrong one can damage your sewing machine. It’s important to use oil that’s specifically made for sewing machines. The right oil will help your machine run smoothly, while the wrong oil can gum up the works or even cause parts to wear out faster.
Key Takeaway: Always use oil that’s designed for sewing machines to avoid unnecessary damage.
Over-oiling or Under-oiling
Finding the right balance of oil is crucial. Too much oil can attract dust, dirt, and lint, which might make things worse. On the other hand, too little oil leads to friction, causing wear and tear on your machine parts.
Key Takeaway: Just a drop or two of oil is enough. More isn’t always better.
Proper Application
Some areas of the sewing machine need extra care, like the bobbin case and needle bar. These parts require precise oiling. If you apply oil incorrectly, it could lead to malfunctions, jams, or damage.
Key Takeaway: Take your time to oil the right parts. Following the manual will help guide you.
Cleaning the Machine Before Oiling
Before you even think about applying oil, make sure your machine is clean. Dirt and lint can mix with the oil and cause blockages, which may affect your machine’s performance. Cleaning first ensures the oil does its job and doesn’t make things worse.
Key Takeaway: Clean your machine before oiling to keep everything running smoothly.
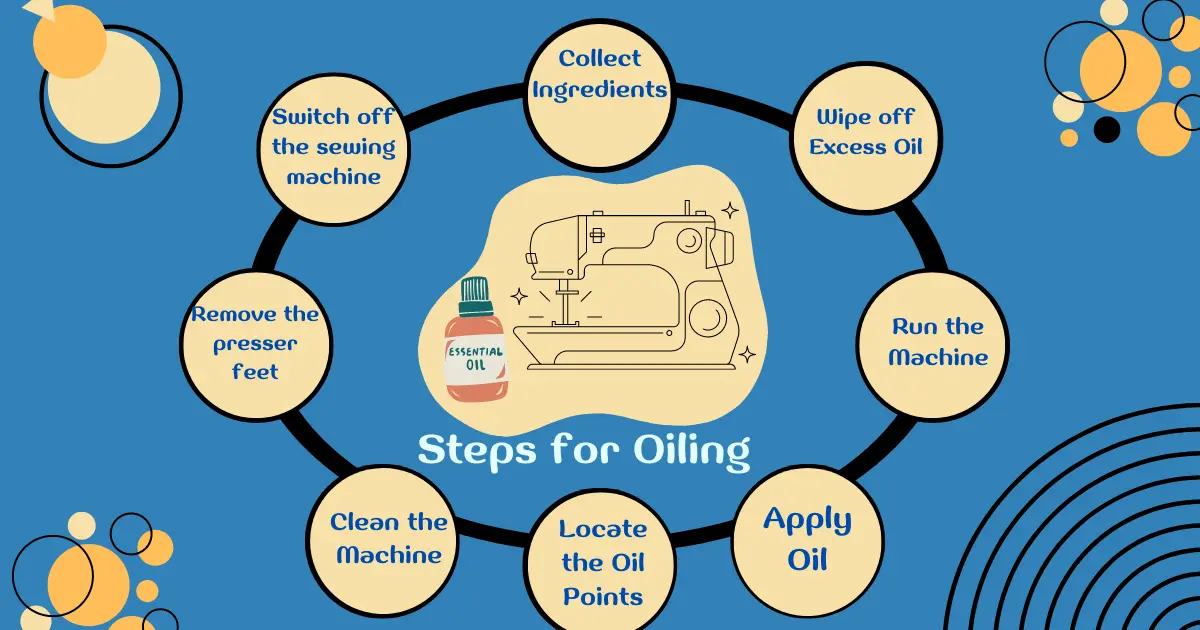
Step-by-Step Guide to Oiling Your Sewing Machine
Oiling your sewing machine doesn’t have to be complicated. Follow these simple steps, and you’ll keep your machine running smoothly for years to come.
a. Preparation
1. Turn off and unplug the machine
- Always make sure your sewing machine is powered off and unplugged before you begin. Safety first!
2. Clean the machine
- Before oiling, it’s crucial to clean the machine. Use a lint brush to remove any dust or debris. If needed, use compressed air to clean hard-to-reach spots.
- Key Tip: “Cleaning your sewing machine before oiling helps the oil do its job properly.”
b. Locating Oiling Points
1. Find the right spots to oil
- Your sewing machine has several parts that need oiling, such as the bobbin case, needle bar, and hook race.
2. Be sure not to miss any key areas
- Missing out on certain oiling points can lead to poor performance and increased wear on your machine.
c. Applying Oil
1. Use the right amount of oil
- Apply 1–2 drops of sewing machine oil to each of the identified oil points.
- Important: More oil doesn’t mean better performance. A little goes a long way!
2. Wipe away any excess
- After oiling, use a cloth to wipe off any excess oil. Ensure that no oil spills onto the fabric or other parts.
Example: “After oiling the bobbin area, I wiped off excess oil using a cloth, making sure no oil seeped onto the fabric.”
d. Clean Excess Oil
1. Remove any remaining oil
- If you notice excess oil on the machine after applying it, wipe it off immediately to prevent dust from sticking to it.
By following these steps, you’ll ensure that your sewing machine stays well-lubricated, performs at its best, and lasts for many years. Regular maintenance might take a little time, but it’s totally worth it!
This guide is designed to be clear, practical, and easy to follow, ensuring you feel confident about oiling your sewing machine.
Common Mistakes to Avoid
Maintaining your sewing machine is important, but there are a few common mistakes you should watch out for. Avoiding these mistakes will keep your machine in top shape.
Mistake 1: Over-oiling the Machine
Applying too much oil might seem like a good idea, but it can actually cause more harm than good. Excess oil can attract dust and lint, which can damage the parts of your sewing machine over time.
Key Takeaway:
“Excess oil leads to dust accumulation, which can damage the machine parts.”
- Tip: Always use just 1-2 drops of oil for each oiling point. It’s better to start small and add more if needed.
Mistake 2: Skipping Regular Maintenance
It’s easy to forget about oiling and cleaning when everything seems to be running smoothly. But neglecting regular maintenance will only lead to problems down the road. Don’t wait for the machine to break down before you take care of it.
Key Takeaway:
“Don’t wait for your machine to break down. Regular maintenance prevents bigger issues.”
- Tip: Make oiling and cleaning part of your routine. Even if your machine is working fine, regular maintenance will keep it that way.
By avoiding these common mistakes, you’ll ensure your sewing machine stays in great condition and runs smoothly for years to come. Simple, regular maintenance is all it takes to keep your machine performing at its best!
Troubleshooting Tips
Even after oiling your sewing machine, things can sometimes go wrong. Don’t worry, though! Here are some common problems and simple solutions to help you get back to sewing without stress.
Common Problem 1: Machine Still Making Noise After Oiling
If your sewing machine is making noise even after oiling, it might not be the oiling causing the problem. Here’s what to do:
Solution:
“Check for excess oil or dirt in the bobbin area. Clean the needle bar carefully.”
- Tip: Sometimes, too much oil can collect dust and cause the noise. A good clean-up in the bobbin area can make all the difference.
Common Problem 2: Sewing Machine Not Working Smoothly
If your sewing machine isn’t working as smoothly as it should, it could be because the oil isn’t in the right places.
Solution:
“Ensure the oil has been applied to the correct spots, and replace the needle if necessary.”
- Tip: Double-check the oil points listed in your machine’s manual. If everything seems fine, try replacing the needle. It might be worn out and causing the rough stitching.
These troubleshooting tips can help resolve common issues quickly and easily. If your machine still isn’t working right, check your manual or consider getting it serviced. Regular maintenance and quick fixes like these will keep your machine running smoothly for years!
Expert Tips and Recommendations
To help you oil your sewing machine like a pro, here are some expert tips that will make all the difference. These recommendations are based on years of experience and will ensure your machine stays in top shape.
Tips for Oiling Specific Sewing Machine Brands
1. For Singer Machines:
- Singer machines often have clear oiling instructions. Focus on oiling the hook race and needle bar.
- Tip: Always use Singer’s recommended oil to avoid damaging the sensitive parts.
2. For Brother Machines:
- Brother machines are known for their ease of use, but regular oiling in the bobbin case and shuttle hook is essential.
- Tip: Use a lightweight, clear oil to keep everything running smoothly.
3. For Older Machines:
- Older machines might need a bit more attention. Focus on cleaning the gear area and oiling metal moving parts to ensure they don’t wear down.
Choosing the Right Oil
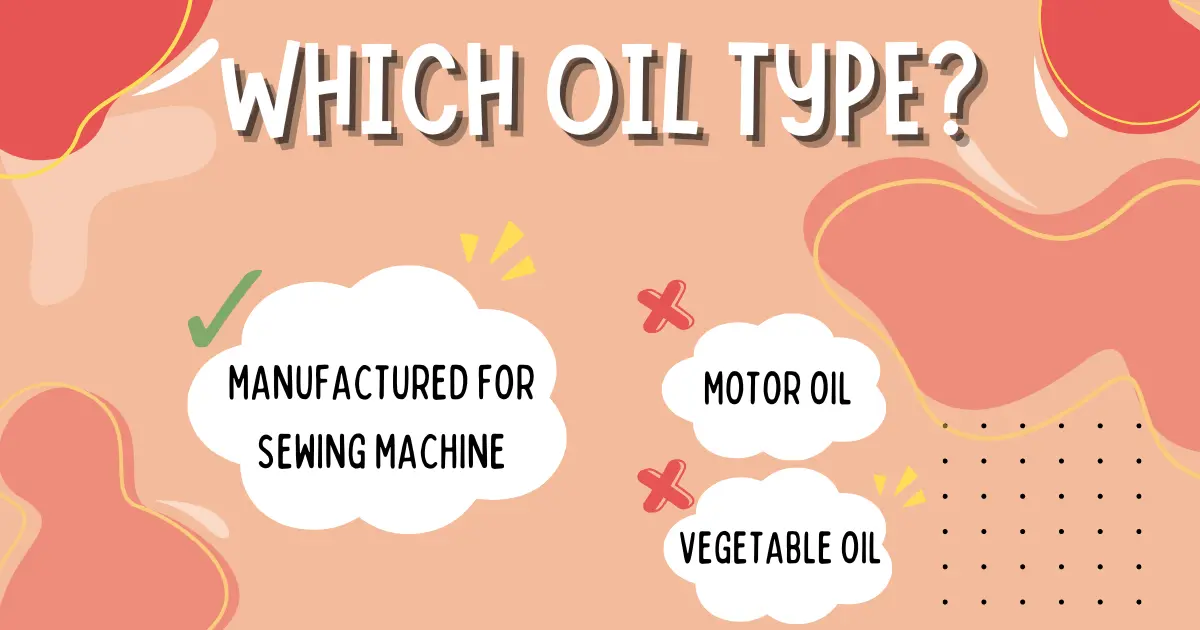
Not all oils are created equal. Here’s what to keep in mind when picking the right one for your machine:
1. Clear, Lightweight Oil:
- Choose an oil that’s light and clear. It prevents build-up and keeps the machine parts moving smoothly without attracting dirt.
2. Avoid Household Oils:
- Don’t use car oils, WD-40, or other household oils. They can damage the machine and attract more dust.
Expert Quote:
“As a professional tailor with over 10 years of experience, I recommend using Singer oil for its durability and smooth finish.”
By following these expert tips, you can ensure that your sewing machine stays in top condition, runs smoothly, and lasts longer. Always make sure to use the right oil and follow the manufacturer’s recommendations. Simple, regular maintenance goes a long way!
Conclusion
Oiling your sewing machine is a small task that pays off in a big way. By following the steps and tips we’ve covered, you can ensure your machine runs smoothly and lasts much longer. Regular maintenance prevents breakdowns and keeps things humming along perfectly.
Remember, oiling isn’t just about keeping the machine clean—it’s about performance and longevity. A little care goes a long way.
For even better results, don’t forget to check our step-by-step guide on how to clean a sewing machine.
Share your oiling experiences in the comments below! Let us know if you’ve faced any challenges or have tips of your own to keep your sewing machine running like new.
FAQ’s


