How To Sew A Straight Line: Easy Steps
How to sew a straight line is the question that always appear in mind when you start sewing. Although sewing a straight line can appear to be a difficult task, with some practice and direction, it can be mastered in no time. Every sewer in the beginning, should be able to sew a straight line along the edge of the fabric. It is crucial for producing clean, expert-looking seams, especially when working on projects that call for a polished edge.
In this post, we will walk through the step-by-step guide of “how to sew a straight line”. Here we go!
How to sew a straight line: Step by step
Required tools
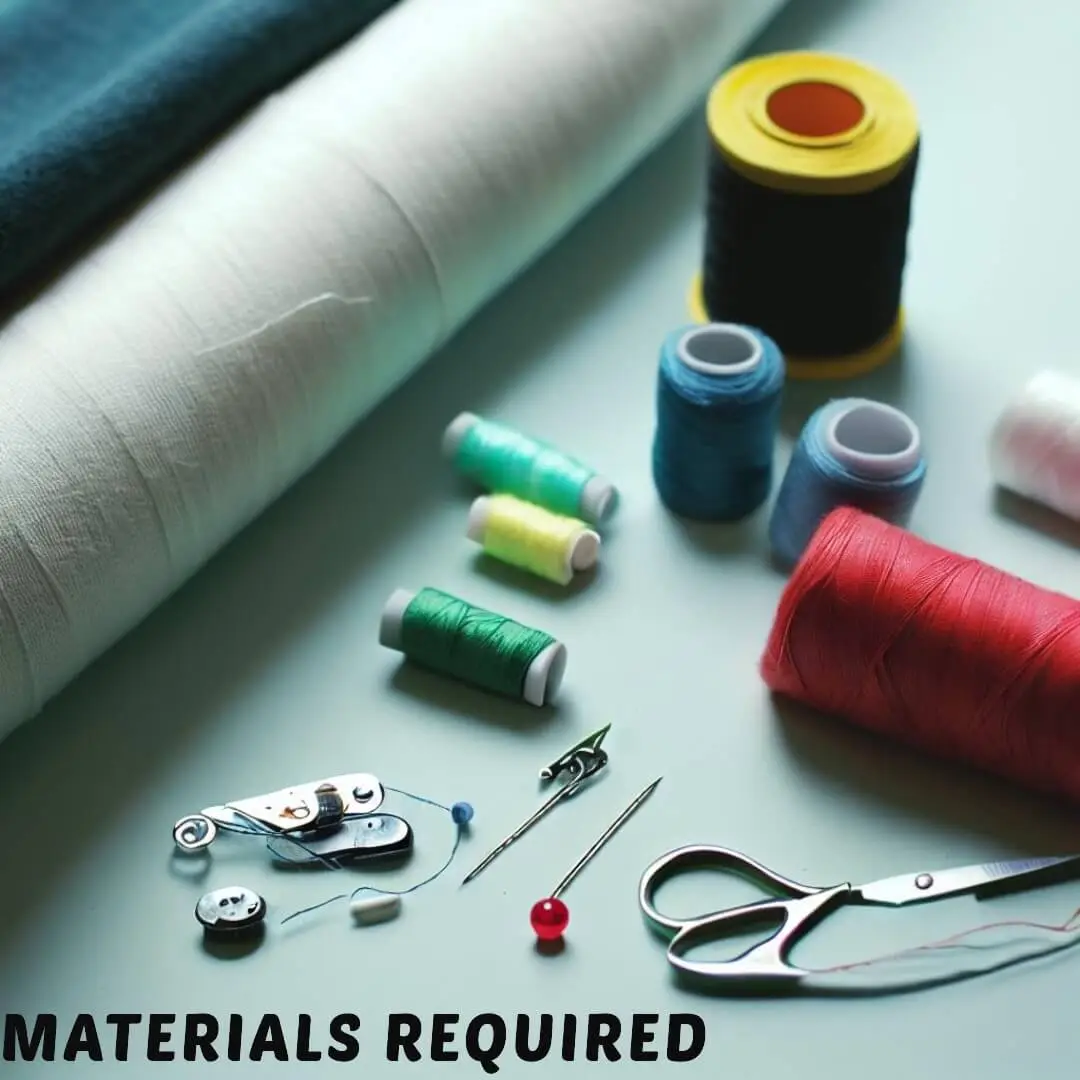
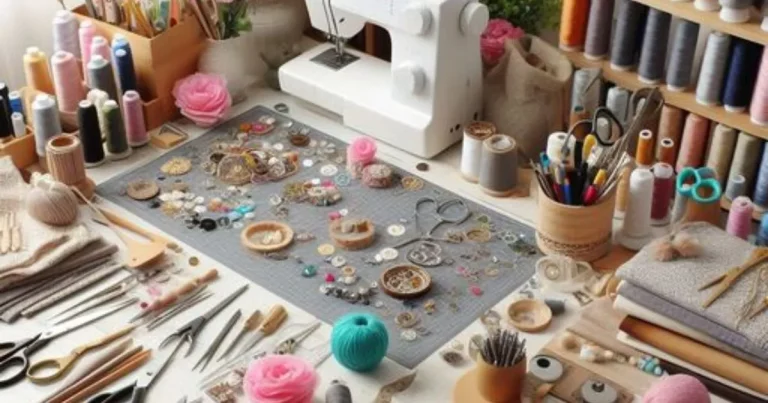
How to sew a straight line this question always arises when you start sewing a project?Though sewing straight lines can initially seem difficult, with the right tools and methods, it can be a straightforward and enjoyable task. In this post, we’ll go through the key supplies required for straight-line stitching and offer practical advice on how to get excellent outcomes every time. So let’s get moving forward!
These are the necessary supplies for stitching a straight line on the fabric. Make sure you have everything you need before beginning your sewing job. Your sewing tasks can be accomplished to seem professional with the correct equipment and methods.
How to sew a straight line step by step
Step 1: Preparation of fabric
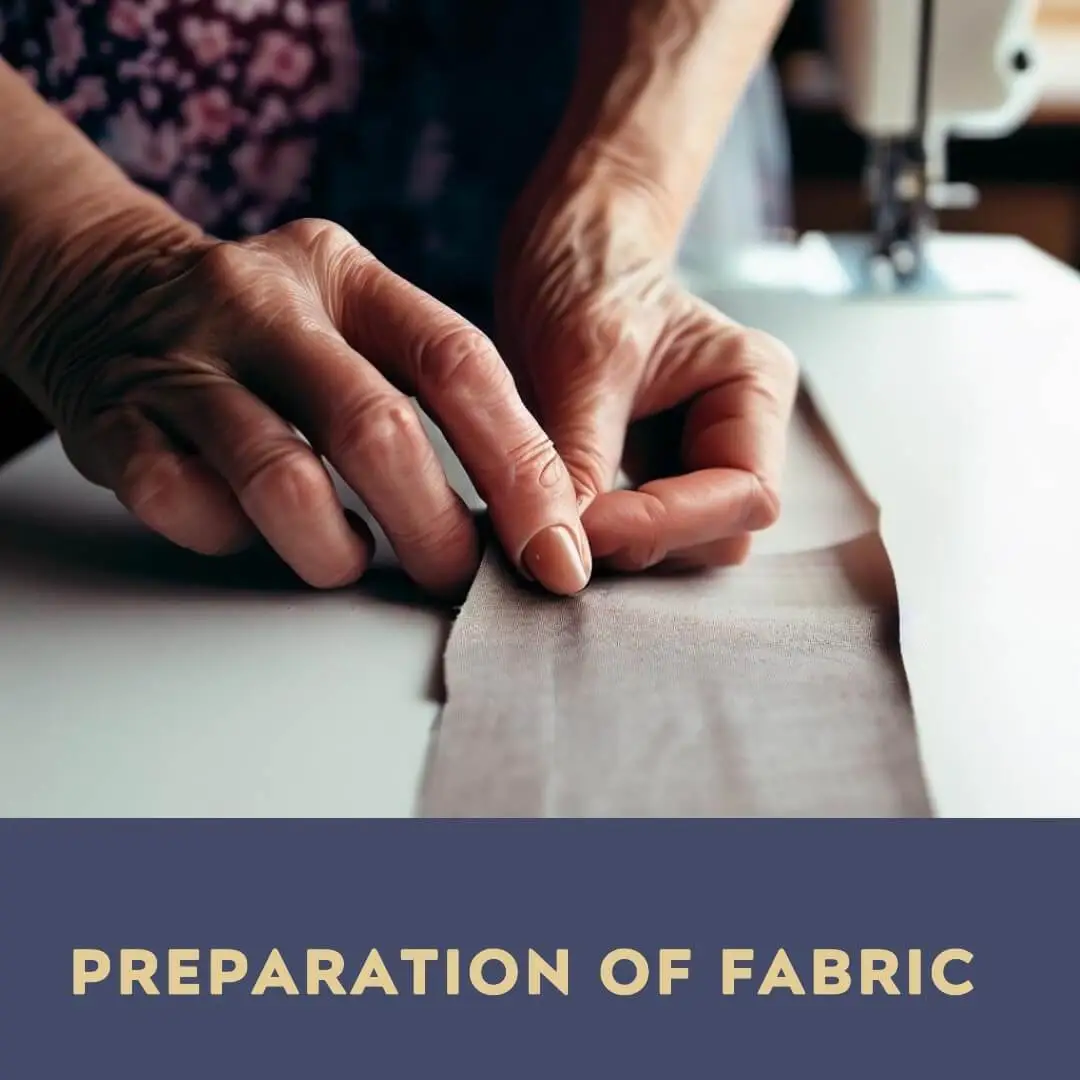
The very first step for how to sew a straight line is the preparation of the fabric. To stitch a straight line, carefully preparing the fabric is a necessary first step. Because it might shrink or remove color if washed later, the fabric needs to be pre-washed first to prevent a final product that is distorted. It is important to carefully follow the washing instructions on the label.
PRE WASHING OF THE FABRIC

IRONING THE FABRIC
The fabric should then be ironed to remove any creases and wrinkles that can result in uneven stitching. For bright marks to be avoided, press the fabric from the backside. The fabric must be trimmed precisely against the grain in order to keep it from shifting while being sewn. A smooth, even edge can be achieved by using fabric scissors, a rotary cutter, and a straight edge. Thirdly, to prevent moving while stitching, secure the fabric in place using pins or clips. As you sew, remove the pins you placed parallel to the fabric’s edge.
Finally, set the sewing machine’s tension appropriately for the fabric type being used. Prior to beginning the actual project, it is advised to test the tension on a scrap of fabric. These methods will help you prepare your fabric for straight-line stitching and produce a completed item that is smooth and polished-looking.

Step 2: Marking of the fabric
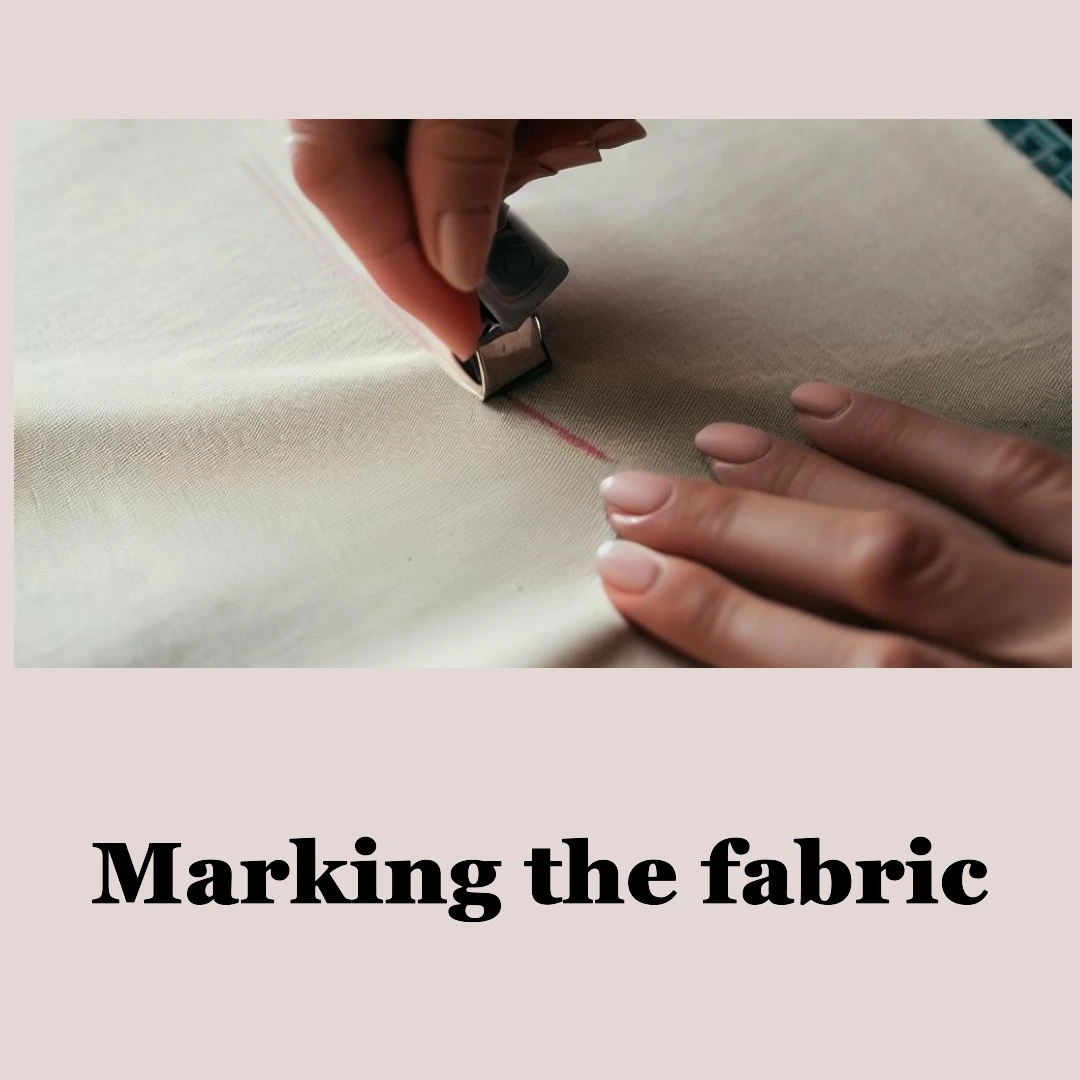
Marking your fabric for how to sew a straight line is an essential step in ensuring that you sew a straight line. Marking allows you to precisely identify where to place your needle and stitch it. Firstly, use a ruler and fabric chalk or a fabric pen to mark the straight line where you need to sew. Make sure to keep the line on the wrong side of the fabric, so it is not visible on the finished product. Secondly, you can also use tailor’s tape or a seam gauge to mark the stitching line accurately.
Thirdly, if you need to sew parallel lines, consider using masking tape or painter’s tape to mark the lines. This will help you maintain a consistent distance between the lines and create a neat and tidy result. Lastly, if you are sewing curved lines, you can use tailor’s tacks to mark the line. This involves basting through the two layers of fabric and knotting the threads to mark the line.
By marking your fabric, you can sew with confidence, avoid any mistakes, and create a clean and professional-looking finished product.
Step 3: Setting up machine setup
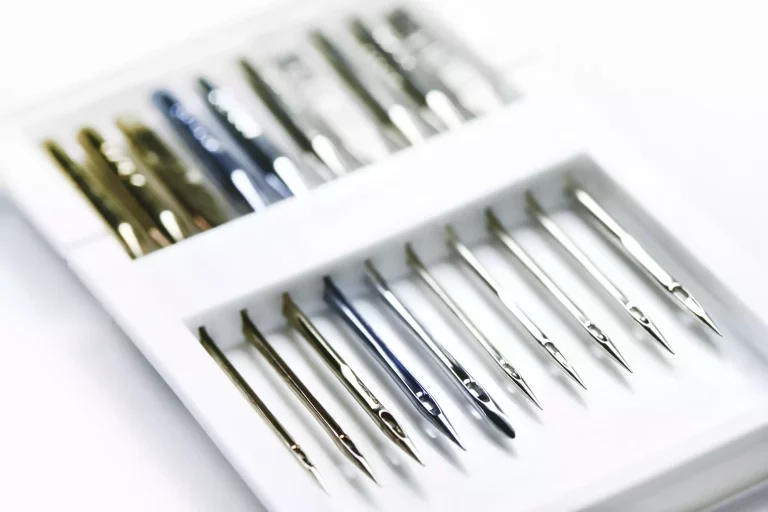
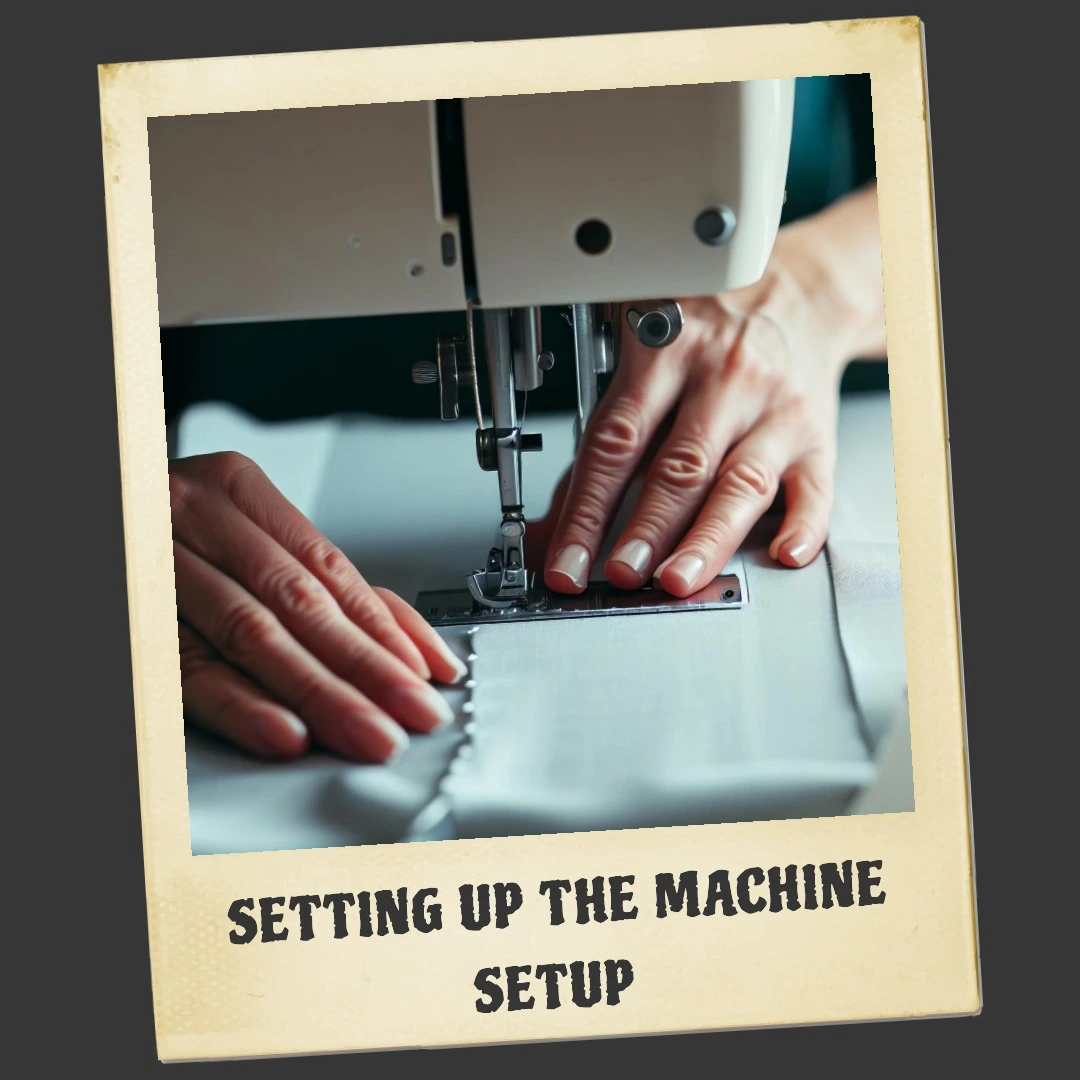
A very crucial first step for how to sew a straight line is correctly setting up your sewing machine. First, make sure that your sewing machine is in good shape and is clean. If necessary, lubricate the machine, feed the dogs, and clean the bobbin case. Next, pick the proper needle and thread for the fabric type being used. Use a size 80/12 universal needle for most fabrics and a finer needle for delicate fabrics. Thirdly, set the machine’s stitch length for straight stitching to a medium length.
A stitch length of 2.5 to 3 mm is sufficient for the majority of textiles. Make sure the thread is properly wound through the needle and bobbin before setting the machine’s speed to a level that feels comfortable. Fourth, alter the presser foot pressure in accordance with the fabric being utilized. Increase the pressure for heavier textiles and decrease it for light fabrics. Last but not least, alter the tension on the sewing machine to suit the fabric.
Prior to beginning the actual project, it is advised to test the tension on a scrap of fabric. Your sewing machine can be easily set up so that you can sew a straight line and produce a stunning finished result.
Step 4: Placement and alignment of fabric
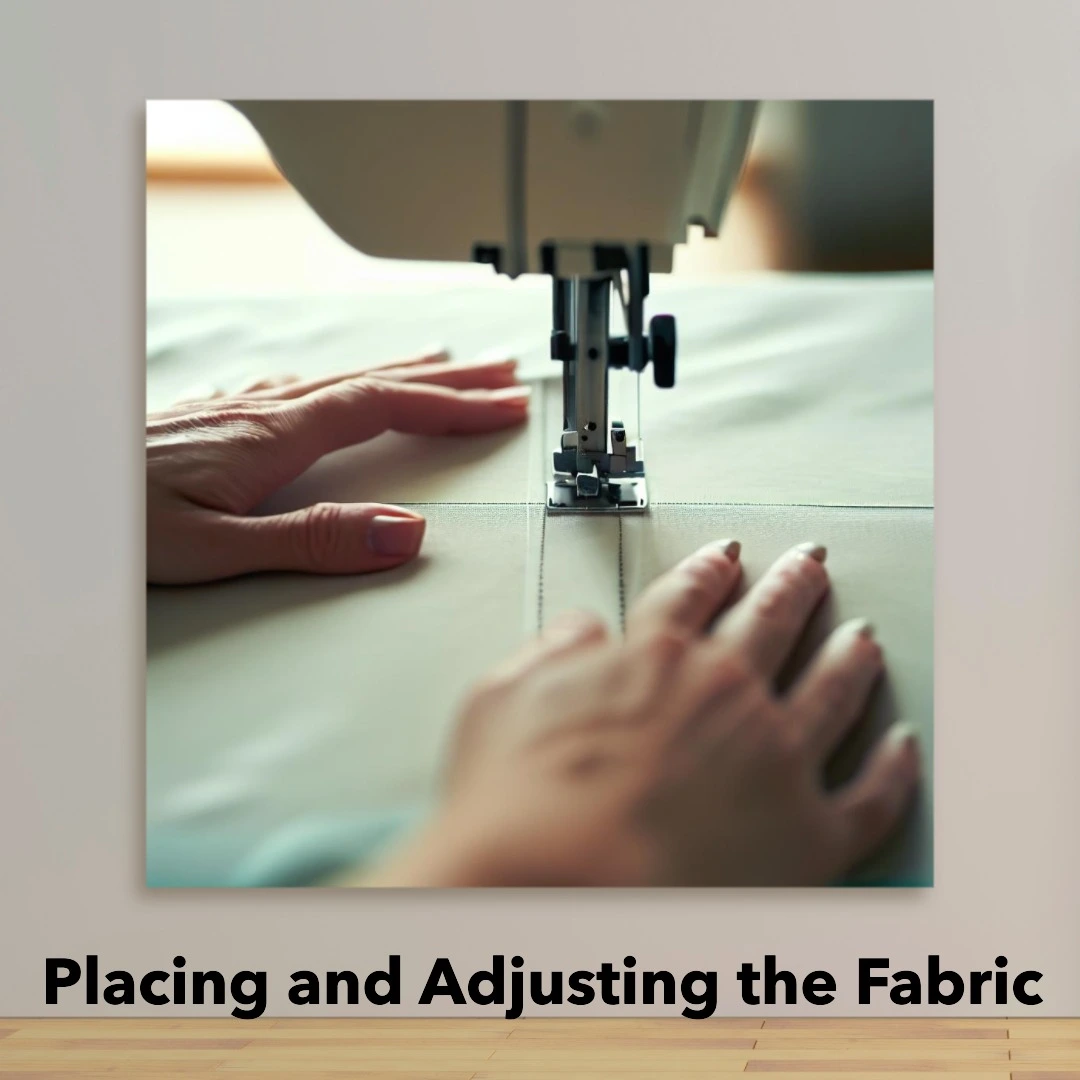
Placement and alignment of fabric is the fourth step for how to sew a straight line. Sewing a straight line requires precise placement and alignment of the cloth. First, make sure the fabric is laid out flat and isn’t stretched or warped in any way. Make sure the pattern is properly positioned if the cloth has one. In order to check the fabric’s alignment, place the cloth under the presser foot and lower the needle.
If required, reposition the fabric so that the stitching line is parallel to the fabric’s edge. Thirdly, to keep the seam allowance uniform, utilize the presser foot or the guiding lines on the needle plate of the sewing machine. Fourth, keep the fabric in place while stitching by using pins or clips.
As you sew, remove the pins you placed parallel to the fabric’s edge. Last but not least, utilize the feed dogs on the sewing machine to guide the fabric while you sew. Guide the fabric under the presser foot in a straight line while keeping it taut but not strained. The completed product will be neat and professional-looking if you follow these instructions for placing and aligning your fabric and sewing a straight line.
Step 5: Seam adjustment
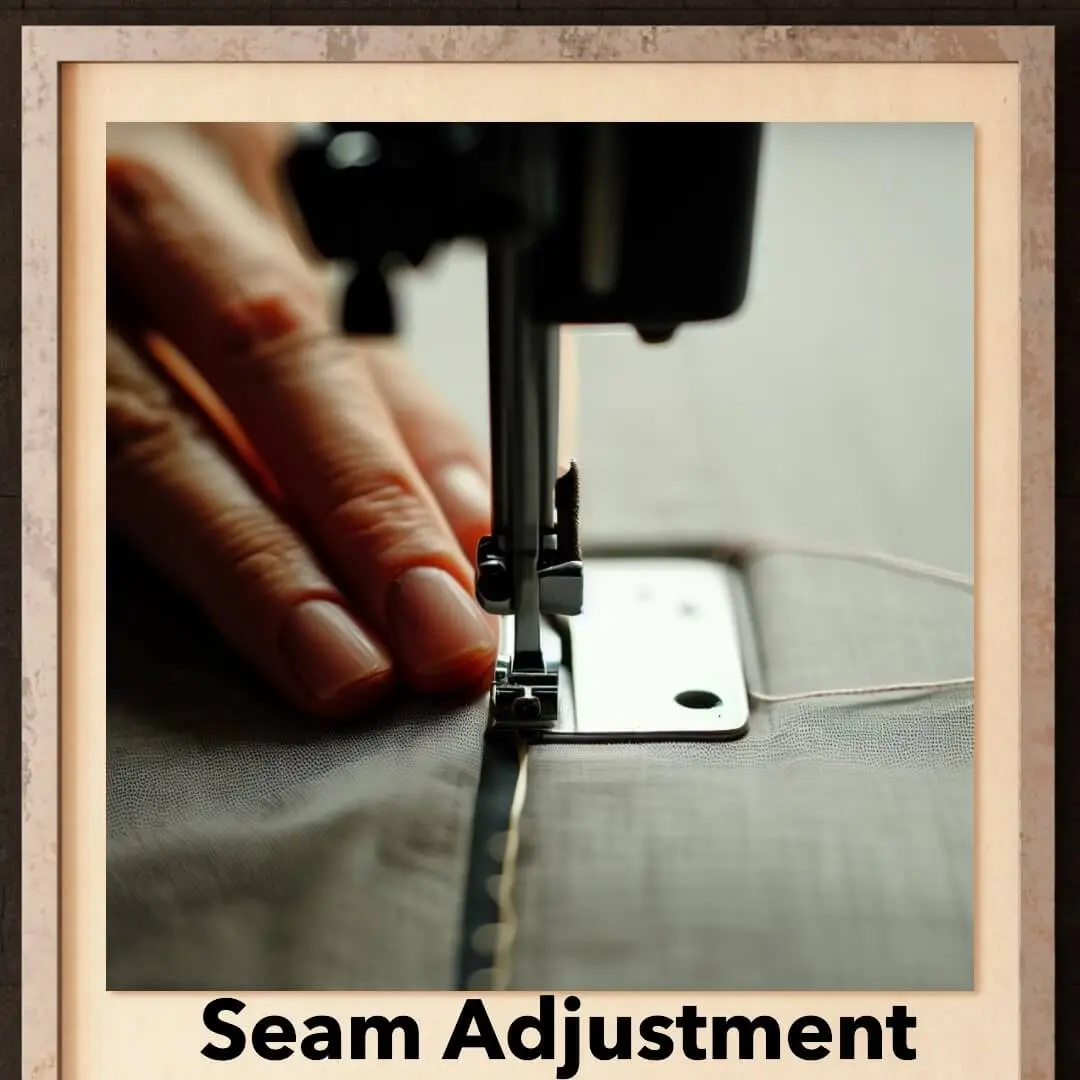
The fifth step of how to sew a straight line includes the seam adjustment. In order to sew a straight line, seam correction is a crucial step. First, use an iron to push the seam open after sewing. The seam will lay flat and be less bulky as a result. Second, if necessary, trim the seam allowance. A seam might look uneven and add bulk if the seam allowance is too large. To get a consistent seam allowance width, trim the seam allowance with fabric scissors, a rotary cutter, and a straight edge.
Next, finishing of the fabric’s raw edges should be done. To stop the fabric from fraying, use a serger sewing machine, overcast stitch, or zigzag stitch. The seam should be inspected for puckers and uneven stitching in the fourth step. Use a seam ripper to undo the stitches and resew the seam if you discover any problems. After correcting it, press the seam one more to make sure it is level and tidy.
By correcting the seam, you may produce a completed product that is neat and professional-looking and avoid any problems that could arise from lopsided stitching or large seam allowances.
Step 6: Finishing of Seam
In order to sew a straight line and produce a finished product with a professional appearance, the seam must be finished. First, use an iron to push the seam open after sewing. The fabric’s edges will be simpler to finish as a result. Next, select a seam finishing method that is suitable for the cloth you are using. A few methods used to finish seams include serging, overcasting, and zigzag stitching. Most textiles may be sewn with zigzag stitching, which is a simple and rapid technique.
Serging is a professional technique that can be used for any type of cloth, while overcasting is a safer approach that can be used for medium to heavy materials. Third, if necessary, trim any extra seam allowance. By doing so, the seam will lie flat and aid to reduce bulk. In order to make sure the seam is flat and tidy, press it once more after finishing.
You may avoid the cloth fraying and produce a polished, expert-looking completed item by completing the seam.

More tips for how to sew a straight line
Some more tips for how to sew a straight line are:

Conclusion
In conclusion, stitching a straight line may appear easy, but achieving clean, even stitches requires careful fabric preparation. You may prevent fabric from moving and provide a smooth sewing experience by pre-washing and ironing the fabric, cutting it straight along the grain, and using pins or clips to hold it in place while stitching. Do practice as much as you can because Practice makes a man perfect!
How to Sew a Straight Line

