How To Sew A Shank Button – Beginner’s Guide
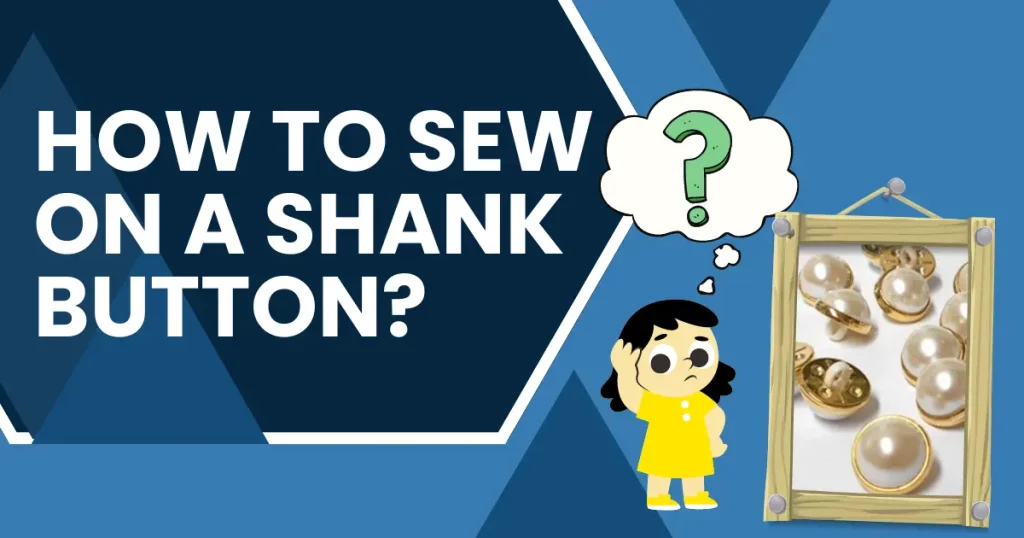
Sewing buttons is a basic but essential skill in any DIY or garment repair toolkit. Whether you’re fixing a coat or adding a decorative touch to a dress, learning how to sew a shank button is a smart place to start.
In this step-by-step guide, you’ll learn how to sew a shank button by hand — no machine needed. It’s quick, easy, and beginner-approved.
What Is a Shank Button?
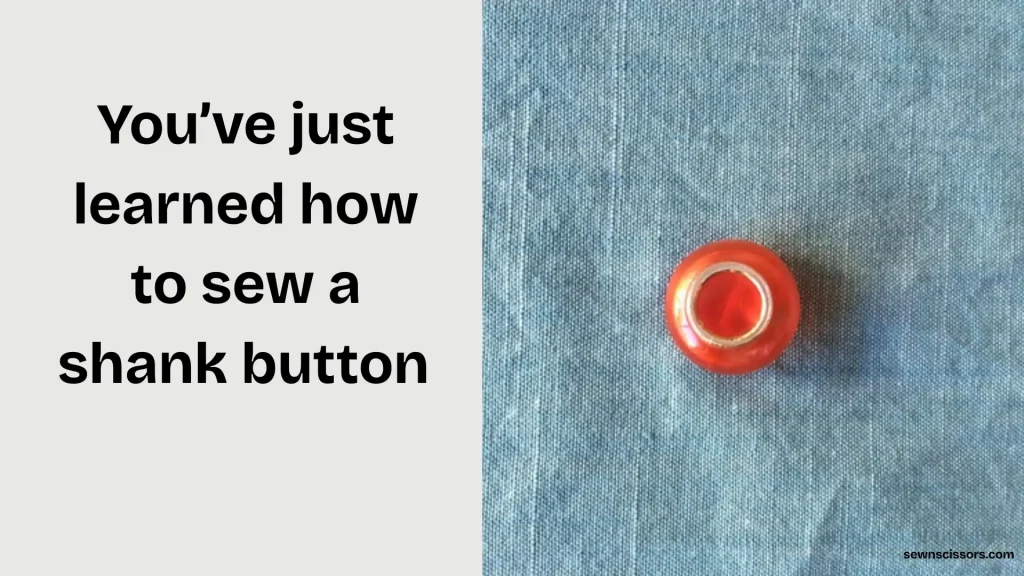
A shank button is a type of button with a small loop, or “shank,” on the back instead of holes on the front. This loop lifts the button slightly off the fabric, creating space for the material to sit comfortably underneath. It’s perfect for thicker materials or for creating a neat, finished look.
Why Use a Shank Button Instead of a Regular One?
Unlike flat or sew-through buttons, which have visible holes, shank buttons attach through that back loop. This gives them a cleaner look on the front — perfect for dresses, blazers, or decorative garments.
They also look more polished. That’s why many designers use decorative shank buttons on formal wear or outerwear. They’re functional, stylish, and built to last.
How to Sew a Shank Button (Step-by-Step)
To sew a shank button:
- Mark the spot where the button will go using chalk or a fabric marker.
- Thread a needle with strong thread and knot the end.
- Insert the needle from the underside of the fabric and make 2–3 stitches to anchor.
- Slide the needle through the button’s shank and back into the fabric several times to secure.
- Wrap the thread around the stitches under the button (optional) to create a thread shank for added strength.
Tie a knot on the underside and trim the excess thread.
Shank buttons are ideal for thick fabrics and garments needing a bit of space between the button and fabric.
Tools & Materials You’ll Need
Before you start sewing, make sure you have the right tools ready. Here’s a quick checklist:
- Shank button – Choose the right size and style for your fabric.
- Needle – A sharp hand-sewing needle works best for most fabrics.
- Thread – Use a strong thread. Match the color to your fabric or button, or go for contrast.
- Fabric or garment – This is where the button will go.
- Scissors – For trimming thread cleanly.
Optional tools:
- Thimble – Helps push the needle through thick fabric.
- Beeswax – Strengthens your thread and prevents tangles.
- Tailor’s chalk or fabric marker – For marking the button spot.
Having the right sewing tools for buttons makes the process faster, neater, and easier for beginners.
How to Sew a Shank Button: Step-by-Step Tutorial
Whether you hand sew or use a machine, this method works best by hand. It’s ideal for beginners and small projects.
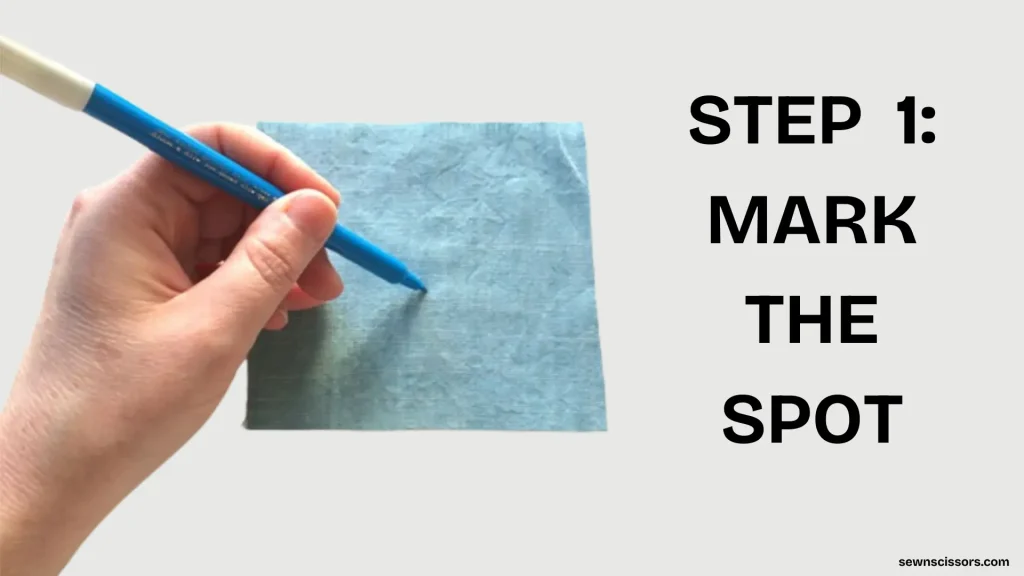
Mark the Spot
- Use tailor’s chalk or a fabric pen to mark where you want the button.
- This ensures precise placement before you start sewing.
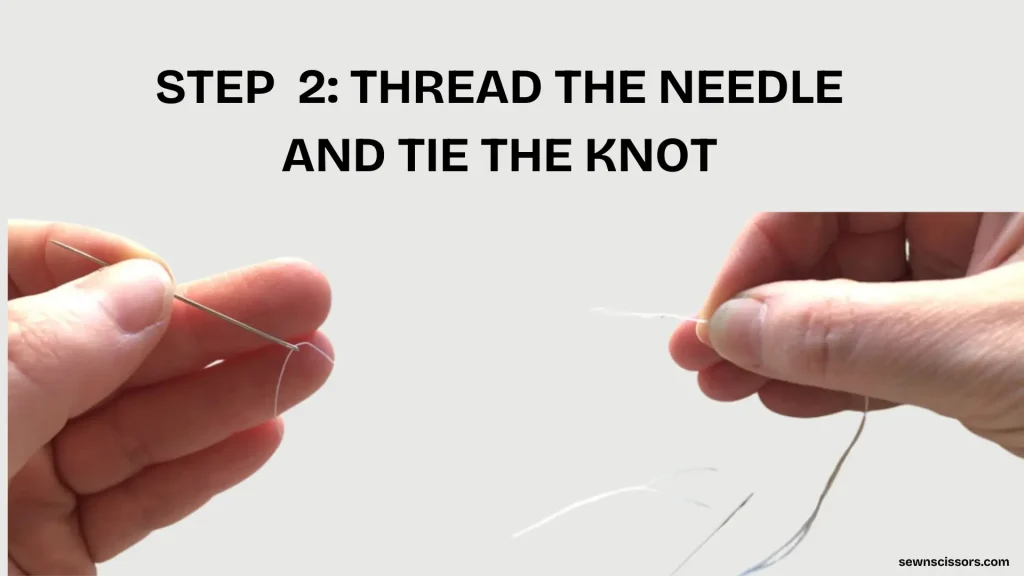
Thread the Needle & Knot the End
- Cut a 12–18″ length of thread.
- Fold it and tie a knot at the end for extra strength. (Tip: double thread for a stronger hold.)
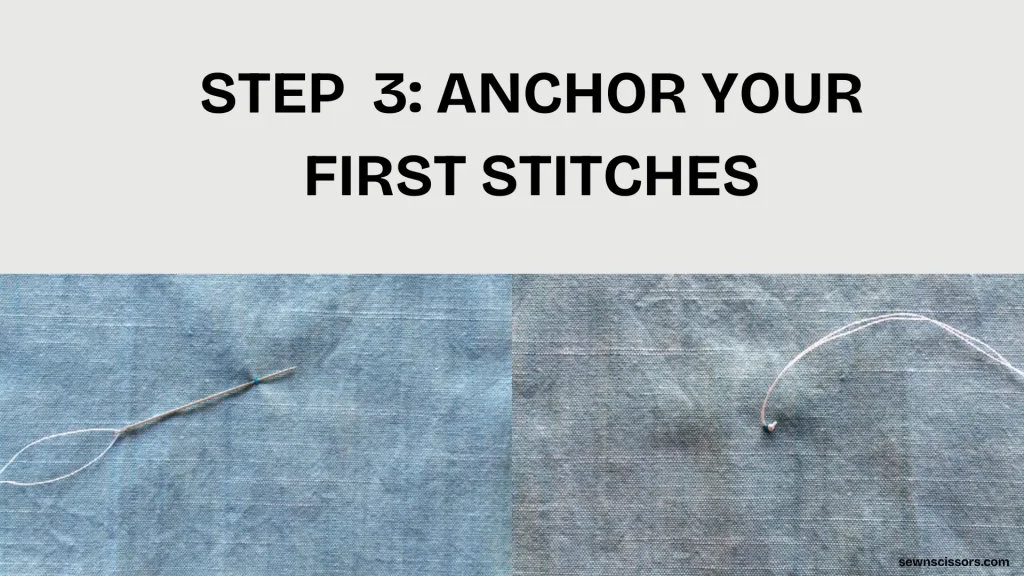
Anchor Your First Stitches
- Bring the needle up from the fabric’s underside at your mark.
- Stitch down a couple of times to secure the thread.
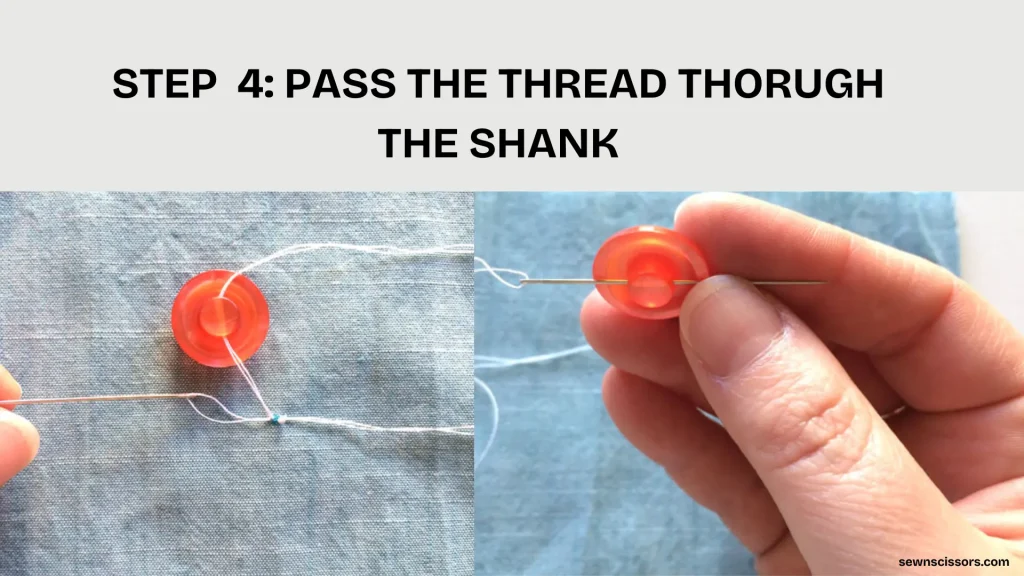
Pass the Thread Through the Shank
- Slide the needle through the button’s loop (shank).
- Sew down into the fabric. Repeat 5–6 times to firmly attach the button.
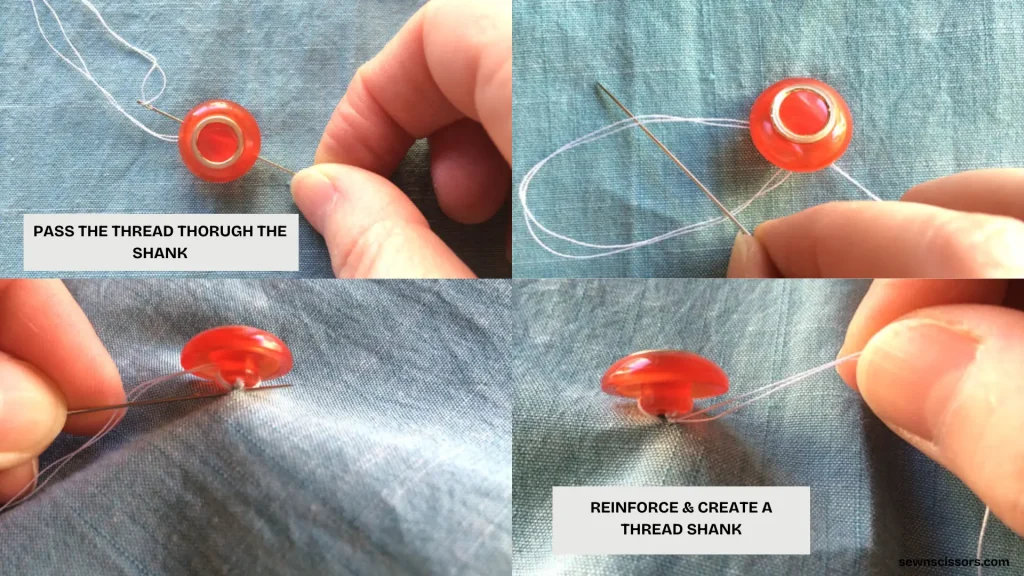
Reinforce & Create a Thread Shank
- Lift the button slightly.
- Wrap the working thread around the stitches below the shank. This builds a sturdy “stem” that lets thick fabric drape naturally.
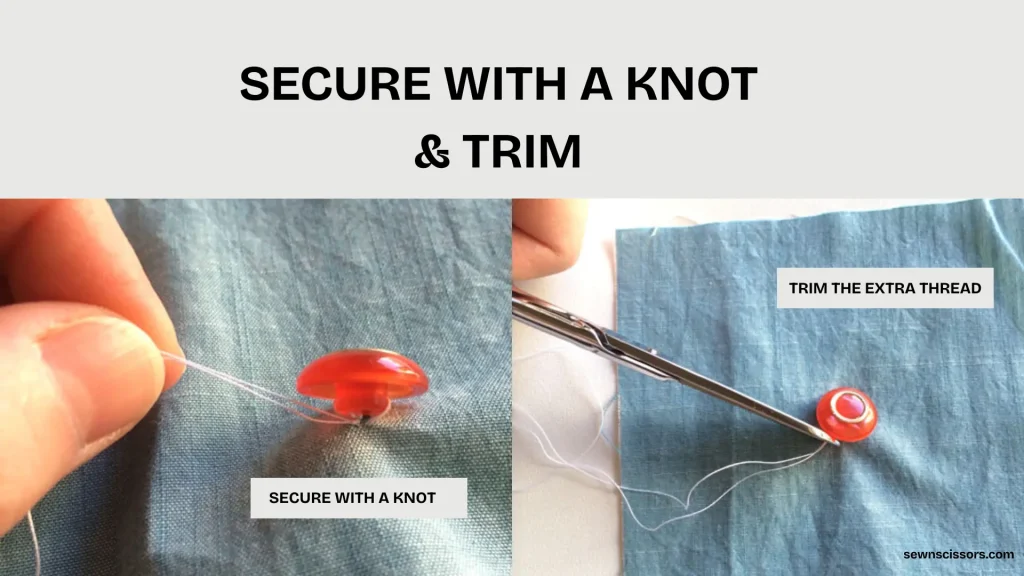
Secure with a Knot & Trim
- Flip the fabric and tie a small knot right under the button.
- Trim the excess thread close to the knot.
Tips for a Professional Finish
Want your button to stay strong and look neat? Use these simple but effective tips:
Create space with a matchstick or toothpick.
- Place it under the shank while sewing. This gives the button room to move and helps the fabric drape naturally.
Use reinforcement fabric for heavy garments.
- Add a small patch of interfacing or extra cloth behind the sewing spot. This keeps the fabric from tearing.
Double-check button placement.
- Before sewing, test where the button sits. Make sure it lines up with the buttonhole and doesn’t pull the fabric.
Use a strong thread and secure your knot well.
- This helps prevent the button from falling off after a few uses.
Keep your stitches tight but not too tight.
- The button should feel firm but still flexible enough to move slightly when in use.
This beginner‑friendly sewing tutorial on attaching a shank button will keep your buttons secure and your garments looking polished.
Common Mistakes to Avoid
Even a small mistake can make your button fall off or look messy. Here’s what to watch out for:
- Sewing too tight
If your stitches are too tight, the fabric may pucker. This makes the garment look uneven and uncomfortable. - Using weak thread
Thin or low-quality thread breaks easily. Always use strong thread that matches your fabric weight. - Placing the button in the wrong spot
Double-check that your button lines up with the hole. A misaligned button will strain the fabric and look off. - Skipping reinforcement
For thick fabrics, skipping a backing fabric or extra stitching can cause tearing over time. - Not creating space under the shank
If you don’t leave space under the button, it can pull too hard on the fabric. Use a toothpick or matchstick while sewing.
Avoiding these mistakes ensures your shank button stays secure, looks good, and works like it should — whether you’re repairing or making something new.
Frequently Asked Questions
Conclusion: Master the Art of Sewing Shank Buttons
Sewing a button with a shank might seem small, but it makes a big difference in how your clothes look and last. When done right, it keeps buttons secure, improves the fabric drape, and gives your project a clean finish.
Whether you’re working on a quick garment repair or a new DIY sewing project, this simple skill will come in handy again and again.
Take a few minutes to practice on scrap fabric. The more you sew, the easier it gets. And before you know it, you’ll be confidently sewing shank buttons by hand like a pro.


