How To Sew A T Shirt: Step-By-Step Guide
Are you eager to take charge of your wardrobe and sew a t-shirt that perfectly suits and enhances your capabilities? Want to know How to sew a t shirt? Why not experiment with the enjoyable and satisfying experience of creating your own fashionable clothing? You can release your creativity and show your individual sense of style in a positive and empowering way by sewing your own t-shirts. You’ll end up with a distinctive and fashionable item that fits you properly if you sew a t-shirt from scratch. This tutorial will take you step-by-step through the process of How to make shirt . Now that you have your sewing machine for sewing a shirt, let’s begin!
How to sew a shirt from scratch: Step-by step
Materials Needed
Before you begin the process, make sure you have the following materials on hand:
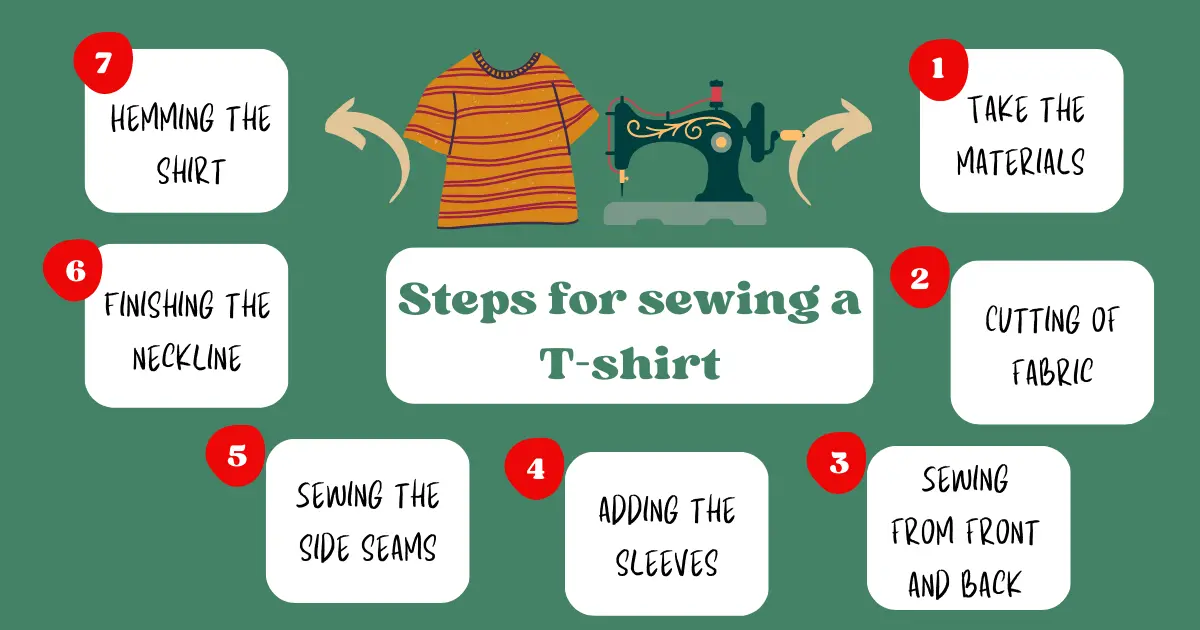
Step 1: Get your supplies ready

Step 2: Preparing the Pattern and cutting the Fabric
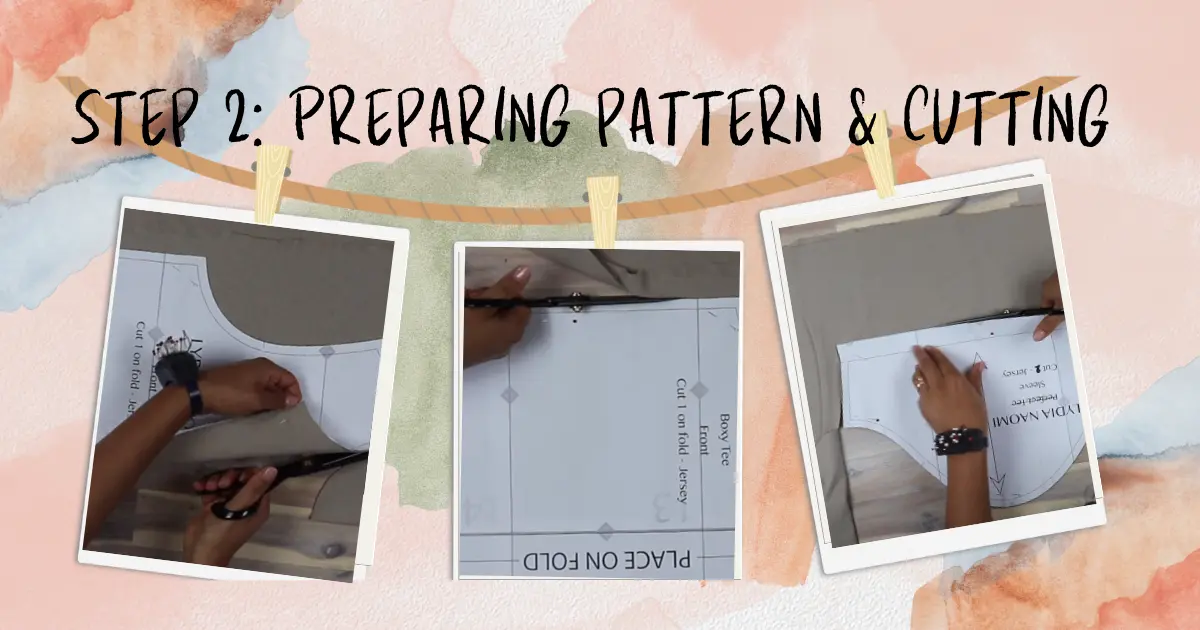
Getting your fabric and pattern ready is the first step in learning how to stitch a shirt. It’s time to prepare your pattern and fabric for stitching a shirt now that you have acquired all the required supplies! Follow these simple instructions to ensure a smooth project.
Make sure you thoroughly read the instructions on your design before you begin cutting your fabric. This will make it easier for you to comprehend the procedures and guarantee that you have all the required tools and supplies.
Locate a level surface, such as a cutting mat or table, and arrange your fabric there. So that the fabric is level and even, smooth out any folds or creases.
Using straight pins, pin your pattern pieces to the cloth. In order to achieve a good fit, place them where directed and pay attention to the grainline markings.
After firmly pinning your pattern pieces to your fabric, it’s time to cut them out. To carefully cut along the edges of the pattern pieces, use a pair of sharp scissors. To ensure precision, take your time and cut gradually.
By following these simple steps, you can ensure that your t-shirt pattern pieces are cut out accurately and ready to be sewn together. And the best part? You’re one step closer to having a stylish and perfectly fitting t-shirt that you created with your own two hands!
Step 3: Sewing the Front and Back
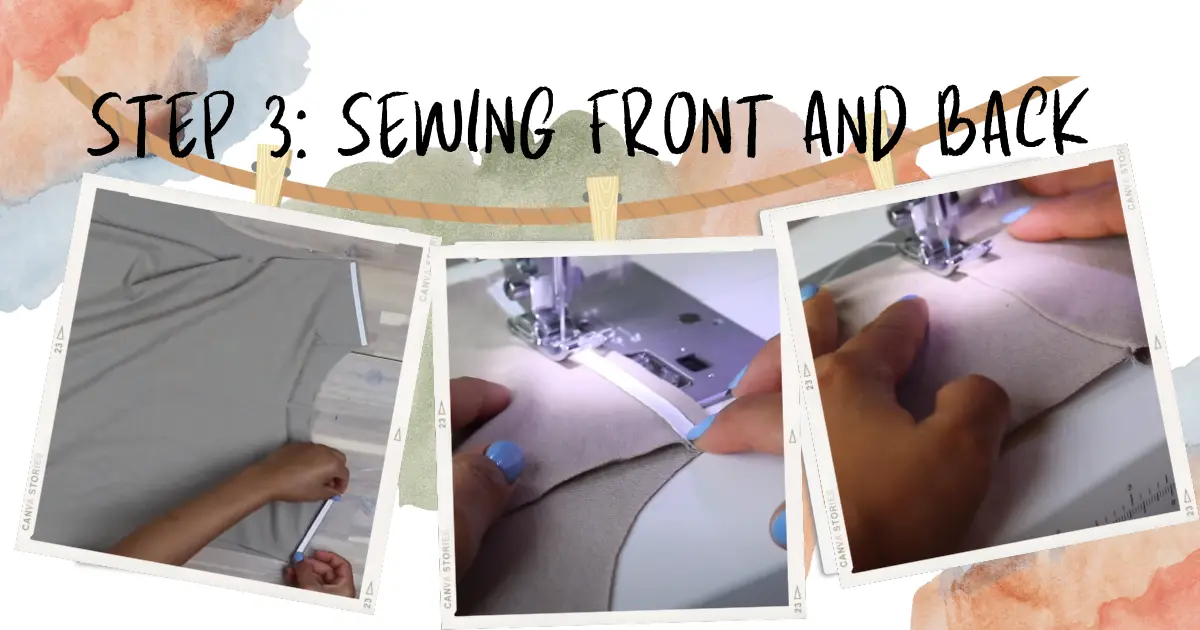
The exciting step of learning how to sew t shirt is reached! Let’s begin by making the body of your shirt now that your fabric and pattern sections are ready and cut.
Start by pinning your t-shirt’s front and back together with the right sides facing outward. The fabric’s right side is the side that will be visible when the item is worn.
After you’ve pinned the parts together, use your sewing machine’s straight stitch to sew them together. For increased durability, backstitch at the beginning and end of each seam as you sew straight down from the neckline to the armhole. Repeat the same process for other shoulder.
After sewing the shoulder seams, press the seam allowance flat using a hot iron. By doing so, the seam will lay flat and won’t bunch or pucker.
You’ve successfully stitched the front and back of your t-shirt together, forming the basic body of the garment, by following these easy steps. Keep up the good effort and proceed to the following stage for even more thrilling advancement!
Step 4: Adding the Sleeves
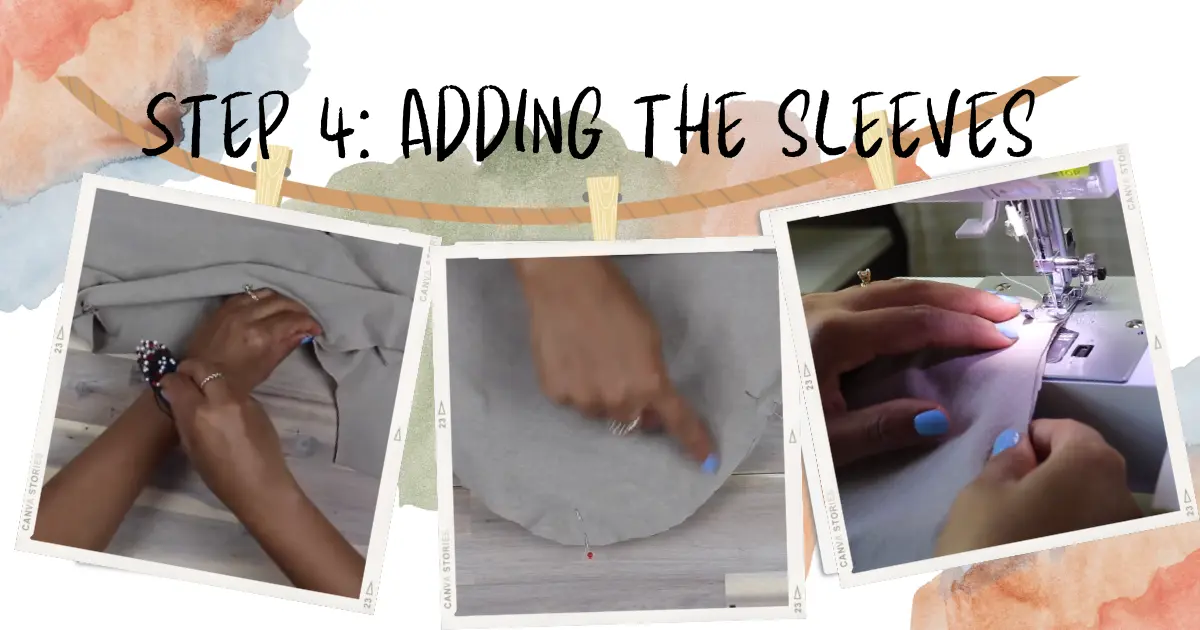
It’s time to add the sleeves to your t-shirt now that the front and back have been joined by sewing. Your t-shirt will come to life and become fully wearable when you complete this phase.
Starting with the correct sides facing each other, pin the sleeves to the t-shirt’s armholes. Make sure the t-shirt’s shoulder seams are in line with the notches on the sleeves. Then, being careful not to stretch or pull the cloth, pin the remaining sleeve to the armhole.
The sleeves should be sewed onto the t-shirt using a straight stitch after being put into position. Backstitch at the beginning and end of each seam as you sew up from the bottom of the sleeve to the shoulder seam. For the opposite sleeve, repeat the procedure.
After attaching the sleeves to the t-shirt, press the seam allowances flat with a hot iron. This will aid in flattening the seams and keep them from bunching or puckering.
You have now added sleeves to your t-shirt and are one step closer to finishing your outfit by following these easy instructions. Keep up the good effort and proceed to the following stage for even more thrilling advancement!
Step 5: Sewing the Side Seams
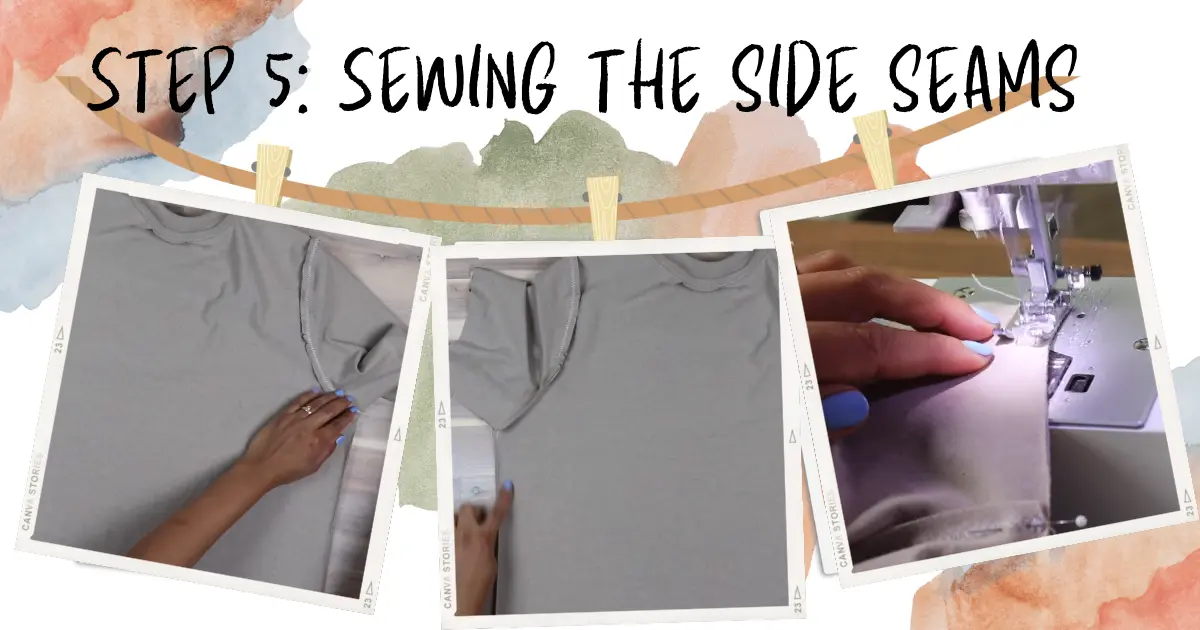
Now in learning how to sew shirt, when that the sleeves have been attached, it’s time to bring the front and back pieces of your t-shirt together by sewing the side seams. This step will help give your t-shirt its final shape and make it look more polished and put-together.
Begin by pinning the front and back pieces of your t-shirt together, right sides facing each other. Start at the bottom of the t-shirt and work your way up, aligning the side seams and making sure the fabric isn’t stretched or pulled. Be sure to match the underarm seams as well.
Once you have the side seams pinned in place, sew them together using a straight stitch. Begin at the bottom of the t-shirt and sew up to the underarm, making sure to backstitch at the beginning and end of your seam. Repeat the process for the other side.
After you’ve sewn the side seams, use a hot iron to press the seam allowances flat. This will help the seams lay flat and prevent any bunching or puckering.
With the side seams sewn, your t-shirt is really starting to take shape. This is rewarding when you’re learning how to sew t shirt. It’s exciting to see your hard work pay off as your garment begins to resemble the finished product. Keep up the good work and move on to the next step for even more progress!
Step 6: Finishing the Neckline
Finally, it’s time to finish the neckline of your t-shirt. Fold the neckline over by 1/4 inch and pin it in place. Sew the neckline in place using a zigzag stitch. Press the seam allowance flat using an iron. The neckline of your t-shirt is an important feature that can make or break the overall look of your garment. Finishing it properly will ensure that your t-shirt looks professional and polished.
Start by folding the neckline 1/4 inch in the direction of the fabric’s wrong side. Making sure the cloth is even and smooth, secure the folded edge with pins all the way around the neckline.
Use a zigzag stitch to sew the neckline after you’ve pinned it in place. This stitch will help stop the neckline from sagging over time and is perfect for elastic fabrics like cotton jersey. With care to avoid stretching or pulling the cloth, start sewing at the center back of the neckline and go all the way around.
Use an iron to press the seam allowance flat after sewing the neckline. This will aid in neckline placement and give a professional look.

And with that, you’re done! Your t-shirt is complete and ready to be worn with pride. You’ve created something unique and special that fits you perfectly and reflects your personal style. Congratulations on a job well done!Top of Form
Step 7: Hemming the T-Shirt
Finally, but certainly not least, hem your t-shirt. The bottom edge of the t-shirt should be folded over by half an inch before being pinned. With a straight stitch, attach the hem. Iron the hem flat after pressing it.

Finally, your t-shirt is ready to wear! Put it on and admire your craftsmanship. You can sew t-shirts in a variety of styles and materials with a little practice. Have fun stitching! Now that when you have learnt “How to sew a t shirt”, you can now customize your own shirt by using a Cricut maker. Read “How to make a shirt by using cricut maker” in the article link.
Tips and Tricks- How to make a shirt from scratch
Unlock the art of easy sewing shirt as we guide you through valuable tips and tricks for making a shirt from scratch.
Conclusion- How to sew a t shirt
In conclusion of how to sew a t-shirt, making a shirt from scratch is a fun and rewarding project that allows you to create a garment that fits your style and body perfectly. With the right tools and materials, you can easily follow these steps for sewing t shirts that looks and feels great. Don’t be afraid to experiment with different fabrics and patterns to make your t-shirt truly unique. Happy sewing!
How to sew a t shirt

